Umniah 3G Evo Router User manual

1
Thank you for choosing Umniah Internet; enjoy the experience of
Umniah Evolved High Speed Internet through Umniah Router device.
Note:
This guide briefly describes Umniah Router functions. For details about
how to set the management parameters, see the help information on the
web management page.
Getting to Know Your Umniah Router
Application Scenarios
Scenario 1:
You can connect your computer to Umniah Router to access the Internet.
The specific connection steps depend on your computer's operating system.
Follow the displayed instructions to connect Umniah Router to your
computer.

2
Scenario 2 (Optional):
You can connect a telephone to Umniah Router's telephone port to make
voice calls.
Appearance
1. Power button
2. Wi-Fi/WPS button
3. Dial-up button
4. USB indicator
5. Wi-Fi/WPS indicator
6. Network status indicator
7. Power indicator
8. LAN indicators
9. External antenna port
10. Telephone port
11. Power port
12. USB port
13. LAN ports
Note:
LAN: local area network
USB: universal serial bus
Wi-Fi: Wireless Fidelity
WPS: Wi-Fi Protected Setup

3
Indicators
Indicator
Status
USB indicator
Steady on: USB storage device
connected.
Off: USB storage device not connected.
Wi-Fi/WPS indicator
Steady on: Wi-Fi turned on or data
transfer in progress.
Blinking: WPS connection being set up.
Off: Wi-Fi turned off.
Network status indicator
Blinking red fast: Subscriber Identity
Module (SIM/USIM) card unavailable
(SIM/USIM card not installed or
malfunctioning, or PIN code not verified).
Steady yellow: device registered with the
network.
Steady green: device connected to the
Internet.
Off: no signal received.
Power indicator
Steady on: device powered on.
Off: device powered off.
/ / /
LAN indicators
Steady on: network cable connected.
Blinking: data transfer in progress.
Off: network cable not connected.

4
Computer Hardware and Software
Requirements
The recommended computer specification is as follows:
Central processing unit (CPU): Pentium 500 MHz or faster
Random access memory (RAM): ≥ 128 MB
Hard drive: 50 MB disk space available
Operating system: Windows 2000, Windows XP, Windows Vista, or
Windows 7
Liquid crystal display (LCD) resolution: At least 800 x 600 pixels (1024 x
768 pixels is recommended.)
Installing the SIM/USIM Card
1. Slide the card cover off.
2. Insert the SIM/USIM card into the card slot. Ensure that the gold contact
area faces down and that the beveled edge of the SIM/USIM card aligns
with that of the card slot.
3. Slide the card cover back onto Umniah Router.

5
Attention: Before removing the SIM/USIM card, ensure that Umniah Router
is powered off and disconnected from the power outlet.
Using the Table Stand (Optional)
You can place Umniah Router on a flat surface such as a table or a desk, or
hang it on a wall. You can also use the table stand on Umniah Router to
place it upright.
To use the table stand, insert its latches into Umniah Router's table stand
slots, as shown in the following figure.
Note:
To ensure good signal reception, place Umniah Router in a high place or
near a window.
To prevent interference caused by radio signals, place Umniah Router at
least 1 meter (3.28 feet) away from other electrical devices.

6
Installing an External Antenna (Optional)
In areas with poor network coverage, connect an external antenna to
Umniah Router's external antenna port. Screw the external antenna in fully,
as shown in the following figure.
Note:
Skip this section if you do not need to connect an external antenna to
Umniah Router.
Before using an external antenna, log in to the web management page
(http://192.168.1.1) and set antenna mode to external. For details, see the
help information on the web management page.
Only use the external antenna indoors.
You cannot switch between the internal antenna and the external
antenna while using a voice or data service.

7
Connecting to a Telephone (Optional)
If you want to use Umniah Router to make voice calls, connect Umniah
Router to a telephone, as shown in the following figure.
Note:
Skip this section if you do not plan to use Umniah Router's voice services.
Radio signals can interfere with telephone call connection and quality. To
eliminate the risk of possible interference, place the telephone at least 1
meter (3.28 feet) away from Umniah Router.
Connecting to a Computer
Use an Ethernet cable to connect a computer to one of Umniah Router's LAN
ports, as shown in the following figure.
When the connection between Umniah Router and the computer is set up,
Umniah Router's corresponding LAN indicator turns on.
Ensure that the Ethernet cable is not longer than 100 meters (328 feet).

8
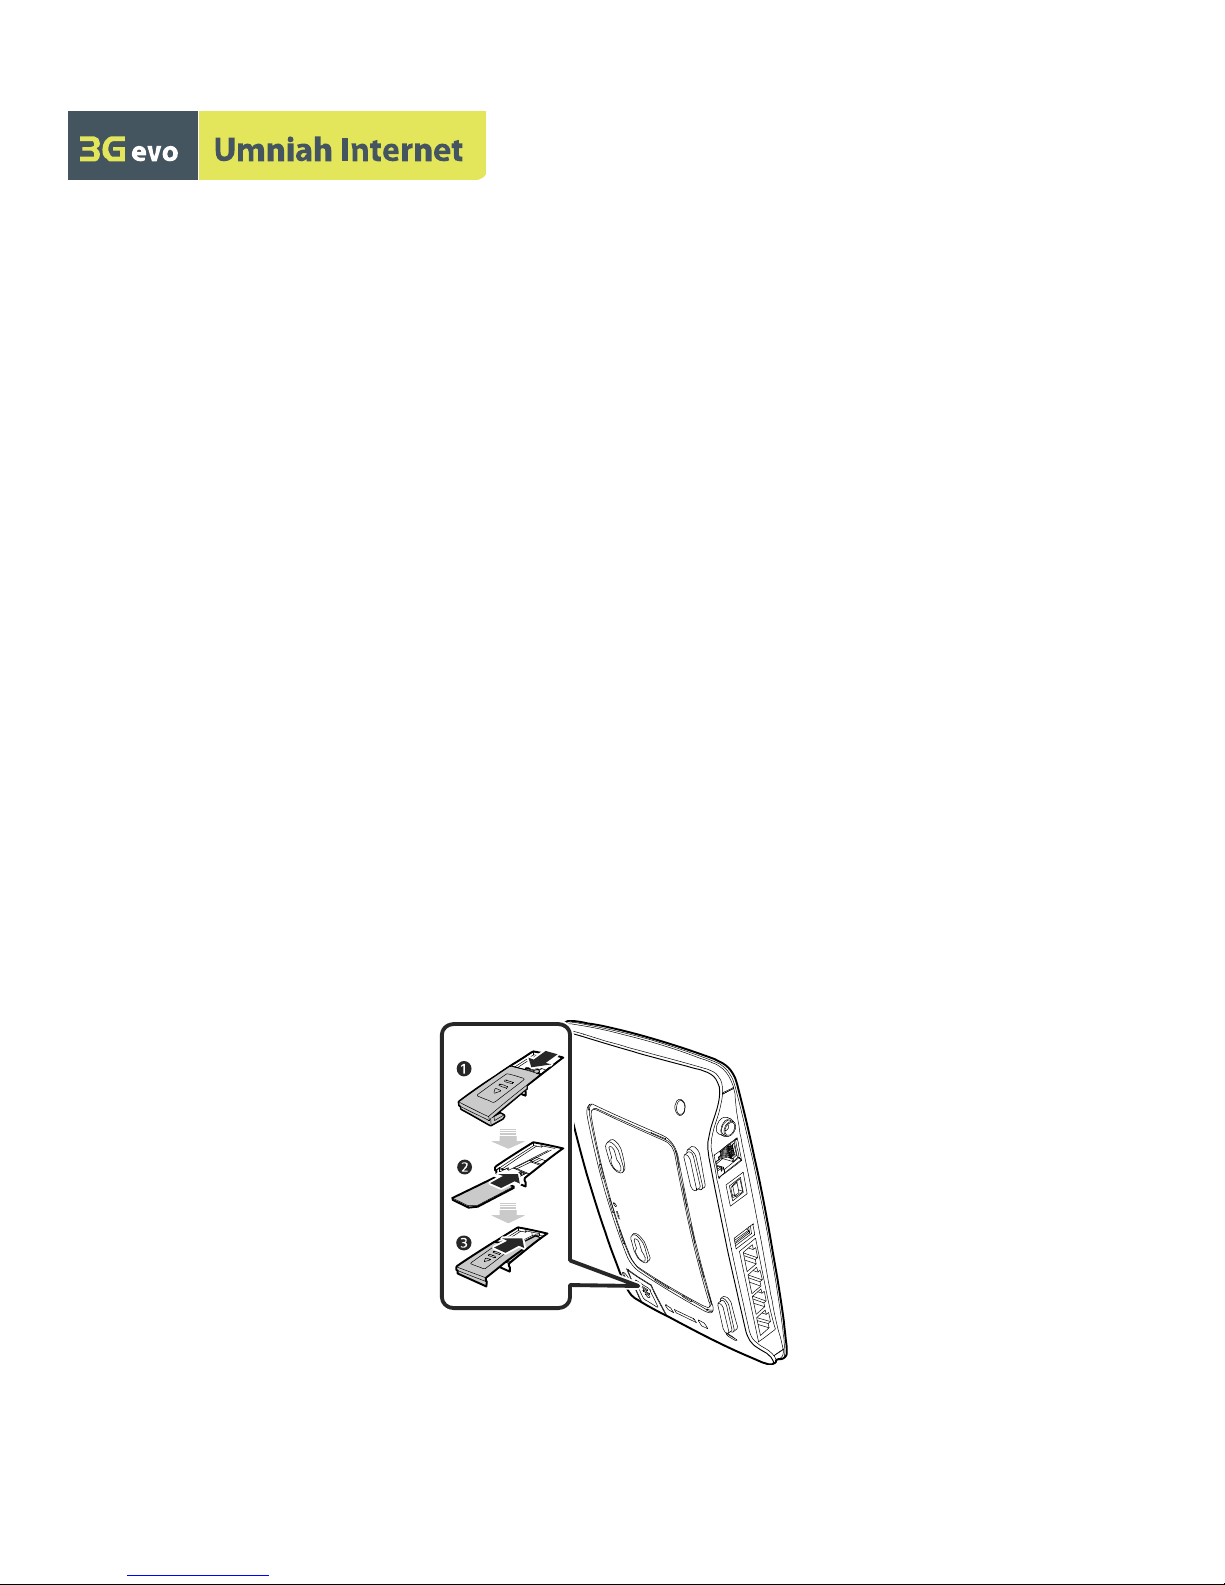
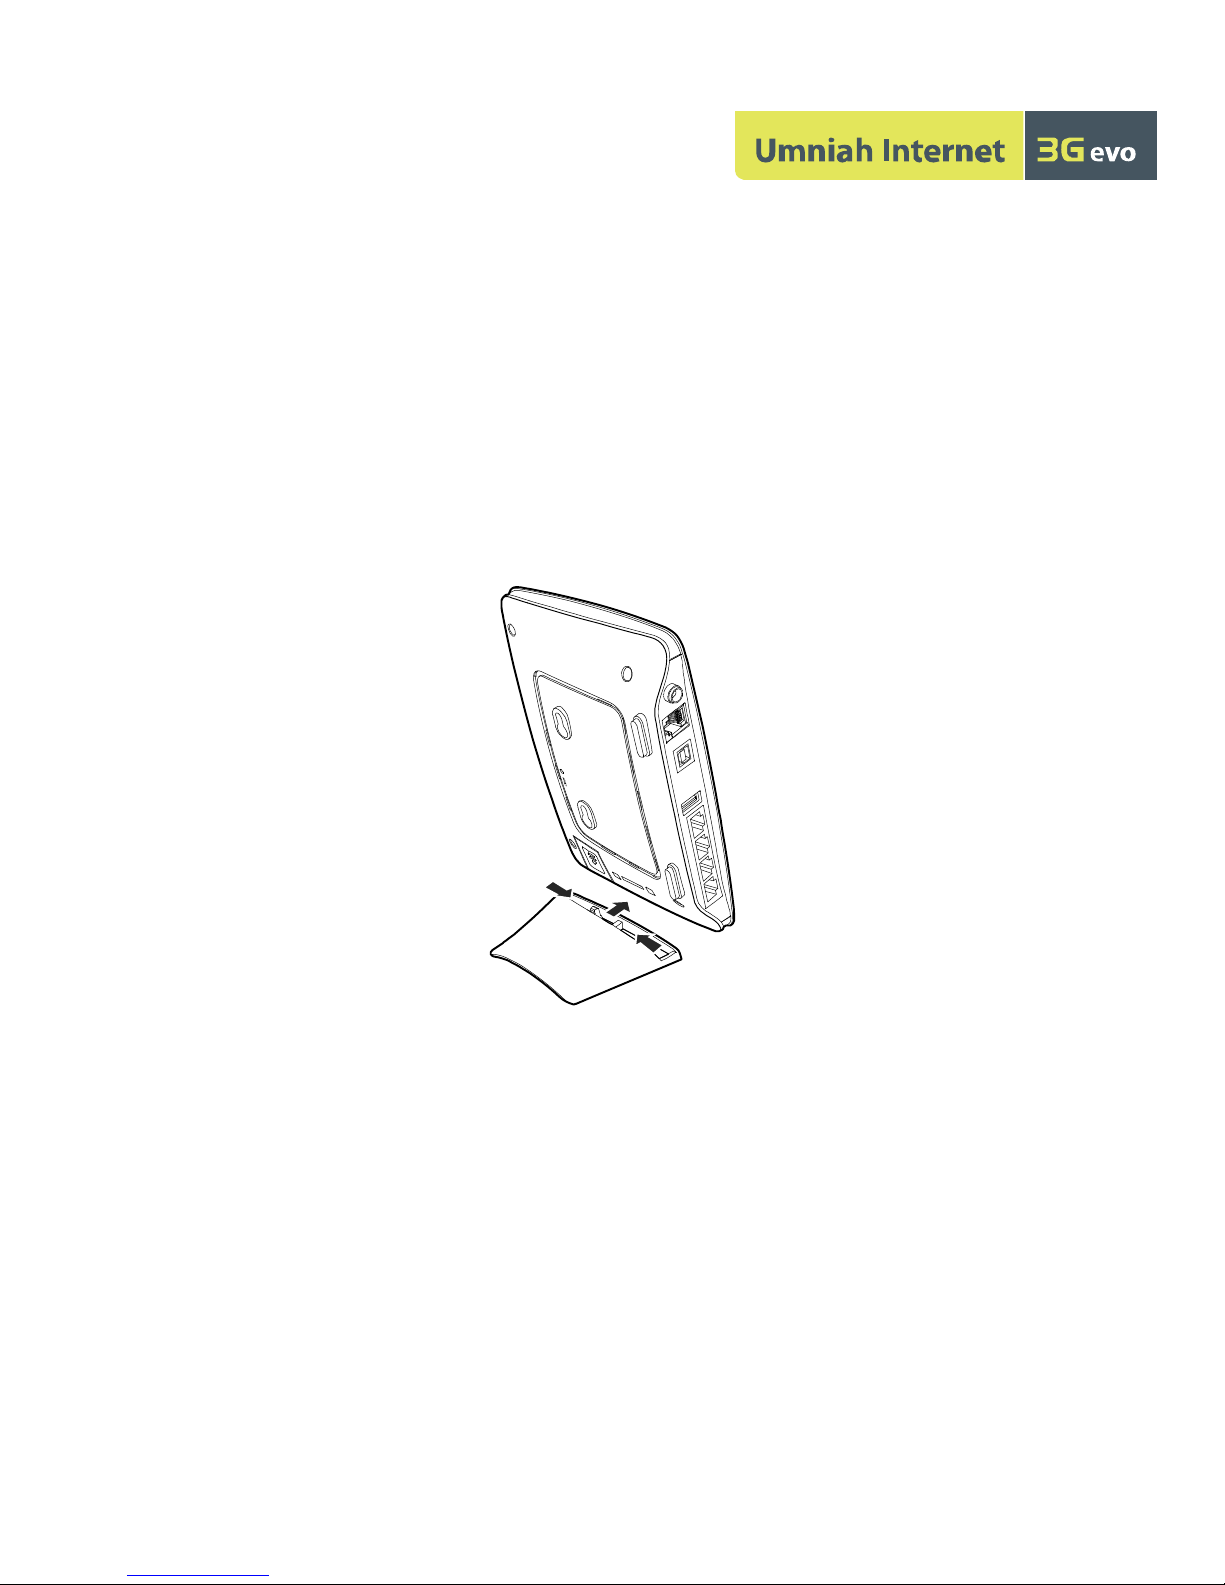
Connecting to a USB Flash Drive,
Portable Hard Disk Drive, or USB Printer
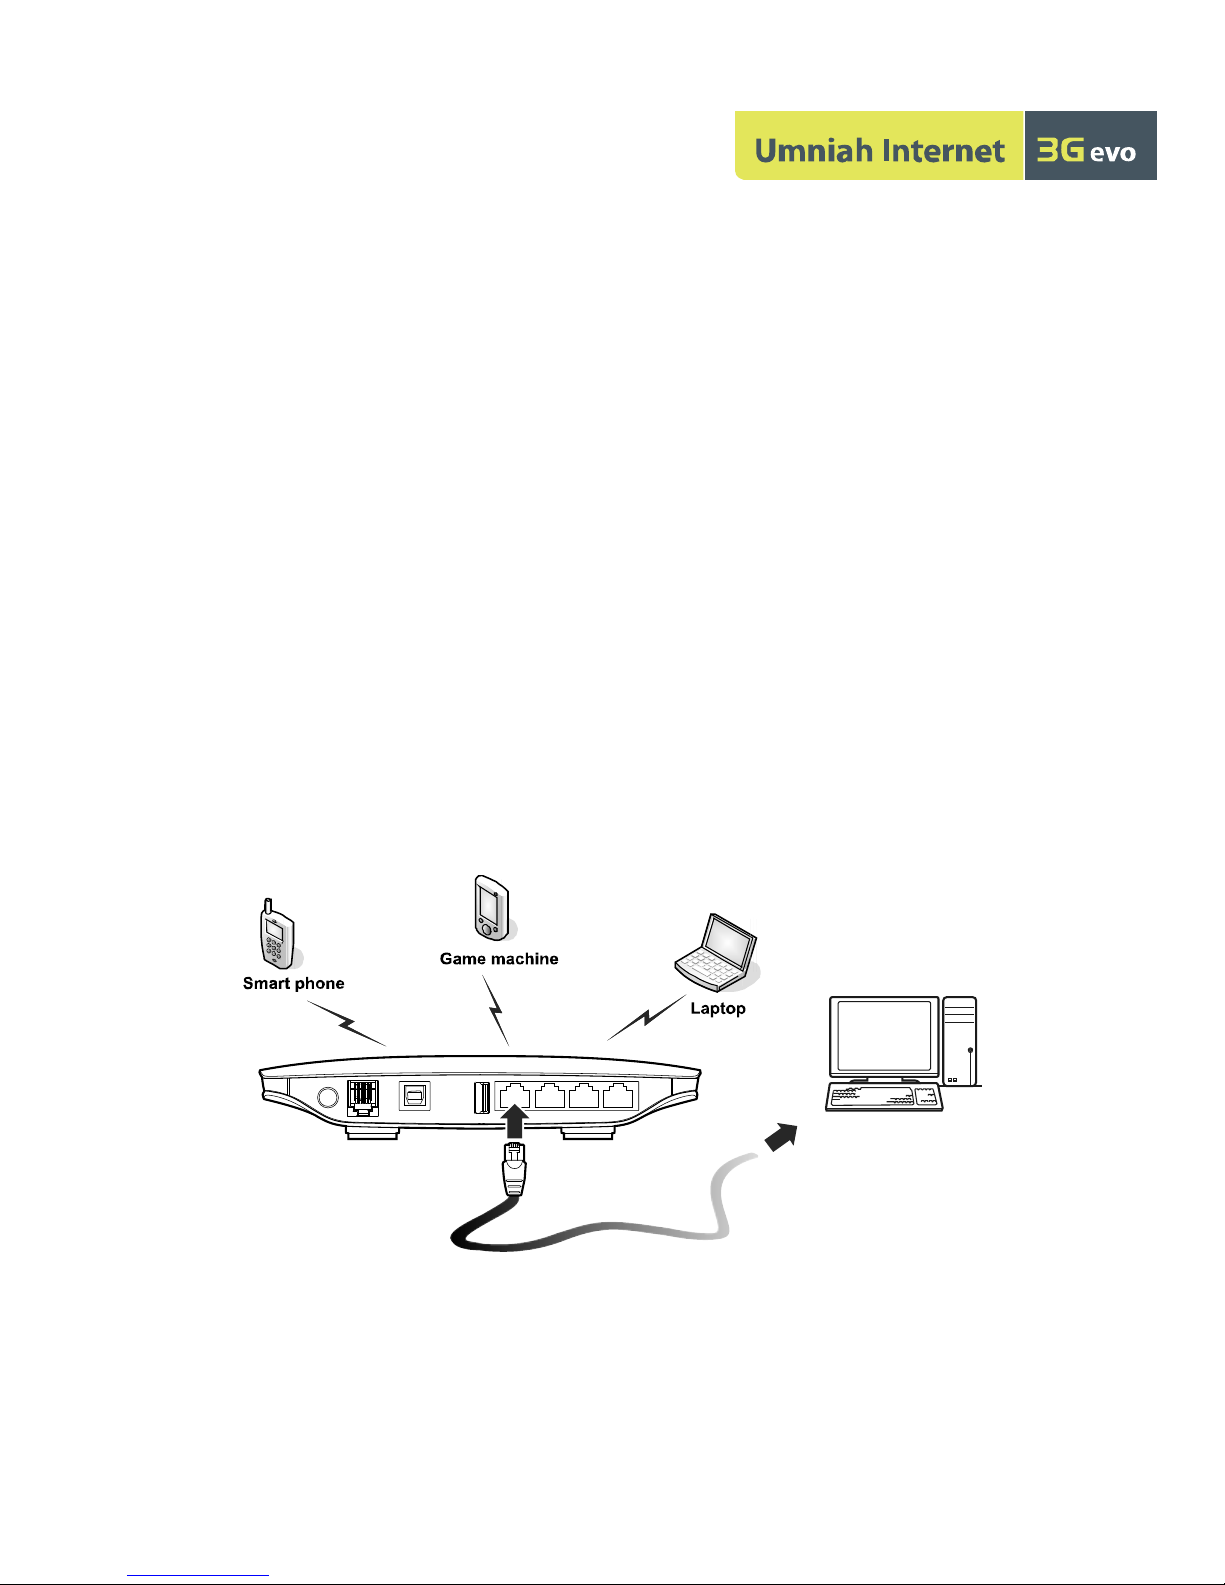
Connect a USB flash drive, portable hard disk drive, or USB printer to Umniah
Router's USB port, as shown in the following figure. For details, see the help
information on the web management page.
Note:
Do not connect a computer to Umniah Router's USB port.
Umniah Router's USB port can supply a maximum current of 500 mA to
power connected USB devices. If the current required by a portable hard
disk drive (or other peripherals) connected to Umniah Router is higher
than 500 mA, Umniah Router may fail to recognize the hard disk drive. In
this case, use an auxiliary power supply for the hard disk drive.
Connecting to a Power Outlet
Connect a compatible power adapter to Umniah Router's power port, and
then plug the power adapter into a power outlet.
Note: Using an incompatible power adapter may damage Umniah Router.

9
Powering Umniah Router On or Off
After connecting to a power outlet, Umniah Router will power on
automatically.
To manually power Umniah Router on, press and hold until all
indicators turn on.
To power Umniah Router off, press and hold until all indicators turn
off.
Setting Up a Wireless Connection
Turning Umniah Router's Wi-Fi On
By default, Umniah Router's Wi-Fi automatically turns on when Umniah
Router is powered on.
To manually turn Wi-Fi on, press and hold until turns steady
on.
Note: To turn Wi-Fi off, press and hold for 2 seconds, and then
release your finger. The indicator turns off.
Setting Up a Wi-Fi Connection
Note: Before setting up a Wi-Fi connection, ensure that a wireless network
adapter has been installed on your computer. If the wireless network adapter
is functioning correctly, you will be able to find a wireless network
connection in your computer's connection manager application.

10
Method 1: Set up a Wi-Fi connection.
1. Ensure that is steady on.
2. Scan for available wireless network connections using your computer's
connection manager application.
3. Connect to the wireless network that has the same service set
identification (SSID) as Umniah Router.
Note:
If a security mechanism has been enabled for the wireless network
connection, enter the correct network key.
The SSID and the network key are printed on Umniah Router label.
Method 2: (Optional) Set up a WPS connection.
If the client to which your device connects supports WPS, a network key is
generated automatically.
To set up a WPS connection:
1. Ensure that is steady on.
2. Press and hold until blinks to activate the WPS
connection on your device.
3. Activate the WPS connection on the client.
Note: For details about the client's operations, see its user guide.

11
Accessing the Internet
After a connection between your device and the client is set up, you can
access the Internet using the modes listed in the following table.
Mode
Description
Auto
After being powered on, Umniah Router will automatically
connect to the Internet. Once connected, Umniah Router will
not automatically disconnect from the Internet.
Manual
Press and hold until turns steady green, which
indicates that you are connected to the Internet.
Log in to the web management page, and then connect to
or disconnect from the Internet as prompted.
On
Demand
After being powered on, if there is data being transferred,
Umniah Router will automatically connect to the Internet. If no
data is transferred within a pre-defined period, Umniah Router
will automatically disconnect from the Internet.
Using the Web Management Page
You can configure and manage Umniah Router settings using the web
management page.
1. Launch a web browser, and enter http://192.168.1.1 in the address bar.
2. Enter the password, and log in to the web management page. The default
password is admin.
Note: To protect your device, only one user can log in to the web
management page at a time.

12
Restoring Factory Defaults
If you are uncertain of which settings you have configured or changed, you can
restore the factory defaults that Umniah Router came with, and then reconfigure
Umniah Router.
To restore the factory defaults, Use a sharp-pointed object to press and hold the
RESET button until all indicators ( , , , , , and ) blink.
After the factory defaults are restored, Umniah Router will restart automatically.
Note: Restoring factory defaults will delete all Umniah Router's user-defined
settings and restore all settings on the web management page to their defaults.
Tips
If Umniah Router does not work properly:
See the help information on the web management page.
Restart Umniah Router.
Restore Umniah Router to its factory defaults.
Contact Umniah customer care on 1333.
Table of contents