Model
312x302x172mm
4.1kg
2900/2901/2902/2903
70ms
1200-1450W
AC220-240V~
Noise level 70dB
Lorem
Lorem ipsum
Lorem ipsum
Model
Unit size
Netto Weight
Voltage
Phase
Input
Heating Power
Noise Level
Motor Brush motor
Singel-phase Sensing distance
Protection class
Air Speed
1200-1450 W
650 -750 W
AC 220-240 V
75 m/S
IPX1
15-20cm
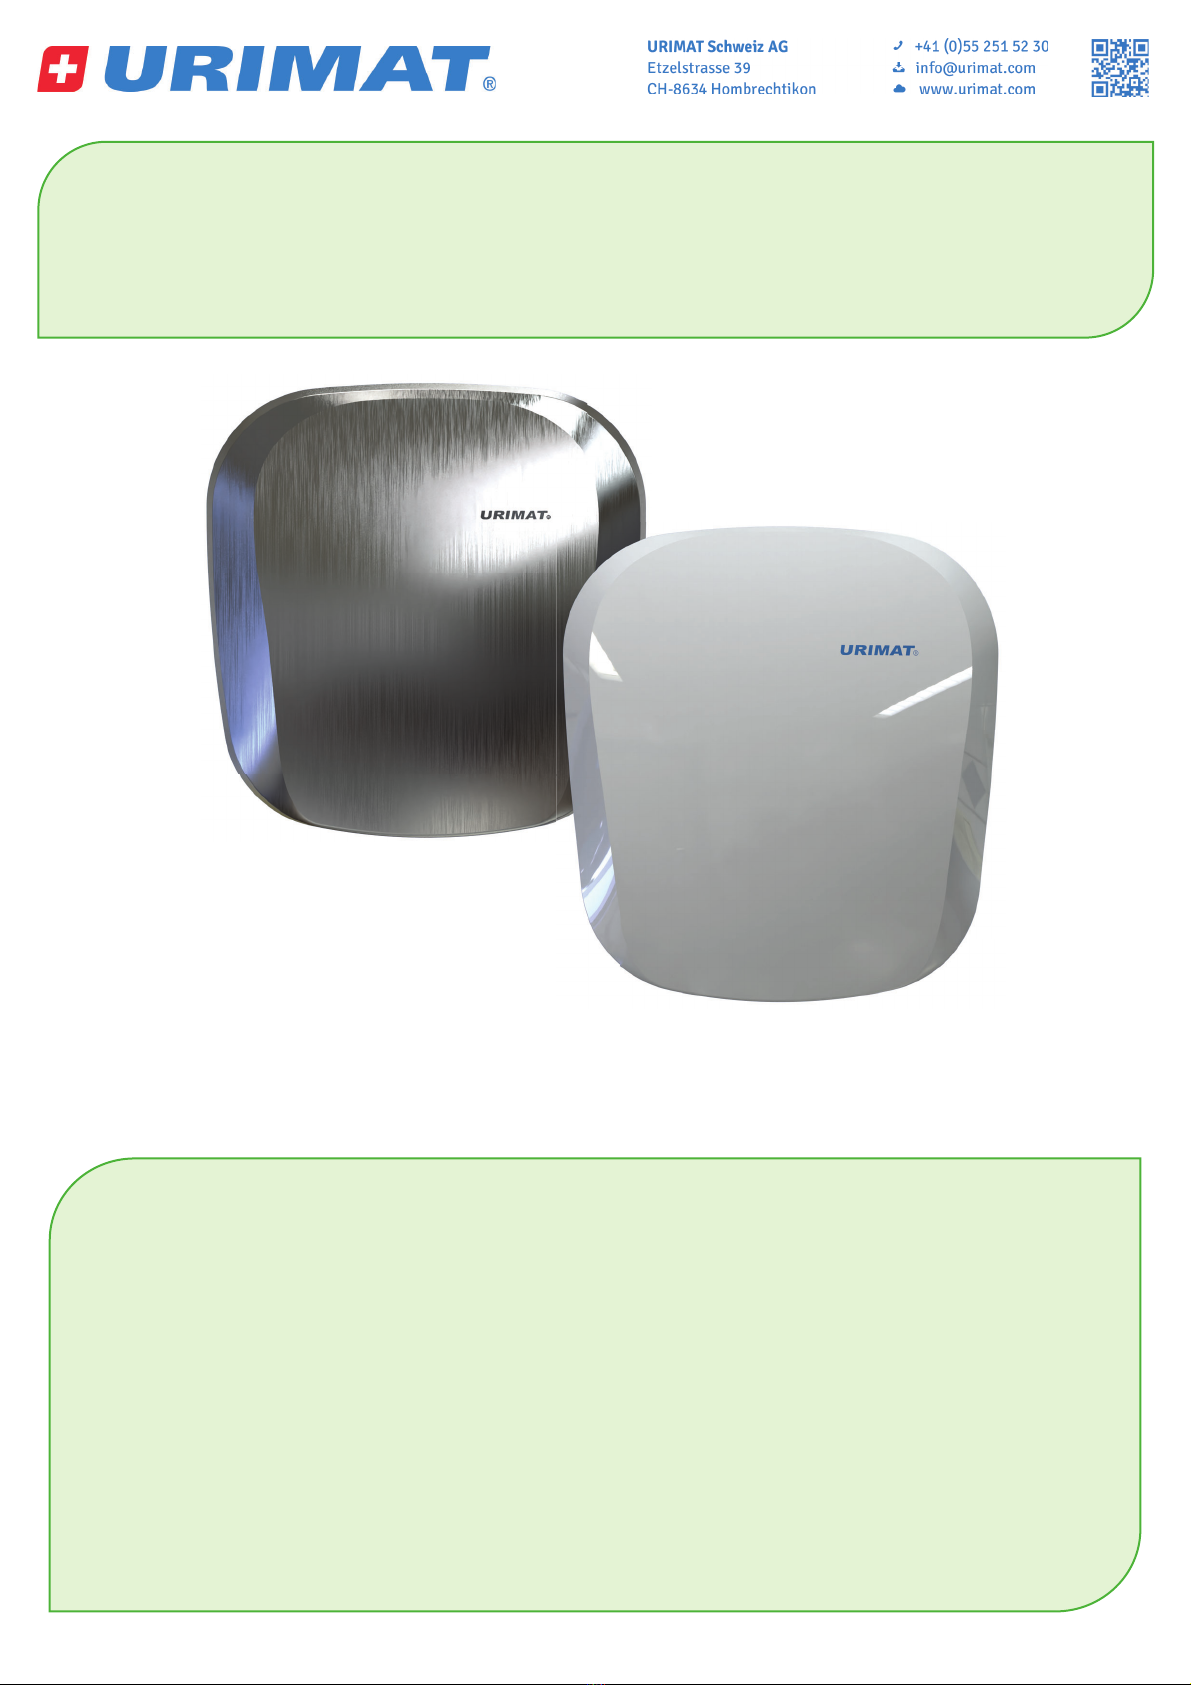
37.508 Champion Pro
312x302x172mm
4.1kg
70dB @ 1m
Specification
Attention
If you don't use this unit properly or follow the safety guidelines carefully,
it would lead to serious injury or property damage
Do not open the front panel.
Otherwise, an electric shock may result.
Do not let children hang on the device,
otherwise, it may cause the unit to drop off.
Do not let the device get wet,
otherwise, it can cause an electric shock.
Do not use it in a damp environment, for example in the bathroom
where it might get wet and condensation can occur,
this may cause an electric shock or a unit malfunction.
Do not modify or disassemble the device unnecessarily,
otherwise, it would cause a fire, electric shock, or injury.
If the power tolerance is greater than +/- 10%, it may cause a breakdown.
Using the wrong power adapter will cause fire,
electric shocks and machine malfunctions.
When used in conjunction with other devices, the outlet
may cause abnormal overheating, which may result in a fire.
Please use a dedicated socket.
The power must be off during maintenance work,
to avoid the risk of electric shock.
The air filter must be installed.
If the device does not work or has abnormal conditions,
Please cut off the power to avoid accidents,
close the circuit breaker and ask the supplier
to check and repair it, or it may be due to power leakage
and short circuits can cause a fire.
This device is not intended for use by people
(including children) with reduced physical, sensory or
mental ability or lack of experience and knowledge,
unless they are supervised by a person responsible for their safety
or instructed in the use of the device.
The machine must be reliably grounded.
Attention when installing.
Do not install when the machine is connected to the power supply.
The rated power is required.
If the cable is damaged, it must be replaced by the manufacturer,
service center or a similarly qualified person, to avoid danger.
Attention
Please comply
with the insdruction
Do not allow
the unit to
get wet
Do not use
it in the bath or
shower room
Dismantling
forbidden
Prohibited