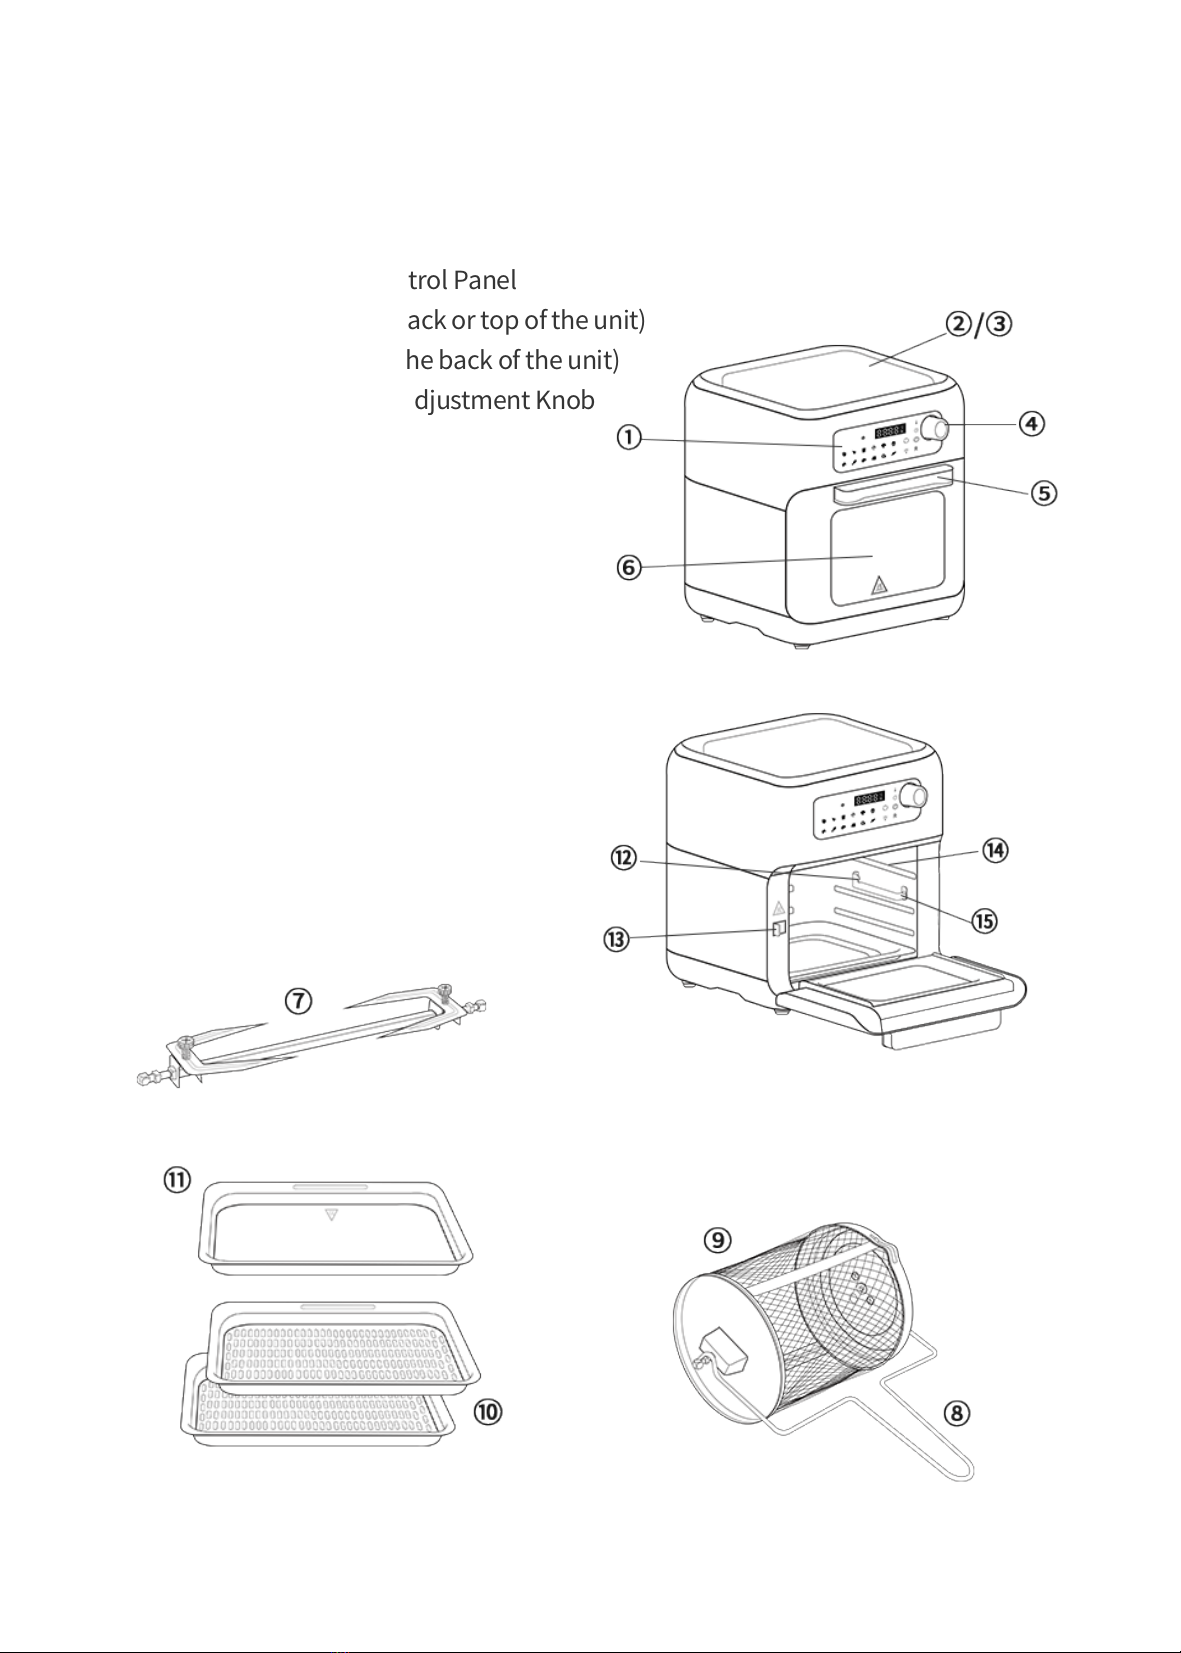
PARTS DESCRIPTION
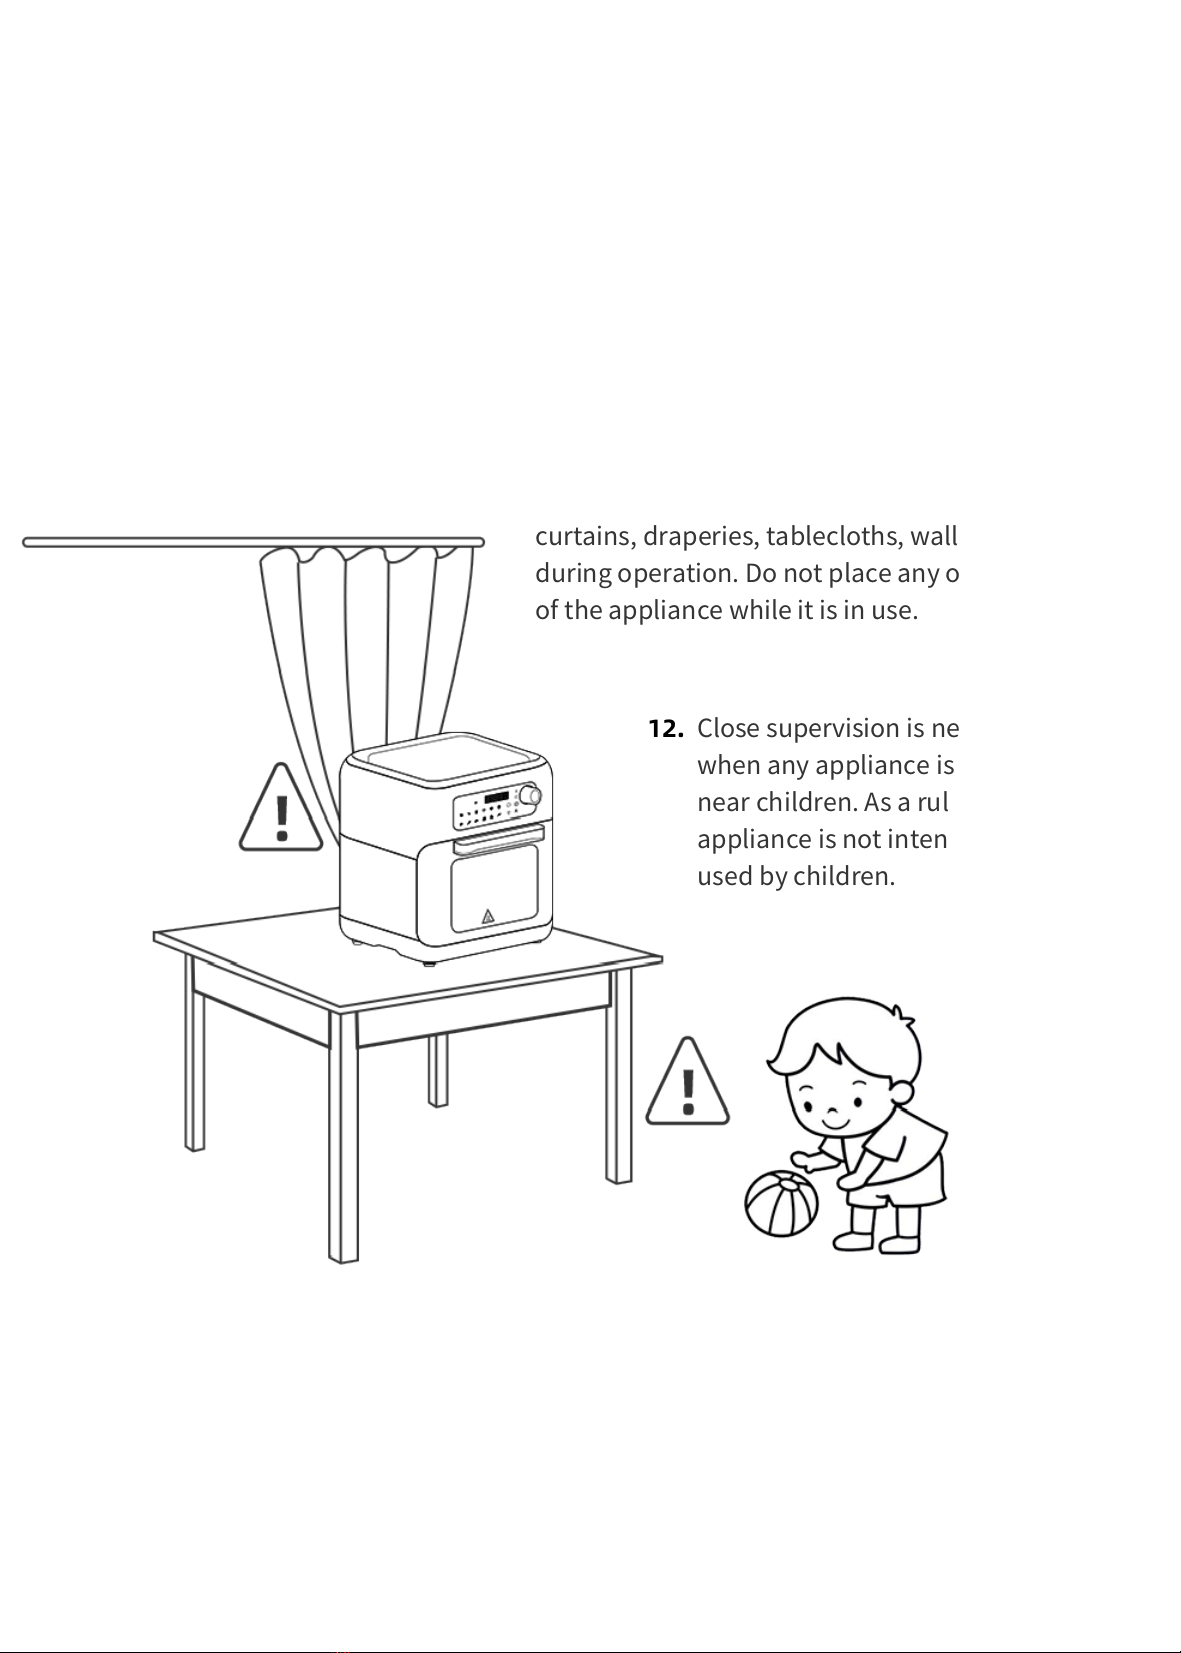
IMPORTANT SAFEGUARDS
POLARIZED PLUG INSTRUCTIONS
SHORT CORD INSTRUCTIONS
KNOW YOUR SMART FRYER OVEN
BEFORE THE FIRST USE
OPERATING INSTRUCTIONS
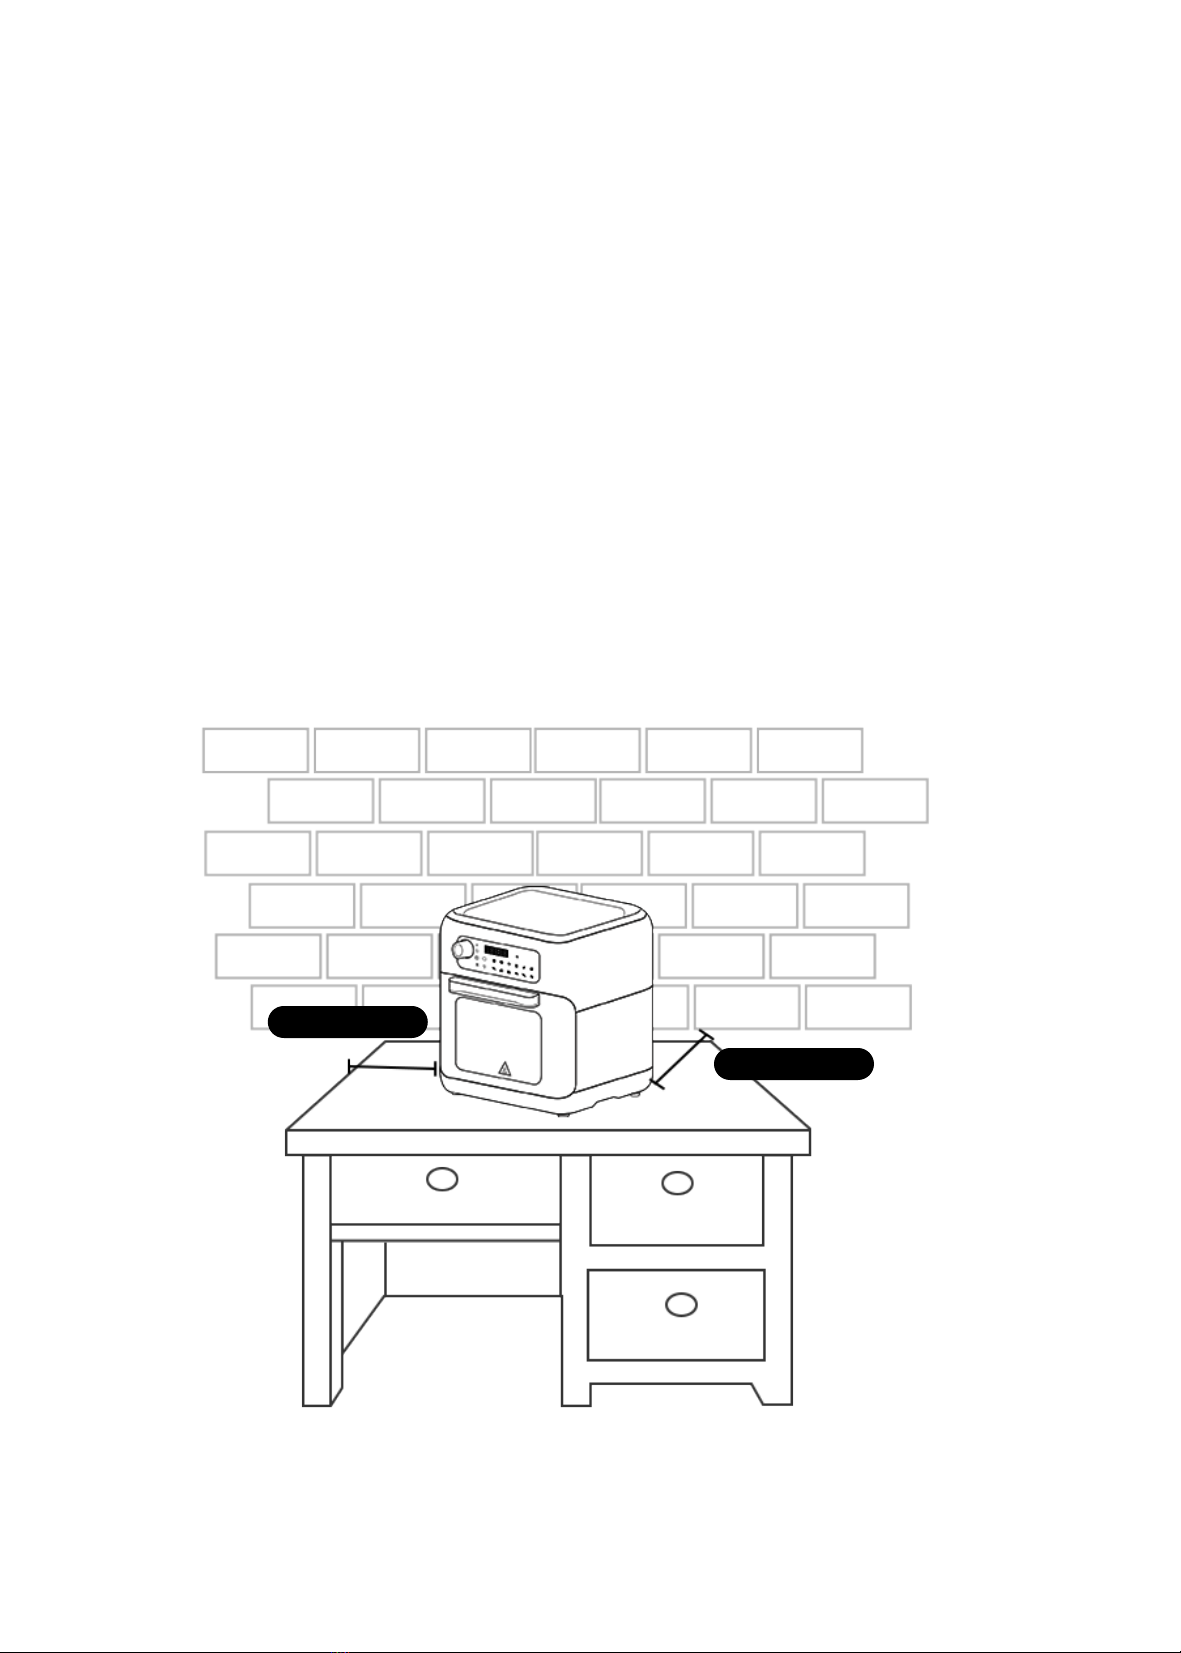
· Preparing for use
· Installing the 2-in-1 baking tray and drip tray
· Installing the air racks
· Installing the rotating mesh basket rotisserie spit
· Using the rotisserie spit
· Cooking process
· Using the preset menus
TIPS
IMPORTANT
MAKING HOME-MADE FRIES
CLEANING AND MAINTENANCE
· Cleaning inside the Cavity
· Cleaning the Smart Fryer Oven's Exterior
TROUBLESHOOTING
4
6
10
11
11
13
13
13
14
14
14
15
16
18
19
19
20
20
21
21
23
DIRECTORY:
-----------------------------------------------------------------------------------
---------------------------------------------------------------------------
----------------------------------------------------------------
----------------------------------------------------------------------
-----------------------------------------------------------------
------------------------------------------------------------------------------
------------------------------------------------------------------------
------------------------------------------------------------------------------------
-----------------------------------------------
------------------------------------------------------------------------------
-----------------------------------------
----------------------------------------------------------------------------
-------------------------------------------------------------------------------------
---------------------------------------------------------------------------
---------------------------------------------------------------------------------------------------------
----------------------------------------------------------------------------------------------
-----------------------------------------------------------------------
------------------------------------------------------------------
-----------------------------------------------------------------------
----------------------------------------------------
---------------------------------------------------------------------------------
We hope you enjoy the new oven as much as we do!
---------------------------------------------------------------------
---------------------------------------------------------------------
Thank you for
your purchase!
Thank you for
your purchase!
We are redefining customer satisfaction, and
responding to your needs with helpful solutions,
your uten-chef are here for you, ready whenever,
wherever.