manuals.online logo
Brands
  1. Home
  2. •
  3. Brands
  4. •
  5. VALLEY FORGE
  6. •
  7. Outdoor Light
  8. •
  9. VALLEY FORGE HECSFPL-12 User manual

VALLEY FORGE HECSFPL-12 User manual

Model # HECSFPL-12
High End Commercial Solar Flagpole Light
Box contents:
1. Solar panel
2. Solar light with arm attached
3. (4) metal belts
4. Tube attachment for solar panel stake usage
5. Tube attachment for solar light stake usage
6. (2) stakes
7. Aluminum solar light bracket with arm attached
8. Aluminum solar panel brackett with arm attached
9. Small arm extension
10. Large arm extension
11. molly bolts and screws
Installation and Operation:
1. Remove solar panel from box FIGURE 02. Make
sure power button is in the OFF position (out and not
pressed in, FIGURE 12). e panel is shipped with the
switch in the “o” position. In order to determine the
position of the switch, place the solar panel face down
to block 100% of light reaching the panel. If light illumi-
nates, the switch is on. e solar panel will still charge
the battery even with the switch in the o position.
2. Place in direct sunlight panel-side up and charge for
48 hours.
1. SOLAR PANEL:
FRONT (FIGURE 02)
BACK (FIGURE 03)
2. SOLAR LIGHT:
WITH ARM
(FIGURE 04)
3. METAL BELTS
(FIGURE 05)
4., 5., 6. TUBES
AND SPIKES
(FIGURE 06)
7. SMALL
BRACKET
FOR LIGHT
(FIGURE 07)
9. SMALL ARM
EXTENSION
(FIGURE 09)
8. LARGE BRACKET
FOR SOLAR PANEL
(FIGURE 08)
10. LARGE ARM
EXTENSION
(FIGURE 10)
11. SCREWS
MOLLY BOLTS
(FIGURE 11)
FIGURE 12
1.
FIGURE 19
FIGURE 18
Pole Mounting:
1. Determine the desired place and angle to put both the solar light
and the solar panel on the ag pole before assembly. e distance
between the light and the panel can be up to 122” apart. e light
cord is approximately 114” and the solar cord is approximately 8”.
2. Attach the larger pole bracket (FIGURE 08) to the back of the
solar panel by rst removing the nut from the screw (FIGURE
13) which is located on the back of the solar panel and then slip
the screw through the hole at the end of the bracket. Determine
the desired angle of the panel to the pole before tightening then
replace the nut and tighten securely (FIGURE 14).
3. Undo and straighten two of the metal belts (FIGURE 05) using a
at head screwdriver.
4. Slip each of the 2 belts through the slots located on the back of
the bracket (FIGURE 15).
5. Attach the larger bracket to the pole by wrapping the metal
belts around the pole then secure into place by tightening the at
head screws.
6. Attach the smaller pole bracket (FIGURE 07) to the bottom of
the solar light extension (FIGURE 16a & 16b) by rst removing
the nut from the screw and then slipping the screw through the
hole at the end of the bracket. Replace the nut and tighten securely
(FIGURE 17).
7. Undo and straighten the remaining two metal belts (FIGURE
05) using a at head screwdriver.
8. Slip each of the 2 belts through the slots located on the back of
the bracket (FIGURE 18).
9. Attach the smaller bracket on the pole by wrapping the metal
belts around the pole then secure into place by tightening the at
head screws. Adjust the light to the optimal angle of illumination.
10. Connect the solar panel to the light by attaching the wires
located on the back (FIGURE 19)
Alternate Pole Mounting Method:
1. Attach the larger bracket to the pole before attaching the solar
panel. Slip each of the 2 belts through the slots located on the
back of the bracket (FIGURE 20) Wrap the metal belts around the
pole then secure into place by tightening the at head screws.
2. Attach the smaller bracket to the pole before attaching the light.
Slip each of the 2 belts through the slots located on the back of the
bracket (FIGURE 21). Wrap the metal belts around the pole then
secure into place by tightening the at head screws.
11. Turn on power by pressing in the Power button located on
back of solar panel (FIGURE 12).
FIGURE 13 FIGURE 14
FIGURE 15
FIGURE 17FIGURE 16a FIGURE 16b
FIGURE 21
FIGURE 20
2.
Ground Mounting for Solar Panel:
1. Attach the solar panel to the large plastic tube (FIGURE 6) by
rst removing the nut from the screw (FIGURE 13) which is
located on the back of the solar panel and then slip the screw
through the hole at the end of the bracket. Determine the desired
angle of the panel to the pole before tightening then replace the nut
and tighten securely
2. Insert stake into the bottom of the tubing and twist up
(FIGURE 22).
3. Insert into ground at desired location
Ground Mounting for Solar Panel:
Light and solar panel brackets can be mounted to any deck, outside
wall or ground mount by utilizing the brackets without the metal
backing (FIGURE 26).
2. Attach stake into the bottom of the tubing and twist up
(FIGURE 25)
3. Insert into ground at desired location.
FIGURE 22
FIGURE 23 FIGURE 24
FIGURE 25
FIGURE 26
3.
Ground Mounting for Light:
1. Remove light apparatus from base (FIGURE 23) by removing
screw. Attach to the plastic tube which has a hole on the end
(FIGURE 24) using the same screw. Angle appropriately and
then tighten.

Other VALLEY FORGE Outdoor Light manuals

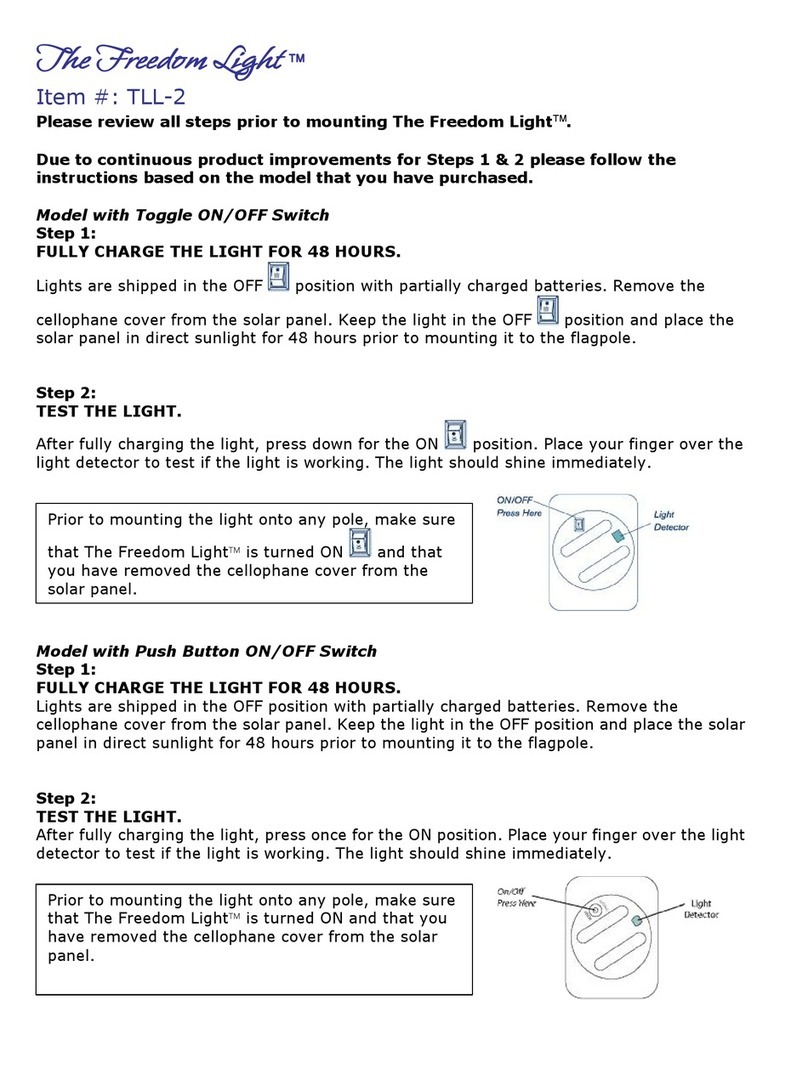
VALLEY FORGE The Freedom Light TLL--2 User manual

VALLEY FORGE

VALLEY FORGE The Freedom Light TLL--2 User manual

Popular Outdoor Light manuals by other brands

LIGMAN OREGON 1-OR-60896 installation manual

LIGMAN

LIGMAN OREGON 1-OR-60896 installation manual

Velleman HQ Power ILEA001 user manual

Velleman

Velleman HQ Power ILEA001 user manual

Safavieh Lighting TBL4118 quick start guide

Safavieh Lighting

Safavieh Lighting TBL4118 quick start guide

BEGA 88 863 Installation and technical information

BEGA

BEGA 88 863 Installation and technical information

Safavieh Lighting CHANEY LIT4250A quick start guide

Safavieh Lighting

Safavieh Lighting CHANEY LIT4250A quick start guide

Weelko UVLED-DRY instruction manual

Weelko

Weelko UVLED-DRY instruction manual

marset FUNICULI A Assembly instructions

marset

marset FUNICULI A Assembly instructions

Vista 7223 Landscape Series installation instructions

Vista

Vista 7223 Landscape Series installation instructions

Poltronova Gherpe instructions

Poltronova

Poltronova Gherpe instructions

LIGMAN AA-10076-2 installation manual

LIGMAN

LIGMAN AA-10076-2 installation manual

HEPER PUNTO S Ex Installation & maintenance instructions

HEPER

HEPER PUNTO S Ex Installation & maintenance instructions

Reliable UberLight 8000 instruction manual

Reliable

Reliable UberLight 8000 instruction manual

STEINEL L 830 SC instructions

STEINEL

STEINEL L 830 SC instructions

Patriot Lighting E4140 instruction manual

Patriot Lighting

Patriot Lighting E4140 instruction manual

Scott Living LBSHC44S manual

Scott Living

Scott Living LBSHC44S manual

Renkforce Rivoli operating instructions

Renkforce

Renkforce Rivoli operating instructions

XanLite LAME40NRET manual

XanLite

XanLite LAME40NRET manual

Brilum Garden LED UPR Installation and operating manual

Brilum

Brilum Garden LED UPR Installation and operating manual

manuals.online logo
manuals.online logoBrands
  • About & Mission
  • Contact us
  • Privacy Policy
  • Terms and Conditions

Copyright 2025 Manuals.Online. All Rights Reserved.