VARIZOOM SoloJib User manual
Other VARIZOOM Camera Accessories manuals
VARIZOOM
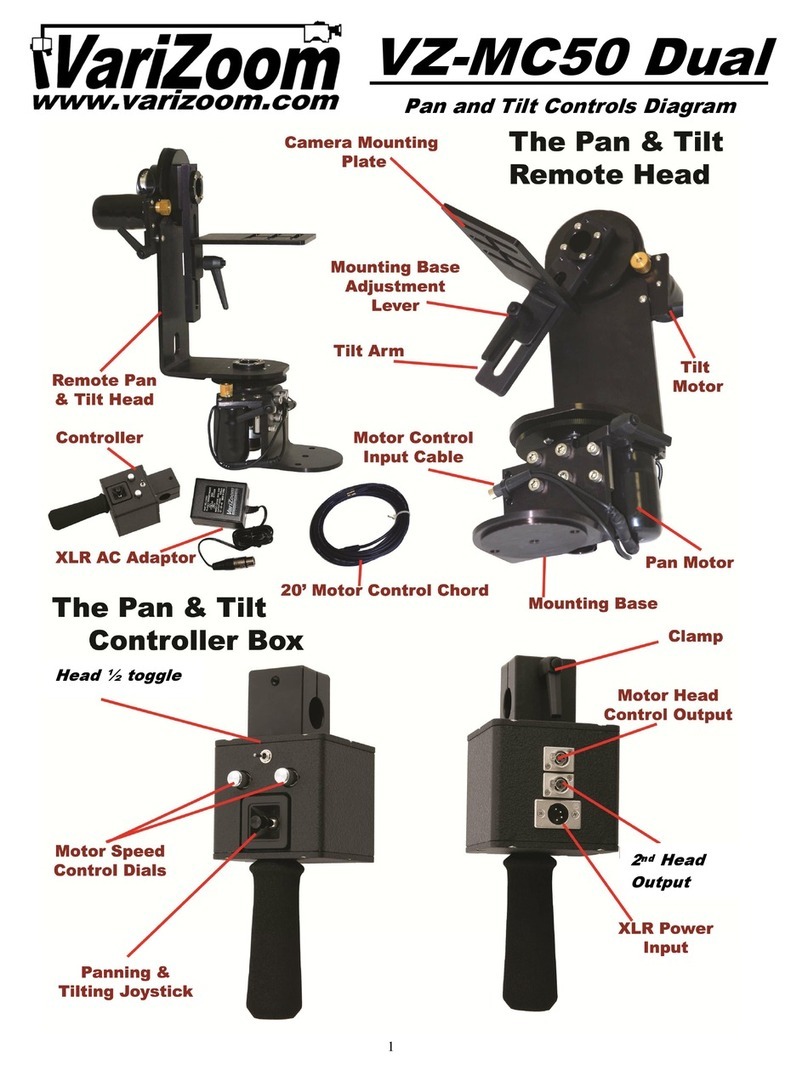
VARIZOOM VZ-MC50 Dual User manual
VARIZOOM
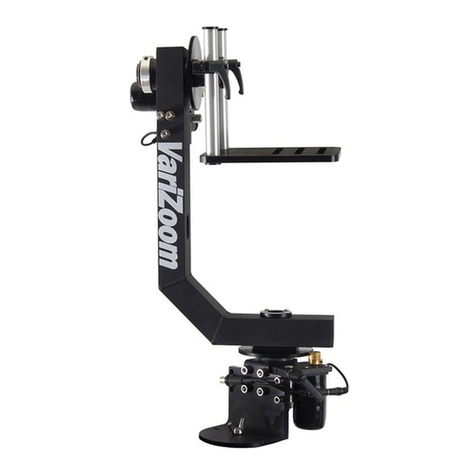
VARIZOOM VZ-MC100 Installation manual
VARIZOOM
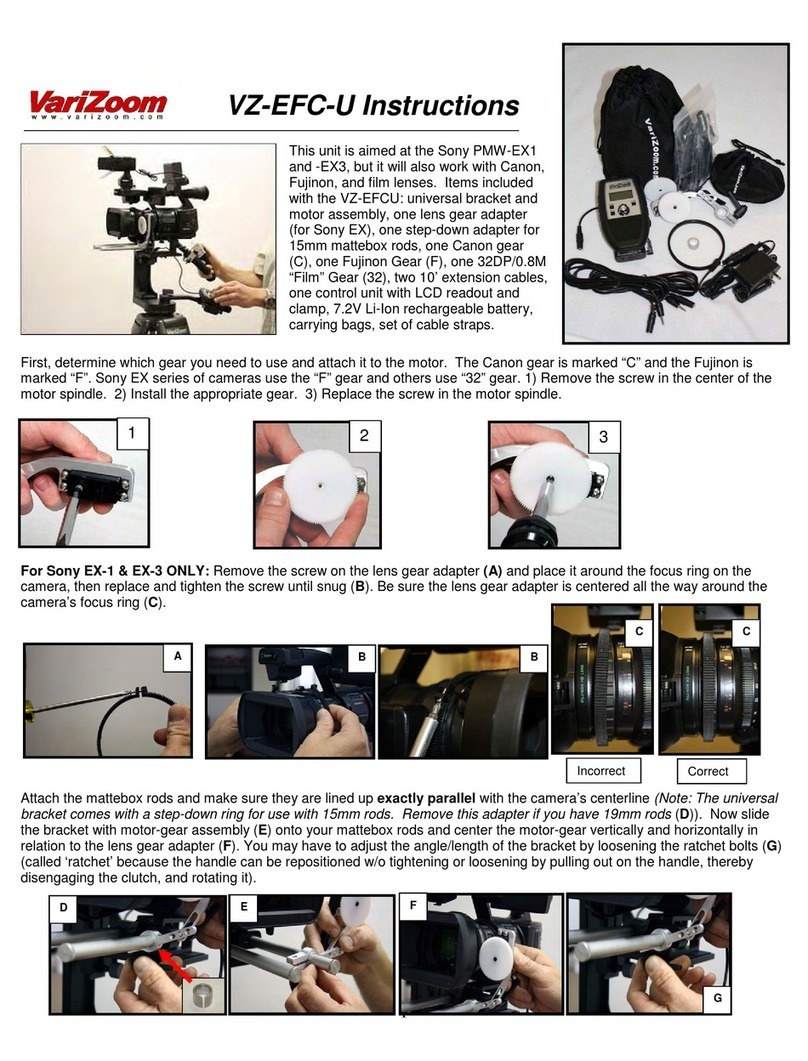
VARIZOOM VZ-EFC-U User manual
VARIZOOM
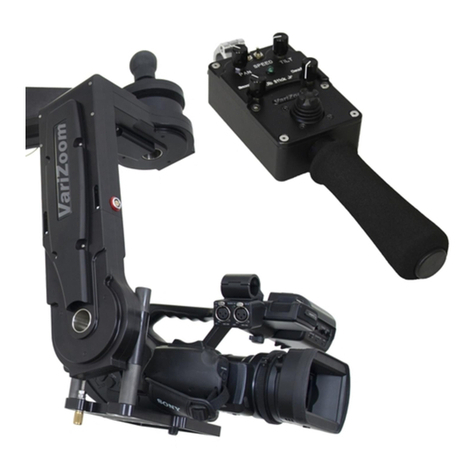
VARIZOOM Cinema Pro JR-K5 User manual
VARIZOOM
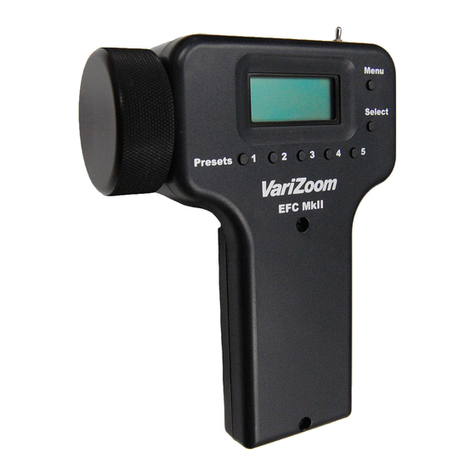
VARIZOOM VZ-EFC2 User manual
VARIZOOM
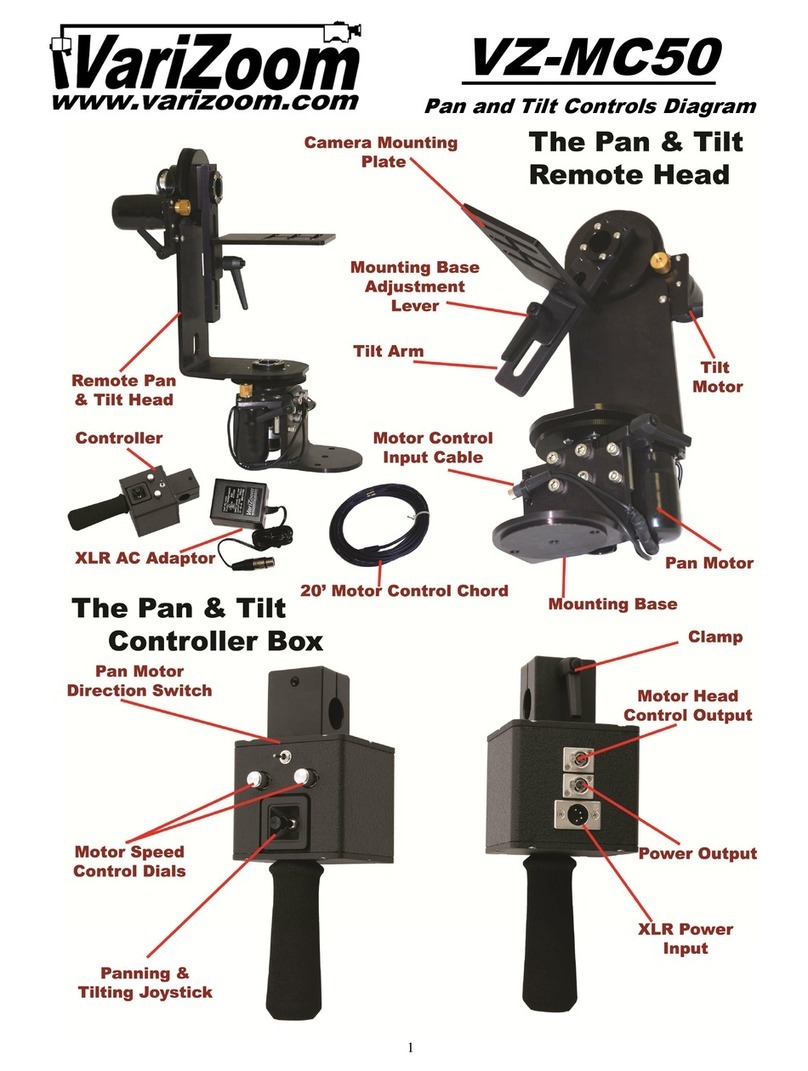
VARIZOOM VZ-MC50 User manual

VARIZOOM
VARIZOOM VZ-MC100 User manual

VARIZOOM
VARIZOOM CP JR User manual

VARIZOOM
VARIZOOM VZ-FlowPod Mini User manual

VARIZOOM
VARIZOOM FlowPod User manual
VARIZOOM
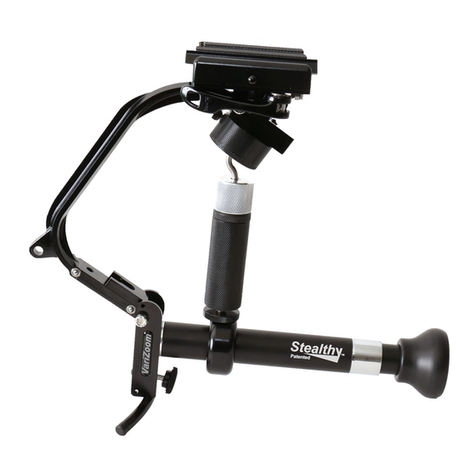
VARIZOOM StealthyPro User manual
VARIZOOM
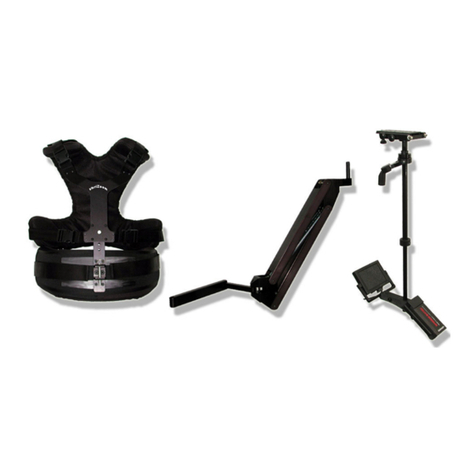
VARIZOOM FLOWCAM GT User manual
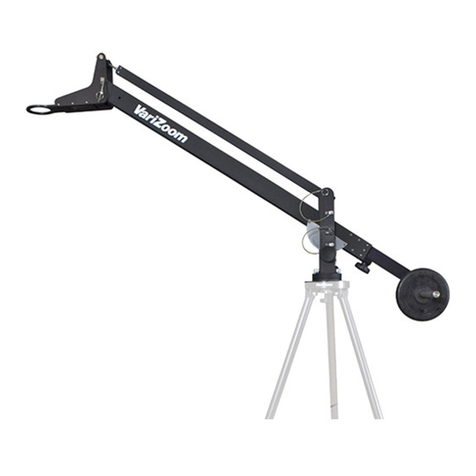
VARIZOOM
VARIZOOM VZ-QuickJib User manual

VARIZOOM
VARIZOOM Solo Slider Dolly User manual
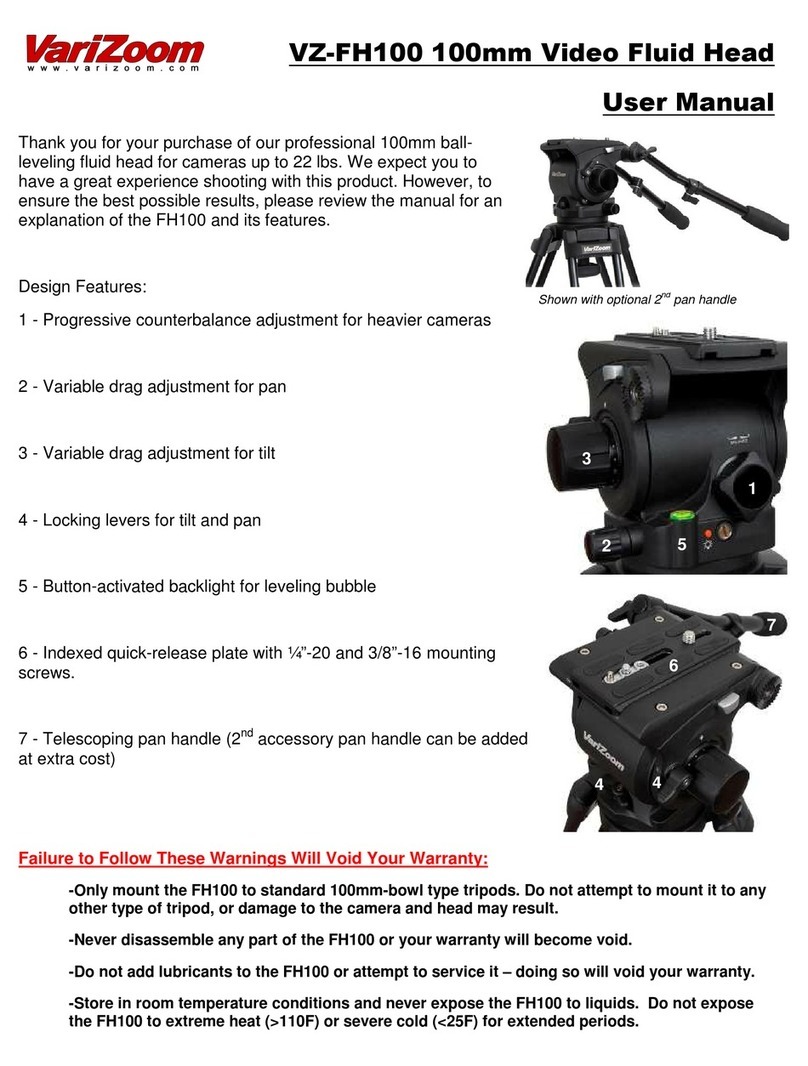
VARIZOOM
VARIZOOM VZ-FH100 User manual

VARIZOOM
VARIZOOM S1080BS User manual
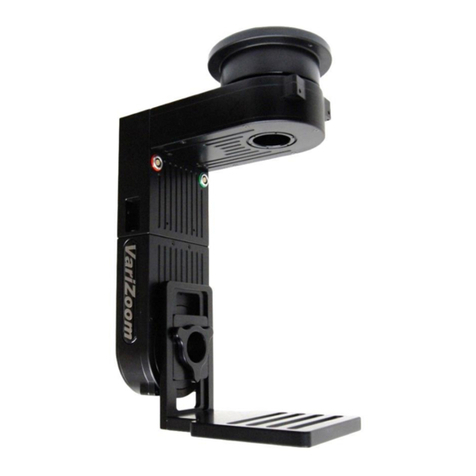
VARIZOOM
VARIZOOM CP Micro User manual
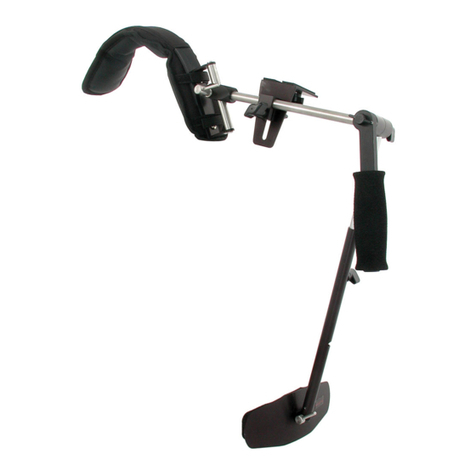
VARIZOOM
VARIZOOM VZ-LSP User manual
VARIZOOM
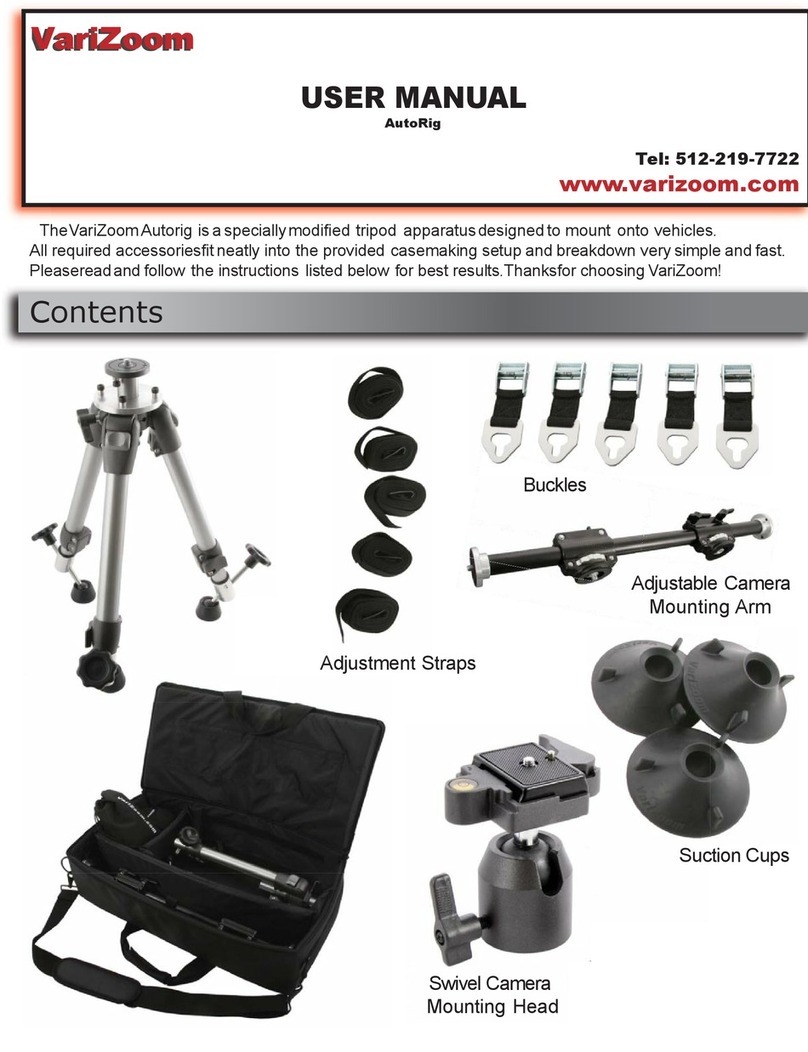
VARIZOOM AutoRig User manual

VARIZOOM
VARIZOOM VZ-MC50 User manual
Popular Camera Accessories manuals by other brands

Trojan
Trojan GC2 48V quick start guide

Calumet
Calumet 7100 Series CK7114 operating instructions

Ropox
Ropox 4Single Series User manual and installation instructions

Cambo
Cambo Wide DS Digital Series Main operating instructions

Samsung
Samsung SHG-120 Specification sheet

Ryobi
Ryobi BPL-1820 Owner's operating manual
