ENGLISH
When viewing photo files you can touch the following keys to execute
operations:
[+] Zoom in
[-] Preview thumbnails or zoom out
[<] Select the left photo, or move photo up or left in zoom-in mode
[>] Select the right photo, or move photo down or right in zoom-in mode
Exit the photo menu
[M]To execute the following operations:
Delete Will delete the current file
Delete All Will delete all photo files that are not protected
Protect Lock files to protect them. The icon will appear on
the upper left corner of each protected file, repeat this
operation to unprotect the protected files. Protected
files can only be deleted by reformatting the SD Card
Auto Play Auto plays the photo files as a slideshow.
DPOF When viewing a photo file if you touch [M] to enter the
setup menu and select the option ‘DPOF’, the icon will
appear on the upper left corner of this file
Printing your photos
DPOF (Digital Print Order Format) allows captured images on the microSD
Card to be printed, together with information of the number of copies.
Insert the microSD card into a DPOF compatible printer to print the
photos as ordered.
Note: DPOF printing requires a microSD card with preset DPOF information to work
correctly. Some DPOF compatible printers may fail to print the photos based on the
specific settings, if this happens refer to your printers user manual.
Photos in Continuous Mode
Use this mode if you want to make timelapse videos using your video
editing software (not included).
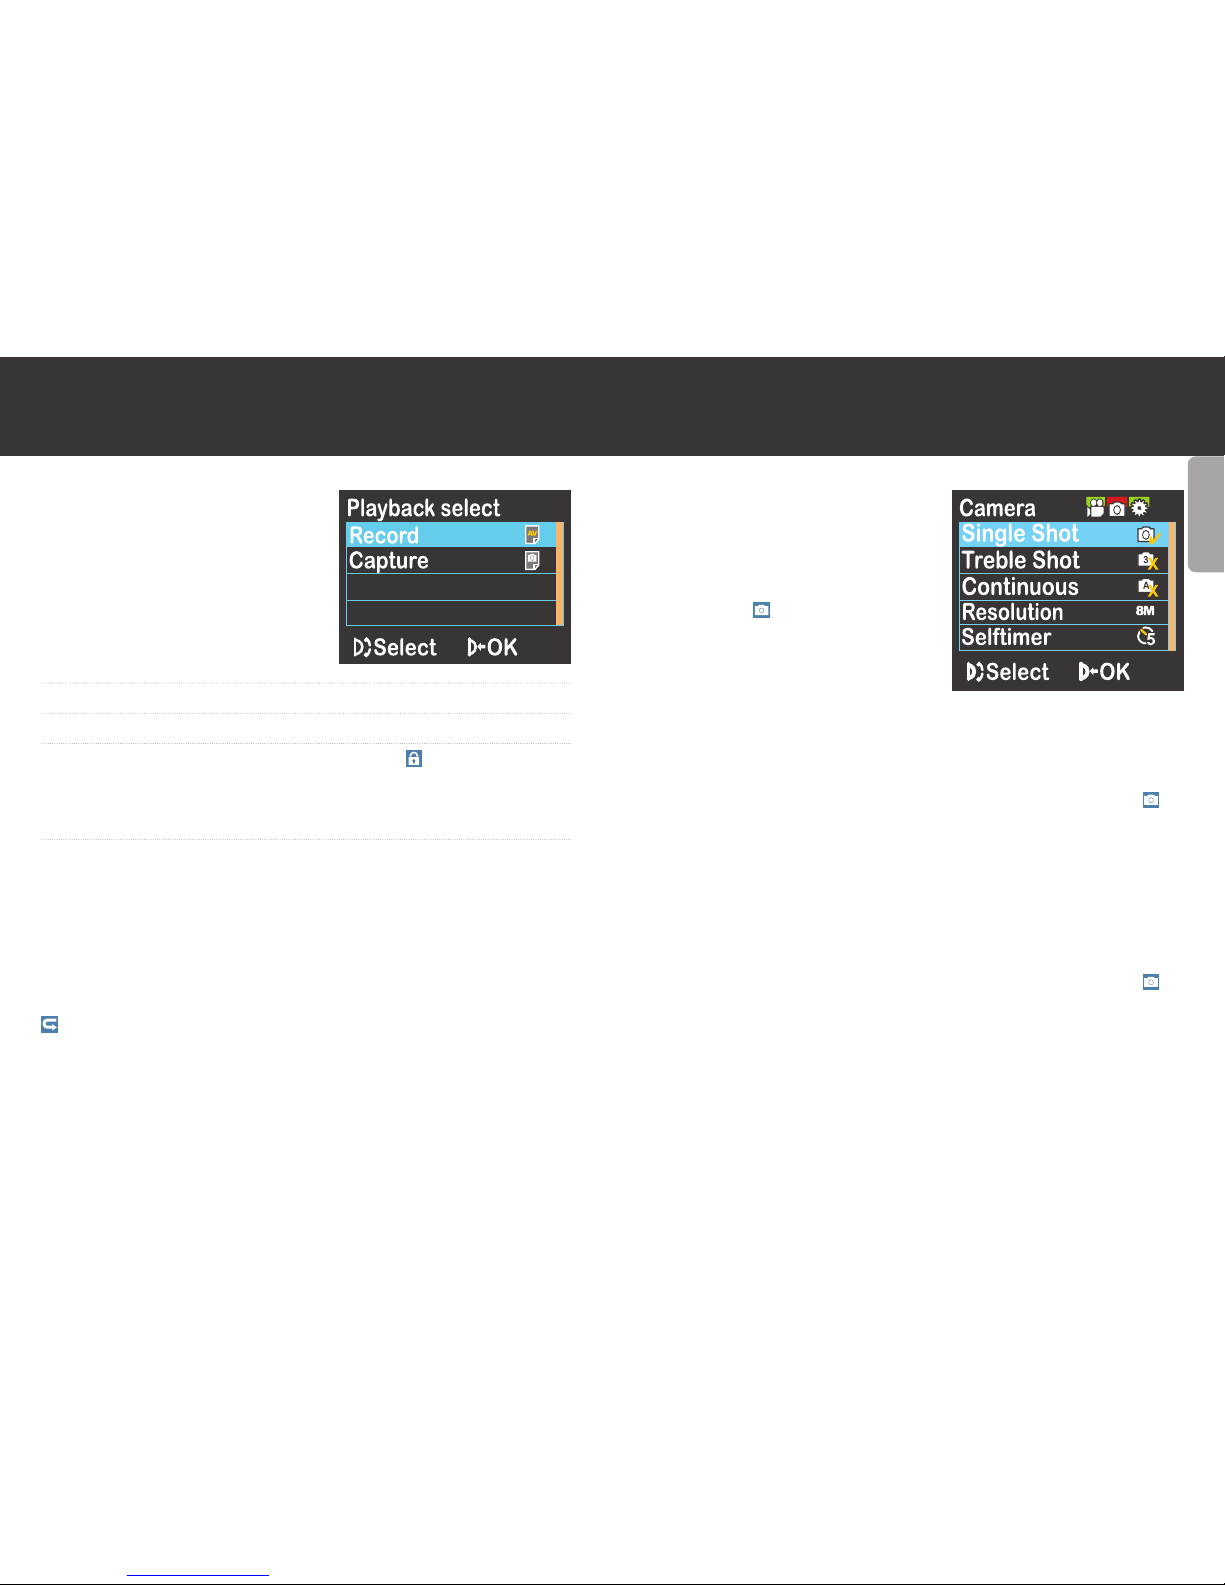
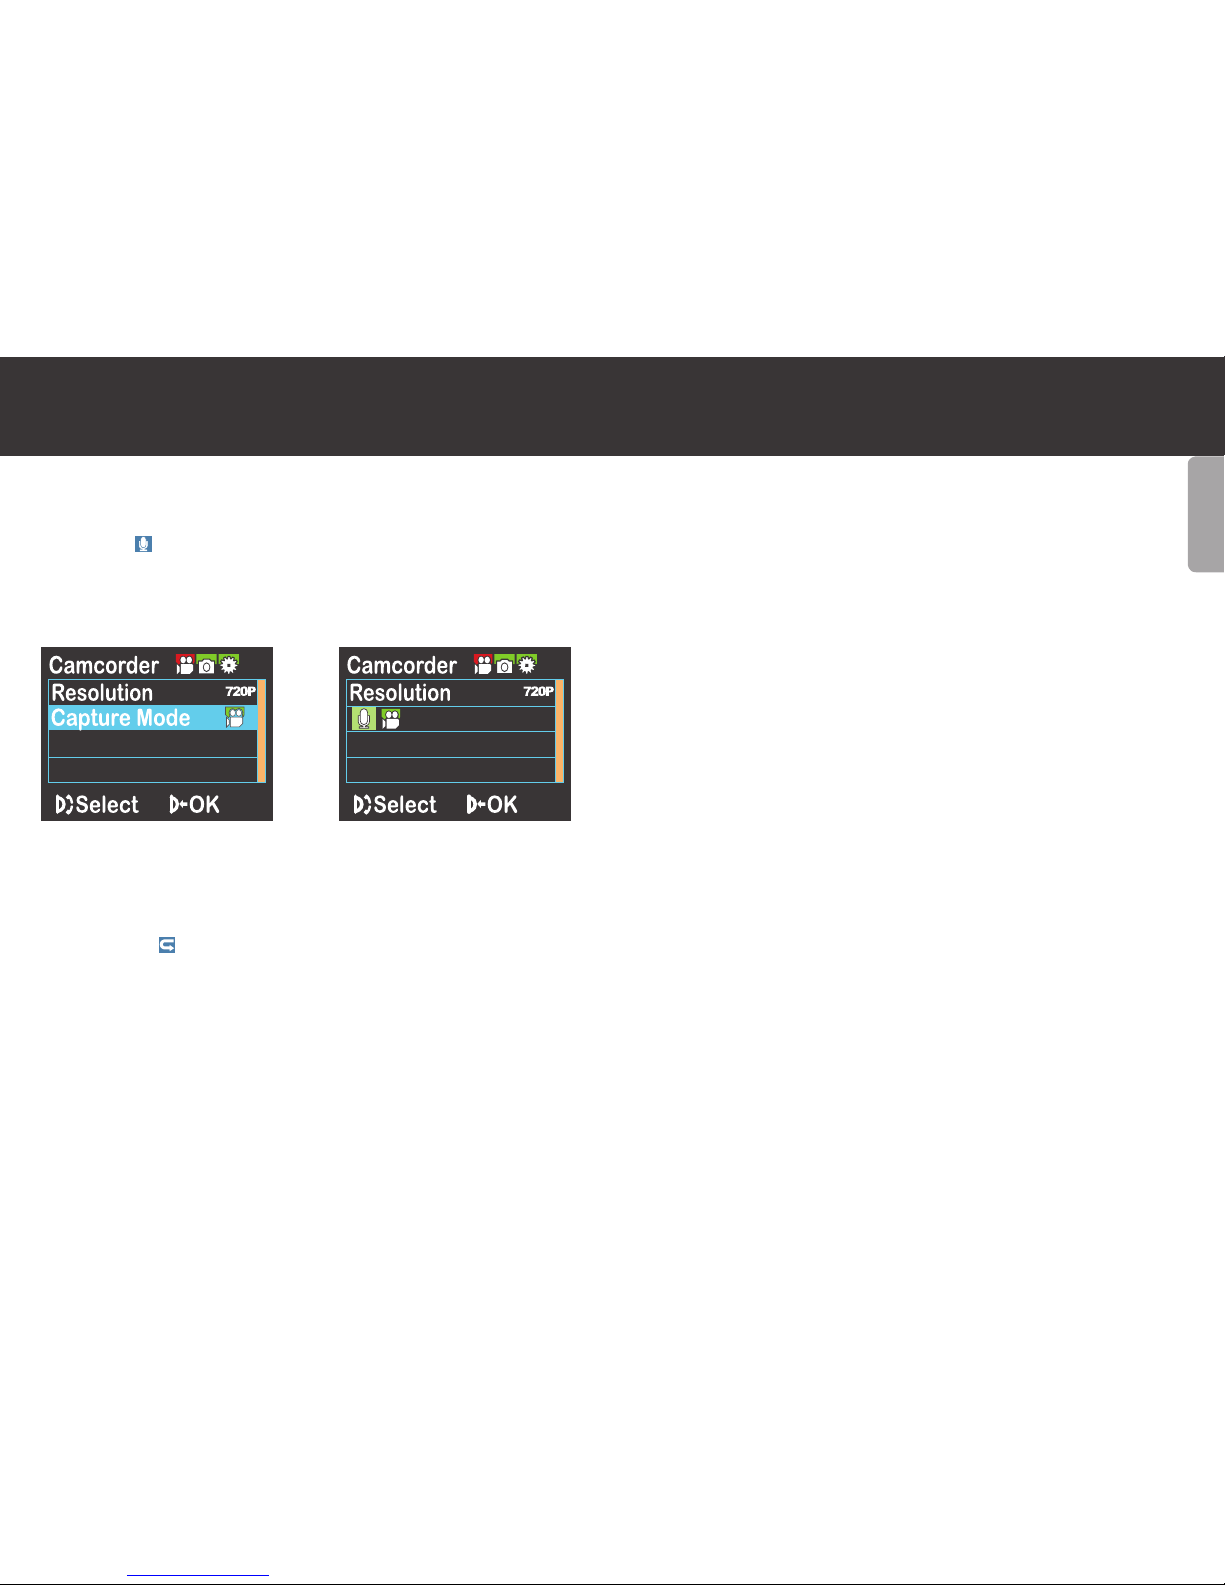
1. Touch [M] to enter the setup menu, use [>] to move the cursor to .
2. Select the option ‘Continuous’ and press [Ok/Shutter]. Select 1, 2, 3,
5, 10, 20, 30 or 60 and press [Ok/Shutter] to set the camera to take a
picture every 1 second, 2 seconds, 3 seconds etc. then exit setup menu.
3. In preview mode, press [Shutter] to start taking pictures at the interval
that you have set.
4. You will see a count down on the screen before each picture and hear
a ‘click’ sound when a photo has been successfully captured and the red
indicator will flash once.
5. To stop taking pictures press the [Ok/Shutter] button in the interval
between each photo being captured.
Photos in Self-timer Mode
Touch [M] to enter the setup menu, use [>] to move the cursor to ,
select the option ‘Self-timer’, and press [Ok/Shutter] to set the delay
time as 5 secs or 10 secs. Touch [M] to exit the setup menu. Press
[Shutter], and the camcorder will start the timer and take a photo at the
end of the delay time.
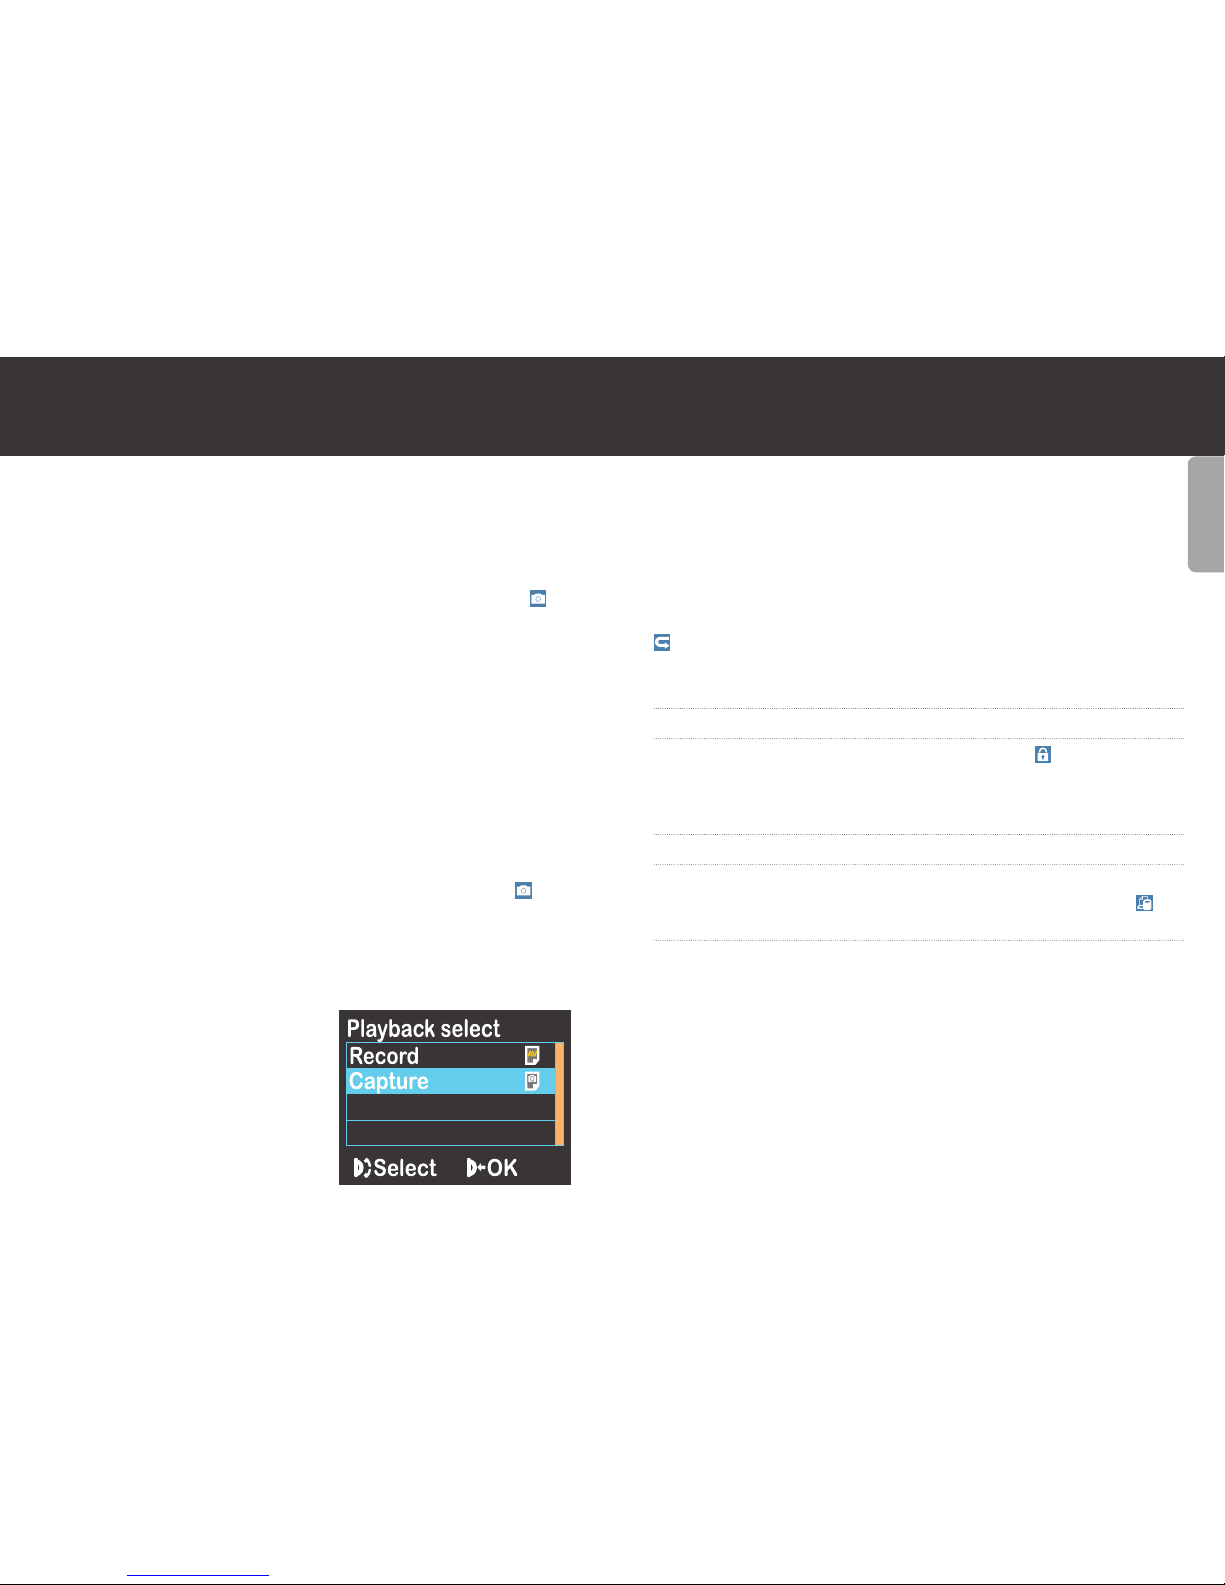
Viewing your photos
Touch [Playback] and press
[Ok/Shutter] to select ‘Capture’
option. Use [-] to preview the photo
file thumbnails, touch the direction
keys to select a file and then press
[Ok/Shutter] to view.