Veho VCC-002 User manual

High Denition
Digital Video Camera
User’s Manual

Contents
Section 1 Getting to Know Your Camera............................................ 3
Section 2 Getting Started..................................................................... 6
Section 3 Enjoying the Record Mode ................................................. 8
Section 4 Enjoying the Playback Mode............................................ 18
Section 5 Setting Your Camera ........................................................ 24
Section 6 Viewing Pictures and Movies on a TV ............................. 28
Section 7 Viewing Movie & Picture on PC........................................ 29
Section 8 Burning the Recorded Clip into DVD............................... 30
Section 9 Uploading Video Files to YouTube................................... 32
Section 10 Specications and System Requirements...................... 36
Section 11 Troubleshooting................................................................. 38

3
EN
Section 1
Getting to Know Your Camera
Overview
The camera with 5 Mega Pixel sensor can take H.264 movies. By way of using H.264 technology, more
videos can be taken within certain amount of memory. High quality images with up to 12 mega-pixels
can also be delivered smoothly. With a color LCD monitor, users can compose images and examine
them easily.
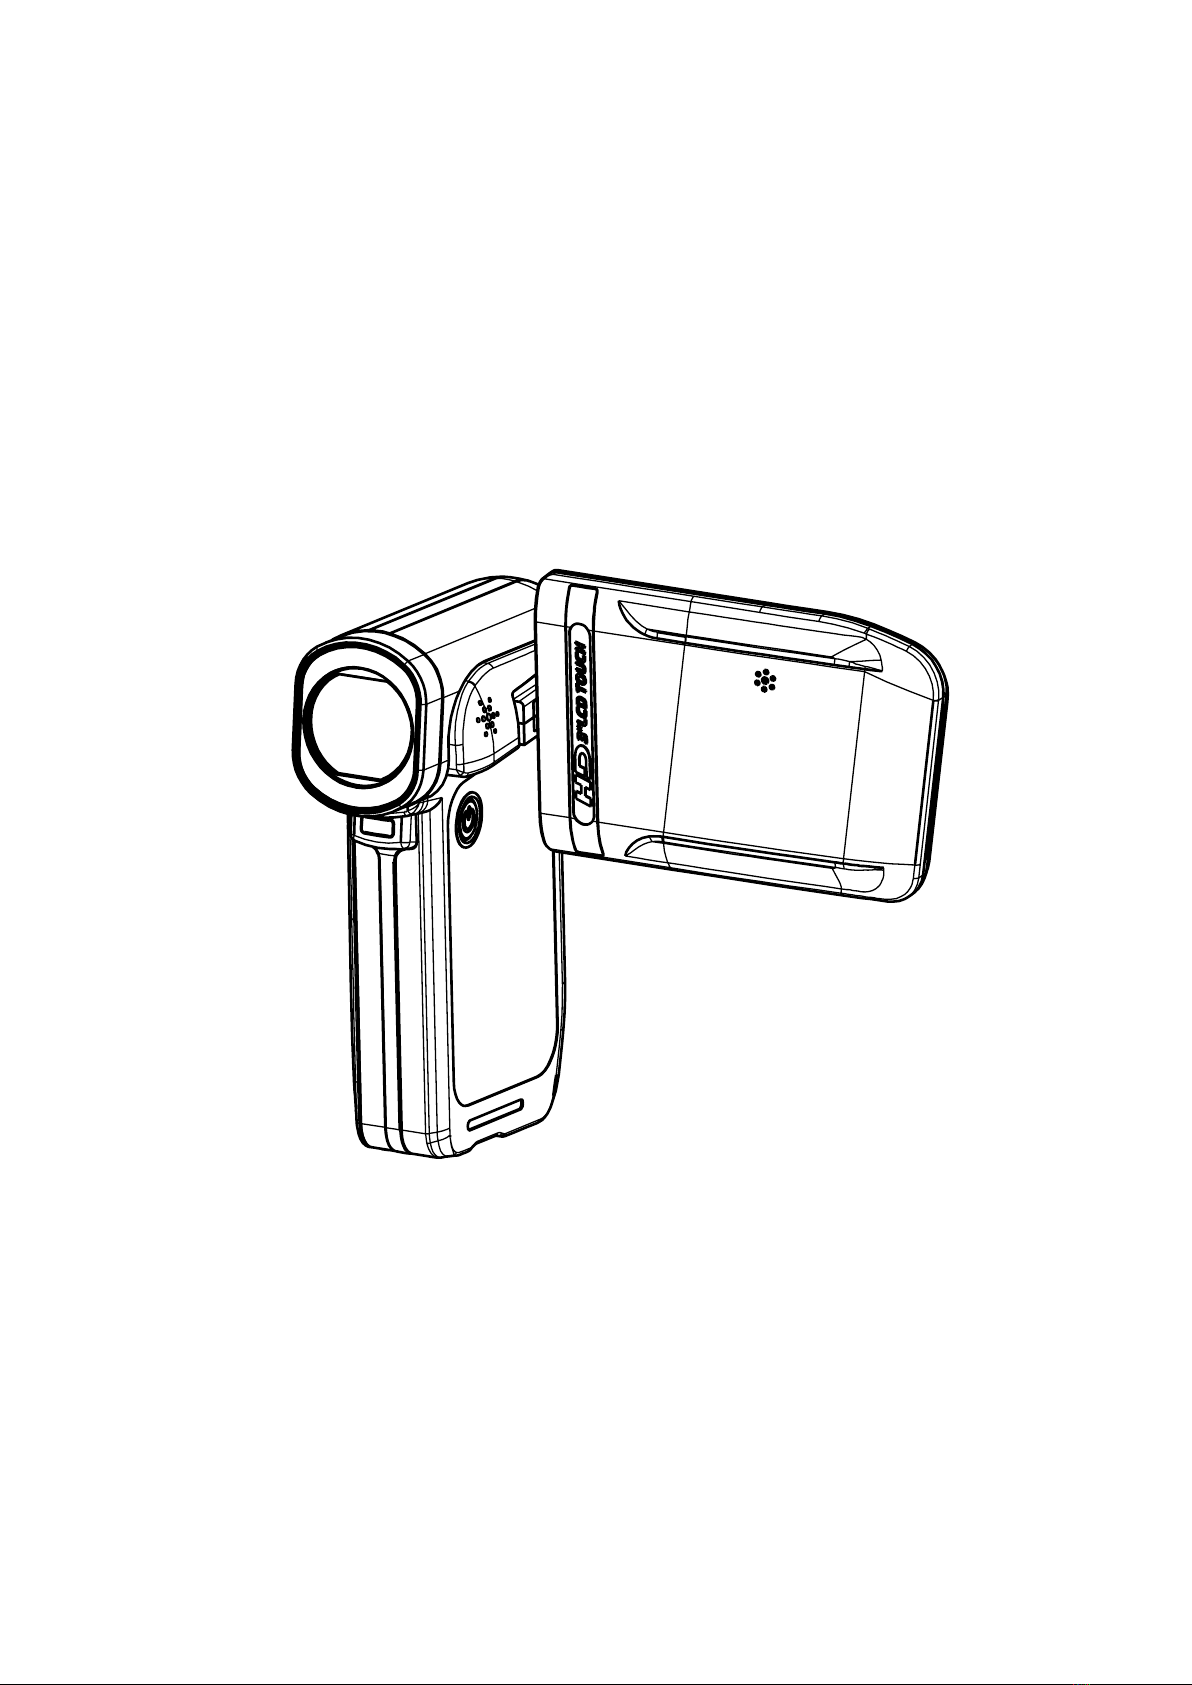
The camera features 3” LCD touch panel which is an ideal platform for you to operate your camera. The
menu options are accessible with your nger. With the touch panel, you can select the options directly
and quickly.
The camera also features movie recording at HD resolution of 1280x720. You can also connect it to an
HDTV via HDMI cable, and easily playback recorded high-denition videos on the wide screen HDTV.
Moreover, the camera has an advanced uploading feature. With the exclusive built-in YouTube Direct
application, you can upload the videos captured by the camera to YouTube more effortlessly .
ISO sensitivity and color balance can either be adjusted automatically or allowed to be changed manually.
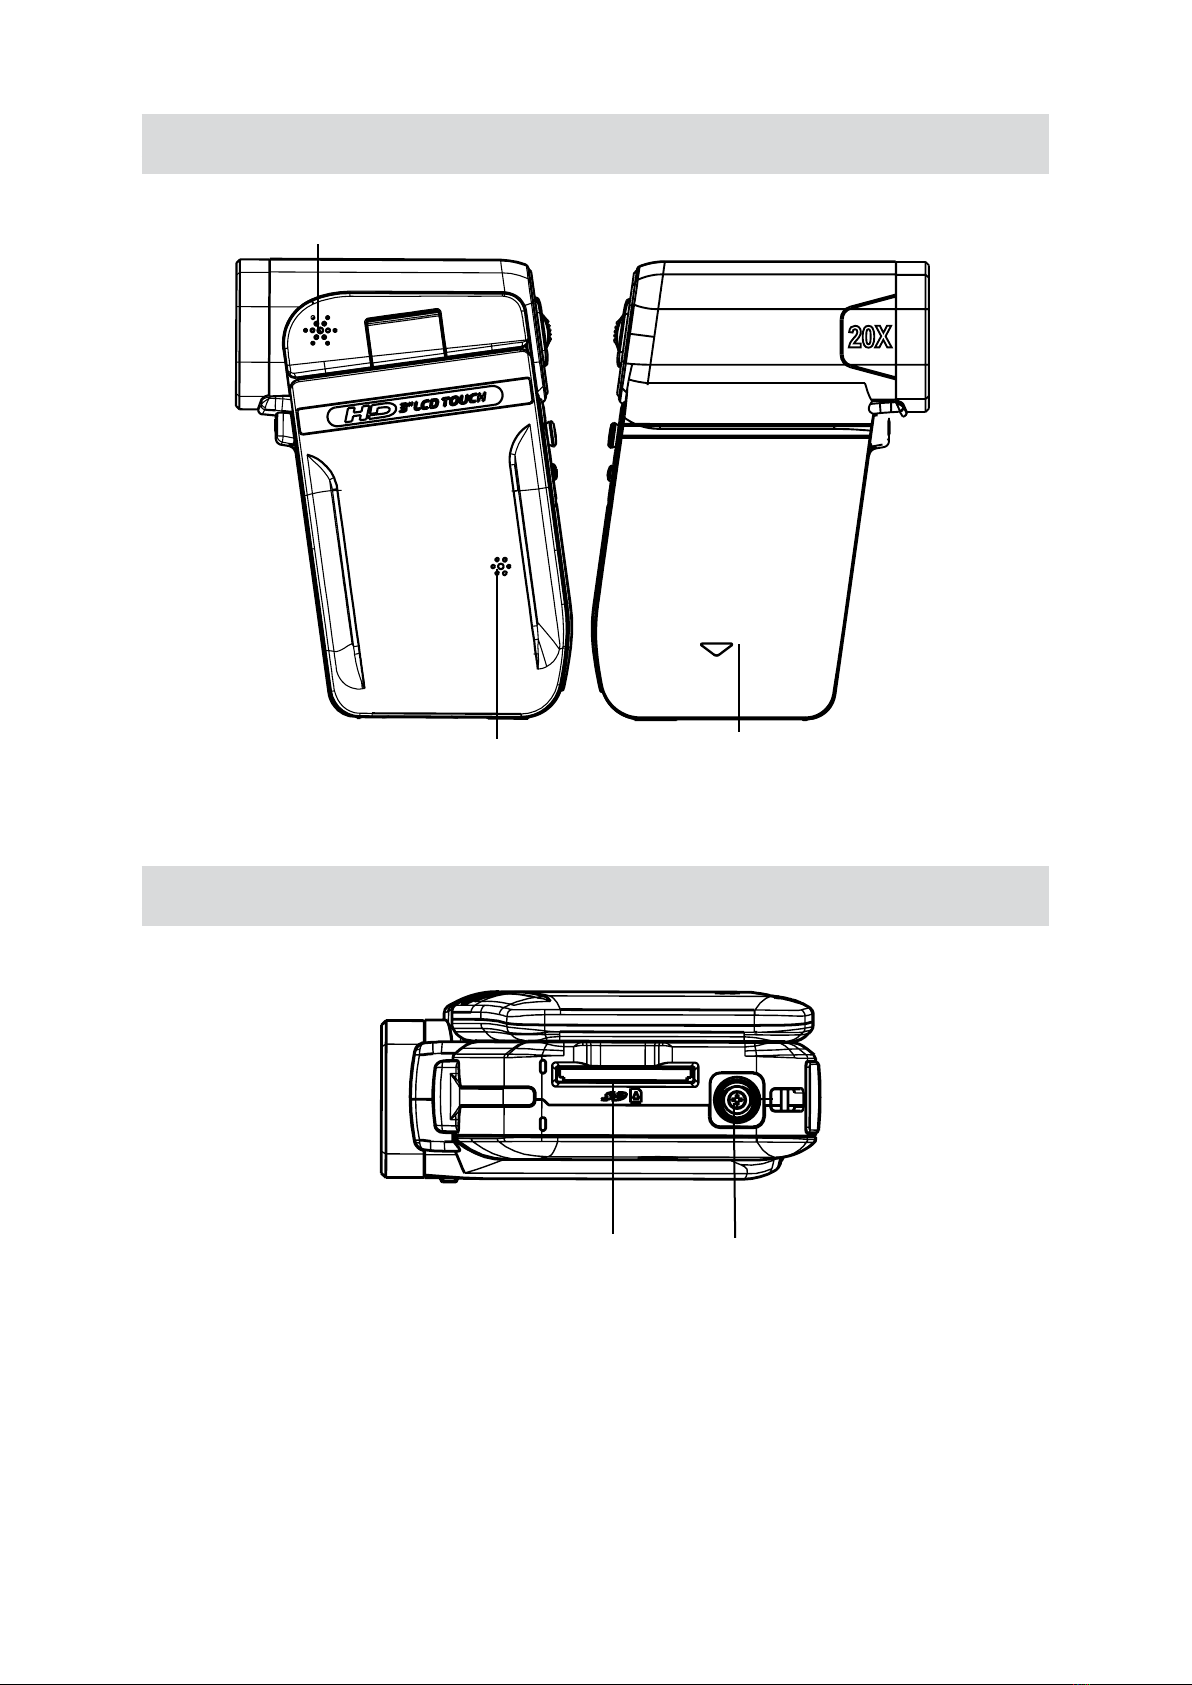
A 5x optical zoom increases you control over the movies and pictures you take.
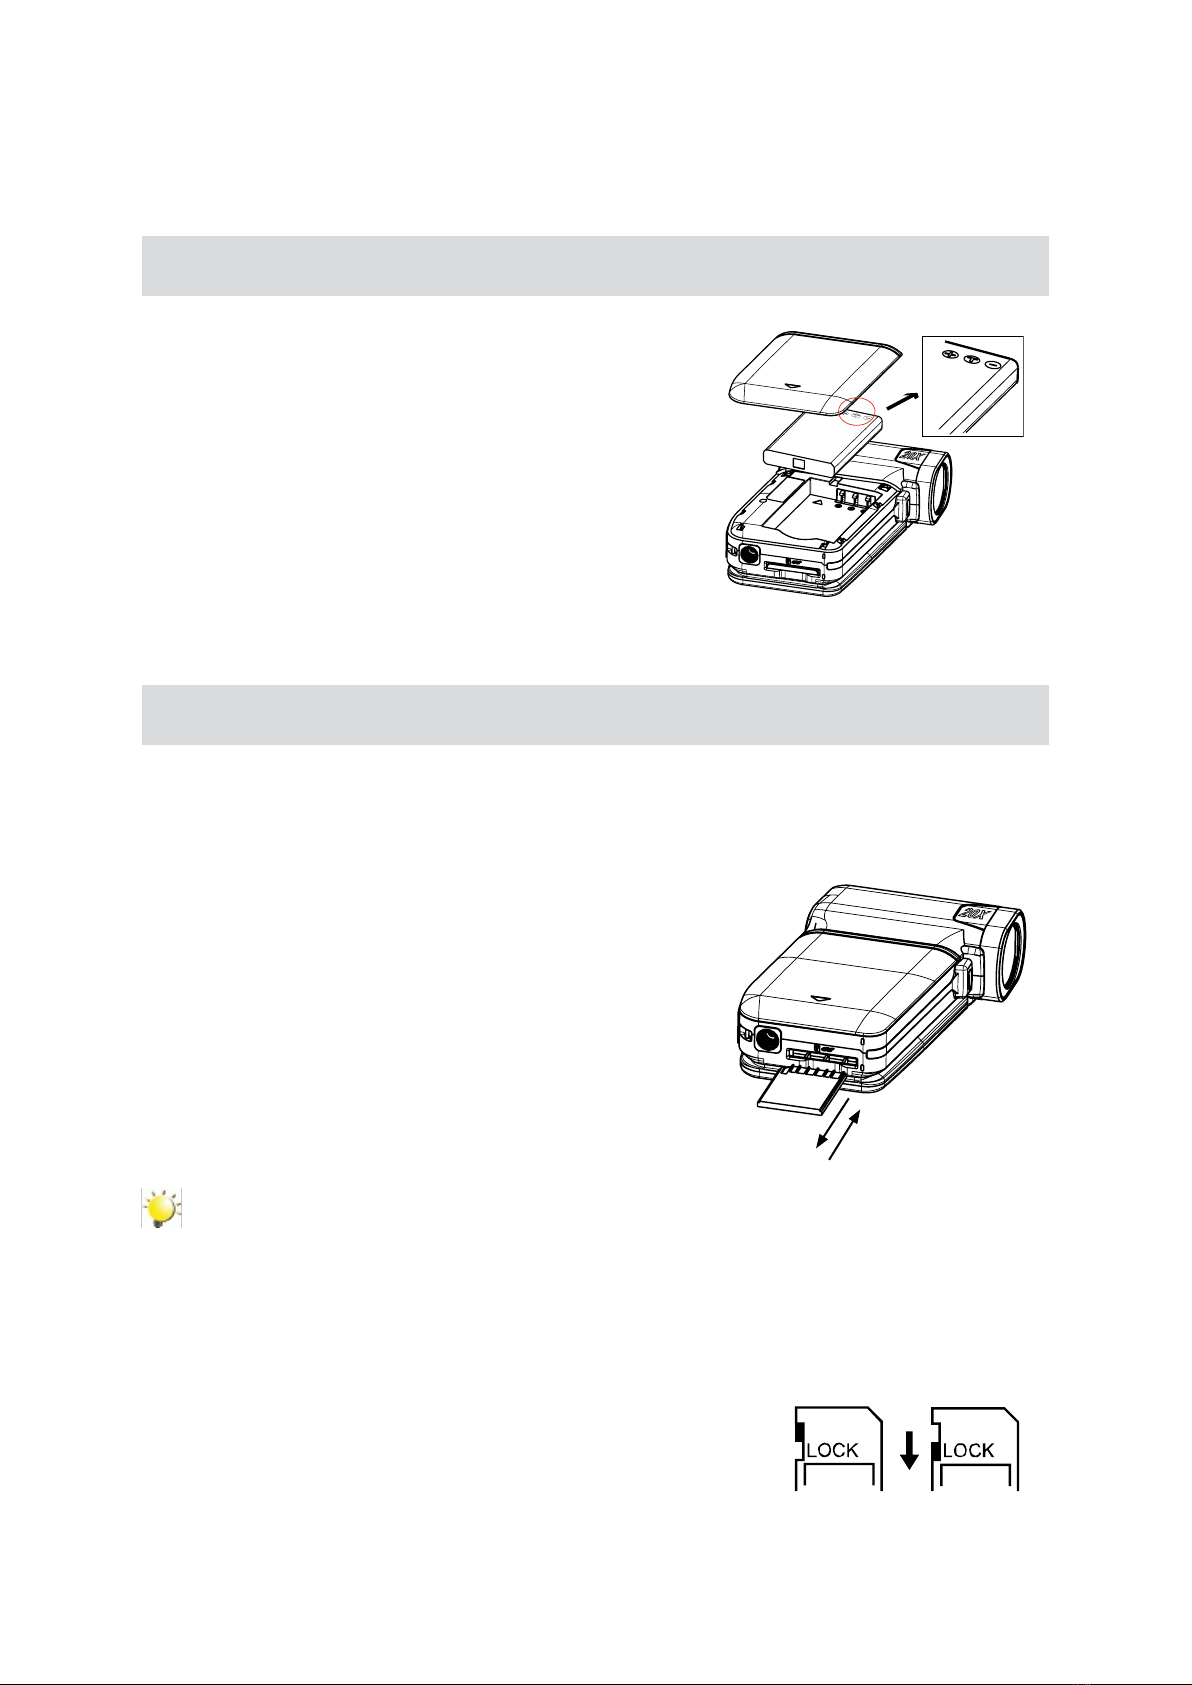
Built-in memory allows you to take pictures and movies without memory card. The memory card slot
allows users to increase the storage capacity.
Note
Partial memory of the built-in memory is used for Firmware code.
Standard Accessories
Unpack the package and make sure all standard accessories listed are included:
Camera•
USB Cable•
AV Cable•
HDMI Cable•
Adaptor•
Lithium-ion Rechargeable Battery•
Quick Guide•
CD-ROM (Software and User’s Manual)•
Pouch•
Strap•

4
EN
Front View
Rear View
Light
LCD Touch Panel
Power Button
Lens
Record LED Indicator
Tele/Wide Button
Movie Shutter Button
Five-way Key
Record/Play Button
TV Port
HDMI Port
Mini USB 2.0 Port
Strap Hook
Playback LED Indicator
Picture Shutter Button

5
EN
Side View
Bottom View
Microphone Battery Cover
Speaker
SD card Slot Tripod Socket

6
EN
Section 2
Getting Started
Loading the Battery
Before using the camera, users must load Lithium-ion
rechargeable battery
Insert the battery following to the correct polarity marks1.
( + or -).
Close the battery cover rmly.2.
Inserting and Removing an SD Card (Optional)
The camera comes with internal memory which allows you to store pictures and movies. You can
expand the memory capacity by using an optional SD/SDHC memory card.
Insert the memory card into the right position. Please1.
refer to the gure.
To remove an installed SD card, press the card inwards2.
to release it.
When the card pops out, gently remove it from its slot.3.
Recommended memory capacity: 1GB above.4.
Note
When a memory card is tted, movies/pictures are saved on card rather than on the built-in •
memory.
Protecting Data on an SD Card: SD card is read-only by locking the SD card. No pictures•
and movies can be recorded when the SD card is locked. Make sure the lock is on writeable
position before recording any media.
Writeable
position
Write-Protected
Position

7
EN
Turning the Camera On and Getting Started
To turn on the camera:•
Flip out the LCD panel; the camera will turn on automatically.1.
Or press Power Button for one second to turn on it.2.
To take a movie: Press the Movie Shutter Button (• ).
To take a picture: Press the Picture Shutter Button (• ) halfway down till the focusing frame turns
from white to green. Then, press the Picture Shutter Button fully down to take picture.
Focusing Frame: White Focusing Frame:Green
To view stored movies and pictures, press Record/Play Button ( ) once to switch to Playback
Mode. Press a second time to return to Record Mode.
In record mode, the blue Record LED indicator will light up. In playback mode, the green Playback•
LED indicator will light up.
Turning the Camera Off
To turn off the camera, you can either press the Power Button for one second, or you can place the•
LCD panel back to its original position.

8
EN
Section 3
Enjoying the Record Mode
Button/Key Function
Five-way key:
Right Key: Digital Light On/Light On/ Light OFF
Left Key: Self timer ON/OFF
Up Key:LCD Information ON (Show the indicators on the
LCD screen) / OFF (Do not show the indicators on
the LCD screen)
SET Key: Menu On. Validate the setting
Tele Button : Zoom In
Wide Button : Zoom out
Power Button: Press down for one second to turn on or turn
off the camera
Record/Play Button functions:
Switch between Record /Playback Mode1.
Return to the previous page2.
For quick review, press it after recording3.
Movie Shutter Button:
Start to take movie.1.
To stop recording, press it again.2.
Picture Shutter Button: Start to take picture.

9
EN
LCD Monitor Information
The indicators shown below may display on LCD when movies and pictures are recorded:
(1)
Movie Resolution
HD (720p) (30fps)
WVGA (60fps)
VGA (30fps)
QVGA (30fps)
Picture Resolution
High
Standard
Low
(2)
Number of images that can still be taken at current resolution
Recording time of movie that can still be taken at current resolution
(3)
Digital light On
Light On
(4) Self-timer enabled
(5) Motion Detection

10
EN
(6) Option menu On
(7)
Scene
Skin
Night
Backlight
(8) Macro Position Focusing
(9) Manual White Balance
(10) SD Card inserted
(11)
Battery: full power
Battery: medium power
Battery: low power
Battery: power empty
(12) Zoom meter:
1X~20X (5X Optical zoom and 4X Digital zoom)
(13) Stabilization
Note
Scene: B/W / Classic / Nagative effect can be previewed immediately without indicator on the
LCD
Movie Recording
Press Movie Shutter Button (• ) to start recording. When a movie is recording, a time indicator will
display on LCD monitor. To stop recording, press Movie Shutter Button ( ) again.
Press RECORD/PLAY Button to view the recorded movie.•
Four resolution settings are available:•
Video Quality
HD (720p) (30fps)
WVGA (60fps)
VGA (30fps)
QVGA (30fps)

11
EN
Picture Recording
Press the Picture Shutter Button (• ) halfway down till the focusing frame turns from white to
green. Then, press the Picture Shutter Button fully down to take picture.
Press RECORD/PLAY Button to view the picture.•
Three resolution settings are available:•
Image Quality
High Quality:12 Mega Pixels
Standard Quality:5 Mega Pixels
Low Quality:3 Mega Pixels
Using Digital Light or Light Function
To use light function:•
Press Right Key, the Digital Light icon1. ( ) will appear on the screen to extend dynamic range for
backlight and high contrast sense so that the objects will be brighter and clearer.
Press again,2. the Light icon( ) will appear on the screen. The light will be turned on and keeps
providing light.
Press Movie Shutter Button (3. ) to start recording or press Picture Shutter Button ( ) to
take picture.
Press Right Key again to suspend the light.4.
Note
The light will be disabled automatically when battery power is low ( ).
Using Self-timer for taking pictures
To use Self-timer:•
Press Left Key, the Self-timer icon(1. ) will appear on the screen.
Press Picture Shutter Button(2. ) to take the picture, the self-timer light on the front of the
camera blinks until the shutter operates (about 10 second later). The speed of blinking will increase
just before the picture is taken.
Using Zoom Function
The zoom magnies images when recording movies or taking pictures.•
To zoom in/out, press the Tele/Wide Button.1.
It can be set from2. 1X~20X (5X Optical zoom and 4X Digital zoom)

12
EN
Options for Record Menu
Movie Mode Picture Mode Effect
Resolution•
Stabilization•
Motion Detect•
Resolution• Macro Mode•
Scene•
WB (White Balance)•
ISO•
Operations for Record Mode
Operation Screen
Touch1. (on-screen icon) when in Record Mode. The
Record menu will show on the screen.
Touch the option icons on the screen lightly with your2.
nger to move between main menu options, which are
Movie Mode, Picture Mode, and Effect.
Submenu will pop out while move to each main menu3.
option.
Touch to select the specic option you want to adjust,then 4.
touch OK icon to validate the setting. After validating
the settings, touch exit icon ( ) to back to Record
mode.
Or touch exit icon (5. )to exit to Record mode without
any change.

13
EN
Movie Mode Submenu Setting
Operation Display Screen
In Record Mode, touch1. (on-screen icon) to
enter record menu screen.
Touch [Movie Mode] icon on the screen.2.
Submenu of Movie Mode will pop out on the
screen.
The Movie Mode submenu contains 3 options--3.
Resolution, Stabilization, and Motion Detect--for
you to adjust the camera setting.
Movie Resolution
Operation Display Screen
In Movie Mode submenu, touch [Resolution] on1.
the screen.
Touch2. on the screen to move between four
settings.
Touch OK icon to validate the setting then touch3.
exit icon ( ) to back to Record mode.
Stabilization
Operation Display Screen
In Movie Mode submenu, touch [Stabilization]1.
on the screen.
Touch2. on the screen to choose On or Off.
Touch OK icon to validate the setting then touch3.
exit icon ( ) to back to Record mode.
Note
Stabilization doesn’t support HD(720p) and WVGA(60fps).

14
EN
Motion Detection
Operation Display Screen
In Movie Mode submenu, touch [Motion Detect]1.
on the screen.
Touch2. on the screen to choose On or Off.
Touch OK icon to validate the setting then touch3.
exit icon ( ) to back to Record mode.
Camera will start to record video automatically if4.
it detects a movement. Stop recording if it does
not detect a movement.

15
EN
Picture Mode Submenu Setting
Operation Display Screen
In Record Mode, touch1. (on-screen icon) to
enter record menu screen.
Touch [Picture Mode] icon on the screen.2.
Submenu of Picture Mode will pop out on the
screen.
The Picture Mode submenu contains 1 option,3.
Resolution,for you to adjust the camera setting.
Picture Resolution
Operation Display Screen
In Picture Mode submenu, touch [Resolution] on1.
the screen.
Touch2. on the screen to move between three
settings.
Touch OK icon to validate the setting then touch3.
exit icon ( ) to back to Record mode.

16
EN
Effect Submenu Setting
Operation Display Screen
In Record Mode, touch1. (on-screen icon) to
enter record menu screen.
Touch [Effect] icon on the screen. Submenu of2.
Effect will pop out on the screen.
The Effect3. submenu contains 4 options--Macro
Mode, Scene, WB, and ISO--for you to adjust
the camera setting.
Touch4. / on the screen to change the
page.
Macro Mode
With Macro Mode set to Macro, you could take closer movies/images of objects in distance of 1cm to
80cm.
Operation Display Screen
In1. Effect submenu, touch [Macro Mode] on the
screen.
Touch2. on the screen to choose Macro or
Normal.
Touch OK icon to validate the setting then touch3.
exit icon ( ) to back to Record mode.
Scene
You can select the mode according to the scene condition.
Auto:• Shoot without any special effect on the image.
Skin:• Shoot with an effect that makes skin tones more natural.
Night• : Use Night mode for night scenes or low light conditions.
Backlight:• You can take shots when bright light is behind the subject.
B/W:• The image is converted to black-and-white.
Classic:• The image is converted to sepia look is applied to the image.
Negative:• The image is converted as the negative of the normal
Operation Display Screen
In1. Effect submenu, touch [Scene] on the
screen.
Touch2. on the screen to move between 7
settings.
Touch OK icon to validate the setting then touch3.
exit icon ( ) to back to Record mode.
Note
Toavoidblurrypictures,placethecameraonaat,steadysurface,oruseatripodwhentake
shots in Night mode.

17
EN
WB (White Balance)
The camera adjusts the color balance of images automatically. Three manual white balance settings are
available:
Auto:• The camera automatically adjusts white balance.
Daylight:• Under outdoors.
Fluorescent:• Under uorescent light condition.
Tungsten:• Under tungsten light condition.
Operation Display Screen
In1. Effect submenu, touch [WB] on the screen.
Touch2. on the screen to move between
4 settings. The change can be previewed
immediately.
Touch OK icon to validate the setting then touch3.
exit icon ( ) to back to Record mode.
ISO
The camera adjust the ISO sensitivity of images automatically. Two manual ISO sensitivity settings are
available. The larger the number, the higher the sensitivity.
Auto:• The camera automatically adjusts ISO sensitivity.
ISO 800•
ISO 1600•
Operation Display Screen
In1. Effect submenu, touch [ISO] on the screen.
Touch2. on the screen to move between three
settings.
Touch OK icon to validate the setting then touch3.
exit icon ( ) to back to Record mode.

18
EN
Section 4
Enjoying the Playback Mode
Button/Key Function
The Buttons/Keys have the following functions in Movie and Picture Playback Modes.
Five-way Key:
Right Key: Go to the next movie/picture. Fast forward
Left Key: Go to the previous movie/picture. Fast rewind
Up Key: Volume increase. Information ON/OFF
Down Key: Volume decrease. Delete the current or all
movies/pictures
SET Key:
Validate the setting.1.
In Movie Playback Mode, press to select the current2.
movies to upload to YouTube.
In Picture Playback Mode, press to start slideshow.3.
In Picture Magnication Mode, press to exit to Picture 4.
Playback Mode.
Tele Button : Magnication mode On. Zoom in.
Wide Button : Magnication mode Off. Zoom out
Record/Play Button functions:
Switch between Record and Playback modes.1.
Return to the previous page.2.
Movie Shutter Button:
Start playing the recorded movie.

19
EN
LCD Monitor Information
Indicators on the LCD screen while in Playback Mode:
Movie Playback Mode Picture Playback Mode
(1)
HD (720p) (30fps)
WVGA (60fps)
VGA (30fps)
QVGA (30fps)
High
Standard
Low
(2) Current number/ Total number of movie.
(3) Movie playback time counter
(4) Volume
(5) Previous movie/picture
(6) Movies fast rewind
(7)
Movies Play
Movies Pause
(8) Movies fast forward
(9) Next movies/ picture
(10) Delete
(11) Magnication Indicator.
(12) Movies is selected to upload to YouTube
(13) Exit

20
EN
(14)
Slideshow
Slideshow stop
(15) Consecutive number of picture
Operations for Playback Mode
The Playback Mode is for viewing and managing movies and pictures on the built-in memory or on an
SD card.
Operation Display Screen
Press RECORD/PLAY Button (1. ) to switch from
Record Mode to Playback Mode Main Menu.There are 2
options in the Playback Mode, Movie and Picture.
Touch to select the specic option.2.
Movie Playback
Operation Display Screen
Touch [Movie] on the screen to enter Movie Playback1.
Mode.
Touch2. / to play or pause the movies.
Sweep to the left or touch3. to go to the previous
movie; sweep to the right or touch to go to the next
movie.
While playing movies, touch4. / to fast rewind/
forward.
Touch5. to increase the volume; touch to reduce
the volume.
Touch exit icon (6. )to exit.
Press SET key to7. select the current movies to upload to
YouTube.
Note
When the LCD is idle for few seconds, the playback function bars will disappear automatically.
Table of contents
Other Veho Camcorder manuals