Velocity VDP 01-MP3 User manual

MP3-Player / DSP
Operating instructions
VDP 01-MP3

2
Type Name
Serial No.
Code No.
DBitte die „Code Card“ herausneh-
men und sicher, keinesfalls im
Fahrzeug, aufbewahren.
GB Please take out the “Code Card”
and keep it in a safe place out-
side of the car.
FVeuillez retirer la « Code Card »
et la garder à un endroit sûr, en
aucun cas dans le véhicule.
ISacar la “Code Card” y guardarla
en un lugar seguro afuera del
vehiculo.
NL Verwijder de ‘Code Card’ en be-
waar deze op een veilige plaats;
in geen geval in de auto.
Code Card
SVar god ta ur ditt "Code Card"
och förvara det på ett säkert stäl-
le, men inte i bilen.
EEstraete per favore la “Code
Card” e conservatela in un posto
sicuro, in nessun caso però
nell'autovettura.
PRecortar o “Code Card” e guar-
dá-lo num lugar seguro, mas
nunca dentro do automóvel.
DK Klip ”Code Card” ud og opbevar
det på et sikkert sted - under
ingen omstændigheder i bilen!
CODE CARD

3
ENGLISH DEUTSCH
FRANÇAIS
ITALIANO
NEDERLANDS
SVENSKA
ESPAÑOL
PORTUGUÊS
3
56
12
4
2
14 9
13
16
17 15
18
19
1
87
10
11

22
1RPT button, to activate and de-
activate the repeat function.
2DISP button, to change the dis-
play content and change the
spectrometer type.
3Arrow buttons.
4EQ button, to activate and deac-
tivate the equalizer, select the
sound presets and adjust the
equalizer.
5SFC button, to select the sound
field simulation.
6MMC slots 1 – 5.
7M2 button, to store the equalizer
settings for the “USER 2” memo-
ry location.
8M4 button, to store the equalizer
settings for the “USER 4” memo-
ry location.
9Volume control
:M3/LOUD button, to store the
equalizer settings for the “USER
3" memory location, to activate/
deactivate the loudness function,
and adjust the loudness boost.
;M1/HI/LO button, to store the
equalizer settings for the “USER
1” memory location, and change
the spectrometer sensitivity.
CONTROLS
<Display.
=DIM button, to adjust the display
brightness.
>POS button, to adjust the listen-
ing position optimisation, and
adjust the time delay for individu-
al channels.
?A–B button, to define an excerpt
in a piece of music that you want
played repeatedly.
@To switch the unit on/off, and
mute the unit’s volume.
AMMC button, to select an MMC
(1 – 5).
BAUX button, to select a linear
AUX input (1 – 3).
CSEL button, to adjust the treble,
bass, balance, fader and sub-
woofer.

23
ENGLISH DEUTSCH
FRANÇAIS
ITALIANO
NEDERLANDS
SVENSKA
ESPAÑOL
PORTUGUÊS
CONTENTS
General .................................. 24
Road safety ................................... 24
Installation / Accessories ...... 25
Installation ..................................... 25
Accessories .................................. 25
International telephone information . 25
CODE ..................................... 25
Theft protection CODE.................. 25
Entering the code .......................... 25
Changing the code ........................ 26
Switching on/off .................... 26
Adjusting the volume ............. 27
Activating mute .............................. 27
MMC mode ............................. 27
Inserting/removing MMCs ............. 27
Selecting MMCs ........................... 27
Selecting tracks ............................ 27
Repeating tracks (REPEAT) ........... 28
Repeating an excerpt from a
piece of music (A–B) ..................... 28
Changing the display ..................... 28
Adjusting the sound ............... 29
Adjusting the treble ....................... 29
Adjusting the bass ......................... 29
Adjusting the volume
distribution ............................. 30
Volume distribution
(balance and fader) ....................... 30
Listening position
optimisation (POS) ................ 31
Selecting the listening position....... 31
Deactivating POS .......................... 31
Adjusting the time delay ................. 31
Subwoofer settings ................ 32
Adjusting the subwoofer
volume distribution......................... 32
Setting the number of subwoofers . 32
Adjusting the subwoofer phase...... 32
Selecting the low-pass filter ........... 33
Switching loudness on/off..... 33
Adjusting the loudness intensity ..... 33
Equalizer ................................ 34
Notes on adjusting the settings ...... 34
Selecting an equalizer preset ......... 34
Adjusting the equalizer................... 34
SFC (sound field control
function) ................................. 35
Adjusting the sound field intensity .. 36
Deactivating SFC .......................... 36
Adjusting the spectrometer
display .................................... 36
Adjusting the display sensitivity ...... 36
Adjusting the spectrometer display ...
36
Adjusting the display
brightness .............................. 37
Resetting the settings to
their original defaults ............. 37
External audio sources .......... 37
Specifications ........................ 38
Guarantee .............................. 39
Installation instructions ........ 166

24
Thank you for deciding to use a Veloci-
ty product. We hope you enjoy using
this new piece of equipment.
Beforeusingthedeviceforthefirsttime,
please read these operating instruc-
tions.TheVelocity-Blaupunkteditorsare
constantly working on making the op-
erating instructions clearer and easier
tounderstand.However,ifyoustillhave
anyquestionsonhowtooperatetheunit
please contact your dealer or the tele-
phone hotline for your country. You will
findthehotlinetelephonenumbersprint-
ed at the back of this booklet.
Road safety
Road safety has absolute prior-
ity. Only operate the unit if the road
andtrafficconditions allowyou to do
so. Familiarise yourself with the unit
before setting off on your journey.
Wheninsideyourvehicle,youshould
alwaysbeablehearpolice,firefight-
erandambulancesirensintime.For
this reason, set the volume of what-
everyou arelisteningtotoa reason-
able level.
Note: If the unit is connected to a
car radio, the volume control of the
VDP 01-MP3 should only be used
once toadjustthelevel between the
tuner and the VDP 01-MP3. Retract
the knob into the unit after you have
made your adjustments.
The reason for this is that large vol-
ume differences will occur when
switching from the tuner to the VDP
01-MP3 if the level on the VDP 01-
MP3 was subsequently increased.
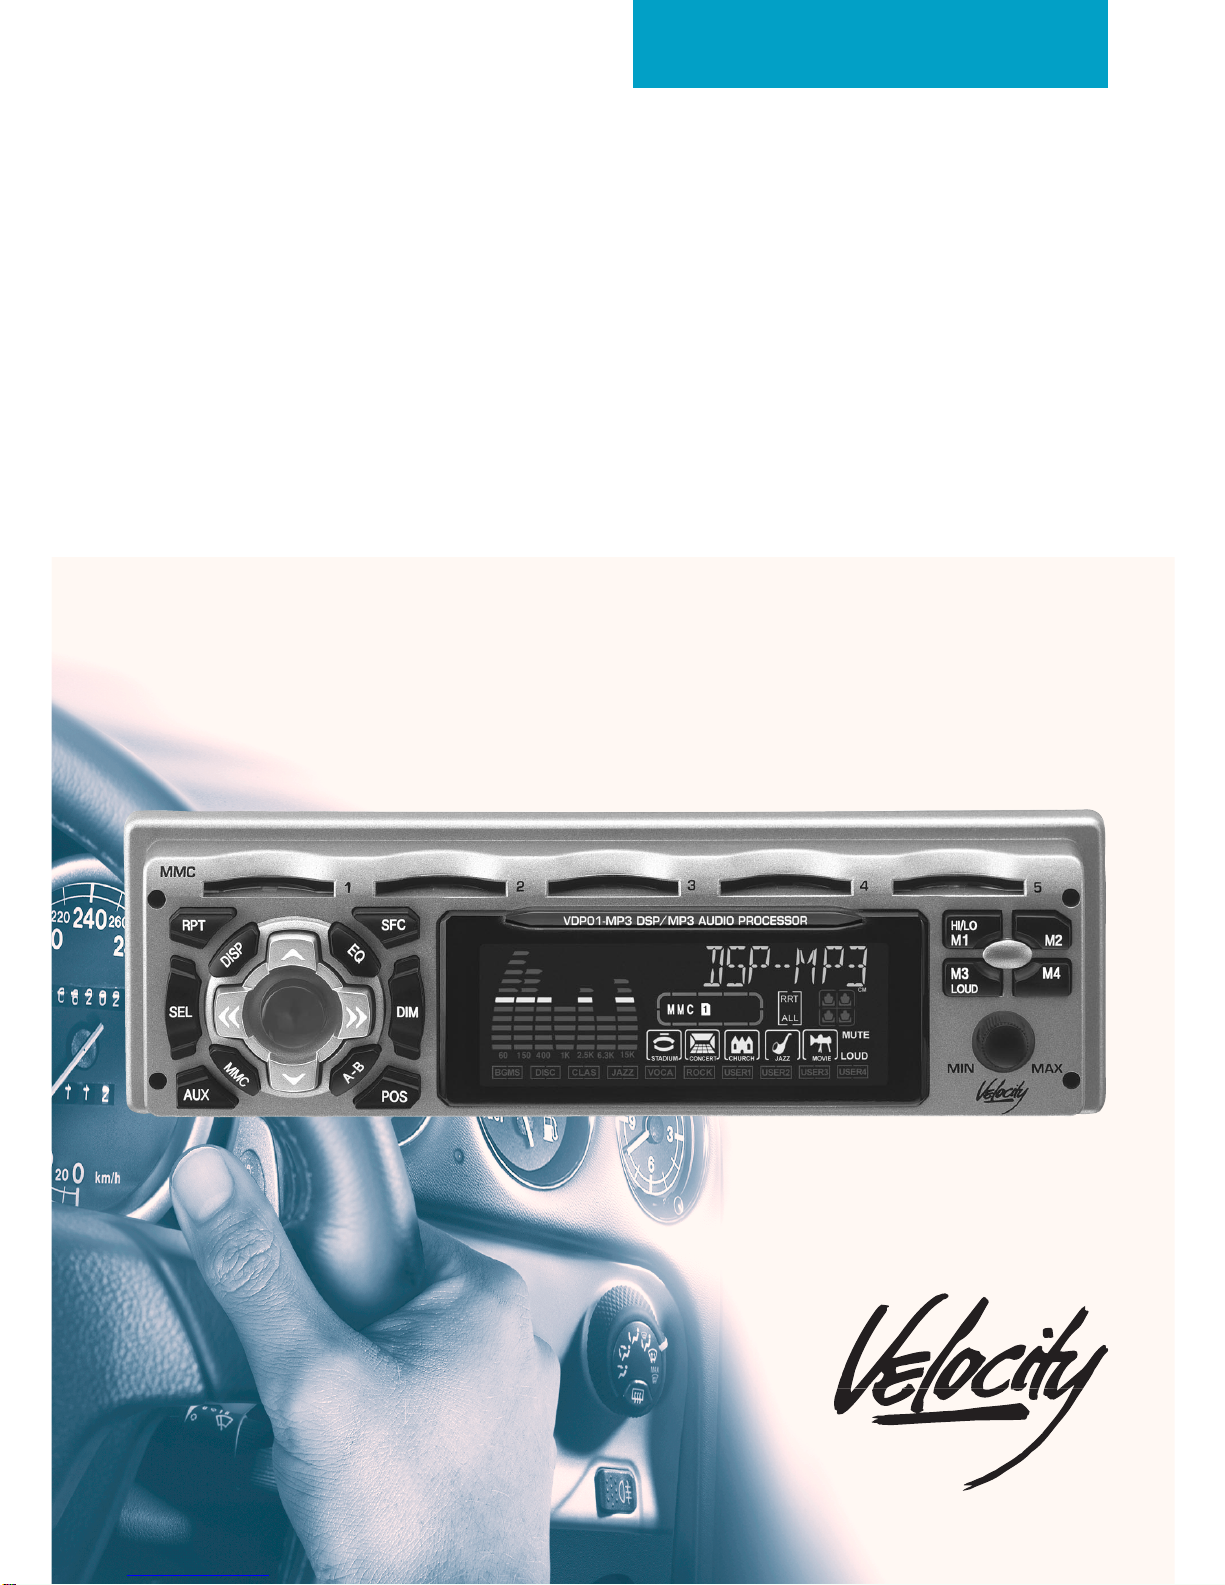
GENERAL
The VDP 01-MP3 is an MP3 player in-
corporating a digital sound processing
(DSP)systemandanequalizerforplay-
ing MP3 music files stored on Multime-
dia-Cards (MMC).
MP3 is a process developed by the
FraunhoferInstituteforcompressingCD
audiodata.Compressionallowsdatato
be reduced to around 15% of their orig-
inal size without a noticeable loss in
quality (at a bit rate of 192 Kbit/s). If a
lower bit rate is used to convert CD au-
dio data to MP3, you can create small-
er files but there will be a slight loss of
quality.
The VDP 01-MP3 comes supplied with
an MMC that has a capacity of 32 MB.
You can record MP3 files onto MMCs
using the optional MMC Driver 01. For
furtherdetails,readtheMMCDRIVER’s
operating instructions.
The VDP 01-MP3 can be directly con-
nected to a car radio equipped with a
lineinput(AUX)orcan be connected to
an amplifier.
You also have the option of connecting
up to three external audio sources to
theAUXinputsoftheVDP01-MP3.The
audio signals supplied by the devices
connectedtotheAUXinputscanbeop-
timisedusingthedigitalsoundprocess-
ing system and the equalizer.

25
ENGLISH DEUTSCH
FRANÇAIS
ITALIANO
NEDERLANDS
SVENSKA
ESPAÑOL
PORTUGUÊS
INSTALLATION/ ACCESSORIES
Installation
If you want to install the unit yourself,
pleasereadtheinstallationandconnec-
tion instructions that follow these oper-
ating instructions.
Accessories
Only use accessories approved by Ve-
locity and Blaupunkt.
Amplifier
All standard amplifiers can be used.
International telephone
information
If you have any questions to do with
operating the unit or if you require fur-
ther information, please call us!
The information hotline numbers are
printedonthelastpageoftheseinstruc-
tions.
Theft protection CODE
To protectyourequipmentagainsttheft,
the unit has been fitted with a four-fig-
ure access code.This number must be
entered whenever the unit is discon-
nectedfromthevehicle’selectricalsup-
ply.
Theunit is suppliedwith the code setto
“0000”.Afterusingthedeviceforthefirst
time, you should change the code.
Note:
Write down the code and keep it in a
safe place. If you lose the code you will
have to send the unit to the customer
service centre.
Entering the code
➮After disconnection from the electri-
cal supply, switch on the unit.
“CODE” appears in the display.
➮Keep pressing the or button
3until the first number of your
code appears in the display.
➮Press the
or
button 3to se-
lect the code’s second input posi-
tion.
➮Keep pressing the or button
3until the second number of your
code appears in the display.
➮Continue as described for the
code’s third and fourth input posi-
tions.
CODE

26
If the correct code is shown in the dis-
play,
➮press the M4 button 8.
If you entered the code correctly, “AC-
CEPT” will first of all appear for one
second followed by “ENTERCODE” for
10seconds,andfinally“VELOCITY”as
scrolling text.
Changing the code
You can choose and store any four-fig-
ure number as your code.
➮After disconnection from the electri-
cal supply, switch on the unit.
“CODE” appears in the display.
➮Enter the code number as de-
scribed in the section entitled “En-
tering the code”!
If the correct code is shown in the dis-
play,
➮press the M4 button 8.
If you entered the code correctly, “AC-
CEPT” will first of all appear for one
second followed by “ENTERCODE”.
➮Now enter the new code.
Ifyour code isshown in the display cor-
rectly,
➮press the M4 button 8.
“ACCEPT” and then “VELOCITY” ap-
pear in the display. Your code is now
stored.
Switching on/off
Therearevariouswaysofswitchingthe
unit on/off:
Switching on/off using the vehicle
ignition
If the unit is correctly connected to the
vehicle’signitionanditwasnotswitched
off using button @, it will switch on/off
simultaneously with the ignition.
You can switch the unit on even if the
ignition is off:
➮To do so, press button @.
Switching on/off using button @@
@@
@
➮To switch the unit on, press
button @.
➮To switch the unit off, press button
@for longer than two seconds.
SWITCHING ON/OFFCODE

27
ENGLISH DEUTSCH
FRANÇAIS
ITALIANO
NEDERLANDS
SVENSKA
ESPAÑOL
PORTUGUÊS
MMC mode
You can use this unit to play MP3 files
that have been stored on Multimedia
Cards (MMC).
Inserting/removing MMCs
Youcan insertan MMC intoeach of the
five MMC slots 6positioned along the
top edge of the unit.
To avoid damaging the MMCs, you
shouldonlychangetheMMCswhilstthe
unit is switched off.
To insert an MMC,
➮hold the MMC with its printed side
uppermost and gently slide it
(whilst keeping it straight) into the
required MMC slot 6until it reach-
es its end position.
To remove an MMC,
➮hold the MMC with your fingertips
and pull it straight out of the MMC
slot 6.
Selecting MMCs
To selectandplayoneofthefiveMMCs.
➮press the MMC button A.
➮Keep pressing the or button
3until the number of the required
MMC appears in the display.
Selecting tracks
➮Press the
or
button (3) to se-
lect the previous or next track.
If you press the button 3once, the
current track will be played again from
the beginning.
Adjusting the volume
The volume control is usually kept in a
retracted position. If you want to adjust
the volume, you must first unlock the
volume control.
To unlock the volume control,
➮press the volume control 9.
The volume control slides out.
To retract the volume control,
➮press the volume control 9into
the unit’s casing until you feel a
slight resistance.
To increase the volume,
➮turn the volume control 9to the
right.
To decrease the volume,
➮turn the volume control 9to the
left.
Activating mute
You can mute the unit’s volume.
➮Briefly press button @.
“MUTE” appears in the display.
MMC MODEADJUSTING THE VOLUME

28
Repeating tracks (REPEAT)
Repeating a track
If you want to repeat a track,
➮press the RPT button 1.
“RPT” appears in the display.The track
is repeated until you deactivate the re-
peat function.
Repeating a whole MMC
If you want to repeat the whole MMC,
➮press the RPT button 1twice.
“RPT” and “ALL” appear in the display.
The MMC is repeated until you deacti-
vate the repeat function.
Deactivating REPEAT
Ifyouwanttodeactivatetherepeatfunc-
tion,
➮keep pressing the RPT button 1
until “RPT” disappears from the
display.
Normal playback is then resumed.
Repeating an excerpt from a
piece of music (A–B)
You can define and repeat any excerpt
you like from a piece of music.
➮Press the A–B button ?at the be-
ginning of the required excerpt.
“RPTA-” appears in the display.
➮At the end of the required excerpt,
press the A–B button ?again.
“RPT A-B” appears in the display. The
excerpt that you selected between the
twobuttonpresseswillberepeateduntil
you deactivate the function.
Deactivating A-B
➮Press the A-B button ?again.
Normal playback is then resumed, and
“RPTA-B” disappears from the display.
Changing the display
To switch between the track number/
playing time display and the ID-tag dis-
play (track name and artist information
that is stored together with the MP3
files),
➮briefly press the DISP button 2.
If the ID3-tag contains no information
(track name and artist), the file name
with appear in the display instead.
MMC MODE

29
ENGLISH DEUTSCH
FRANÇAIS
ITALIANO
NEDERLANDS
SVENSKA
ESPAÑOL
PORTUGUÊS
Adjusting the sound
Adjusting the treble
Youcanadjustthetreblebyboostingor
reducing levels at 10, 12.5 or 15 kHz.
Levels can be boosted/reduced by 10
dB in steps of 2 dB.
➮Press the SEL button C.
“TREBLE” appears in the display.
➮Press the
or
button 3to se-
lect the centre frequency.
➮Press the or button 3to ad-
just the boost/reduction level for
the selected centre frequency.
When you have finished making your
changes,
➮wait 5 seconds for the settings to
be saved
or
➮press the SEL Cbutton if you
want to adjust the bass. The set-
tings are saved.
ADJUSTING THE SOUND
Adjusting the bass
You can adjust the bass by boosting or
reducing levels at 60, 70, 80, 90, 100,
130, 150 or 200 Hz. Levels can be
boosted/reduced by 10 dB in steps of 2
dB.
➮Press the SEL button Ctwice.
“BASS” appears in the display.
➮Press the
or
button 3to se-
lect the centre frequency.
➮Press the or button 3to ad-
just the boost/reduction level for
the selected centre frequency.
When you have finished making your
changes,
➮wait 5 seconds for the settings to
be saved
or
➮press the SEL Cbutton if you
want to adjust the volume distribu-
tion. The settings are saved.

30
Adjusting the volume
distribution
Volume distribution (balance
and fader)
You can adjust the volume distribution
byincreasingordecreasingthelevelfor
eachloudspeaker.Levelscanbeboost-
ed/reducedbetween-20dBand+10dB
in steps of 1 dB.
The loudspeakers are assigned as fol-
lows:
FRONTL = front left
FRONTR = front right
REAR L = rear left
REAR R = rear right
To adjust the volume distribution,
➮Press the SEL button Cthree
times.
“SPEAKER” appears in the display.
➮Select the required loudspeaker by
pressing the
or
button 3.
➮Adjust the boost/reduction level for
the selected loudspeaker using the
or button 3.
➮Select the next loudspeaker that
you want to adjust by pressing the
or
button 3.
➮Repeat this procedure until you
have adjusted the sound distribu-
tion to suit your taste.
When you have finished making your
changes,
➮wait 5 seconds for the settings to
be saved
or
➮press the SEL Cbutton if you
want to adjust the left subwoofer
channel.
The settings are saved.
ADJUSTING THE VOLUME DISTRIBUTION

31
ENGLISH DEUTSCH
FRANÇAIS
ITALIANO
NEDERLANDS
SVENSKA
ESPAÑOL
PORTUGUÊS
Listening position
optimisation (POS)
The unit is supplied with three preset
listening position settings.
These are optimised for 1 person (driv-
er), 2 people (driver/front passenger)
and four people.
Selecting the listening position
➮Press the POS button >.
The symbol indicating one person ap-
pears in the display.
➮Keep pressing the POS button >
until the symbol appears that corre-
sponds to the setting you require.
Deactivating POS
To deactivate the listening position op-
timisation,
➮keep pressing the POS button >
until the symbol disappears from
the display.
Adjusting the time delay
Youcanset a time delay foreach of the
unit’schannels(exceptforthesubwoof-
er). This time delay is set according to
thedistanceoftheloudspeakerfromthe
listening position. The time delay can
be adjusted between 0 and 401 cm in
steps of 17 cm. 17 cm correspond to
0.5 milliseconds.
To adjust the time delay,
➮deactivate POS.
➮Press the POS button >for long-
er than three seconds.
“TIMEADJ” appears in the display.
➮Select the required loudspeaker by
pressing the
or
button 3.
➮Adjust the time delay for the select-
ed loudspeaker using the or
button 3.
➮Select the next loudspeaker that
you want to adjust by pressing the
or
button 3.
➮Repeating this procedure until you
have adjusted the settings to suit
your taste.
When you have finished making your
changes,
➮wait 5 seconds for the settings to
be saved.
LISTENING POSITION OPTIMISATION (POS)

32
Subwoofer settings
Adjusting the subwoofer volume
distribution
You can adjust the subwoofer volume
distributionbyincreasingordecreasing
thevolumelevelforthesubwoofers.The
level can be boosted/reduced between
-20 dB and +10 dB in steps of 1 dB for
each subwoofer.
➮To adjust the volume distribution for
the left subwoofer, press the SEL
button Cfour times.
“SUBLch” appears in the display.
➮Adjust the boost/reduction for the
left subwoofer using the or
button 3.
➮To adjust the volume distribution for
the right subwoofer, press the SEL
button Cfive times.
“SUBRch” appears in the display.
➮Adjust the boost/reduction for the
right subwoofer using the or
button 3.
When you have finished making your
changes,
➮wait 5 seconds for the settings to
be saved.
Setting the number of
subwoofers
You can set the number of subwoofers
(one or two) that you are using with the
unit.
To set the number of subwoofers,
➮press the SEL button Csix times.
“SUB ST-MO” appears in the display.
➮Select “MONO” for one subwoofer
or “STEREO” for two connected
subwoofers using the or but-
ton 3.
When you have finished making your
changes,
➮wait 5 seconds for the settings to
be saved.
Adjusting the subwoofer phase
You can set the subwoofer phase to 0°
or 180°.
➮To adjust the subwoofer phase,
press the SEL button Cseven
times.
“SUB PHASE” appears in the display.
➮Select “0°” or “180°” using the or
button 3.
When you have finished making your
changes,
➮wait 5 seconds for the settings to
be saved.
SUBWOOFER

33
ENGLISH DEUTSCH
FRANÇAIS
ITALIANO
NEDERLANDS
SVENSKA
ESPAÑOL
PORTUGUÊS
Selecting the low-pass filter
If one subwoofer is connected to the
VDP01-MP3(“MONO”setting),youcan
set the low-pass filter to 80, 120 or 160
Hz. You can also deactivate the low-
pass filter.
To set the subwoofer’s low-pass filter,
➮press the SEL button Csix times.
“SUB ST-MO” appears in the display.
➮Select “MONO” using the or
button 3.
➮Select the required low-pass filter
by pressing the
or
button 3.
If you want to deactivate the low-pass
filter,
➮select the “LPF OFF” setting by
pressing the
or
button 3.
When you have finished making your
changes,
➮wait 5 seconds for the settings to
be saved.
Switching loudness on/off
If loudness is activated, the bass and
treble levels are aurally compensated,
i.e. they are boosted at low volume lev-
els.
➮Briefly press the M3/LOUD button
:.
“LOUD ON” appears briefly in the dis-
play. “LOUD” appears in the display
when loudness is activated.
To deactivate loudness,
➮briefly press the M3/LOUD button
:.
“LOUD OFF” appears briefly in the dis-
play. “LOUD” disappears from the dis-
play.
Adjusting the loudness intensity
If loudness is activated (“LOUD ON”),
you can set the loudness boost for the
following frequencies: 20, 40, 60 or
80 Hz. You can adjust the boost level
between 0 and 15 dB in steps of 1 dB.
➮Press the M3/LOUD button :for
longer than three seconds.
“LOUD CTRL” appears in the display.
➮Select the frequency by pressing
the
or
button 3.
➮Keep pressing the or button
3until the required boost level
appears in the display.
When you have finished making your
changes,
➮wait 5 seconds for the settings to
be saved.
LOUDNESSSUBWOOFER

34
Equalizer
Thisunitisequippedwithadigitalequal-
izer.
You can set the equalizer without the
need of measuring equipment. It will
allow you to significantly influence the
sound characteristics in your vehicle.
Notes on adjusting the settings
We recommend you use a piece of
musicthatyouarefamiliarwithformak-
ing changes to the settings.
Before adjusting the equalizer, set the
sound and volume distribution settings
to zero and deactivate loudness. For
furtherdetails,pleasereferto the chap-
ters on “Sound” and “Volume distribu-
tion”.
➮Listen to a piece of music.
➮Analyse the sound impression.
Selecting an equalizer preset
There are six equalizer presets for var-
ious types of music:
•BGMS
•DISCO
•CLASSIC
•JAZZ
•VOCAL
•ROCK
The optimum settings for these music
styleshavealreadybeenprogrammed.
Theadditional “FLAT” setting is used to
deactivate the equalizer. Four memory
locations,“USER1”,“USER2”,“USER3”
and “USER4”, are provided so you can
store your own settings.
To select an equalizer setting,
➮press the EQ button 4.
Thesettingthatwasselectedlastisdis-
played.
➮Select the required preset using
the or button 3.
Adjusting the equalizer
You can use the spectrometer to assist
youwhenadjusting the equalizer.Each
displayed frequency can be boosted/
reducedinstepsof2dB.Therearefour
memory locations (USER1 to USER4)
provided for your own settings.
Making adjustments
➮Keep the EQ button 4pressed
until “EQUALIZER” appears in the
display.
In the display’s spectrometer, the first
line (symbolising the frequency) is dis-
played flashing.
➮Select the frequency by pressing
the
or
button 3.
➮Adjust the level using the or
button 3.
➮Select the next frequency by press-
ing the
or
button 3.
➮Proceed in the same way for all fre-
quencies until the sound is adjust-
ed to suit your taste.
EQUALIZER

35
ENGLISH DEUTSCH
FRANÇAIS
ITALIANO
NEDERLANDS
SVENSKA
ESPAÑOL
PORTUGUÊS
Storing settings
If you want to store the settings,
➮press one of the M1 ;, M2 7,
M3 :or M4 8buttons for longer
than three seconds.
The button number corresponds to the
memory location number (USER1 to
USER4).
SFC (sound field control
function)
The VDP 01-MP3 allows you to simu-
late various sound fields.
The following sound field simulations
are available:
•STADIUM
•CONCERT
•CHURCH
•JAZZ
•MOVIE
Sound field simulation means that the
characteristiceffects(likereverb,echo,
distortion, etc.) of the selected sound
field are applied to the music that is
being played.
There are various levels of intensity for
the STADIUM, CONCERT, JAZZ and
MOVIE sound field simulations.
Activating SFC / Selecting the
sound field
➮Press the SFC button 5.
“STADIUM” appears alongside the in-
tensity value in the display. The symbol
representingthesetsoundfieldappears
in the display.
Ifyouwanttoselectanothersoundfield,
➮keep pressing the
or
button 3
until the required sound field ap-
pears in the display.
SFCEQUALIZER

36
Adjusting the sound field
intensity
➮Select the required sound field.
➮Set the intensity using the or
button 3.
Deactivating SFC
➮Keep pressing the SFC button 5
until “SFC OFF” appears in the dis-
play.
Adjusting the spectrometer
display
Adjusting the display sensitivity
You can adjust the spectrometer’s dis-
play sensitivity.
To switch between the HI/LO settings,
➮press the M1/HI/LO button ;.
Adjusting the spectrometer
display
You can choose between five different
spectrometer display versions.
The following are available:
•PEAK-HOLD
•SHOWER
•DOT
•MOUTH
•NORMAL
If you want to change the spectrometer
display,
➮press the DISP button 2for long-
er than three seconds.
The current spectrometer version ap-
pears in the display.
➮Select the required display using
the button 3.
When you have finished making your
changes,
➮wait 5 seconds for the settings to
be saved.
SPECTROMETER DISPLAYSFC

37
ENGLISH DEUTSCH
FRANÇAIS
ITALIANO
NEDERLANDS
SVENSKA
ESPAÑOL
PORTUGUÊS
EXTERNAL AUDIO SOURCES
Adjusting the display
brightness
Youcanadjustthebrightnessofthedis-
play illumination in five steps.
To change the display brightness,
➮press the DIM button =.
“DIMMER” appears alongside the cur-
rently set value in the display. “1” is the
darkest setting; “5” is the brightest set-
ting.
➮Keep pressing the DIM button =
until the required brightness ap-
pears in the display.
When you have finished making your
changes,
➮wait 5 seconds for the settings to
be saved.
Resetting the settings to
their original defaults
➮Press the M4 button 8for longer
than 10 seconds. This will reset
any adjusted settings back to their
factory defaults.
External audio sources
There are three line inputs for external
audiosources(AUX)locatedattheback
of the unit.
You can use them to connect devices
like a portable CD player or a car radio
that has a preamp-out.
To select one of the three inputs,
➮press the AUX button B.
“AUX 1” appears in the display.
➮keep pressing the AUX button B
until the number of the required
AUX input is displayed.
If you want to switch back to MP3 play-
back mode again,
➮keep pressing the AUX button B
until “MPEG PLAY” appears in the
display.
DISPLAY BRIGHTNESS

38
SPECIFICATIONS
Specifications
MP3
Supported MMCs: 8/16/32/64 MB
Supported bit rates: 8 to 320
kB/sec.
File system: FAT 16 and
ROS
Signal-to-noise ratio: > 90 dB
Frequency response: 20 - 20 000 Hz
±3 dB
Channel separation:
at 1 kHz: 65 ±5 dB
at 10 kHz: 55 ±5 dB
at 20 kHz: 50 ±5 dB
DSP
Equalizer bands:
±10 dB at 60/150/400 Hz
±10 dB at 1/2,5/6,3/15 kHz
Treble:
±10 dB at 10/12,5/15 kHz
Bass:
±10 dB at 60/70/80/90/
100/130/150/
200 Hz
Loudness:
0 - 15 dB at 20/40/60/80 Hz
Equalizer presets: BGMS, Disco,
Jazz, Classic,
Vocal, Flat
Sound field presets: Stadium (1/2/3),
Concert (1/2/3),
Church (1/2),
Jazz (1/2),
Movie (1 - 5)
AUX
Inputs: 3 channels,
stereo
Outputs: 3 channels,
stereo
Signal-to-noise ratio: > 90 dB
Frequency response: 20 - 20 000 Hz
±3 dB
Sensitivity
Input: 20 kΩ±3 kΩ
Output: 500 Ω±50 Ω
Subject to changes!
Table of contents