Vernier Go Wireless GW-EA User manual

Vernier Go Wireless®
Electrode Amplifier
Order Code GW-EA or GW-EA-NP
The Go Wireless Electrode Amplifier is a wireless mV
and pH amplifier that connects to Vernier electrodes
and compatible third-party BNC electrodes.
What is Included with Go Wireless Electrode Amplifier
Go Wireless Electrode Amplifier
USB Charging Cable (not included in GW-EA-NP)
This user guide
Graphical Analysis app (free download from the App Store or Google Play)
Charging Go Wireless Electrode Amplifier
Connect Go Wireless Electrode Amplifier to the included USB Charging Cable and
any USB device for two hours. Connecting a compatible BNC electrode to the
electrode amplifier during charging is optional.
Figure 1
You can also charge up to eight Go Wireless Electrode Amplifiers using our Go
Wireless Charging Station, sold separately (order code: GW-CRG). An LED on each
Go Wireless Electrode Amplifier indicates charging status. A blue light indicates it is
still charging. When the light goes off, it is finished charging.
Figure 2
2
Supported Devices
Go Wireless Electrode Amplifier can be used with supported mobile devices* that
are Bluetooth®Smart Ready and one of our apps.
iPad®(3rd generation or newer), iPad mini™, and iPad Air®
iPhone®(4S or newer)
iPod®touch (5th generation or newer)
Android™devices (for support requirements, see www.vernier.com/ga-app)
LabQuest 2 (for support requirements, see www.vernier.com/til/3134)
Data-Collection Apps
Go Wireless Electrode Amplifier can be used with one of the following apps:
Graphical Analysis for iOS devices (version 2.2 or newer) Available as a free
download on the App Store, use this app for advanced data collection and
analysis. For more information, see www.vernier.com/ga-app
Graphical Analysis for Android (version 2.1 or newer) Available as a free
download on Google Play, use this app for advanced data collection and analysis.
For more information, see www.vernier.com/ga-app
LabQuest 2 App (version 2.4 or newer) For more information, see
www.vernier.com/labq2
NOTE: Vernier products are designed for educational use. Our products are not
designed nor are they recommended for any industrial, medical, or commercial
process such as life support, patient diagnosis, control of a manufacturing process, or
industrial testing of any kind.
Specifications
Radio 2.4 GHz Bluetooth 4.0, Low Energy
Battery 100 mA Li-Poly
Units pH or mV
Input range ±1000 mV or 0 - 14 pH
Accuracy (mV) ± 10 mV (factory calibration)
Accuracy (pH) ± 0.5 pH (factory calibration)
± 0.1 pH (user calibration)
Battery life (continuously on,
1 sample per second) 3 days
Temperature range –10 to 45ºC (readings not compensated)
Maximum wireless range 30 m unobstructed
*For a full list of supported mobile devices, see www.vernier.com/gw-app

3
How Go Wireless Electrode Amplifier Works
The electrode amplifier handle is a circuit that allows a standard BNC electrode to be
monitored by a lab interface wirelessly.
Go Wireless Electrode Amplifier has one button and three LEDs.
Button
Press the button once to turn on Go Wireless Electrode Amplifier. A red LED
indicator flashes when the unit is on.
Press and hold the button for more than three seconds to put Go Wireless
Electrode Amplifier into sleep mode. The red LED indicator stops flashing when
sleeping and LED light is off.
Press and hold the button for more than eight seconds to reset the system. This
should not be necessary in normal operation. Note: This does not reset the sensor
calibration.
Blue LED
Indicates charging status when Go Wireless Electrode Amplifier is connected to the
Charging Cable or Charging Station.
On – charging in progress
Off – charging is complete
Red LED Flashing
Indicates Go Wireless Electrode Amplifier is awake and ready to connect.
Green LED Flashing
Indicates Go Wireless Electrode Amplifier is connected and taking data.
Red and Green LED Off
Indicates Go Wireless Electrode Amplifier is in the lowest power sleep mode.
Collecting Data
Collecting Data with Graphical Analysis for iOS devices
1. Press the power button on the Go Wireless Electrode Amplifier to turn it on. The
LED on the sensor will flash red.
2. Launch the app. Tap Create Experiment, then select Wireless Sensors from the
Select Source list. Select your Go Wireless pH from the list of available sensors.
When the sensor is paired with the software, the sensor LED will flash green.
Note: When you first connect to Go Wireless Electrode Amplifier, the units
shown are pH. To collect data in mV, tap the radio icon next to your sensor in the
Select Source list. Tap mV under Units.
3. Place the sensor tip into a beaker containing your sample. It is recommended that
you use a utility clamp or electrode support to fasten the Go Wireless Electrode
Amplifier and its electrode to a ring stand, as shown in Figure 3 for a pH
electrode. Note: To collect titration data, tap the wrench in the upper-right corner
of Graphical Analysis, and select Start Titration.
4
Figure 3
4. Tap Keep to store a data point into the table. You can change the sample
description or add a note here. Tap Done.
5. Rinse the electrode with distilled water before reusing it.
6. Collect additional data as desired. Rows will continue to add to the table.
Collecting Data with Graphical Analysis for Android devices
1. Press the power button on the Go Wireless Electrode Amplifier to turn it on. The
LED on the sensor will flash red.
2. Launch the app. Tap Create New Experiment, then select Wireless Sensors from
the Select Source list. Select your Go Wireless pH from the list of available
sensors. When the sensor is paired with the software, the sensor LED will flash
green.
3. If you are doing a titration, add the Volume column. Note: To collect data as
potential (mV), select Details from the overflow menu located on the action bar.
Tap Millivolts under UNITS.
4. Start data collection and collect data as desired.
Collecting Data with LabQuest 2 App
1. Press the power button on Go Wireless Electrode Amplifier to turn it on. The
LED on the sensor will flash red.
2. Choose New from the File menu. On the Meter screen, choose Go Wireless Setup
from the Sensors menu. Select your Go Wireless Electrode Amplifier from the list
of available sensors. When the sensor is paired with the software, the sensor LED
will flash green.
Note: When you first connect to Go Wireless Electrode Amplifier, the units
shown are pH. To collect data in mV, tap on the red box on the Meter screen,
select Go Wireless, then select Set Units, then mV. This setting will be
remembered until it is changed again.
3. Collect data as desired.
When you are finished making measurements, rinse the electrode with distilled
water. Store the electrode according to the manufacturer instructions.

5
Calibration Information
If you are connecting an ORP or ISE electrode, it is not necessary to calibrate since it
is a direct reading off of the electrode. Make sure you have switched units to
millivolts (mV) as described above.
If you are connecting a pH electrode, it is recommended to calibrate the Go Wireless
Electrode Amplifier once an electrode is attached via BNC. It is a simple process
that takes only a few minutes. You will need two or three buffer solutions.
Ensure that the BNC connection between the Go Wireless Electrode Amplifier and
the pH electrode is secure.
Figure 4
Calibrate the Go Wireless Electrode Amplifier Using Graphical Analysis App
1. Press the power button on the Go Wireless Electrode Amplifier to turn it on. The
LED on the sensor will flash red.
2. Launch the app. Tap Create Experiment, then select Wireless Sensors from the
Select Source list. Select your Go Wireless Electrode Amplifier from the list of
available sensors. When the sensor is paired with the software, the sensor LED
will flash green.
3. To enter the calibration screen on the app, access the sensor details dialog and
choose Calibrate pH.
iOS: Tap on the radio icon in the upper-right corner.
Android: Select Details from the overflow menu located on the action bar.
4. Rinse the tip of the electrode with distilled water, pat dry, and place the electrode
in the first buffer solution so the tip is immersed.
5. Once the voltage reading has stabilized, tap Add in the box under the appropriate
buffer pH. Note: If you are using a buffer not shown, tap on the buffer value to
change.
6. Repeat this process for two or three buffer solutions. Your stored calibration
equation will be shown under the table.
7. Tap Save to save to the amplifier.
This new calibration will be used automatically, regardless of the device to which
the amplifier is connected. If a different electrode is used with this amplifier, a new
calibration should be performed.
You can set the Go Wireless Electrode Amplifier back to its factory calibration by
following these steps:
6
1. Access the sensor details dialog.
iOS: Tap on the radio icon in the upper-right corner.
Android: Select Details from the overflow menu located on the action bar.
2. Tap Restore Factory Defaults.
Calibrate the Go Wireless pH Using LabQuest App
1. Press the power button on the Go Wireless Electrode Amplifier to turn it on. The
LED on the sensor will flash red.
2. Choose New from the File menu. On the Meter screen, choose Go Wireless Setup
from the Sensors menu. Select your Go Wireless Electrode Amplifier from the list
of available sensors. When the sensor is paired with the software, the sensor LED
will flash green. The pH reading will be displayed.
3. Choose Calibrate GW: pH from the Sensors menu and tap Calibrate Now.
4. Rinse the tip of the electrode with distilled water, pat dry, and place the electrode
in the first buffer solution so the tip is immersed.
5. Enter the pH of the buffer solution as the known value for Reading 1. When the
voltage reading stabilizes, tap Keep.
6. Rinse the pH electrode with distilled water, pat dry, and place it in the second
buffer solution.
7. In the Reading 2 field, enter the pH of the second buffer solution. When the
voltage reading stabilizes, tap Keep.
8. Tap OK to complete the calibration process.
This new calibration is saved onto the amplifier and will be used automatically,
regardless of the LabQuest to which the amplifier is connected. If a different
electrode is used with this amplifier, a new calibration should be performed.
You can set the Go Wireless Electrode Amplifier back to its factory calibration by
following these steps:
1. Choose Calibrate GW: pH from the Sensors menu.
2. Tap Restore Factory Defaults.
Battery Information
Go Wireless Electrode Amplifier contains a small lithium-ion battery. The system is
designed to consume very little power and not put heavy demands on the battery.
Although the battery is warranted for one year, the expected battery life should be
several years. Replacement batteries are available from Vernier (order code: GW-
BAT-100).
Use only the Vernier Go Wireless Charging Cable (order code: GW-CB) or
Go Wireless Charging Station (order code: GW-CRG) to charge the battery.
Storage and Maintenance of Go Wireless Electrode Amplifier
To store Go Wireless Electrode Amplifier for extended periods of time, put the
device in sleep mode by holding the button down for at least three seconds. The red
LED will stop flashing to show that the unit is in sleep mode. Over several months,
the battery will discharge but not be damaged. After such storage, charge the device
for a few hours and the unit will be ready to go.

7
Exposing the battery to temperatures over 35C (95F) will reduce its lifespan. If
possible, store Go Wireless Electrode Amplifier in an area that is not exposed to
temperature extremes.
Replacement Parts
Vernier Software & Technology
Part Order code
Go Wireless Charging Cable GW-CB
Go Wireless pH (electrode only) GW-PH-NP
Go Wireless Battery GW-BAT-100
Related Products
Go Wireless Charging Station (order code: GW-CRG)
Multi-sensor charging capability for your Go Wireless Electrode Amplifiers. The
Go Wireless Charging Station is the perfect solution for charging and storing your
Go Wireless Electrode Amplifier. For more information, see www.vernier.com/gw-
crg
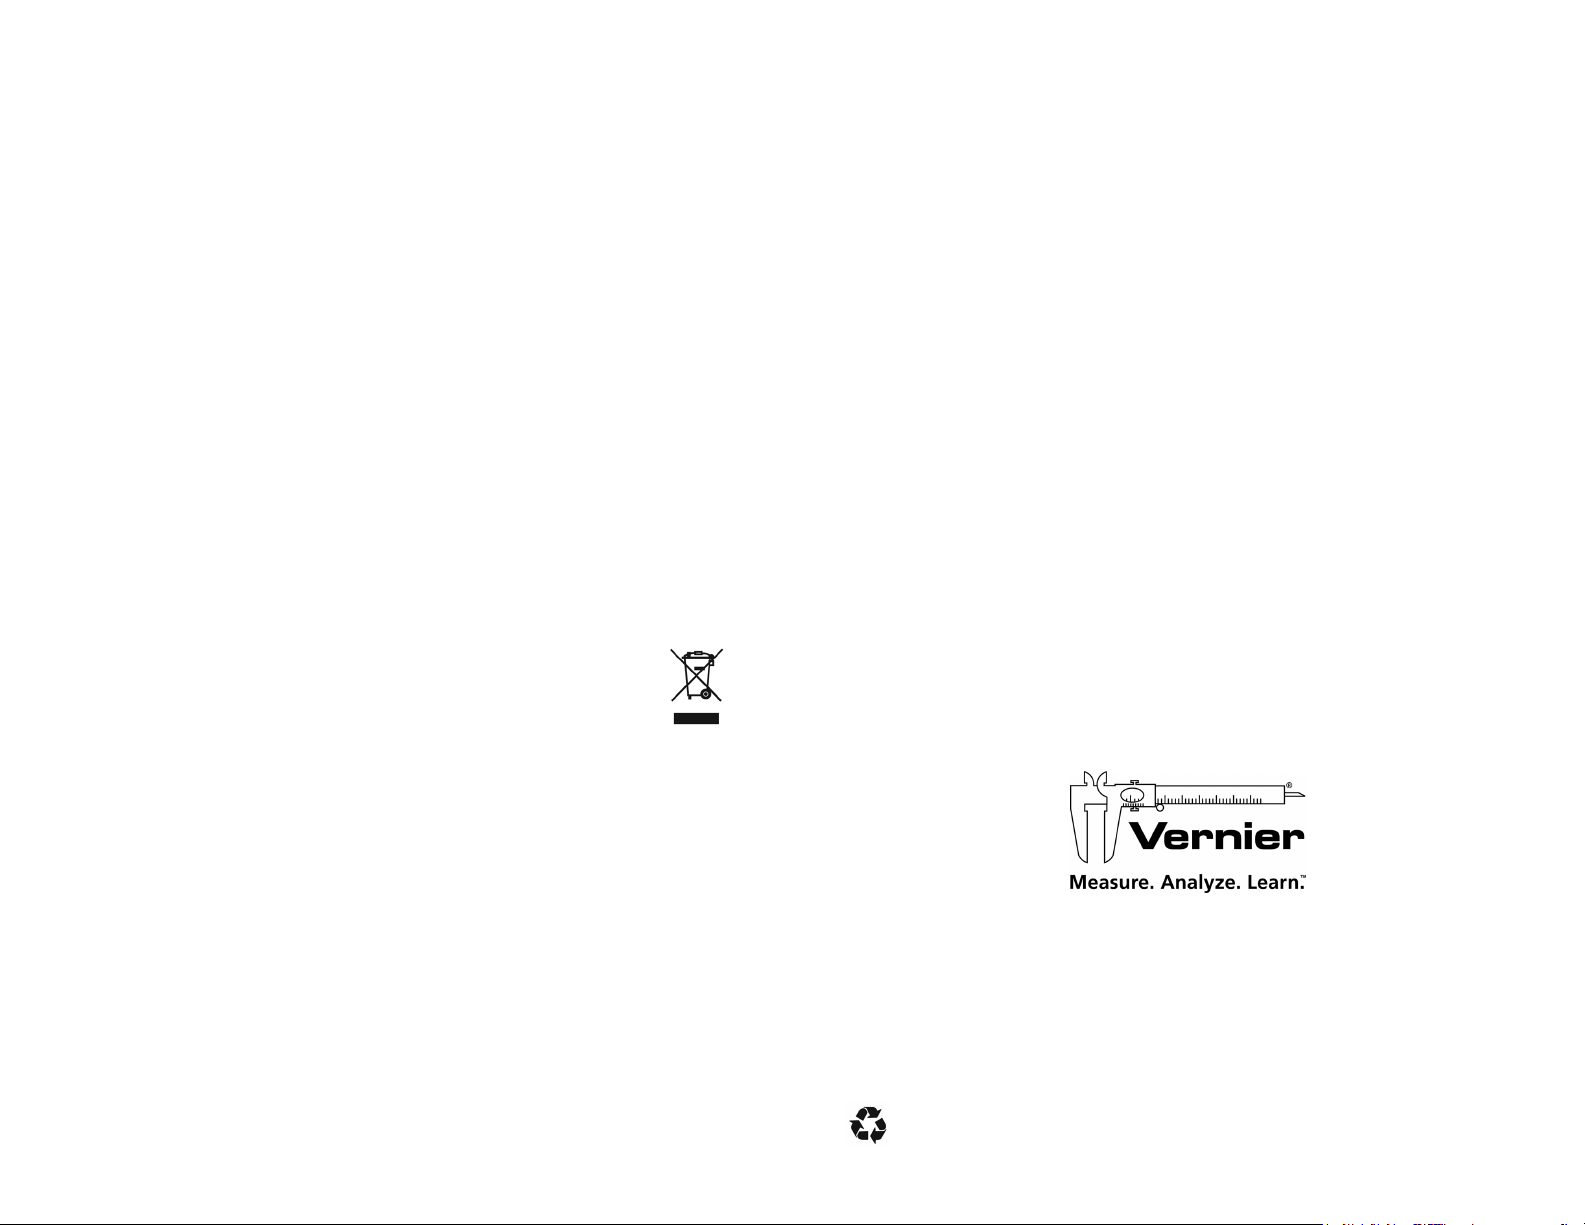
Disposal Instruction
When disposing of this electronic product, do not treat it as household waste. Its
disposal is subject to regulations that vary by country and region. This item should
be given to an applicable collection point for the recycling of electrical and
electronic equipment. By ensuring that this product is disposed of correctly, you help
prevent potential negative consequences on human health or on the environment.
The recycling of materials will help to conserve natural resources. For more detailed
information about recycling this product, contact your local city office or your
disposal service.
The symbol, shown here, indicates that this product must not be
disposed of in a standard waste container.
Warranty
Vernier warrants this product to be free from defects in materials and workmanship
for a period of five years from the date of shipment to the customer. This warranty
does not cover damage to the product caused by abuse or improper use. The battery
is covered by a one-year warranty.
8
Federal Communication Commission Interference Statement
This equipment has been tested and found to comply with the limits for a Class B digital device, pursuant to Part 15 of the FCC rules. These
limits are designed to provide reasonable protection against harmful interference in a residential installation. This equipment generates,
uses and can radiate radio frequency energy and, if not installed and used in accordance with the instructions, may cause harmful
interference to radio communications. However, there is no guarantee that interference will not occur in a particular installation. If this
equipment does cause harmful interference to radio or television reception, which can be determined by turning the equipment off and on,
the user is encouraged to try to correct the interference by one or more of the following measures:
Reorient or relocate the receiving antenna.
Increase the separation between the equipment and receiver.
Connect the equipment into an outlet on a circuit different from that to which the receiver is connected.
Consult the dealer or an experienced radio/TV technician for help.
FCC Caution
This device complies with Part 15 of the FCC Rules. Operation is subject to the following two conditions:
(1) this device may not cause harmful interference and
(2) this device must accept any interference received, including interference that may cause undesired operation
RF Exposure Warning
The equipment complies with RF exposure limits set forth for an uncontrolled environment. The antenna(s) used for this transmitter must not
be co-located or operating in conjunction with any other antenna or transmitter.
You are cautioned that changes or modifications not expressly approved by the party responsible for compliance could void your authority to
operate the equipment.
IC Statement
This device complies with Industry Canada license-exempt RSS standard(s). Operation is subject to the following two conditions: (1) this
device may not cause interference, and (2) this device must accept any interference, including interference that may cause undesired
operation of the device.
Industry Canada - Class B This digital apparatus does not exceed the Class B limits for radio noise emissions from digital apparatus as set
out in the interference-causing equipment standard entitled “Digital Apparatus,” ICES-003 of Industry Canada. Operation is subject to the
following two conditions: (1) this device may not cause interference, and (2) this device must accept any interference, including interference
that may cause undesired operation of the device. To reduce potential radio interference to other users, the antenna type and its gain should
be so chosen that the equivalent isotropically radiated power (e.i.r.p.) is not more than that permitted for successful communication.
RF exposure warning: The equipment complies with RF exposure limits set forth for an uncontrolled environment. The antenna(s) used for
this transmitter must not be co-located or operating in conjunction with any other antenna or transmitter.
Le présent appareil est conforme aux CNR d’Industrie Canada applicables aux appareils radio exempts de licence. L’exploitation est
autorisée aux deux conditions suivantes : (1) l’appareil ne doit pas produire de brouillage, et (2) l’appareil doit accepter tout interférence
radioélectrique, même si cela résulte à un brouillage susceptible d’en compromettre le fonctionnement.
Cet appareil numérique respecte les limites de bruits radioélectriques applicables aux appareils numériques de Classe B prescrites dans
la norme sur le matériel interférant-brouilleur: “Appareils Numériques,” NMB-003 édictée par industrie Canada. L’utilisation est
soumise aux deux conditions suivantes: (1) cet appareil ne peut causer d’interférences, et (2) cet appareil doit accepter toutes interférences,
y comprises celles susceptibles de provoquer un disfonctionnement du dispositif. Afin de réduire les interférences radio potentielles pour les
autres utilisateurs, le type d’antenne et son gain doivent être choisie de telle façon que l’équivalent de puissance isotrope émis (e.i.r.p) n’est
pas plus grand que celui permis pour une communication établie. Avertissement d’exposition RF: L’équipement est conforme aux limites
d’exposition aux RF établies pour un environnement non supervisé. L’antenne (s) utilisée pour ce transmetteur ne doit pas être jumelés ou
fonctionner en conjonction avec toute autre antenne ou transmetteur.
Vernier Software & Technology
13979 S. W. Millikan Way Beaverton, OR 97005-2886
Toll Free (888) 837-6437 (503) 277-2299 FAX (503) 277-2440
Rev. 6/15/2015
Go Wireless and Graphical Analysis are our trademarks in the United States. All other marks not owned by us that appear
herein are the property of their respective owners, who may or may not be affiliated with, connected to, or sponsored by
us.
Printed on recycled paper.
This manual suits for next models
1
Table of contents
Other Vernier Amplifier manuals