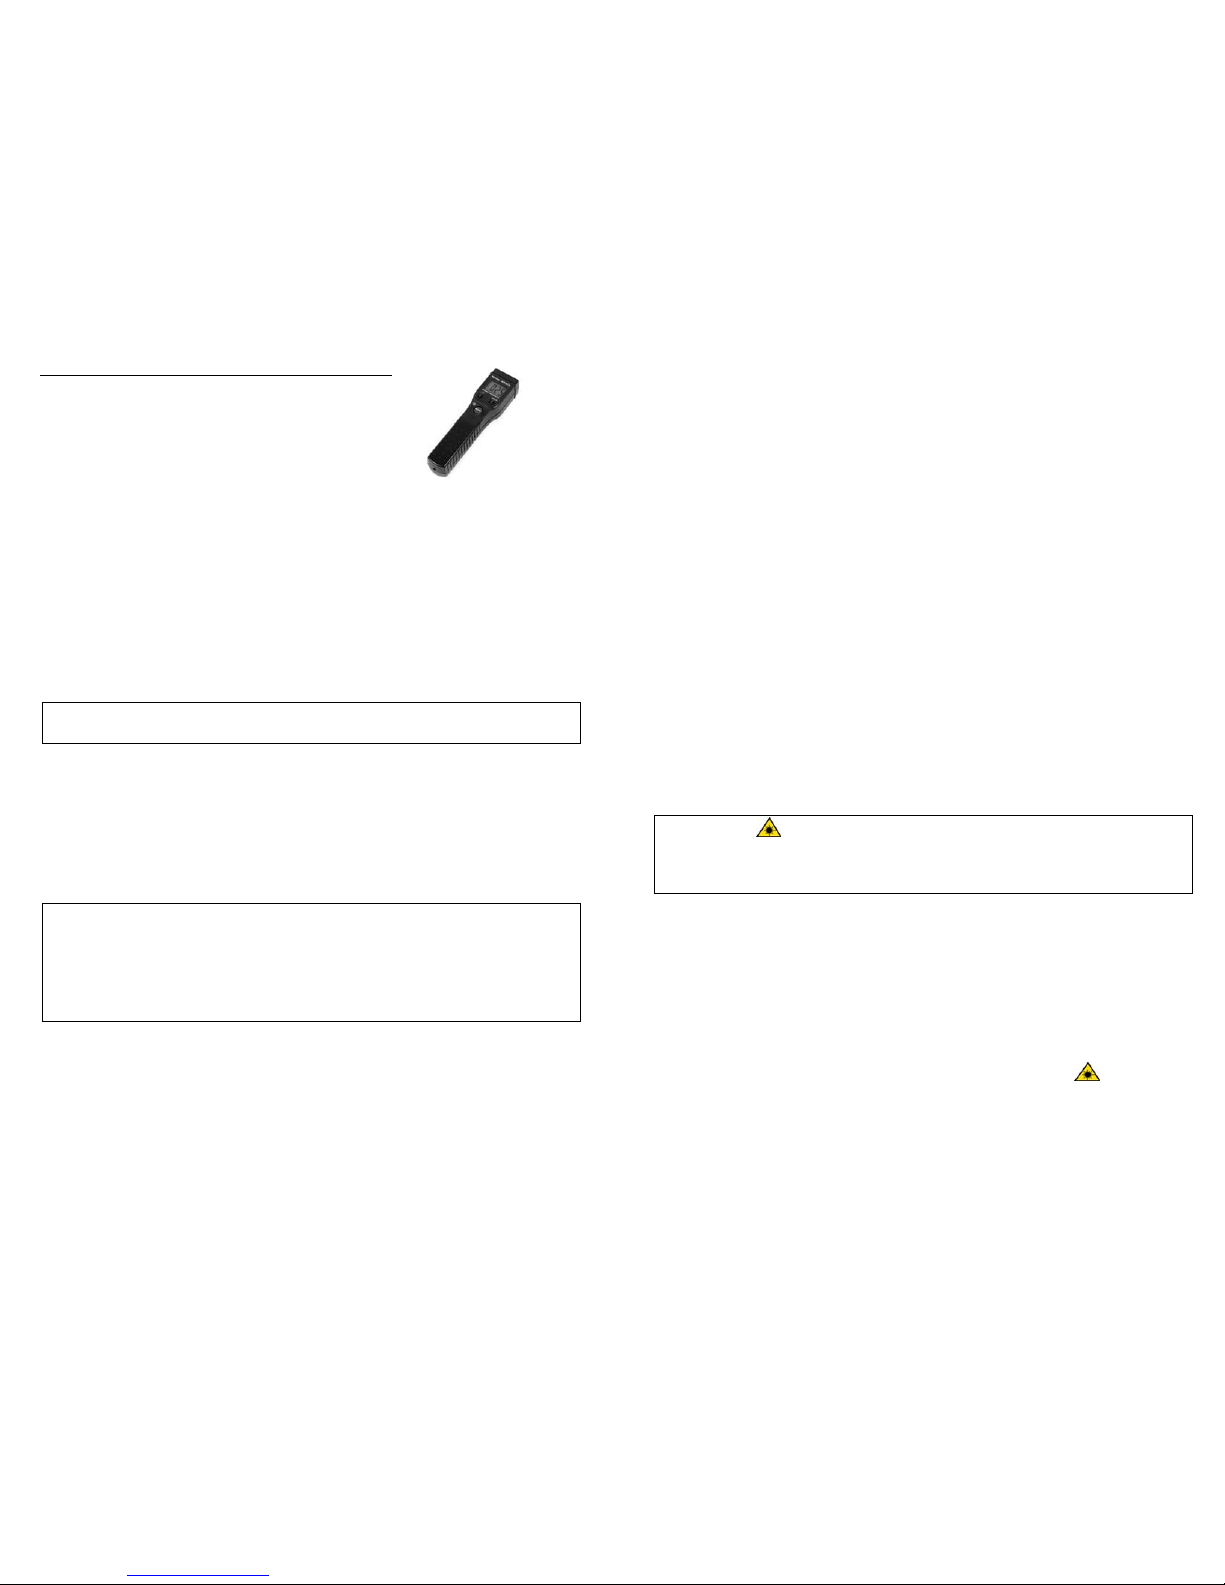
Infrared Thermometer
(Order Code IRT-BTA)
The Infrared Thermometer is a non-contact, fast-
responding temperature measuring device. The sensor
works by measuring the infrared radiation emitted by
objects. For most objects, you simply point the sensor at the object and read its
temperatures. Here are a few example uses of the sensor.
•Since the sensor responds so quickly, you can easily investigate skin
temperature. For example, compare the temperature of your palm to the back of
your hand, your forearm, or your foot.
•Demonstrate that most objects in the room are at equilibrium. For example, what
is the temperature of the table top that feels cold? Compare its temperature to
the temperature of the wall, the floor, or a book.
•Compare the surface temperatures of cars parked in the sun. Does color affect
the surface temperature? Is the surface hot enough to cook an egg?
•On a sunny day compare the temperature of asphalt, concrete and lawn.
NOTE: This product is to be used for educational purposes only. It is not appropriate for
industrial, medical, research, or commercial applications.
Items Included with the Infrared Thermometer
Check to be sure that each of these items is included in your sensor package:
•Infrared Thermometer (order code IRT-BTA)
•Cable to connect the sensor to a data-collection interface (order code CB-IRT)
•4 AAA batteries
•Infrared Thermometer booklet (this document)
•Omega Infrared Thermometer Manual
SAFETY INFORMATION: This sensor contains a laser that can be turned on and off. As
with any laser, caution must be exercised when using the sensor. The sensor emits laser
radiation, and therefore, should not be pointed at the eye. Pay special attention to the location
of the aperture, which is located next to the sensing element. Direct eye contact with the laser
beam may cause serious injury. Students should be reminded that this is not a toy, and it
should be kept out of reach of children. It is recommended that you read the Omega sensor
booklet that accompanies this sensor. It contains important safety information.
Infrared Thermometer Description
The Infrared Thermometer features automatic backlighting, simple on/off operation,
and laser circle sighting. The sensor can be used as a standalone meter, or it can be
connected to a data-collection interface, e.g., Vernier LabPro®, LabQuest®,
LabQuest®Mini, Go!®Link, CBL 2™, and Vernier EasyLink®, SensorDAQ®,
allowing data to be recorded on a computer, Texas Instruments graphing calculator,
or Palm Powered™handheld.
2
The sensing element of the Infrared Thermometer is located at the end of the sensor.
The sensor reading will appear in °C. When connected to a data-collection interface,
data can be collected in other units, e.g., °F and K. To the side of the sensing
element, you will find a clear plastic window. Behind this window is a laser that is
used to aim the sensor. Do not look into this window when the laser is enabled.
The infrared temperature measurement of this sensor is based on a fixed value for
the emissivity of the object. This value works well for lots of everyday objects, e.g.,
skin, wood, concrete, water, and glass; however there are objects that do not lend
themselves to this measurement, such as shiny metals. (See the section entitled
“How the Infrared Thermometer Works” for further information).
The sensor has a built-in light sensor located next to the MEAS button. This sensor
controls the automatic backlighting feature.
The Infrared Thermometer is powered by 4 AAA batteries that are inserted into the
back of the sensor. When the batteries are low, a low battery indicator will appear on
the LCD.
Panel Buttons
MEAS–This button turns the meter power on and off. When you press it once, the
meter turns on. It will remain powered for 30 minutes, at which time it will
automatically turn off. If you want to turn it off before then, press the MEAS button
a second time.
Hold–The Hold button is primarily used in the stand-alone mode. You can press the
button to hold the current meter on the screen. The sensor output also remains at that
value. If you are connecting the sensor to a data-collection interface, you probably
will not use this button.
Laser button ()–The laser button turns on a laser that shows a circular pattern. The
pattern helps you identify the region from which the measurement is made. Note that if you
are holding the object very close to the thermometer, parallax may prevent the laser sighting
circle from representing the measurement area.
Operating the Infrared Thermometer
Here are the general operating procedures:
1. Turn the sensor over, remove the small screw on the back, and insert 4 AAA
batteries. Replace the battery cover.
2. Press the MEAS button and point the sensor at an object to determine its
temperature.
3. The temperature measurement is made from a circular region. This circular
region gets larger as the sensor is moved away from the object. To better
determine the region of the measurement, press the laser button ( ). The
circular pattern shows the main region from which the measurement is made. To
improve the accuracy, the measurement region should be 1.5 to 2 times the size
of the circular laser pattern.
4. To turn the sensor off, press the MEAS button. Note: The sensor will
automatically shut off in 30 minutes.