Vesta FEC100 User manual

FEC100
Electric Convection
Oven
User’s Manual

Firstly, thanks for purchasing and using “Vesta” products. All the information and guidelines of
this user’s manual comply with certain applicable regulations, which come out from our long-term
accumulated knowledge and experience as well as current project development situations.
Limited to some special structures, additional specified items or new technology changes, the
actual usage situation might be some different from what stated in this user’s manual. Should you
have any question, please do not hesitate to contact the manufacturer via the method shown in back
cover page of this manual.
For safety purpose and efficient operation, please make this document available to users for
reference. Do have them to read this manual carefully before carry out any action on this device,
especially when starting.
The manufacturer declines any responsibility in the event users do not follow the
instructions or guidelines stated here.
The user’s manual should be placed close to the device, in convenience of users’ reading before
operation. We have the full authority to reserve the further technical changes of the device, in the
scope of further performance improvement characteristic development.
The lightning flash with arrowhead symbol, within an equilateral triangle, is intended to alert the
user to the presence of uninsulated “dangerous voltage” within the product’s enclosure that may be of
sufficient magnitude to constitute a risk of fire or electric shock to persons.
The exclamation point within an equilateral is intended to alert the user to the presence of
important operating and maintenance (servicing) instructions in the literature accompanying the
appliance.
Warning

◆Any self-modification, wrong installation, adjustment or maintenance can lead to property loss or
casualty. Please contact the manufacturer for any adjustment or maintenance, and have the work
done by a trained & qualified person.
◆For your safety sake, please keep the machine away from any liquid, gas or other object, which is
flammable or explosive.
◆This appliance should not be operated by those who have physiological, perceptual or mental
disabilities or those who have insufficient experience or knowledge (including children). Only in
conditions of being given sufficient supervise & guarantee of personal safety, as well as proper
instructions & guidance, those who were mentioned above can make some particular operation of
this device.
◆Keep children away from the device.
◆Preserve this manual safely. When passing on/selling the device to a third party, the manuals
must be handed over along with the device. All users must operate the device complying with the
user’s manual and related safety guidelines.
◆Do not store or use gas, liquid or object that is flammable or explosive in vicinity of the mounting
position.
◆If the appliance is placed near walls, partitions or kitchen furniture and the like, it is advisable to
make these facilities with non-combustible material, otherwise cover them with non-combustible
heat-resistant material, and pay attention to fire prevention regulations.

Contents
1.Functional Introduction..................................................................1
2.Specifications................................................................................1
3.Structure Schematic Diagram……................................................2
4.Basic Features & Parameters........................................................3
5.Precautions & Recommendations………………………….............3
6.Working Instructions & Operation Flow..........................................7
7.Electrical Diagram.......................................................................10
8.Cleaning & Maintenance.............................................................11

1
1. Functional Introduction
High-efficiency oven with a high-efficiency heating tube,10.5Kw Power, direct forced hot-air system,
208V/220-240V,50/60Hz,one or three phases.
Electronic temperature controller.
Double layer heat-resistant glass doors and windows with chamber light.
60 minutes continuous bell timer, also can be manually cut off.
Temperature range: 150℉(65℃)-550℉(288℃).
1/2-1/10HP two-speed air cooling fan & motor.
Cooling fan code.
With electric heating indicator light and power stand-by indicator light.
Stainless steel chamber with arc angles.
11 removable grid rail, space 1 5/8 ", 3 chrome net frames.
The top & front part are made by stainless steel.
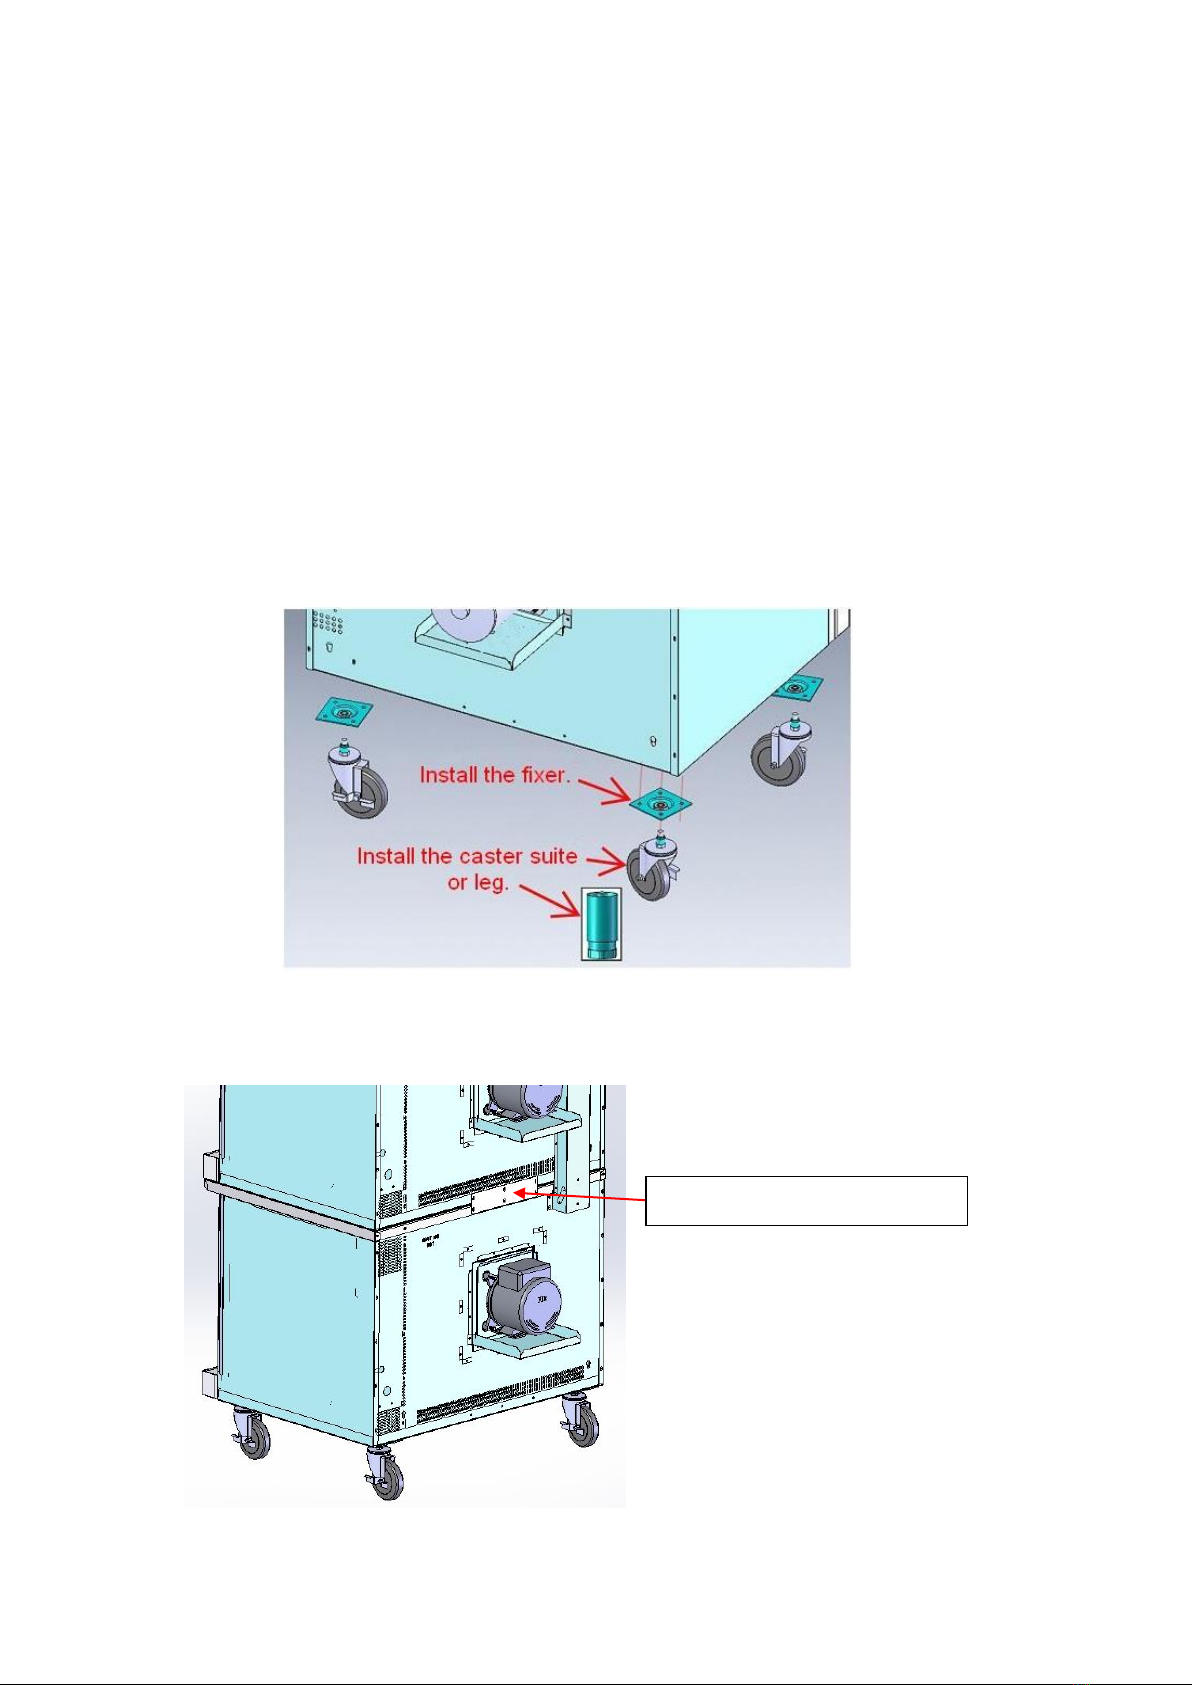
Black coating steel feet are adjustable.
Independent stainless steel door, double-layer heat-resistant glass window, with separate door
handles.
Stainless steel door seal.
Double equipment, superposition device.
Hinged control panel installed in the front, easy to disassemble & repair.
The top, side, back of the oven & the internal are made by industrial durable insulation materials.
2. Specifications
Full size electrothermal forced convection oven, single or double layer free combination, monolayer &
two-layer for free combination.
Standard specification:10.5Kw/layer, two-speed fan with cooling function, driven by the efficient
1/2-1/10HP air-cooling fan & motor.
The door interlocking switch have the function to turn off the motor & heating tubes automatically
when the door opened. In the air-cooling code, the fan is started when the door is opened for rapid
cooling. 60 minute timer with a continuous ring alarm, can cut off the valve manually. When the
electric heating tube works, the indicator light is illuminated.
Oven internal size: 29"(737mm)×20"(508mm)×22 1/4"(567mm), porcelain chamber, detachable 11 bit
grid rail, 1 5/8" (41mm)space , with 3 adjustable chromium nets.
Note: food can not be placed directly on the grid when cooking food.
The external size of the oven is: length: 38.1 "(968mm); width: 37.8" (961mm) without handle, 41.5 "
(1053mm) with handle, high: 29.2 "(742mm) without leg, its front, top and decorative strips are made
of stainless steel.
Independent of the open type stainless steel door, two doors can be opened separately, with 2-layer
heat-resistant glass, stainless steel seals and cool-touch handles for each door. The inside and
outside of the furnace is with 2 "industrial material for complete insulation. Standard bore lamp.

2
3. Structure Schematic Diagram
Stainless Steel Feet Version Caster Version Double Stacked Version

3
4. Basic Features & Parameters
FEC100 Electric Convection Oven
Dimension(mm)
968*1048*1374
Net Weight
105Kg
Packing Dimension (mm)
1200*1040*980 (wooden packing)
Gross Weight
Oven Capacity:(L)
29"(737mm)×20"(508mm)×22 1/4"(567mm) (Long x high x width)
Temperature Range (℃):(℉)
150℉(65℃)-550℉(288℃)
Power Parameters
Model
Total
power
(kW)
Voltage
Phases
Amps
Fan-50HZ
Fan-60HZ
L1
L2
L3
High
Speed
Low
Speed
High
Speed
Low
Speed
FEC100
9.0
208
3
27
24
27
1425
933
1710
1120
FEC100
10.1-11.9
220-240
3
30
27
30
1425
933
1710
1120
FEC100
9.0
208
1
43
--
43
1425
933
1710
1120
FEC100
10.1-11.9
220-240
1
50
--
50
1425
933
1710
1120
FEC100D
9.0
208
3
27
24
27
1425
933
1710
1120
FEC100D
10.1-11.9
220-240
3
30
27
30
1425
933
1710
1120
FEC100D
9.0
208
1
43
--
43
1425
933
1710
1120
FEC100D
10.1-11.9
220-240
1
50
--
50
1425
933
1710
1120
FEC100D-L
11.5
208
3
34
31
34
1425
933
1710
1120
FEC100D-L
11.5
208
1
55
55
1425
933
1710
1120
Remark:
Each device needs a separate electrical connection.
Only FEC100D and FEC100D-L can be assembly into aouble stacked version.
5. Precautions & Recommendations
5.1 Installation

4
1. Before beginning the installation, remove the packaging. A few parts are protected with an
adhesive film, which should be removed carefully. Remove any glue residual with the proper
substances, such as petrol; never use abrasive substances。
2. Mount the unit feet; the unit must be leveled; small differences of height can be solved by
adjusting the feet.
3. We recommend placing the unit under a suction hood so that vapor can quickly evacuate.
4. Install the unit at least 5cm from the wall if the wall does not bear a minimum temperature of
150℃(see Fig.1). If the unit is placed very close to the wall, partition walls, kitchen cabinets,
decorative walls, etc., we recommend that they are made with a non-combustible material with a
proper thermal insulation. Pay a lot of attention to regulations concerning fire prevention.
Fig.1
Do not locate the oven adjacent to any high heat or grease-producing piece of equipment, such as a
range top, griddle, fryer, etc., that could allow radiant heat to raise the exterior temperature of the oven
above 130℉(54℃). Do not mount above other cooking equipment.
5. Law provisions, technical regulations and directives:
The manufacturer declares that the appliances comply with the EEC directives and the particular
reference regulations. The manufacturer requires the installation to be performed according to the
regulations in force. Before installing, check that the following provisions are met:
⚫Building regulations and local fire prevention measures
⚫Accident prevention regulations in force
⚫Local Gas Board regulations
⚫Local electric energy supply Board regulations
6. Notes for the installer:
⚫Explain and demonstrate how the appliance works to the user according to the instructions, and
hand him the user’s manual.
⚫Remind the user that, in the event of any structural alterations or modifications to the room that
houses the appliance, the appliance functions must be rechecked.
7. Room ventilation:
⚫The room where the appliance is installed must be fitted with air intakes to guarantee the correct
operation of the unit and air exchange
⚫Do not install the appliance close to other units that can reach high temperature: the electrical
components might be damaged.
⚫During installation, make sure the air suction and evacuation ways are free from any obstacles.

5
5.2 Electric Connection
1. Before connecting the appliance to the network, check the following:
⚫Network voltage corresponds to the data written in the plate.
⚫Grounding is efficient.
⚫The connection cable is suitable to the power absorbed by the appliance.
2. Place a device before the appliance itself that allows the unit’s disconnection from the mains
circuit in an omnipolar way; this device must have an opening of contacts of at least 3mm. safety
switches can be used. The omnipolar switch must be close to the appliance, be approved and
have a section suitable to the appliance.
3. The cable must be the Oil resistant type. The YELLOW-GREEN ground cable must be longer
than the others in the event that, if the cable stopper breaks, the cable will disconnect after the
tension cables. The YELLOW-GREEN cable must never be broken. The yellow-green cable
must be connected to the terminal firstly and then connected to the outer layer. The grounding
element must be attached to the machine enclosure.
5.3 Adjustable Foot And Caster Installation
⚫When install the adjustable foot, make the mounting screws into correct position and tighten up.
According to the machine balance , could adjust the screw on the feet to make stable.
⚫Caster installation:
1. The casters with the brakes are installed in the front, and the casters without the brakes are
installed in the rear.
2. The electric convection oven equipped with caster must be installed the limit devices at the same
time. To limit the pulling power cord or connector (below D), this device can soft connect oven
back and the wall or floor.
3. The chain or wire rope are available to use for connection material(below E). One end is fixed on
the wall or the ground (below C), another end is fixed at the back of the oven (back strip gaps, the
following figure location B); The fixed length is no more than 4/5 of the power cord(figure D).
Vesta does not provide the required connection materials and joints.
Fig.2

6
5.4 Usage Considerations For Double Stacking
1. If two appliances are needed for simultaneous operation, to save space, these two products can
be stacked together to use.
2. During stacking, replace the long leg with 6” leg or caster as indicated in Fig.3.
Fig.3
3. Fix the intersection area between the top and bottom appliance with a connecting panel as
indicated in Fig.4.
Fig.4
A Oven Back
B Limiting Position (the another end is fixed to the wall or ground)
C Fixed on the wall
D Power cord
E Chain
Install the connecting panel.

7
4. If the double stacked version is equipped with casters, a restraining device, which should be fixed
to the bottom appliance, must be installed to limit the movement of the appliance. See 5.3 for
installation.
CAUTION:
–This product has two power supply cords. Connect each Power Supply Cord to a receptacle that is
connected to an individual branch circuit. Disconnected both cords before moving or servicing this
appliance.
–Only FEC100D and FEC100D-L can be assembly into double stacked version.
5.5 Warnings
1. Always supervise the appliance while being used and never let it run while empty.
2. The appliances do not require special adjustment assistance from specialized personnel if the
adjustments are carried out by the user during the use of the appliance.
3. Use only the accessories recommended by the manufacturer.
4. During the initial uses of the appliance, an acrid or burning smell may be detected. This will
disappear after two or three uses.
5. After use, the areas are hot for a certain amount of time (residual heat). Avoid resting your hands
on them and allowing children to get too close.
6. These are very important regulations; if they are neglected, the appliance may not perform
properly or the user may be placed at risk.
7. The appliance is strictly for professional use and must be used by qualified personnel.
8. The installation, start-up and maintenance of the appliance must be carried out by qualified
personnel.
9. All installation works must be carried out according to the law in force. The manufacturer is not
responsible for damages due to an incorrect installation, bad maintenance or incorrect use.
6. Working Instructions & Operation Flow
6.1 Operating the Controls
A convection oven is a different type of oven that offers many features and advantages to the food
service operation. The additional capabilities and features of the oven require some learning. However,
the operation of the oven is not difficult to understand or control once you have some practice. See the
controls in the following feature:

8
6.2 Operations
Turn the oven ON and select a cooking temperature. Two additional controls are used to control the
fan (as described below).
The timer is a reminder to you of when to remove food from the oven. The timer does not control the
temperature of the oven.
Fan Mode:
In COOK mode, the fan runs continuously
except when the doors are open. The fan does
not cycle with the operation of the burners. In
COOL mode, the fan runs continuously even if
the doors are open. To rapidly cool the oven
after cooking is completed, open the doors and
switch the fan mode to COOL.
Power Switch:
Switch ON to use the oven, switch
OFF when do not use.
Cook Timer:
Turn knob to set a time duration. An
alarm will sound when the timer runs
out. Turn the knob to OFF to cancel
the alarm. The timer is a reminder to
the user; the timer does not control
the oven.
HEAT-ON Indicator:
The HEAT-ON indicator will light
when the burners are on and will
remain on while the oven preheats.
Power light
Switch ON,and the light on.
Switch OFF,and the light off.
Cook Temperature Control:
Turn the knob to desired temperature.
When the set point is reached, the
HEAT ON indicator will be off. When
the burners maintain in the set
temperature, the indicator will cycle on
or off.
。
HI/LOW Fan Speed:
Use to select fan speed (HI or LOW). The
appropriate speed is determined by the
type of food being cooked.
Oven Interior Light Switch:
Press to turn on the light.
The light is controlled independently.

9
To cook, do the following:
1. Turn the oven ON using the Power Switch at the top of the control panel.
2. Select the desired fan speed using the Fan Speed switch. The appropriate fan speed (HI or LOW)
depends on the type of food being cooked.
3. Switch the Fan Mode switch to COOK. The fan will run continuously when the oven doors are
closed (the fan does not cycle on and off with the burners). (If this switch is set to COOL, the only
difference is that the fan will continue to run when the oven doors are open.)
4. Set the cooking temperature by turning the Cook Temperature Control until the indicator mark on
the knob is pointed to desired cooking temperature. The HEAT ON indicator will light when the
burners are on and will remain on while the oven preheats.
5. Wait until the HEAT ON indicator has come on and gone out three times.At that time the oven will
have reached the set cooking temperature.
6. Open the oven doors, load the product into the oven, and close the doors.
7. You can use the Cook Timer as a reminder of when to remove the load from the oven. If so
desired, turn the Cook Timer knob until the indicator mark points to the desired cooking time (up
to 60 minutes). The timer knob will rotate counterclockwise as the timer runs down, indicating
how much time remains. You can turn the knob while cooking to increase or decrease the
remaining time. When the timer runs out, a buzzer will sound (To immediately silence the buzzer,
turn the Cook Timer knob to the OFF position.) The timer is a reminder to you; the timer does not
control the oven.
If you open the oven doors, the burners and fan will shut off until the doors are closed. However,
the timer will continue running even if the doors are open.
For ovens that are equipped with an oven interior light, to turn on the light, press and hold the
switch located at the bottom of the control panel.
8. When the load has finish cooking, you can rapidly cool the load by opening the oven doors (which
will shut off the burners) and switching the Fan Mode to COOL (which will cause the fan to run
even though the doors are open). For the most rapid cooling, also switch the Fan Speed switch to
HI.
9. When you are done cooking, turn the Cook Temperature Control to the lowest setting (fully
counterclockwise) and switch the Power Switch to OFF.

10
7. Electrical Diagram
3PH/1PH
XL---connecting terminal
S6---fan switch(HI or LOW)
KM1/KM2---AC contactor
HL1---interior light
EH1 EH2 EH3--- electric heating tubes
HL2/HL3---indicator light
QF---air switch
M---motor
S1---protection switch of Electrical box
PT---timer
S2---power switch
HA---buzzer
S3---Door control
IC---electronic thermostat
S4---interior light switch
θ---temperature limiter
S5---cooling switch

11
8. Cleaning & Maintenance
1. Before cleaning, switch off the unit and let it cool down.
2. Carefully clean daily the appliance to guarantee its proper operation and long life.
3. Steel surfaces must be cleaned with a dish washer detergent diluted in very hot water by using a
soft cloth; for the toughest dirt, use ethylic alcohol, acetone or another non-halogenated solvent;
do not use abrasive powder detergents or corrosive substances such as hydrochloric acid,
muriatic or sulphuric acid. The use of acids can affect the unit’s operation and safety. Do not use
brushes, steel cottons or abrasive disks made with other metals or alloys that might cause rust
stains due to contamination. For the same reason, avoid contact with iron objects. Do not use
steel cottons or stainless steel brushes because whilst they will not contaminate surfaces, they
can cause damaging scratches.
4. Metal powder, metal shavings from working and iron material in general, when in contact with
stainless steel surfaces, can cause rust stains. Superficial rust stain might be present on new
appliances and they can be removed with a detergent diluted in water and a Scotch Brite sponge.
If dirt is tough, do not use sandpaper or rough paper, but use synthetic sponges (for example
Scotchbrite sponges).
5. Do not use substances for cleaning silver and be careful with hydrochloric or sulphuric vapors
coming from floor washing products, for example. Do not aim water jets directly on the appliance,
it might be damaged. After cleaning, rinse properly with clean water and dry carefully with a cloth.
6. The appliances are made in a way that little maintenance is necessary. Despite this, we
recommend that the user subscribes to a maintenance agreement to have the appliance checked
at least once a year by the specialized personnel of our assistance service or by a specialized
technician.
7. Before carrying out any maintenance or repair, disconnect the appliance from the gas
network or cut off the mains. Use only original spare parts supplied by the manufacturer.
8. If the appliance is not used for long period of time, please clean the equipment and the
surrounding areas properly. Pour a small quantity of cooking oil on the stainless steel surfaces.
Carry out all maintenance operations. Cover all appliances with a suitable material and leave a
few openings to allow air to circulate.
Table of contents
Popular Oven manuals by other brands

Cuisinart
Cuisinart TOA-95C Series INSTRUCTION AND RECIPE BOOKLET

Nectre Fireplaces
Nectre Fireplaces Baker's Oven Installation & operating instructions

NEFF
NEFF C28MT27G0 User manual and installation instructions

Electrolux
Electrolux EOM4P46TX user manual

Siemens
Siemens HB.78BB.6 User manual and installation instructions

GE
GE JK3800DHBB owner's manual