Viewpro ROC 4 User manual

1 of 13
Hexacopter ROC 4
User Manual
ViewproUAV Tech. Ltd

2 of 13
I. Instructions
Thank you very much for choosing this product. If you want to know more about this product beyond the user manual, please
visit our website or contact with our sales.
To use this product before , please read this statement carefully. Once used, this statement will be deemed to have been fully
accepted and accepted internally. Please strictly comply with the user manual to install and operate this product. Viewpro will not
be liable for any damage or damage caused by improper installation and use of the product.
Safety Caution
1) When this product works, the high-speed rotation of the propeller will bring different degrees of damage and damage to
people and articles. Therefore, when you use this product, please do not use it in places with many people or complicated
environment.
2) Please abide by local laws and regulations when using any products of our company.
3) Before use, please read the operation manual carefully and watch the video of the aircraft operation process. Our company
will not be liable for any loss caused by violation of the relevant operation process.
4) Do not modify the parameters of the remote control. When it is used, the remote control must be turned on before the
aircraft is powered on. When power is cut off, the remote control must be turned off before the aircraft is powered off.
5) Do not overcharge or put the battery long time with full or low capacity. The two connectors should be connected to the
charger at the same time to charge the battery. The red light is always on during charging, and the green light is on after
charging;The storage voltage of a single battery is controlled at about 3.85V, the total voltage of a 3S battery is controlled at
about 11.55V, the total voltage of a 4S battery is controlled at about 15.4V, and the total voltage of a 6S battery is
controlled at about 23.1V.
6) Before the flight mission, please confirm the battery voltage;
7) Keep away from unsafe factors, such as obstacles, people, children, buildings, high-voltage lines, trees, etc.
8) Do not get close to or touch the rotating motor or propeller to avoid being cut by the rotating propeller.
9) Be sure to fly under the safe take-off weight in case of danger.
10) Before flight, please check whether the propeller and arm are properly installed and firmly.
11) When using the ground station to operate the UAV, the captain and pilot should have relevant operating qualifications.
The operator must have relevant experience in aircraft operation.Novices must be trained in simulators to operate the training
machine after they have mastered the simulated aircraft.

3 of 13
II. Packing List
1
Drone body × 1
2
Motor arm ×6
3
Motor arm disassembling rubber gloves ×1
4
Propeller ×6
5
6S 27000mah lion battery ×4
6
Battery charger ×1
7
Remote controller ×1
8
Remote control battery charger ×1
9
Landing gear ×1
10
30km Image Link ground end ×1
11
RTK radome ×2
12
Accessory package ×1
Other
III. Assemble ROC 4
Step 1: Assemble Landing Gear
The assemble of landing gear is like the picture show above. In order to facilitate disassembly and assembly, four
hand screws are provided. In addition, 4 anti-skid nuts are provided, which should also be installed.
Tip: if you fly for a long time, be sure to install the jam nut, otherwise the landing gear and gimbal will fall off!
Step 2: Assemble image link antenna
Step 3: Assemble motor arms

4 of 13
There are m1-m6 numbers on the fuselage and arm respectively.
Please install m1-m1, m2-m2, m3-m3, m4-m4, m5-m5 and m6-m6 respectively.

5 of 13
Tip: As the picture show above. when disassembling and installing, please force along the straight line to avoid
bending the banana plug. Do not shake up, down, left and right to push in or pull off the plug.
After the alignment and insertion, tighten the structural parts of the machine arm. After tightening, the friction
of the boom structure is very large. We have provided you with a rubber glove to easily unscrew and remove the
arm.
Tip: If you don't take a rubber gloves around, you can wrap a few circles with a slightly wet rag or clothes to
facilitate unscrewing.
1—ESC signal GND
2—ESC PWM signal
3—Battery +
4—Battery +
5—Battery –
6—Battery –
For better heat dissipation performance, the electric regulator is installed at the end of the machine arm and
below the motor. The banana head of the machine arm is a double backup power supply positive and negative
poles and an electric regulation signal line.
Tip: Do not plug or unplug the machine arm when powered on. The high voltage between plugs will cause
ignition and blacken the banana plug, which is easy to cause poor contact later.

6 of 13
Step 4: Power On
Install the batteries and power on.
Battery group 1 and battery group 2 are the same, when you fly with just 2 batteries, you need connect them
ether in group 1 or group 2, or it can’t be powered on.
Tip: When only two use batteries, please pay attention to fix the other two battery plugs or insulate them. To
avoid accidental contact with other conductors and short circuit.
Step 5:Connect drone, do compass calibration
1Connect feeders and antennas of data& image link.
2Open Mission Planner, choose comport(or choose Auto), choose Baud rate 115200, then connect.
3Calibrate compass.

7 of 13
4Setup→Mandatory hardware→compass→start.
5usually we only open external compass, if you use two compass you should set external compass with the
highest priority.
6Click start than hold the aircraft and rotate it in six directions: horizontal, left, right, up, down and back until
the ground station shows that the calibration is successful.
Tip:You need to calibrate your compass when the new place is hundreds kilometers away from last one.
Step 6: Assemble propellers
Tip: Please Keep power off during installation to ensure safe.
Rotations:CW=Clockwise CCW=Counter Clockwise

8 of 13
1Assemble propellers
M1,M3,M5——CCW
M2,M4,M6——CW
If it is not removed frequently, an appropriate amount of screw glue can be used to prevent the screws from
loosening. If no screw glue is added. You need to check the propeller screws every time you take off.
TIPS:Please ensure rotations of propeller are right!

9 of 13
IV. Fly
· RC Settings
Drone part
Gimbal part

10 of 13
·Pre-flight Inspection
1Find a open place, less obstacles, beyond water. Because when emergency Return To launch, due to positioning deviation, it
may deviate from the home point during landing (within 5m when positioning is normal)
2Keep 10m away from drone when operation it to ensure safe. Ensure take off place clear, be careful of children and all people
should behind pilot
3Power on RC
4Check image& data link antenna has installed, power on drone
5Power on image& data link, connect drone in Mission Planner
6Confirm battery voltage normal and no error is reported on HUD interface
7Check propellers’ CW and CCW. M1M3M5 is CCW, M2M4M6 is CW
8Change flight mode to GPS Mode, lowest Throttle Stick and Keep Yaw Stick to right corner for 3 seconds. Drone will ARM,
motors idling. At this time, check rotations of motors. M1M3M5 should be CCW, M2M4M6 should be CW (like the picture
below). Drone will auto DISARM after 5 seconds. You can do ARM operation several times to ensure motors all
Tip: Wrong propeller assembling and motor rotation will cause clash when takeoff!
·Takeoff
1Make sure drone head forward(red arm on forward side)
2ARM(Throttle Stick lowest, Yaw Stick rightmost)
3Throttle Stick move up slightly but decisive, when Throttle Stick is more than half, drone will takeoff. Keep Throttle Stick more
than half, fly drone ascend to 3-5m high.

11 of 13
·LED meanings
V. Charger

12 of 13
I. Operation Procedure
1. Power on: connect to the power source and turn on the power switch. A beep sound will be heard, and the LCD screen
will be displayed as below:
2. Battery connection: Please connect your batteries to PC1080 charger as below:(Note: Be aware that the Lithium battery
to be charged should be 6 cells. Make sure the battery balance lead and charging lead are connected correspondingly to the
charger.)
3. Parameters settings
4. Stop: if you'd like to terminate charging during the charging process, press Under Master- Slave mode, any operation
must be carried out on the Master channel.
5. Finish: In charging mode, when the charging process comes to an end
II. Storage
If a Lithium battery is not used for long time, it's highly recommended to charge or discharge the battery to 3.9V with STORAGE

13 of 13
mode so as to extend the battery life. If the battery voltage is higher than 3.9V, the charger will discharge the battery; If battery
voltage less than 3.9V per cell, the charger will charge the battery under STORAGE mode
III. Switch between LIPO and LIHV
Press and hold ↑and↓at the same time for 5 seconds until the corresponding battery type appears on the screen
ViewproUAV Tech. Ltd
Website: www.viewprouav.com
Support: [email protected]
Tell: +86 755 8605 2486
Addr.: Rm 2303, 23th Fl, East Block B, Coast Times APT, Shennan Blvd, Nanshan Dist, Shenzhen, China
Table of contents
Other Viewpro Toy manuals
Popular Toy manuals by other brands
Top Flite
Top Flite FW 190 instruction manual
Eduard
Eduard Zoom A6M2-K S.A. manual

QSI
QSI quantum Operation manual
SG Models
SG Models SEA 99N Assembly manual

MGA Entertainment
MGA Entertainment Lalaloopsy Silly Hair Stars manual

Fisher-Price
Fisher-Price LEARNING PATTERNS Fill & Spill Birdies B0004 instructions

Girl tech
Girl tech Password Phone G8067 instruction manual

LEGO
LEGO Wall-E 21303 Building instructions

Fisher-Price
Fisher-Price 77770 Owner's manual with assembly instructions
ROBBE
ROBBE ASW 15 Assembly and operating instructions
3D Hobby Shop
3D Hobby Shop YAK55 Assembly manual
Eduard
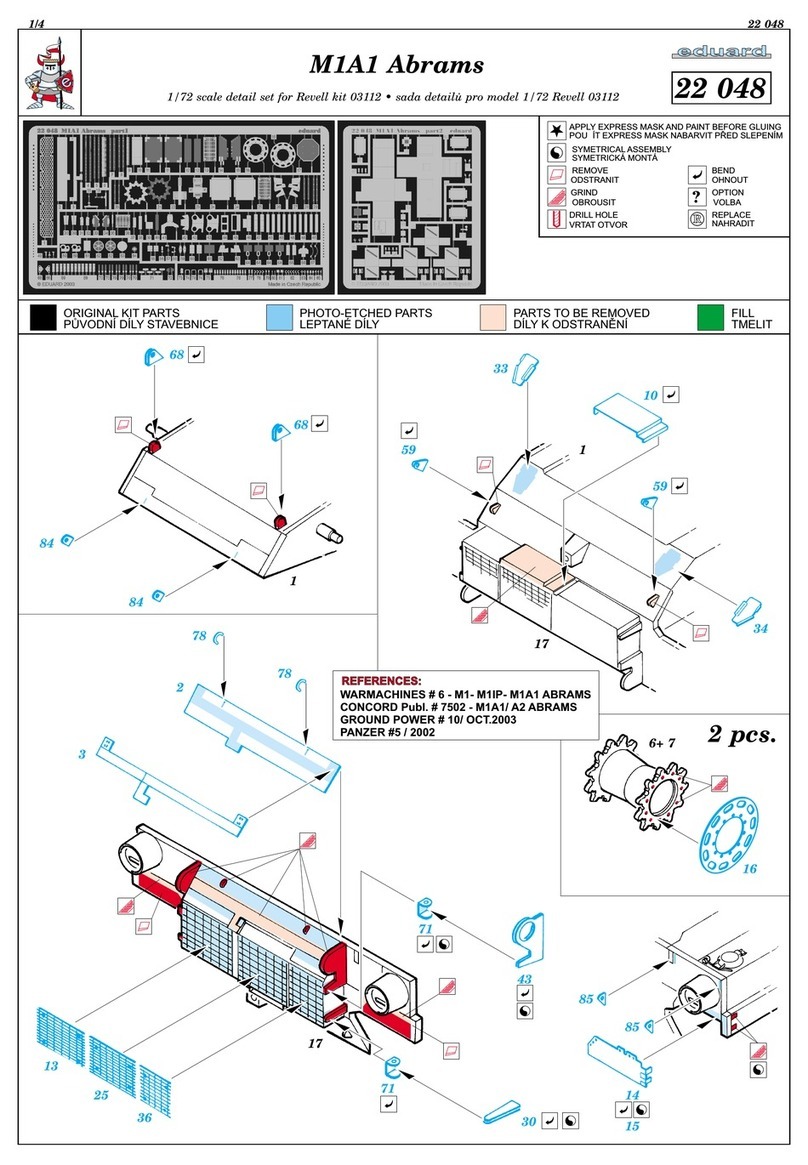
Eduard M1A1 Abrams manual
