3
Safety
Important information on the safe installation and operation of
this product. Read this information before operating the product.
For your personal safety, read these instructions.
The instructions must be followed in the order they are
presented.
Do not operate the product if you do not understand how to use
it safely. Save these instructions for future reference.
Warning Symbols Used in these Instructions
Safety cautions are included in these instructions. These safety
instructions must be followed to avoid possible personal injury and
avoid possible damage to the product.
!
WARNING!
Where there is a risk of personal injury or injury to
others, comments appear supported by the warning
triangle symbol.
Where there is a risk of damage to the product,
associated equipment, process or surroundings,
comments appear supported by the word ‘CAUTION’.
ELECTRIC SHOCK
Where there is a risk of electric shock, comments
appear supported by the hazardous voltage warning
triangle.
WARNING! Risk of electric shock. Always disconnect and
isolate the product from the power supply before attempting
any servicing or removing the covers.
!CAUTION! This product must be connected to a power
supply of the same voltage (V) and current (A) as indicated
on the product. Refer to the technical specications for the
product.
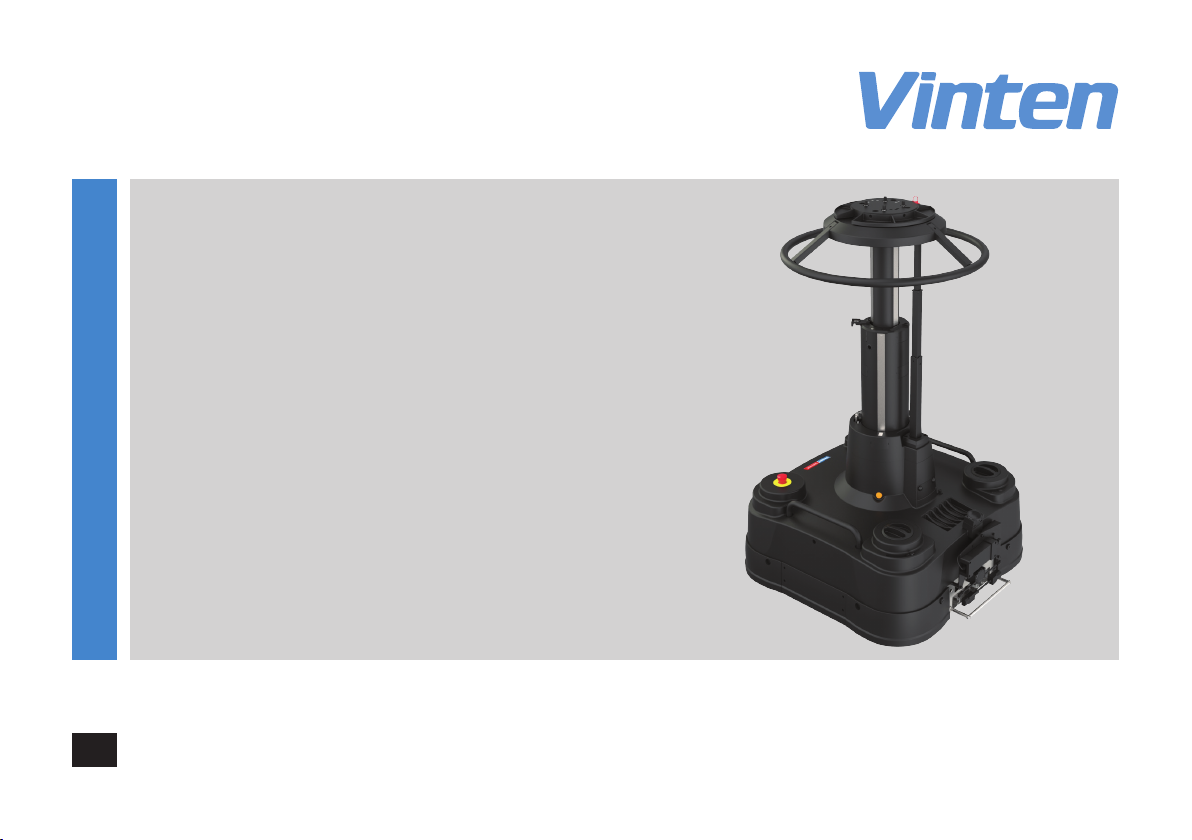
Intended Use
The FP-210+ is designed for use within television studios, supporting
a payload weighing up to 95 kg (210 lb). The total payload must
not be exceeded. The operator can remotely control the pedestal
movements and positioning around the studio as well as controlling it
manually.
This product is intended for use by television camera operators
trained to use Vinten robotic equipment. Do not use this product for
any other purpose other than that specied in this usage statement.
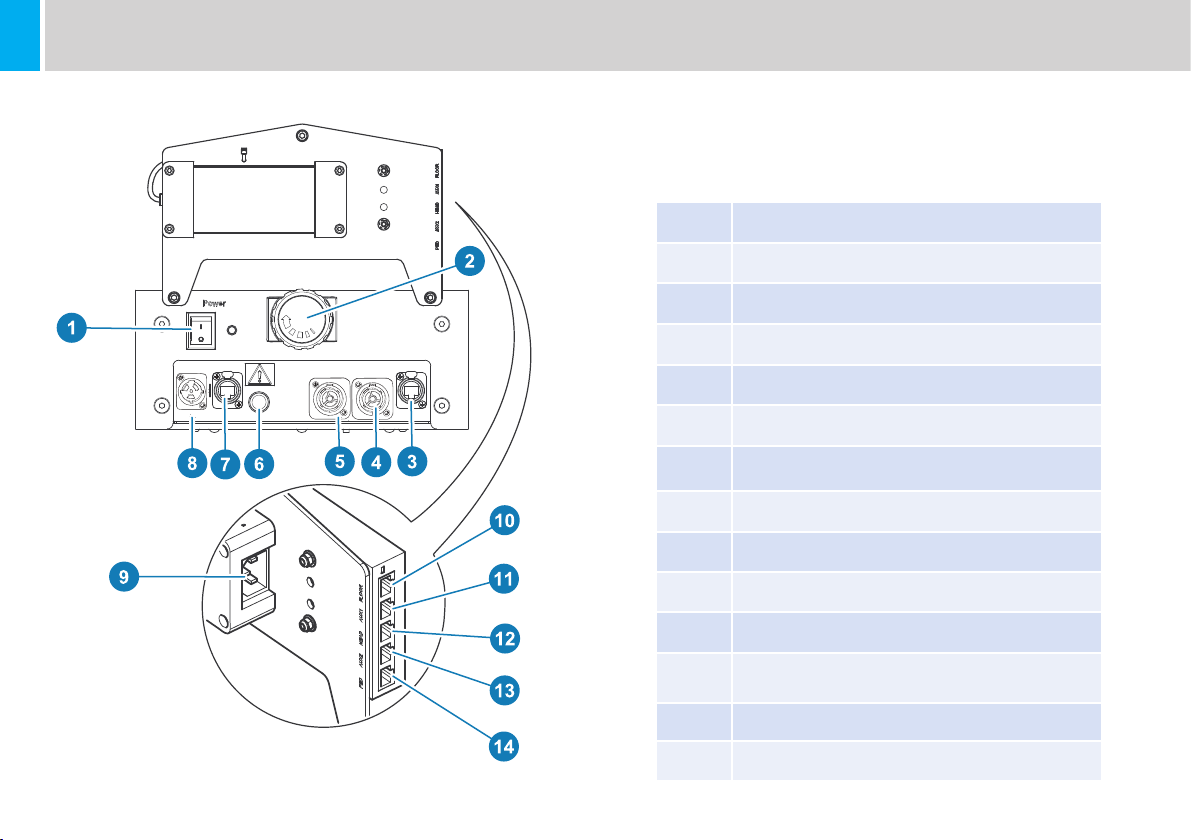
Electrical Connection
WARNING! Risk of electric shock. Always check cables for
signs of damage. Damaged cables can cause personal injury
and/or damage the equipment.
WARNING! It is the responsibility of the local organisation to
ensure that the product is periodically checked for electrical
safety in accordance with local regulations.
!CAUTION! All connections to other devices must be made
using shielded cables.
!CAUTION! Using alternative power sources will invalidate
the system EMC liability.
!CAUTION! Do not exceed the current output limit of the
product when powering auxiliary devices.
!CAUTION! Always use a fuse of the correct type and rating
for the product. Refer to the Technical Specications for the
product.
!CAUTION! The product must be connected to the AC supply
using a 30 mA RCD unit.