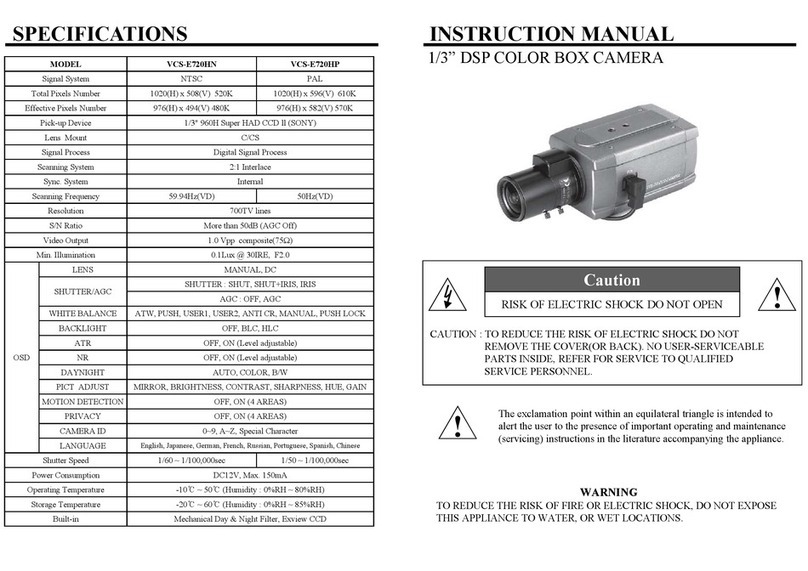
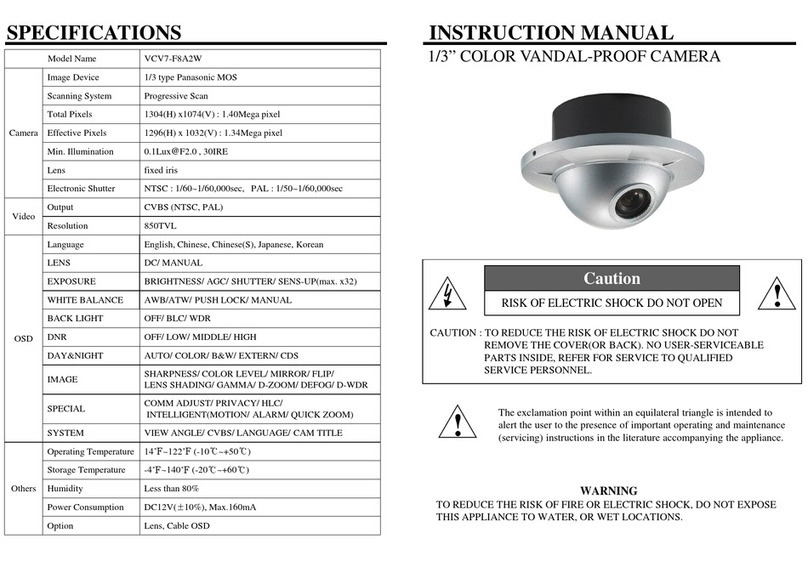
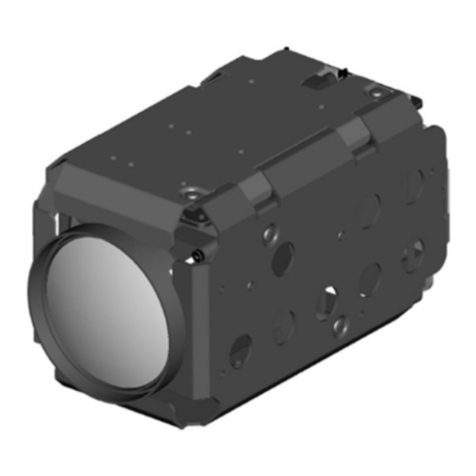
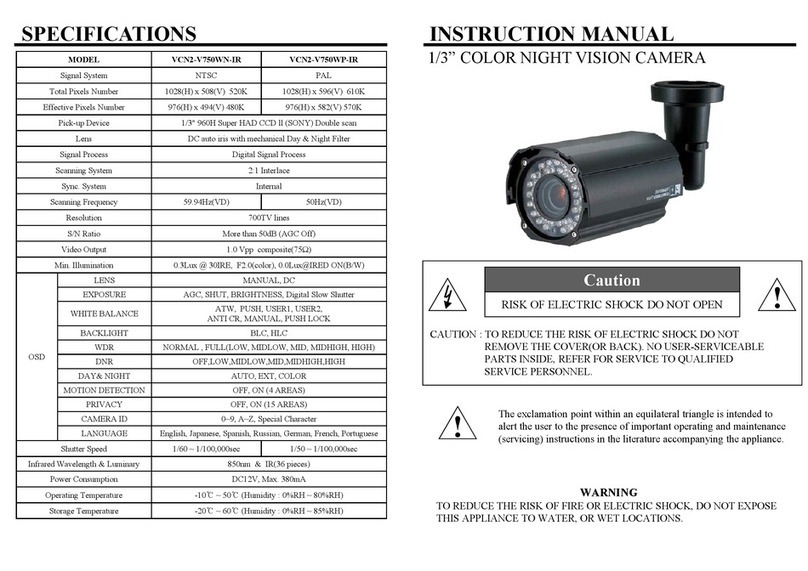
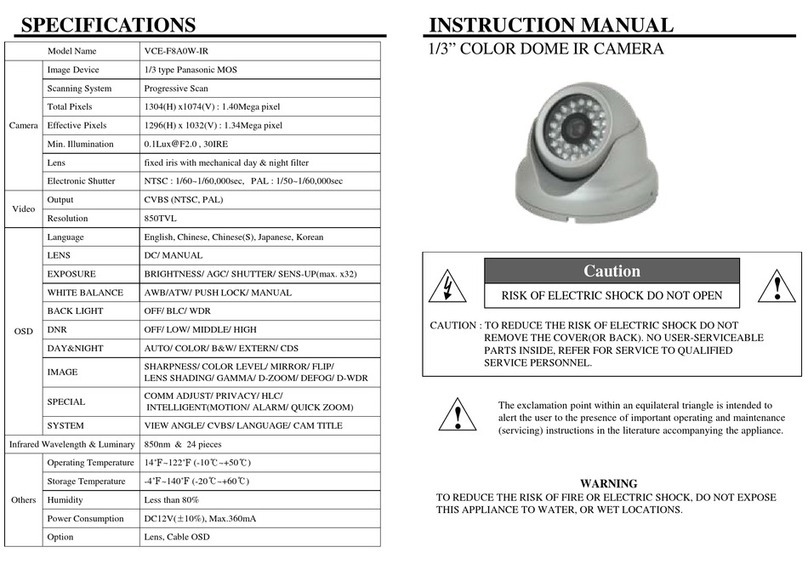
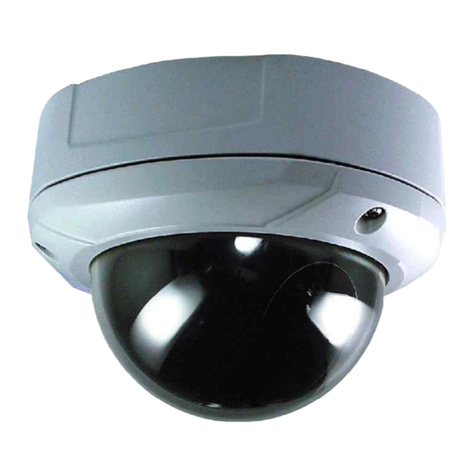
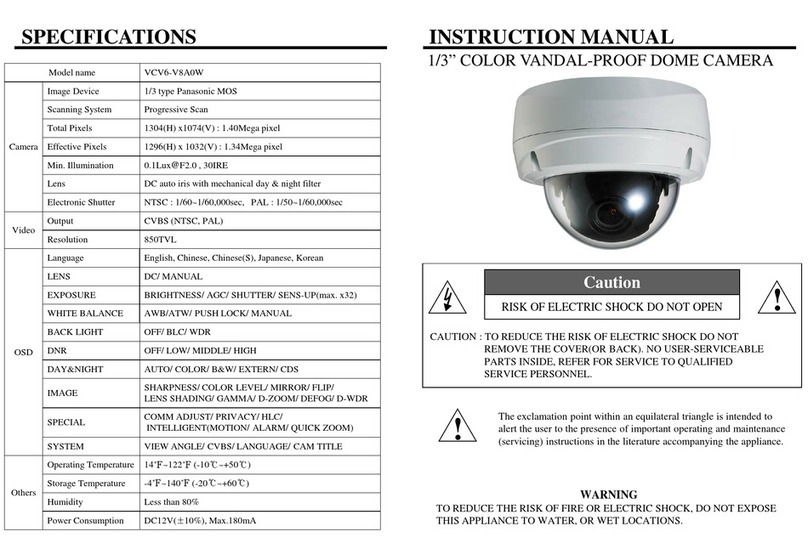
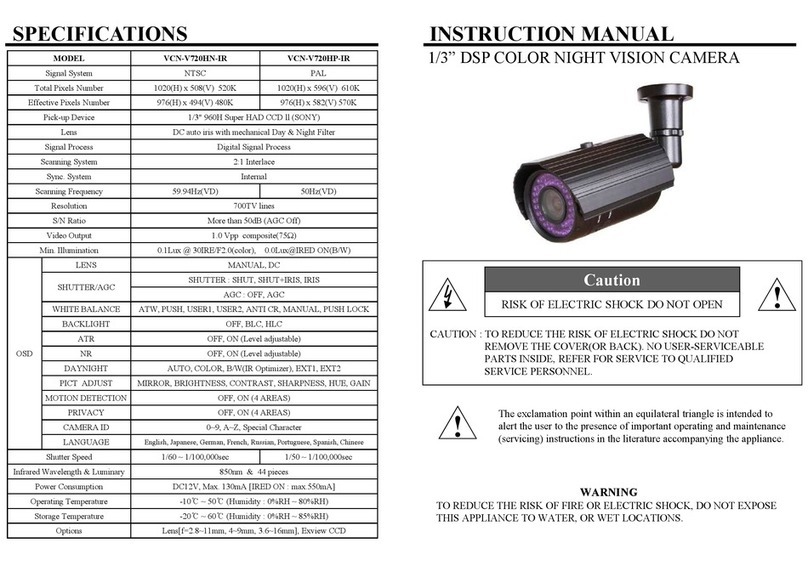
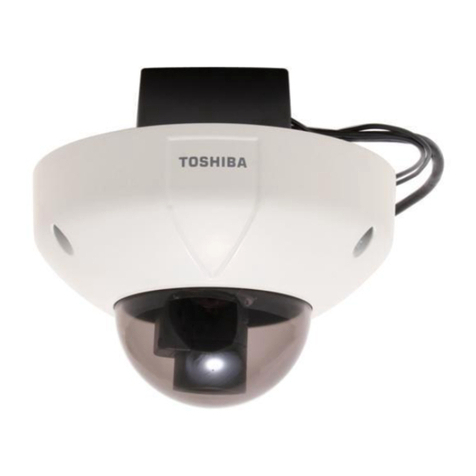
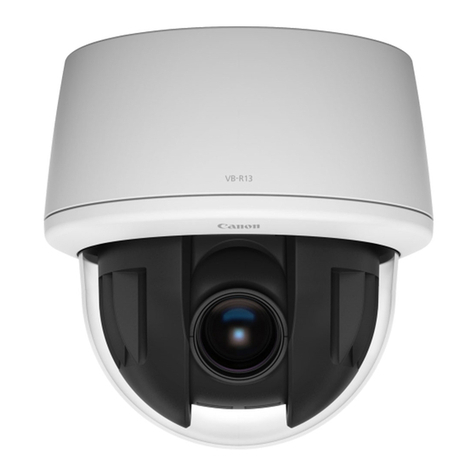
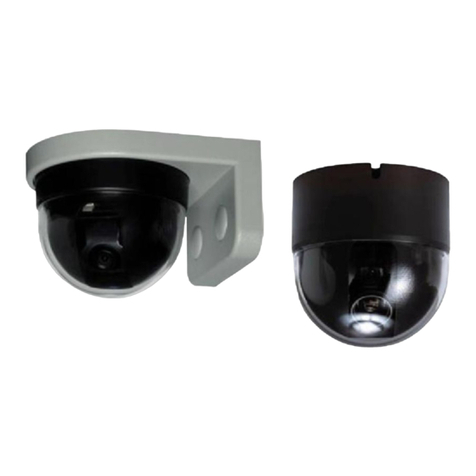
Installation Of Camera Dimensions (mm)
Design and specifications are subject to change without notice.
Installation
Make sure that this arrow
indicates camera image
direction.
③Put the DOME COVER over the BASE HOUSING and turn it
clockwise by hand.
②Adjust desired scene by turning and moving the CAMERA
BRACKET.
①Fix the BASE HOUSING to the desired place with screws
supplied.
Surface mount
④To fix DOME COVER tight, use SET SCREW.
DECORATION RING
STOPPER RING
CAMERA BKT
BASE HOUSING
SCREW
DOME COVER
SET SCREW
- Check camera and monitor power.
- Check the power polarity.
- Check the video cable connection.
No video on the
monitor screen.
What to do?Trouble
Trouble shootings
- It happens when the camera is exposed
between too strong and too weak light.
- It isn’t a faulty problem and please
change the camera position.
Color rolling
- Check if the lens is stained. If dirty, clean
the lens with soft and clean cloth.
- The image is dimmer at night than
daytime. If focus is not right, adjust it at
daytime.
The image on the
screen is dimmer.
Black and thick
bars roll and too
noisy on the screen.
-Check the power adaptor capacity.
If the capacity is less than 300mA,
please change it to over 300mA.
-If there are too noise, check video coaxial
cable.
The serial number of this product may be found on the top of the unit. You should note the
serial number of this unit in the space provided and retain this book as a permanent record of
your purchase to aid identification in the event of theft.
Model No. _____________________________________
Serial No. ______________________________________
③Adjust desired scene by turning and moving the CAMERA
BRACKET.
④Put the DOME COVER over the BASE HOUSING and turn it
clockwise by hand.
②Place the BASE HOUSING on the hole and fix it with screws
supplied.
Flush mount
①Use “Ceiling processing sticker” on the desired place to install
camera and make a hole on that place.
