Warning
•To prevent fire or electric shock, do not use the system in the rain or humid weather in a wide-open
place
•Do not place dripping or flowing vessels (vases) with liquid on the system
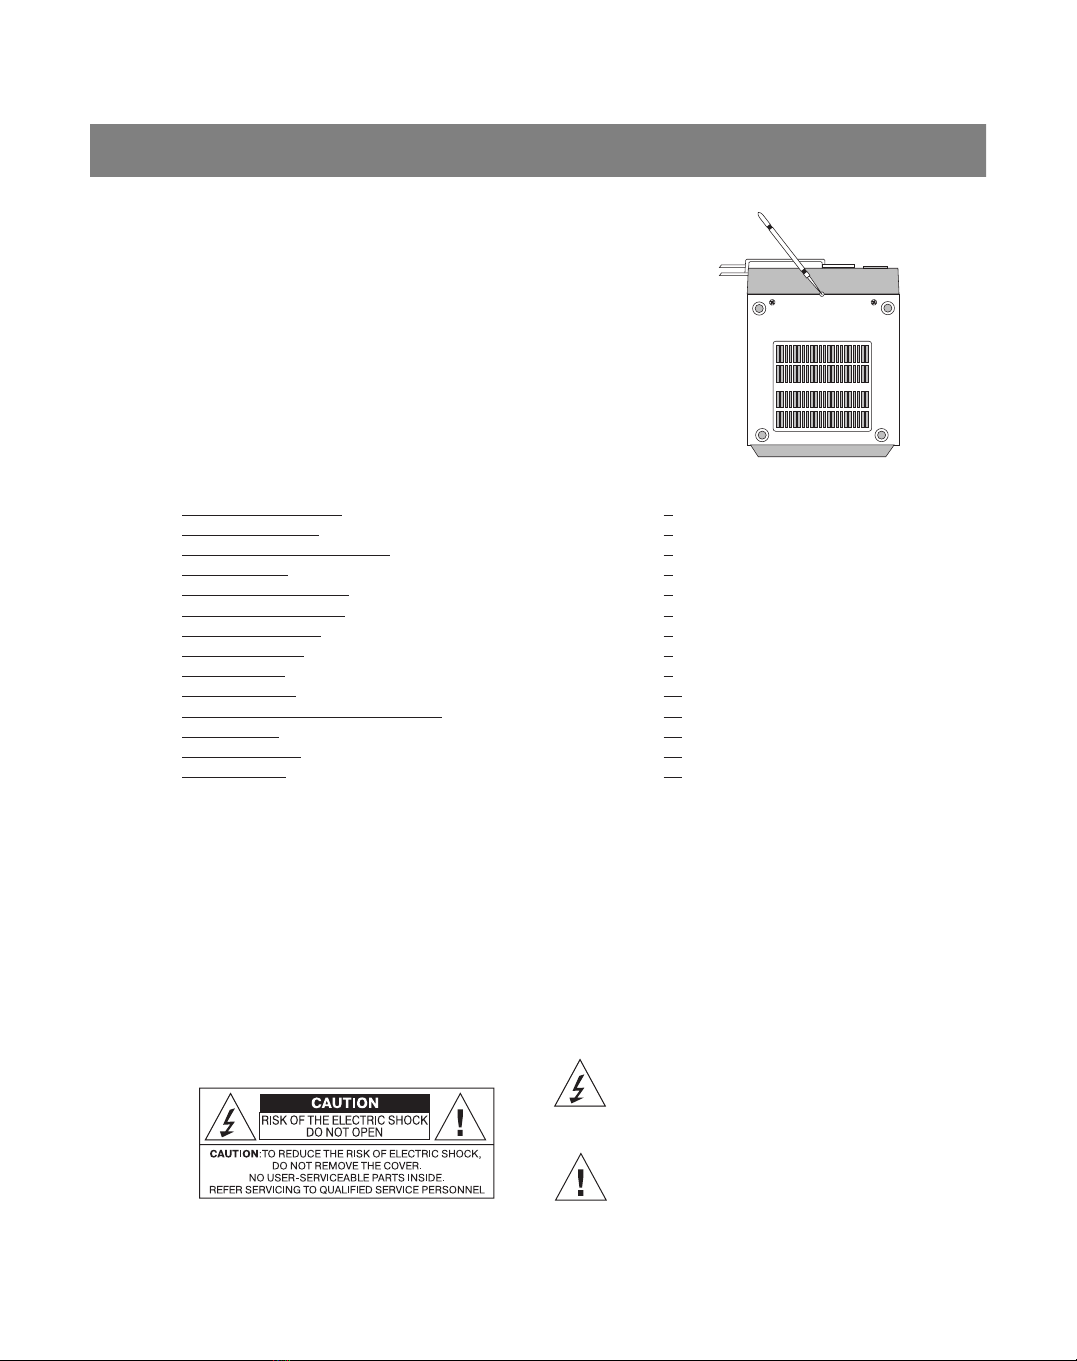
Ventilation
•When using the system for extended periods, normal ventilation is required
TECHNICAL SAFETY PRECAUTIONS
•This equipment was created and manufactured according to European safety standards, but like
any electronic equipment demands care to ensure quality operation and safety
•Read the usage instructions before using
•Make sure that all electric connections (including the outlet, extension cord and connection between
the parts of the equipment) are performed according to the instructions Unplug the plug from the
power outlet when replacing the power cord
•If any questions arise with regard to the installation, operation or safety of your system - contact
your trade agent
•Observe caution when using the glass panels and door of the system
•Stop using the system if it works sporadically or is damaged Unplug the system from the power
outlet and contact the trade agent
•Do not remove any fastened panel, because components may be under voltage
•Do not leave the system turned on if it is not being used
•Do not listen with the headphones at high volume, because this can damage your hearing
•Do not block the ventilation system, for example with curtain or upholstery material Overheating can
lead to breakage or premature wear and tear on the components of the system
•Do not use the system in the rain or humid weather in an unprotected place
First and foremost
•Never allow anyone, especially children, to poke anything into the openings, slots or other open
parts of the system, because this can lead to electric shock
•Never do any questionable actions when using electric equipment of any type
•It is better to be safe than sorry!
ENGLISH
3
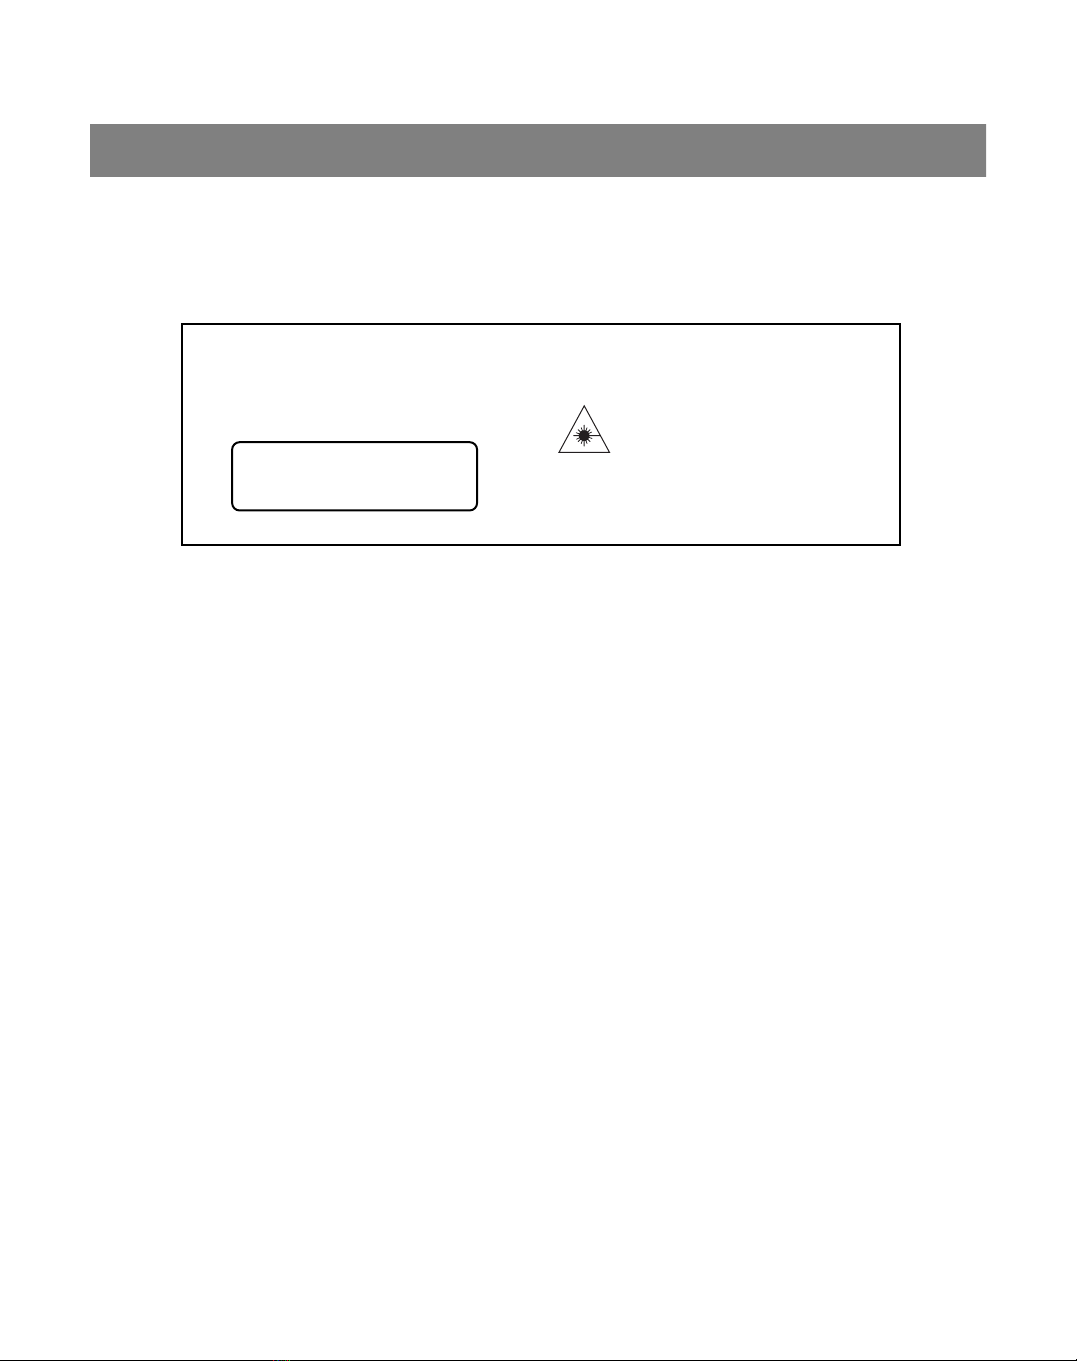
CAREFUL
CLASS 1 LASER DEVICE
Adjusting or performing functions other than
those indicated in the instructions may lead to
risk of exposure to laser radiation
SAFETY
The system is equipped with a laser Only quali-
fied personnel can repair the system
DANGEROUS: INVISIBLE LASER
RADIATION IS PRESENT WHEN THE
SYSTEM IS OPENED AND
UNBLOCKED AVOID DIRECT CON-
TACT WITH THE LASER BEAM
ATTENTION: DANGEROUS LASER RADIATION
UPON OPENING WHEN THE BLOCKER IS NOT
PRESENT
CLASS 1 LASER DEVICE
LUOKAN 1 LASERLAITE
KLASS 1 LASERAPPARAT
Note: If the system is simultaneously used with fluorescence lamps in the same
premises then it can result in system faulty operation.