Vobx 2550 User manual

2550 Video Phone User Manual IMT
Page - 1 -
VOBX
2550 Video Phone 1.0
Singapore
COVER PAGE

2550 Video Phone User Manual IMT
Page - 2 -
Chapter I Product Information
1-1 Package Contents
1-2 Safety Information
1-3 Features of This Video Phone
1-4 Descriptions of All Keys and Components
1-5 Basic Setup
Chapter II System Setup and Basic Operating
2-1 Basic Operating Instructions
2-2 Network Setup (On LCD Display)
2-3 Network Setup (Web Interface)
2-4 VOIP Setup (On LCD Display)
2-5 VOIP Setup (Web Interface)
2-6 Date / Time Setup
2-7 Accepting and Making Phone Calls
2-8 Holding and Transferring a Call
2-9 Auto Call Forwarding
2-10 Auto Call Rejection (DND Function)
2-11 Call Waiting
2-12 Adjust Ringer / Handset / Speakerphone Volume
2-13 Select Default Audio Codec
Chapter III Advanced Operating Techniques
3-1 Address Book Management
3-2 View Call Records
3-3 Personalize – Change Ringer Type
3-4 Personalize – Change Screen Saver
3-5 Change Video Preference
3-6 Change Display Language
3-7 View System Status
3-8 Video Privacy
3-9 Advanced System Settings
3-10 Using Web Browser
3-11 Shutdown
Chapter IV Appendix
4-1 Troubleshooting
4-2 Specification
4-3 FCC Statements
4-4 Firmware Upgrade

2550 Video Phone User Manual IMT
Page - 3 -
1-1 Package Contents
Thank you for purchasing 2550 video Phone! Before you start using this phone,
please check the contents in the product package first. If any item listed in the
table below is missing, please contact your dealer of purchase.
1
2550 Video IP Phone (Main Body) 1 pcs
2
Handset 1 pcs
Handset Cable 1 pcs
A/C Power Adapter 1 pcs
Socket Adapter 1 pcs
CAT6 Ethernet Cable 1 pcs

2550 Video Phone User Manual IMT
Page - 4 -
1-2 Safety Information
Please follow the following safety instructions while you’re using this video
phone, or you could damage this phone and yourself.
1. Do not place this phone in high-humid and / or hot environment, like
bathroom or kitchen. Please refer to the specification of this phone to
understand the environmental requirements of this phone.
2. This phone is designed for indoor use; do not use this phone at places like
garden or any other outdoor environment.
3. Do not point the video camera to strong light; it will damage the image
sensor.
4. If you want to place this phone at high places, please make sure that the
phone is properly secured. Falling down from high places will damage this
phone!
5. Do not drag any connected cord with force; the terminal and cord will be
damaged.
6. Only use dry cloth with water to clean this phone; do not use alcohol or other
chemical solution to clean this phone.
7. There’s no user-serviceable part inside this phone; if the phone is not
working properly, please contact the dealer of purchase to ask for help.
8. Do not set the volume control of handset or headset to a too high setting;
high volume could damage your ear if you use this phone for too long time.
9. Do not put the phone and / or A/C adapter on paper, cloth, or other
flammable materials.
10.If you smell something strange or even see smoke coming out from the
phone or A/C adapter, disconnect the power cord immediately, and call your
dealer of purchase for help.

2550 Video Phone User Manual IMT
Page - 5 -
1-3 Features of This Video Phone
The 2550 video phone releases the power of your network, and brings you to
the next age of telecommunication – not only voice, but also live video! Not
matter how far your friend, family, and colleague is, you can see them on the
built-in 7” color LCD display. If that’s not enough, you can even connect this
video phone to TV set!
Other features of this video phone include:
Big 7” color TFT-LCD display, with video / audio output function.
Upgradeable design – you can update the firmware to enjoy new functions
in the future without buying a new phone.
Supports various network configuration methods (Including static IP,
DHCP, and PPPoE).
You can personalize your phone – with your favorite ring tone
and screensaver!
Compatible with most of IP phones – with video or without video capability,
also works with PC / PDA based software IP phone.
Lens cap for security.
Easy-to-use 5-way control pad, you can access most of functions by it.
Built-in phone address book, supports up to 200 entries.
Built-in call record; supports up to 60 entries (20 call records for missed call,
received call, and dialed call).
‘Do not disturb’ (DND) function.
Speaker phone function for hands-free operation.
Call transfer and 3-way conference.
Caller-ID support.

2550 Video Phone User Manual IMT
Page - 6 -
1-4 Descriptions of All Keys and Components
Item No. Description Item No. Description
1 Handset 2 Handset Cord
3 LCD Display 4 Video Camera
5 Camera Lid 6 Soft Key 1 to 6
7 Numeric Keypad 8 Brightness Up
9 Brightness Down 10 Redial Key
11 TV-Out Switch 12 Mute Key
13 Camera Key 14 Headset Key
15 Speaker Key 16 Up Key
17 Down Key 18 Left Key
19 Right Key 20 OK Key
21 Volume Down 22 Volume Up
23 Speaker 24 Hook
25 Soft Key A to E (Located on the right of LCD display)

2550 Video Phone User Manual IMT
Page - 7 -
Left / Right Side & Top View
Left View:
Top View:
Item No. Description Item No. Description
A Handset Jack B Headset Jack
C Power Jack D Audio Output – Right
E Audio Output – Left F Video Output
G USB Jack H Network Jack – LAN
I Network Jack - PC

2550 Video Phone User Manual IMT
Page - 8 -
1-5 Basic Setup
Please follow the following instructions to install your new 2550 IP phone:
(1) Unpack the package and check if there’s anything missing
(2) Insert the handset cord to the handset, as shown on the picture.
(3) Insert the other end of handset to the handset jack <A>, and put the
handset on the phone.
2550 Video Phone User Manual IMT
Page - 9 -
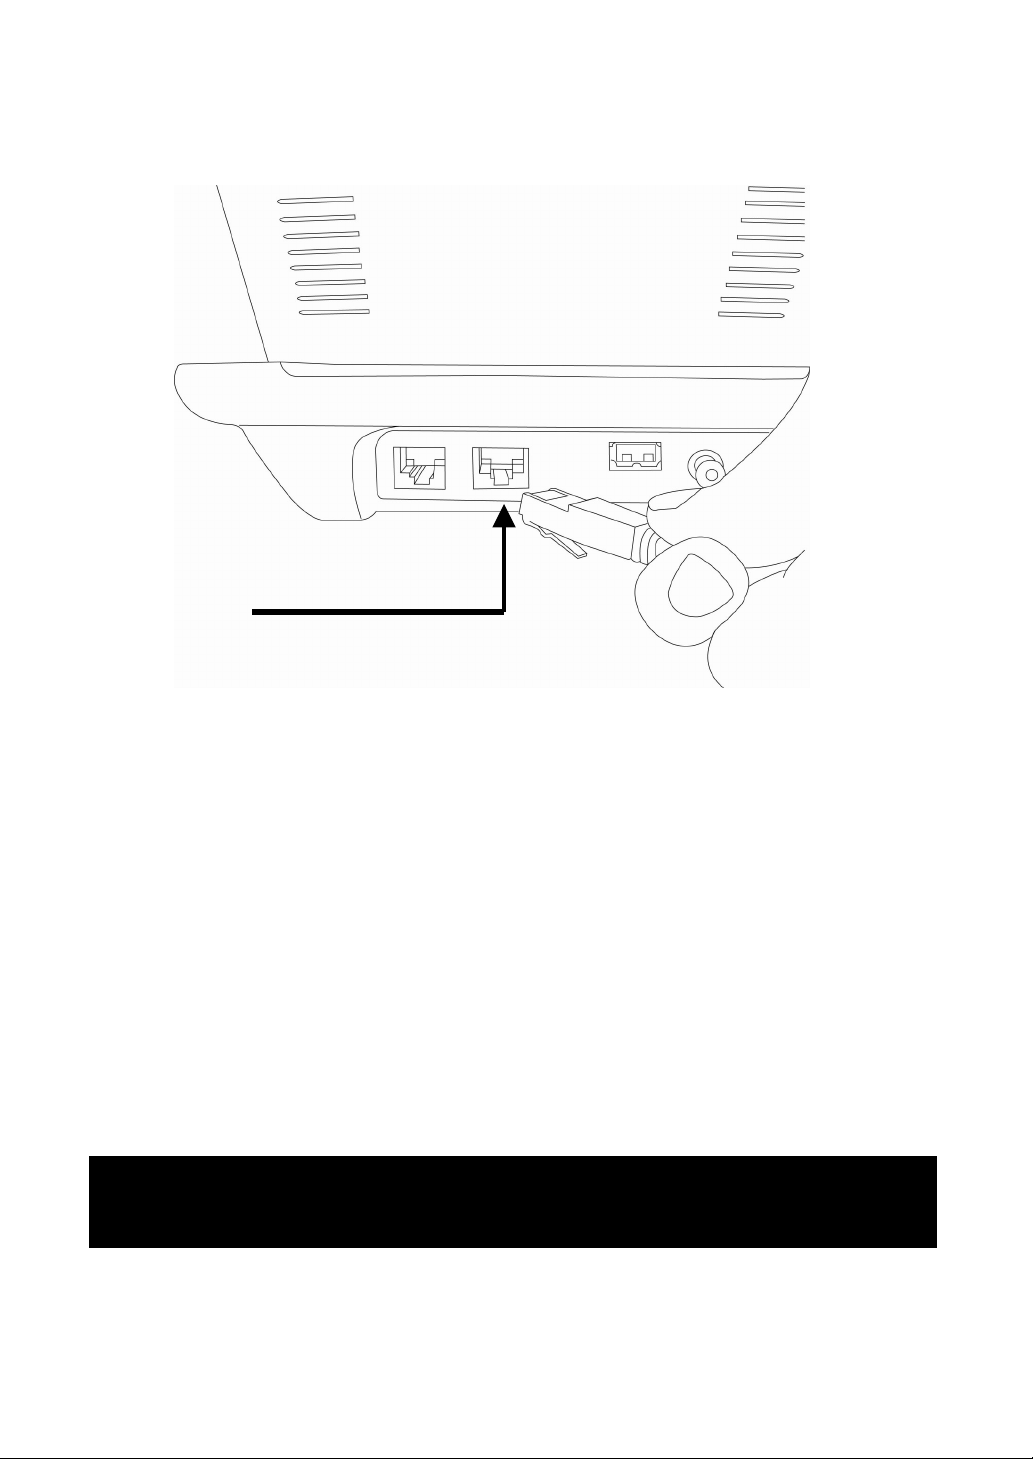
(4) Connect the Ethernet cable to the LAN Ethernet jack <H>, and connect
the other end of Ethernet cable to your LAN (Local area network).
(5) If you have a computer or other network device, you can connect its
Ethernet cable to PC Ethernet jack <I> on this phone, then your PC or
network device can be connected to the LAN via this phone.
(6) Build the connection between your TV set and this video phone by A/V
cable (sold separately). A/V cable is color-coded (yellow for video, white
for left audio channel, and red for right audio channel), please connect
this IP phone and your TV set’s A/V connector according to the color
shown on the A/V cable.
You can skip this step if you don’t want to use TV with this phone.
(7) Insert the power plug of A/C adapter to the power jack <C>.
Hint: If your TV set only has 1 audio input, please connect the left audio channel
of this phone to your TV set.
Here!

2550 Video Phone User Manual IMT
Page - 10 -
(8) Insert the power jack adapter to the power adapter, as shown on the
picture.
(9) Insert the A/C adapter to the power outlet socket on the wall.
(10) Please check the LCD display of this IP phone, there should be
something displayed on the LCD in 1 or 2 minutes.
If not, please re-check all procedures listed in this section, or contact
your dealer of purchase for help.

2550 Video Phone User Manual IMT
Page - 11 -
2-1 Basic Operating Instructions
Using Soft Keys
There are 11 soft keys on this IP phone (Soft Keys 1 to 6, and A to E). Unlike
other keys, the function of soft key is not always the same. It will change in
different menu. The function of soft key in every menu will be displayed on the
corresponding area of LCD display.
For example, there are 5 soft keys available on main menu:
If you want to execute “Redial” function, just press the second soft key from the
left. There are also 5 soft keys located on the right side of LCD display; you can
use them just like the soft keys below the LCD display.
03:00 01/01/2007 2550 1101
RecentRedial Main Menu
P
ress this key for “Redial”!
Shutdown
SNDT

2550 Video Phone User Manual IMT
Page - 12 -
Using Hard Keys
There is another kind of keys on your 2550 video IP phone, which are called as
“Hard Keys”. The function of these keys is always the same. Please refer to the
table listed below for detailed descriptions of hard keys:
Numeric Keypad (7): Used to input numbers, alphabet, and special
characters like * and #.
Brightness Up (8) and Brightness Down (9): Adjust the brightness of LCD
display by these two keys immediately (If you want to adjust the contract of
LCD display, please refer to chapter 3-5 for detailed instructions).
Redial (10): Press this key to redial the last number dialed.
TV-Out Switch (11): Press this key to toggle TV-out function of this phone.
When TV-out function is activated, nothing will be displayed on LCD display,
and the content of LCD display will be displayed on the TV set connected to
this phone instead. Press this key again to deactivate TV-out function.
Mute Key (12): Press this key to activate mute function. When mute is
activated, remote party will not hear anything from you. Mute key will be
illuminated when mute function is activated, press this key again to
deactivate mute function.
Camera Key (13): Press this key to switch built-in camera on / off. You can
switch camera on or off during a call, so remote party will or will not see
your image. You can also press this call when no call is in progress, and
you can see your own image taken by camera. Camera key will be
illuminated when camera function is activated, press this key again to
switch camera off.
Headset Key (14): Press this key to use headset to make or answer phone
call, a headset must be connected to this phone before you press this key,
or you will not be able to hear anything during the call. Headset key will be
illuminated when headset function is activated, press this key again during
the call to terminate the call, or you can press headset key to transfer the
call to headset when you’re using handset or speakerphone.

2550 Video Phone User Manual IMT
Page - 13 -
Speaker Key (15): Press this key to use speakerphone to make or answer
phone call, Speaker key will be illuminated when speakerphone function is
activated, press this key again during the call to terminate the call, or you
can press speaker key to transfer the call to speakerphone when you’re
using handset or headset.
Up (16), Down (17), Left (18), and Right (19) key: You can use these 4 keys
to move cursor or light bar on LCD display to select the item you want.
OK (20) key: Press this key to make affirmative answer to a question, or
enter a submenu.
Volume Down (21) and Volume Up (22): You can adjust the volume of ring
tone directly by these 2 keys when the phone is not in use, and you can
adjust the volume of handset / headset / speakerphone when they are in
use.
Using 5-way Joystick
There is a special set of keys on this phone (keys <21> to <25>), which is called
as “5-way joystick” (Four directions and ‘OK’). You can use left, right, up, and
down key to move cursors on LCD display, and press OK key to decide.
For Example, in main menu:
03:00 01/01/2007 2550 1101
Main Menu
Address Book
Call Records
Settings
Exit Select

2550 Video Phone User Manual IMT
Page - 14 -
You can press down key to move the cursor down, and the display on LCD
display will become:
When the item you want to select is highlighted, press OK key (or “Select” soft
key) to select it. If you want to back to previous menu, press “Exit” or “Back” soft
key.
Return From Screen Saver
To protect the LCD display panel, a built-in screen saver will be
activated after a certain period of time. You’ll see several color
pictures displayed alternately. To return to normal state, simply press
any key on the phone, and the key you pressed will not function
when screen saver is activated.
03:00 01/01/2007 2550 1101
Main Menu
Address Book
Call Records
Settings
Exit Select
2550 Video Phone User Manual IMT
Page - 15 -
2-2 Network Setup (On LCD Screen)
Before you can use 2550 video phone, a valid IP address is required.
Please follow the following instructions to setup IP address:
1. Press “Main Menu” key to enter main menu, then use up / down key and OK
key to go “Setting” -> “Device Configurations” -> “LAN Configuration”.
2. Please use up / down key to select the setup item you wish to set, then press
“OK” key. You can press “Next” key to jump to next page for more setup items,
and press “Previous” to back to first page.
Device Name:
03:00 01/01/2007 2550 1101
LAN Configuration
Device Name
MAC Address
DHCP
IP Address
DNS Server
Exit SelectBack
03:00 01/01/2007 2550 1101
LAN Configuration
Time Z
one Setting
Day Light Saving Enabled
Synchronization
Date Format
Cancel Save
Device Name
Delete
2550
Next

2550 Video Phone User Manual IMT
Page - 16 -
Please input the device name of this video phone here. You can use numeric
keypad to input alphabet and number, to erase a character, press “Delete” key;
to save new device name, press “Save” key. Or you can press “Cancel” key to
keep original device name unchanged.
MAC Address:
MAC address is the network identification of this video phone and can not be
changed. However, you can select “MAC Address” item to view the MAC
address of your 2550 video phone.
Hint: How to input number, and alphabet?
Every number key in numeric keypad area represents a set of number, and / or
alphabet. You can press a key repeatedly to select next character for that key. For
example, you can press “2” key for 3 times repeatedly to get “c”, and press “5” key
for 5 times to get “J”. If you pause between keystrokes, a character will be entered
into field, so you can input a new character.
The character set of every key is listed as follow (left to right):
1: 1 2: a b c 2 A B C 3: d e f 3 D E f
4: g h I 4 G H I 5: j k l 5 J K L 6: m n o 6 M N O
7: p q r s 7 P Q R S 8: t u v 8 T U V 9: w x y z 9 W X Y Z
0: 0

2550 Video Phone User Manual IMT
Page - 17 -
DHCP:
You can activate or deactivate dynamic host configuration protocol (DHCP)
function of this phone, so this phone can obtain a valid IP address from the
DHCP server on your LAN. To use this function, a working DHCP server must
be available. If you’re not sure, please ask your network administrator.
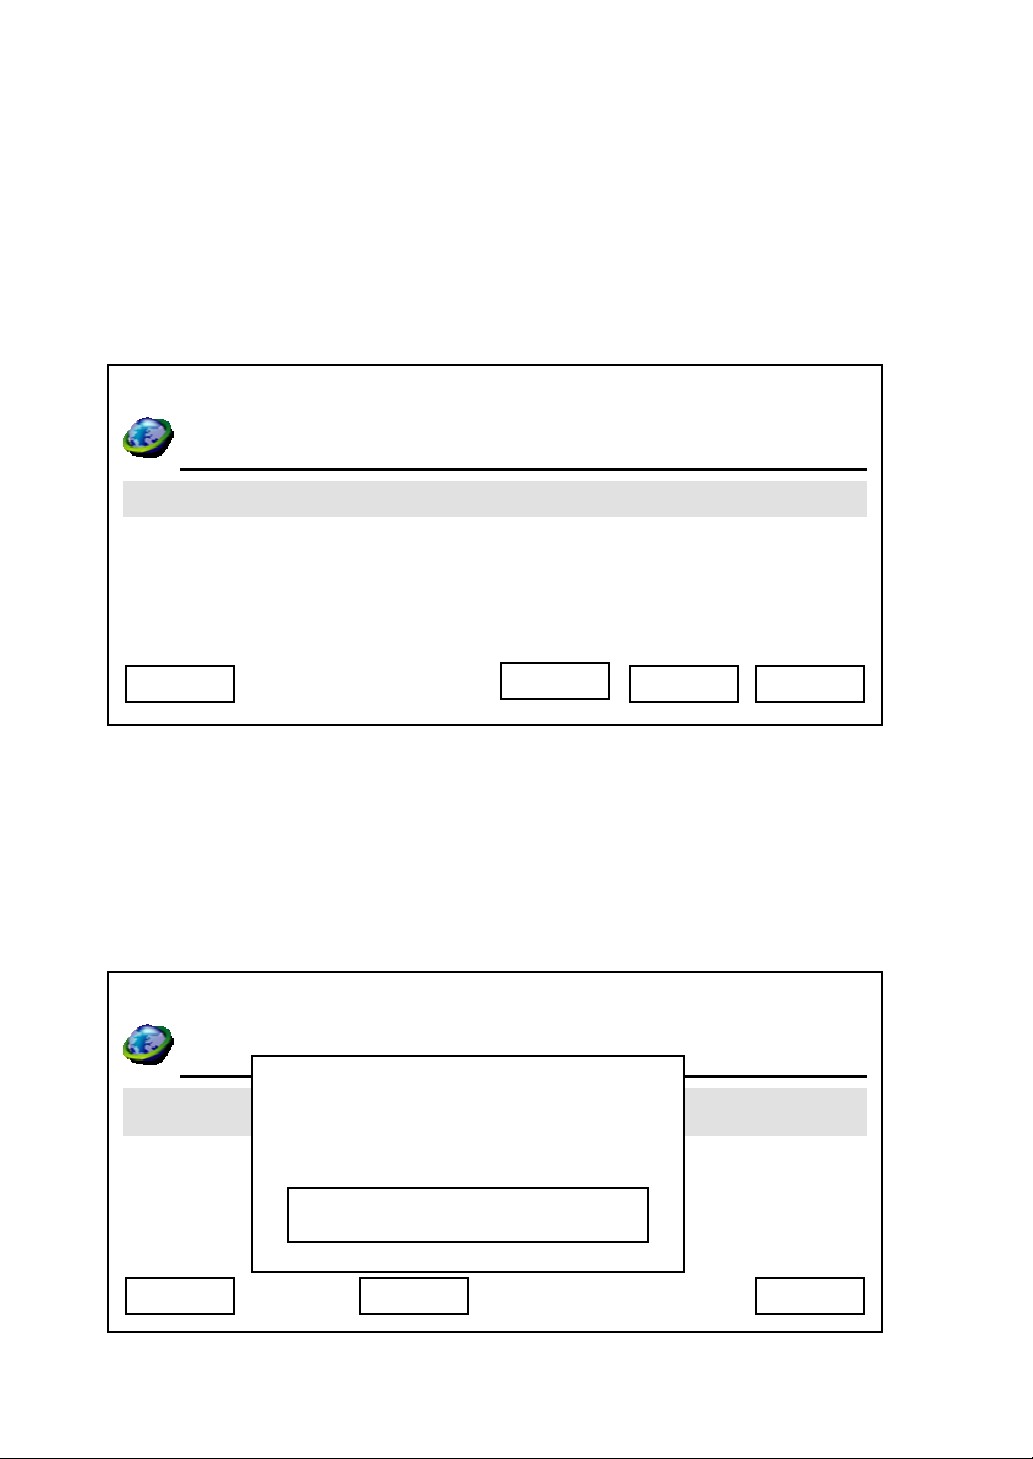
When you selected ‘DHCP’ and pressed ‘OK’ key, and the phone is already
configured to use DHCP, the following message will appear:
Please press ‘OK’ or ‘Cancel’ to exit. If you wish to deactivate DHCP function,
please following the instructions given in ‘IP address’ section to input IP address
manually, and DHCP function will be disabled.
The following message indicates that DHCP function is currently disabled:
03:00 01/01/2007 2550 1101
LAN Configuration
Time Zone Setting
Day Light Saving Enabled
Synchronization
Date Format
Cancel
DHCP Enabled
03:00 01/01/2007 2550 1101
LAN Configuration
Time Zone Setting
Day Light Saving Enabled
Synchronization
Date Format
Cancel
Enable DHCP?
YES
2550 Video Phone User Manual IMT
Page - 18 -
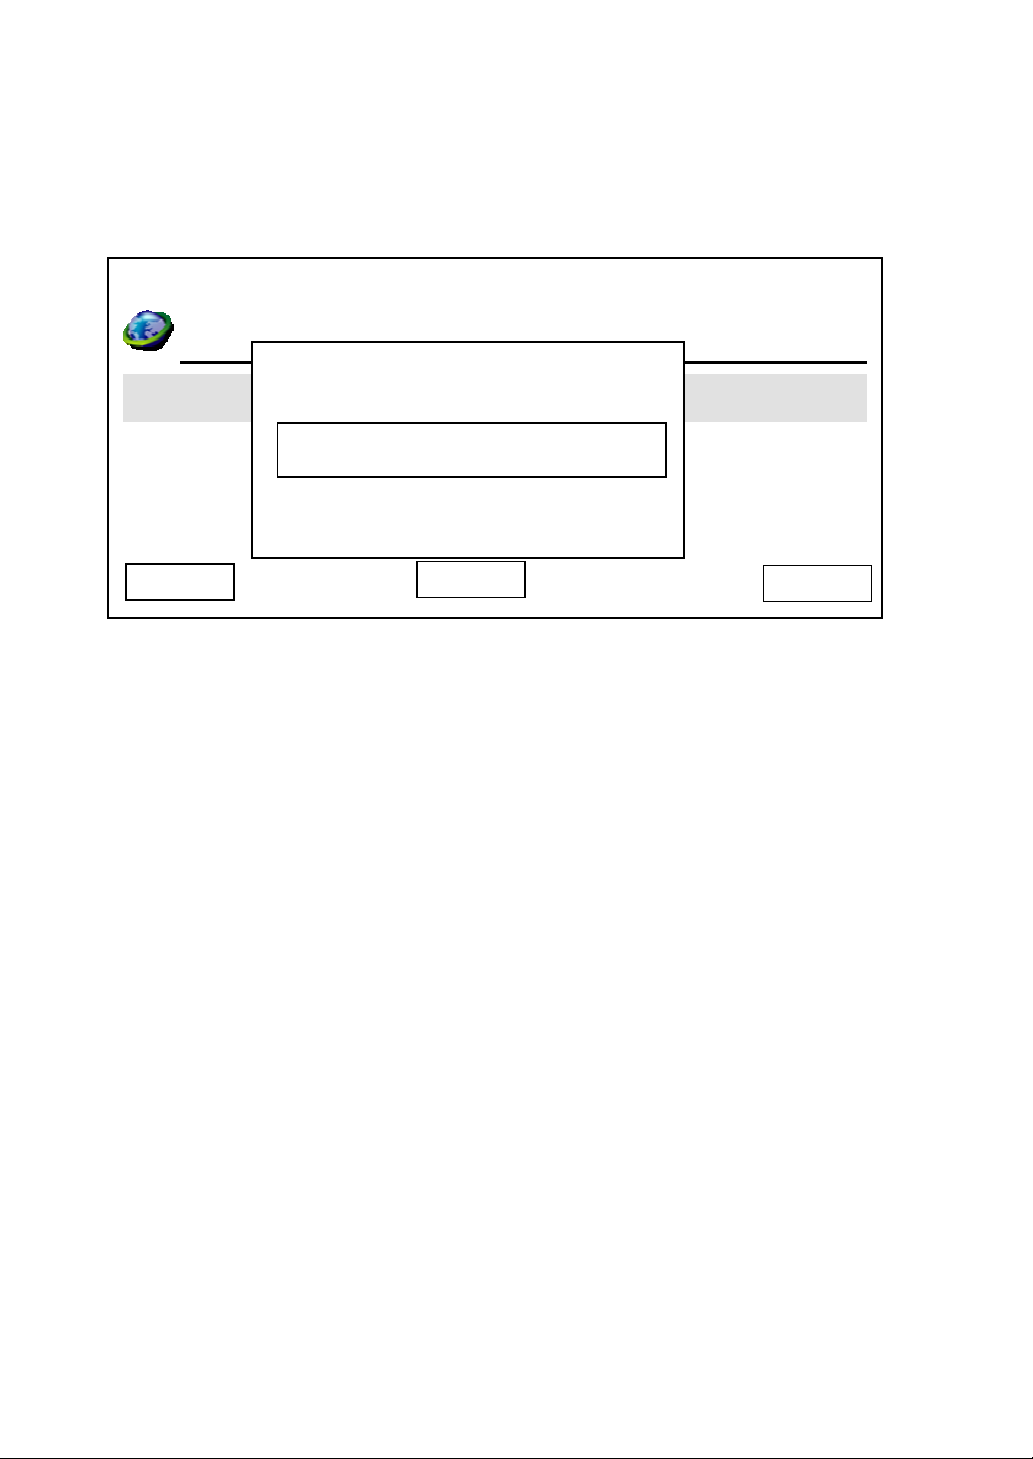
If you still wish to use manually-assigned IP address, please press ‘Cancel’; if
you wish to enable DHCP function, please press ‘Yes’, and the following
message will appear:
Please input correct admin password (default value is ‘123456’), and then press
‘Save’ key. This phone will reboot after you pressed ‘Save’ key, please wait for
few minutes until reboot procedure is complete.
03:00 01/01/2007 2550 1101
LAN Configuration
Time Zone Setting
Day Light Saving Enabled
Synchronization
Date Format
Cancel
Admin Password
System Is Going To
Reboot!
Save
Delete

2550 Video Phone User Manual IMT
Page - 19 -
IP Address:
When you select IP address, current network setting will be displayed. If you
need to change the IP address of this phone, please press “Edit” key after you
select this item and you’ll see the following information displayed on LCD
display:
Please press up/down key to select the item you wish to set, and input the
setting information by numeric keypad (press “*” key for dot), to erase a
character, press “Delete” key; to save new device name, press “Save” key. Or
you can press “Cancel” key to keep original IP address information name
unchanged. After you pressed ‘Save’ key, you’ll be prompted to setup DNS
server address:
03:00 01/01/2007 2550 1101
IP Address
Subnet Mask
Default Gateway
192.168.1.25
255.255.255.0
192.168.1.254
Exit Delete Save
03:00 01/01/2007 2550 1101
IP
192.168.1.25
255.255.255.0
192.168.1.254
Cancel Yes
Do you want to set
DNS?

2550 Video Phone User Manual IMT
Page - 20 -
After you pressed ‘Yes’ key, you’ll be prompted to setup DNS server’s IP
address:
Please setup the IP address of DNS server, if you didn’t setup the IP address of
DNS server, many functions of this phone may not working properly. If you don’t
know the IP address of DNS server, please ask your Internet service provider or
network administrator. You can press ‘Delete’ to remove an inputted character.
Press ‘Save’ key to keep changes or press ‘Exit’ to keep original settings.
After you pressed ‘Save’ key, you’ll be prompted to input admin password:
Input correct admin password (default value is ‘123456’) and press ‘Save’ to
reboot the phone, or press ‘Cancel’ to abort.
03:00 01/01/2007 2550 1101
Primary DNS
Secondary DNS
192.168.1.253
Save
192.168.1.254
Exit Delete
03:00 01/01/2007 2550 1101
LAN Configuration
Time Zone Setting
Day Light Saving Enabled
Synchronization
Date Format
Cancel
Admin Password
System Is Going To
Reboot!
Save
Delete
Table of contents


