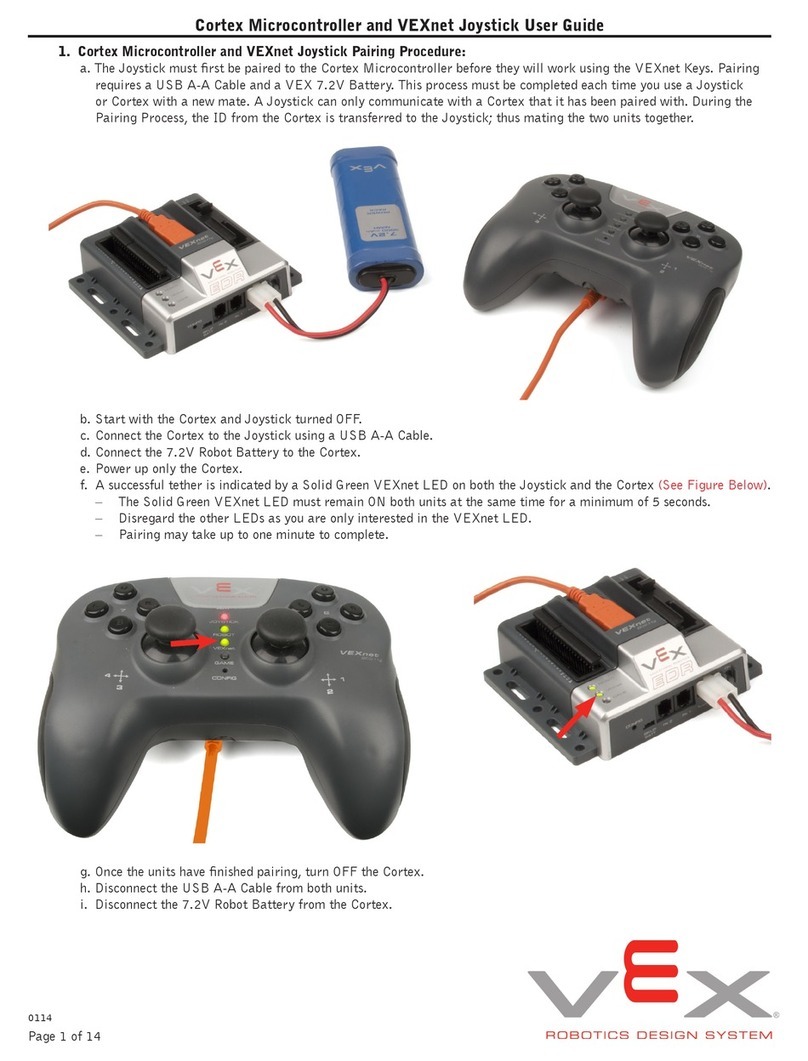
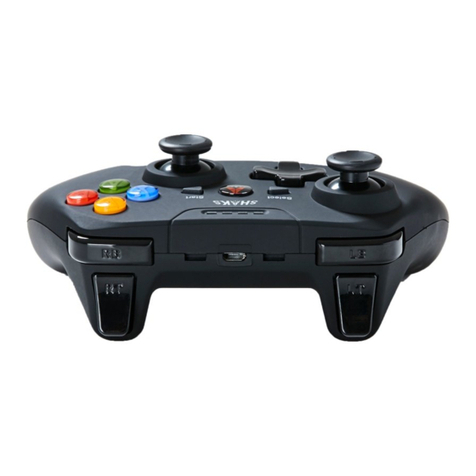
Volcano VX Gaming PRECISION Series User manual

2
• VX Gaming Precision Series Xbox™ X / Xbox™ S / Xbox™ One
Wireless Controller
• 2.4GHz USB Receiver
• Micro USB Charging Cable
• Instruction Manual
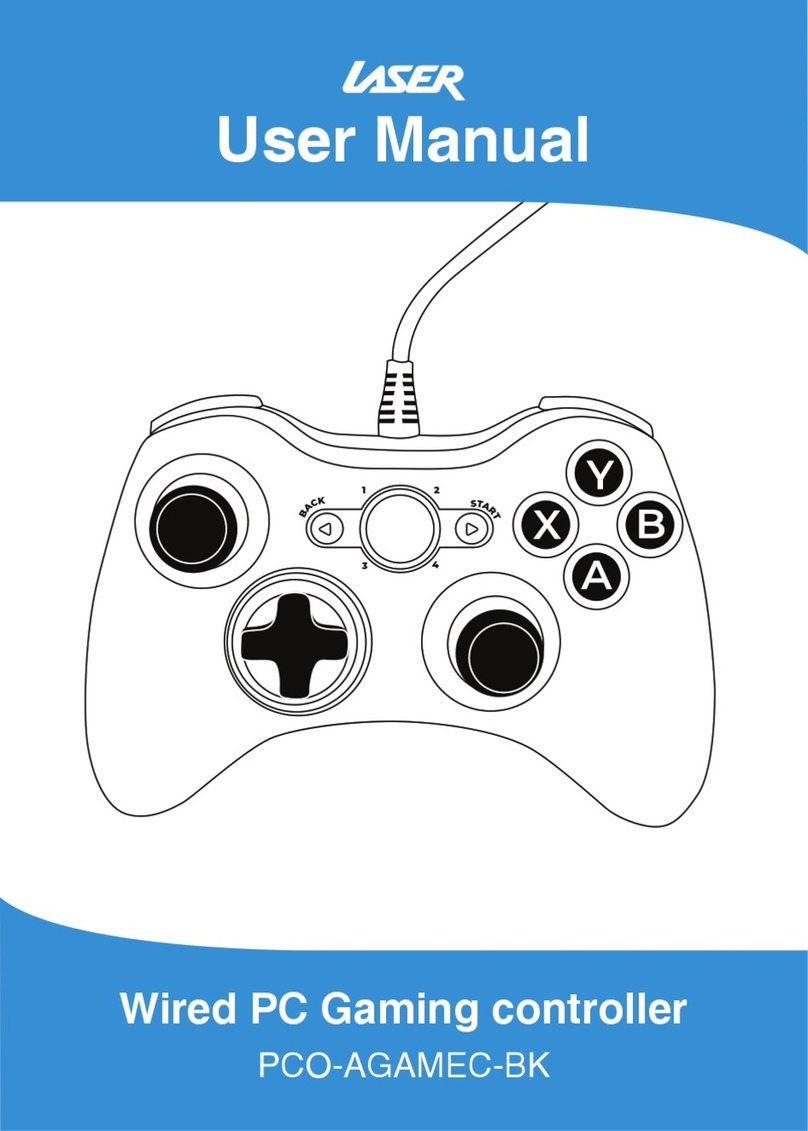
• 2.4 GHz Wireless Game Controller.
• Compatible with Xbox™ X / Xbox™ S / Xbox™ One / PS3™ / PC.
• New Impulse Triggers deliver precise fingertip feedback for more
realistic experiences.
• Streamlined Thumb Sticks, D-Pad, and contours for improved speed,
precision, accuracy and comfort.
• Designed to fit a wider range of hand sizes comfortably.
• On/OffSwitch for Energy Saving.
• Up to 5 Hours Playtime.
• 2 Precision Analog Joysticks (360-Degree Control)
• Compatible with: Windows™ 10 / 8 / 7 / Vista / 2000 / XP / Me / 98
• 2.4 GHz Wireless Connection via USB Receiver
• 12 Buttons with Turbo Function
• Built-In 600 mAh Polymer Battery
• Charging Cable Length: 1m
PACKAGE CONTENTS
FEATURES
SPECIFICATIONS

3
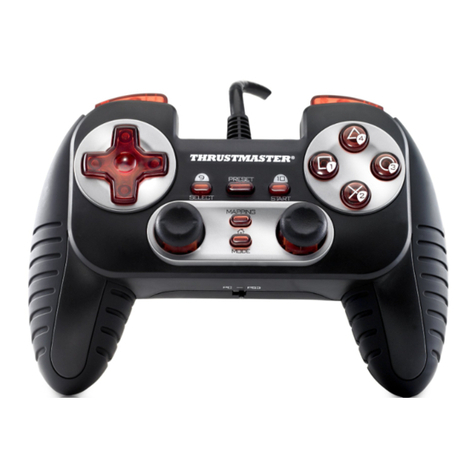
1. Directional Buttons
2. Left Analogue Joystick
3. Select Button
4. Mode Button
5. Start Button
6. Button
7. Button
8. Button
9. Button
10. Right Analogue Joystick
11. Tubro Button
12. R2 Button
13. R1 Button
14. L1 Button
15. L2 Button
16. Micro USB Charging Port
DESCRIPTION OF PARTS
X
Y
A
BX
TURBO
SELECT START
1
2
13
12
3 5 64
7
14
15
10
9
8
11
16
Y
B
A

4
Turbo Function:
• To turn on Turbo Fire, press and hold the Turbo Button while pressing
the Fire button/s to be programmed
• To turn off Turbo Fire, press and hold the Turbo Button while pressing
the Fire button/s previously programmed
Vibration:
• The Vibration function is built into the driver installed on the PC
• The Vibration function is automatic on PS3 ,Xbox One, Xbox X
and Xbox S platforms.
• Vibration can be switched ON/OFF in the game software.
FUNCTIONS
To use your controller wirelessly, you must first charge the battery.
Charging via the Xbox One:
• Turn on your Xbox One system.
• Connect the Micro USB end of the supplied charging cable into the USB
port of your controller, connect the other end of the USB to one of the
USB ports on your Xbox One.
Charging via Powered USB Port:
• Connect the provided Micro USB charging cable to the charging slot on
the controller, connect the other end of the USB to a wall charger or an
available USB port on a compatible device.
If controller is connected: The LED light will flash continuously while the
controller is charging. Once fully charged, the LED light will remain solid.
If controller is disconnected: All four LED’s flash continuously during
charging and remain solid when charging is complete
CHARGING THE CONTROLLER

5
The first time you use the controller, you'll need to pair it with your Xbox™
system. Up to eight controllers can be connected at the same time.
Pairing:
• To pair your controller to your Xbox™ system, make sure your
Xbox™ is turned on.
• Connect the USB receiver to one of active the USB ports on
your Xbox™.
• Pairing will begin automatically.
• The “LED2” light will turn on, indicating that the pairing is complete.
PAIRING WITH YOUR XBOX™

6
The first time you use the controller, you'll need to pair it with your PS3.
Up to four controllers can be connected at the same time, each with an
assigned controller number.
Pairing:
• To pair your controller to your PS3, make sure your PS3 is turned on.
• Connect the USB receiver to one of active the USB ports on your PS3
• Pairing will begin automatically
• The “LED” that corresponds with your assigned controller number will
light up.
PAIRING WITH YOUR PS3
• Please visit the below website to download and install the drivers
required for PC compatibility:
https://volkano.com/product/precision-series-xbox-one/
• Install vibration driver and X-input driver (X-input can be installed
automatically on Windows 7/8/10, alternatively use provided driver).
• Connect the USB receiver to one of active the USB ports on
your computer.
• Red and Green flashing LED’s indicate searching for gamepad status.
• The green LED will stop flashing, indicating a successful connection.
• Adjust the gamepad Mode to support PC Platform. See “Gamepad
Mode Status”
• Press and hold the Home button to switch between PC Direct Input,
PC X Input and Xbox One Modes
• In PC Direct Input Mode, the default setting is Digital. To switch to
Analogue, short press the Home button, the LED1 and LED2 will turn on
simultaneously to indicate PC Direct Input Analogue Mode.
PAIRING WITH YOUR COMPUTER

7
• To reduce the risk of fire or electric shock, do not
expose this equipment to rain or moisture.
• To reduce the risk of fire or electric shock, keep this
equipment away from all liquids. Use and store only in
locations which are not exposed to the risk of dripping or
splashing liquids, and do not place any liquid containers on top of the
equipment.
• This product is not intended for commercial use and has been tested for
household use only.
• This product is not intended for use by small children, or persons with
diminished mental capabilities. Ensure that the use of this product is
monitored by a guardian or parent.
• CAUTION: Do not remove panel covers by unscrewing them. No
user-serviceable parts inside. Refer servicing to qualified service
personnel.
• WARNING: Always keep optional accessories, small parts and packaging
out of the reach of babies and small children, as these items may be a
choking hazard.
• CAUTION: Do not disassemble the battery or dispose of it in a fire.
Prevent battery leakage from contacting your eyes, skin or clothing.
Should this happen, flush the area with clean water and see a doctor
immediately.
SAFETY PRECAUTIONS

8
All product and company names are trademarks™or registered®
trademarks of their respective holders. Use of them does not imply any
affiliation with or endorsement by them.
DISCLAIMER
ENVIRONMENTALLY
FRIENDLY DISPOSAL
IMPORTANT INFORMATION FOR CORRECT DISPOSAL OF THE PRODUCT
IN ACCORDANCE WITH THE EUROPEAN DIRECTIVE ON WASTE
ELECTRICAL AND ELECTRONIC EQUIPMENT.
• At the end of its working life, the product must not be disposed of as
urban waste. It must be taken to a special local authority differentiated
waste collection center or to a dealer providing this service. Disposing
of a household appliance separately avoids possible negative
consequences for the environment and health deriving from
inappropriate disposal and enables the constituent materials to be
recovered to obtain significant savings in energy and resources. As a
reminder of the need to dispose of household appliances separately, the
product is marked with a crossed-out wheeled dustbin.
• Never dispose of used electronics with ordinary solid wastes,
since they contain toxic substances.
• Always dispose of used electronics in accordance with the
prevailing community regulations that apply to the disposal of
electronics. If there are no local regulations concerning
electronics disposal, please dispose of the device in a waste
bin for electronic devices.

9
This VX Gaming Precision Series Wireless Controller includes a standard
limited 12-month warranty against manufacturing defects and faults.
Should your VX Gaming Precision Series Wireless Controller be unboxed
with any faulty parts, poor finishing or visible damage, or fail to perform
due to a manufacturing defect or poor workmanship, please return it with
your proof of purchase (till slip or invoice) to the store of purchase for an
exchange, or repair, depending on the store’s returns policy.
This warranty commences from the date of purchase.
Kindly retain your proof of purchase as well as the packaging for your
warranty period.
NOTE:
The Warranty does not apply to Product that:
a.) Has failed due to excessive wear and tear beyond what is considered to
be reasonable.
b.) Has been misused or neglected.
c.) Has been damaged accidentally or by Force Majeure including fire and
flooding.
d.) Has been used or operated contrary to operating or maintenance
instructions outlined in this manual.
The Store of Purchase / Seller cannot accept any returned products that
have not been returned in accordance with this warranty or which does not
follow their own Returns Policy. Please refer to the Store of Purchase /
Sellers Returns Policy for details.
Should you require any further assistance or have any questions on your
warranty, please contact the store of purchase
WARRANTY
This manual suits for next models
1
Table of contents


