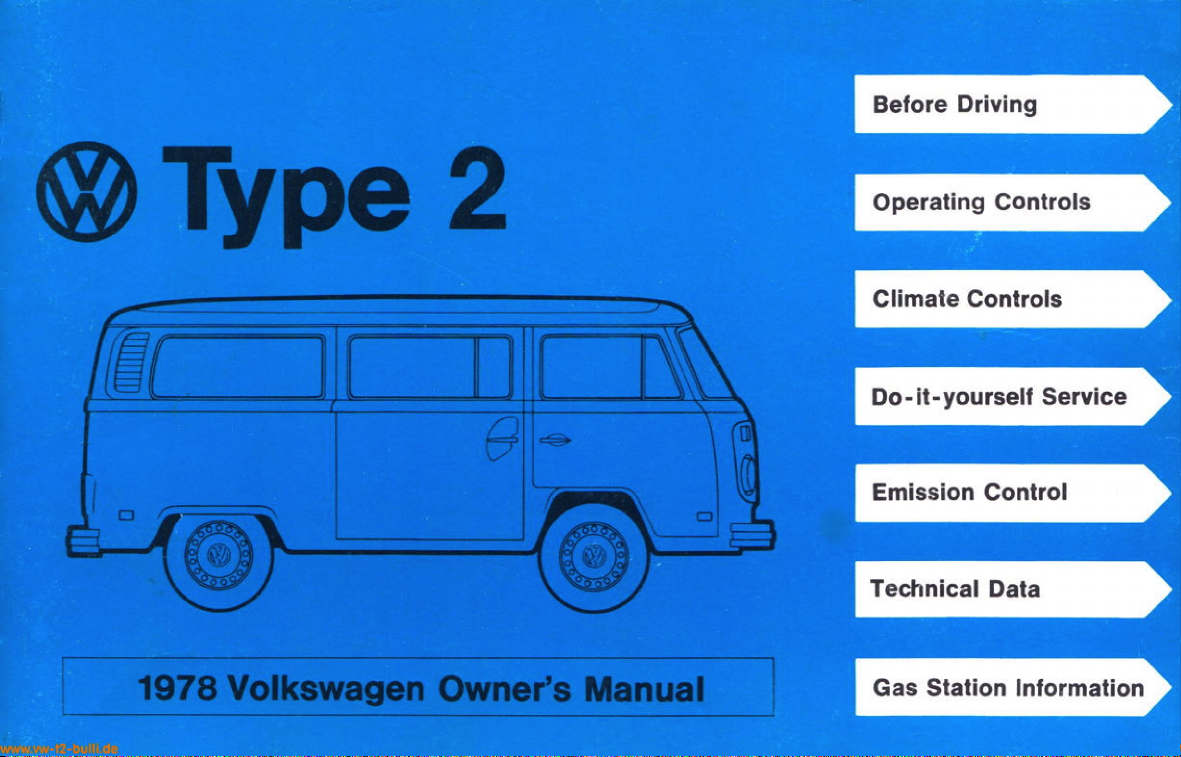
Volkswagen T2 1978 User manual
Other Volkswagen Automobile manuals

Volkswagen
Volkswagen Arteon 2021 User manual

Volkswagen
Volkswagen Caravelle User manual

Volkswagen
Volkswagen Transporter User manual

Volkswagen
Volkswagen Golf TSI 2021 User manual

Volkswagen
Volkswagen 1993 Golf User manual

Volkswagen
Volkswagen T6 User manual

Volkswagen
Volkswagen 2014 Passat User manual

Volkswagen
Volkswagen Grand California 2020 Manual

Volkswagen
Volkswagen vw 1302 User manual

Volkswagen
Volkswagen 2014 GTI User manual

Volkswagen
Volkswagen Passat 1995 Operating instructions

Volkswagen
Volkswagen 2004 Golf Instruction manual

Volkswagen
Volkswagen Golf 2013 Installation and operation manual

Volkswagen
Volkswagen TRANSPORTER 1963 User manual

Volkswagen
Volkswagen 2004 Golf Instruction manual

Volkswagen
Volkswagen Golf Plus 2005 User manual

Volkswagen
Volkswagen 1999 Golf User manual

Volkswagen
Volkswagen Jetta 2005 Operating instructions

Volkswagen
Volkswagen Amarok 2011 Guide

Volkswagen
Volkswagen Transporter User manual