Volvo A2DIY-VOL Instruction Manual

Courtesy of: DiscountCarStereo.com
Serving the internet community since 1995
A2DIY-VOL
QuickStartBluetoothInstallationGuide forVolvo ChangerControlling Radios
Created March1, 2017
Revised: March 9, 2020

Introduction:
Many Volvo owners adamant about keeping their cars as stock possible, will be
thrilled with the A2DIY-VOL kit which adds Bluetooth without changing the look
and feel of dashboard components. This new release features Bluetooth Hands-
Free and music streaming from any Smartphone with A2DP and HFP support.
In addition to Bluetooth, a hardwired 3.5mm input jack is available to connect
and play non-Bluetooth devices such as Mp3 players, satellite radio kit, iPods etc.
Wireless remote control allows users to track up/down, pause,
increase/decrease device volume and more. An optional USB charging port
provides 3A charging power to help keep devices charged. Keep the radio and
car you love while enjoying Bluetooth features only available on newer cars.
For more details, see Frequently Asked question at the end of this guide.
Installation:
Radio must be removed to install adapter.
Warning! Although not critical, we recommend disconnecting the car battery.
Keep in mind many Volvo radios are coded and will not operate without the code.
Radio code must be available for radio to operate upon reconnection.
1. Remove radio by pressing both spring-loaded release tabs as seen in
Fig. 1
Fig. 1
2. Place finger inside release ring and pull outward as seen in Fig. 2
Fig. 2
3. Connect adapter harness 8-pin plug (See Fig. 3) to radio “CD”port
(See. Fig. 4).
Factory CD Changer (if present) must be disconnected.
Fig. 3
Fig. 4
Radio’s 8-pin Changer port

4. AUX input connection: Connect supplied 3.5mm audio cable (See Fig.
5) to module “AUX” jack (See Fig. 6). Route and connect other end to
front of the dash or wherever Aux device will reside (within 3 ft.)
Fig. 5
Fig. 6
5. Connect push button (See Fig. 7) to module “CTL”jack
Fig. 7
Control button
6. Secure push button in location that is within reach of the driver (cable
is 6ft. long). Simply remove tape backing (See Fig. 7) and adhere to
surface.
7. Install microphone to visor or headliner using included visor clip (See
Fig. 8).
Fig. 8
Microphone
Fig. 8
Visor clip
8. Carefully route microphones 3.5mm plug down side pillar and behind
the dash and connect to module “MIC” input.
9. Tap adapter harness RED wire to one of two Green/brown Accessory
wires on radio harness (See Fig. 9)
10. Tap YELLOW wire from installation harness to yellow/purple Battery
supply wire on radio harness (See Fig. 9)

Fig. 9
11. Secure adapter box and proceed to next section.
OPTIONAL USB CHARGING PORT
This add on option provides up to 3 Amps charging current. Should you decide
to add the USB Port, we suggest 2 mounting options:
A. Flush to dash/panel requires drilling a ¾” hole in the dash
B. Flush with Support bracket (use this option to mount USB terminal
wherever your installation demands without drilling)
A. Flush to Dash or Panel (requires drilling)
1. Drill a ¾” hole in the dash or panel using a step drill bit or equivalent
(See Fig. 10)
Fig. 10
Step drill bit
2. Insert USB male terminal through the ¾” hole created in step 1 and
connect to module USB port (See Fig. 12)
Fig. 11
USB 6 ft. cable with bracket
Fig. 12
USB charging port
3. Push USB head (See Fig. 13) until it snaps in place and flush with
mounting surface (See Fig. 14)
Fig. 13
USB head

Fig. 14
Flush mounted to dash
4. Tuck and secure any extra wire from moving parts and test operation
(See Enabling the AUX section below)
B. USB with Bracket Mount (No drilling)
1. Locate a flat surface at location of choice within 3.2 ft. of radio and
mount USB support bracket (See Fig. 15) to surface using
adhesive/tape or screws.
Fig. 15
USB mounting bracket
2. Insert the 6 ft. USB male terminal through bracket hole (See Fig. 16)
and connect to Module USB port (See Fig. 12)
Fig. 16
3. Push USB head until it snaps in place and flush (See Fig. 17)
Fig. 17
Tuck and secure any extra wire away from moving parts and test operation (
See
Bluetooth Pairing and Connection
Pairing:
Pairing varies among devices but basic steps are the same. This process is
done upon initial install and will not have to be repeated
1. Turn Ignition and radio “ON”
Blue LED in adapter peephole will flash (pairing mode)
2. On A2DP device: go to
Settings, Wireless & Networks, Bluetooth
Settings
3. Select
Bluetooth
and turn on, select Bluetooth settings
4. Tap
Scan for devices
.
5.
Wait for Bluetooth device name (LANNI) to appear and select it.
Once
paired Blue LED inside peephole flashes once every 2 seconds and
confirmation tone is heard on car speakers

One connection
The A2DIY-VOL connects to one device at a time. You must disconnect/unpair
first device before pairing a second, or simply disable Bluetooth on first device.
Warning! Voice Recognition applications (e.g. Siri, Google Play etc.) must be enabled on
device as you would in portable mode.
Optional remote control:
Wireless remote is optional and not required for operation, however instead
juggling with audio device while driving (which is outright dangerous), simply
mount to dashboard or steering wheel and able to perform the following
functions: (push button included with kit does not track up/down) –We highly
recommend this adding the remote control option.
1. Control music wirelessly
2. Activate VR commands (Google play)
3. Track up/down
4. Volume up/down
Pairing Bluetooth remote:
Remote control operation:
Use wireless remote to perform the following functions on any iOS7.0 and higher
or Android 4.4 and higher.
In addition to above:
To answer/end call press Play/Stop button (Android only)
To switch from streaming/AUX press, Play/Stop button (Android only)
To answer/end call press push-to-talk button (Apple and/or Android)
To switch from streaming/AUX press push-to-talk button (Apple and/or
Android)

Test Operation:
1. Turn ignition and radio “ON”
2. Press CD, CH6 or CHGR button on radio.
3. Launch Smartphone or tablet music streaming application
4. Use radio volume control button to set playback level.
5. If correct operation is confirmed go ahead and reinstall radio.
Push button Commands
To
Proceed this way
Answer call
Press and release button
End call
Press and release button
Switch between AUX and Bluetooth
Press and release button
Pair/un-Pair Bluetooth
Press/hold button for 2 seconds
Redial last number called
Press button twice in succession
Note: if no auxiliary device is connected, pressing control button once pauses
music streaming
Bluetooth Comparison Chart
Feature
A2D-VOL
A2DIY-BKR
CD changer retention
x
x
3.5mm AUX input
x
✓
USB charging port
x
**
Muting
*
*
Hands-Free profile
x
✓
Music streaming
✓
✓
Push-to-talk button
x
✓
Remote control
*
✓
Multi-device pairing
✓
✓
* When radio is in CD Changer (Bluetooth Mode)
** Optional
Installation notes:
If there is alternator whine or similar noise during playback, we recommend
installing included noise filter (See Fig. 18)to accessory supply wire.
Filter Installation
Filter installs between vehicle supply wire and module as follows:
Connect filter (in) red wire to vehicle accessory supply wire
Connect filter (out) red wire to Bluetooth module red wire
Connect filter (in) black wire to vehicle ground wire
Connect filter (out) black wire to radio chassis

Frequent asked questions
1. What’s the difference between A2D-VOL and A2DIY-VOL?
The A2D-VOL supports music steaming, the A2DIY-VOL supports music
streaming, Hands-Free calling and Auxiliary input (3.5mm jack)
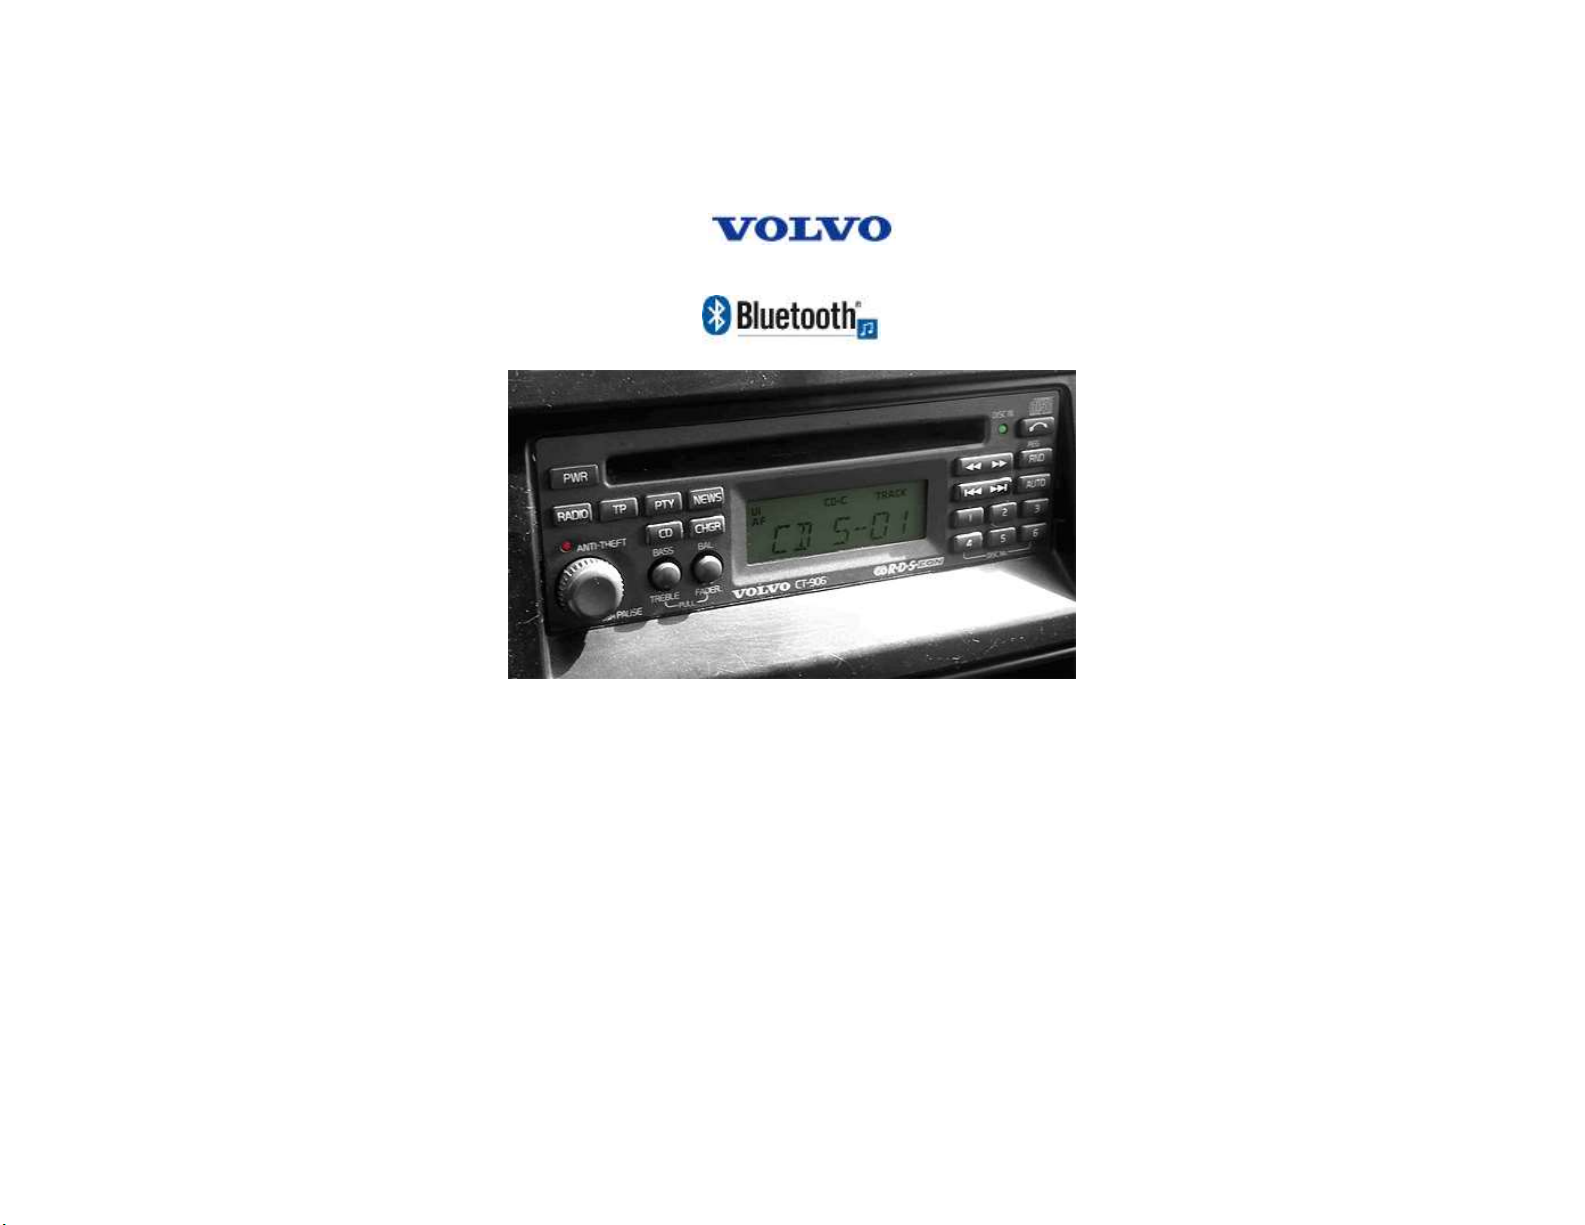
2. Does the A2DIY-VOL work on all Volvo radios?
NO; works only on Volvo “SC” and select “CT” radios with CD changer
controls. (non-changer controlling radios are not supported)
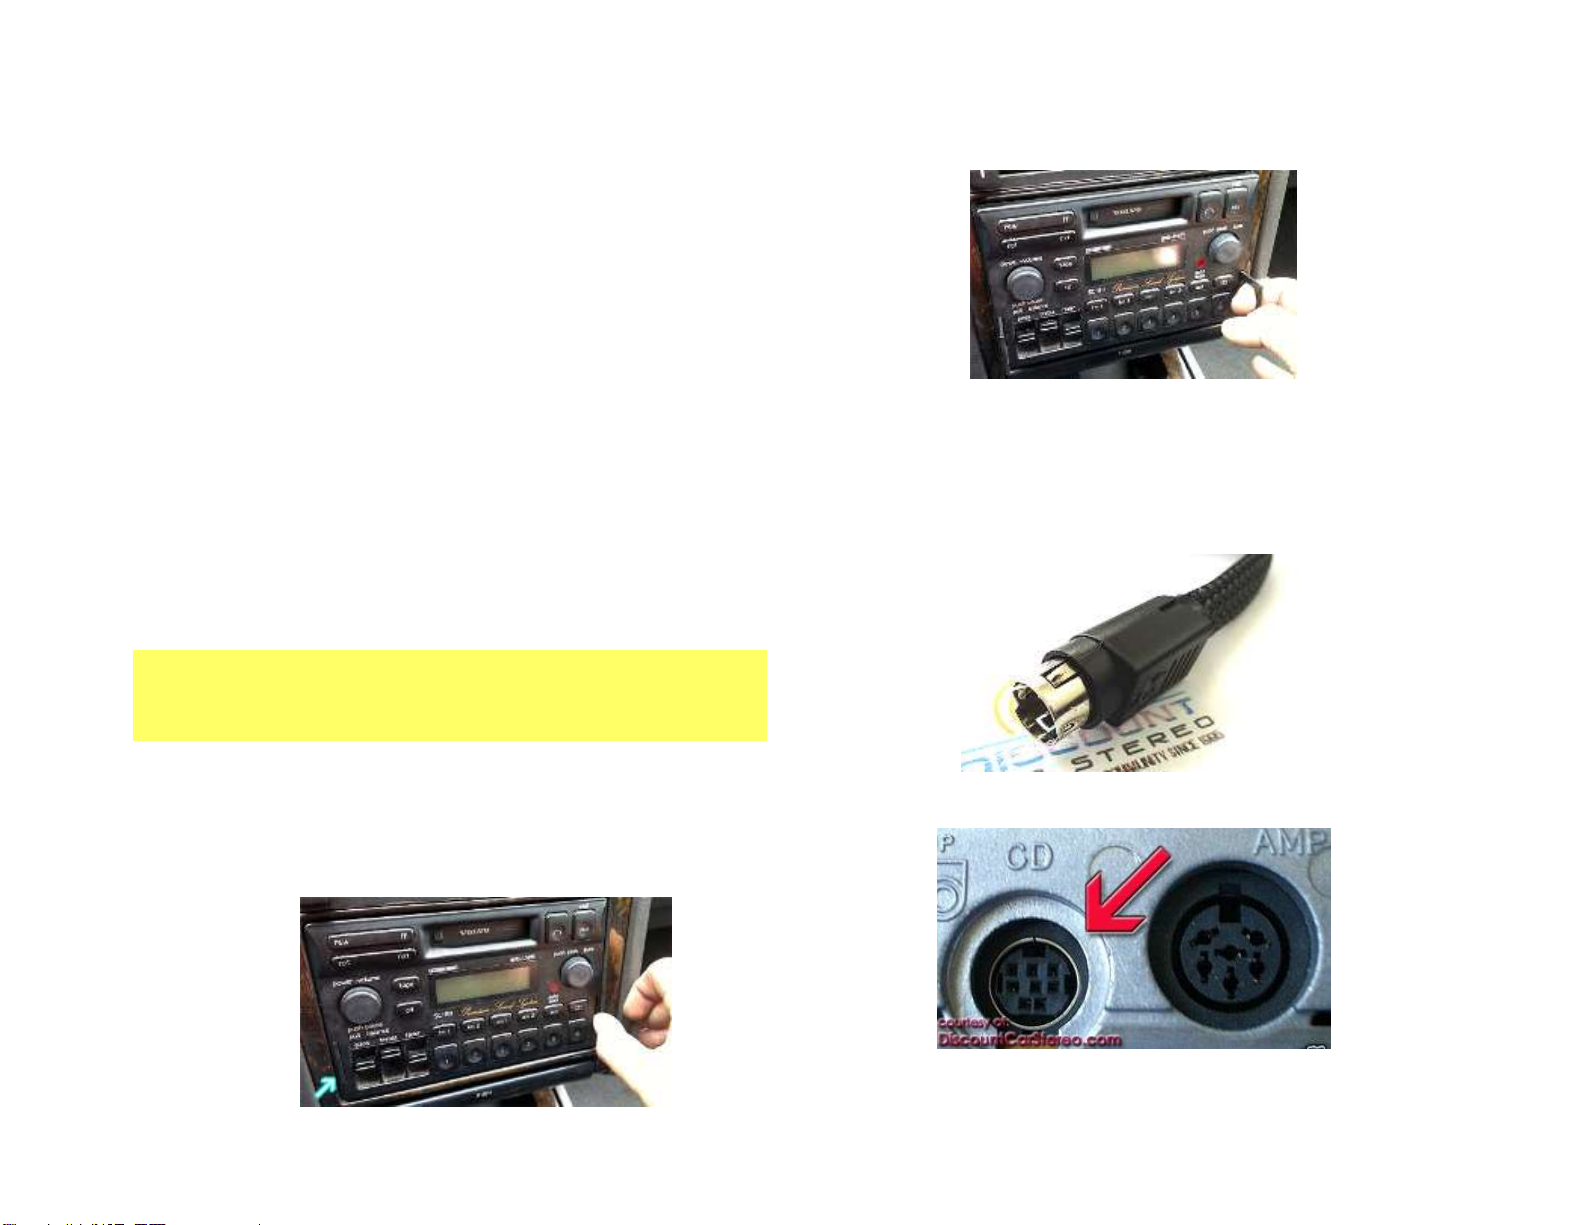
3. Is there something available for non- “CD changer “controlling radios?
YES; Purchase our ISFM23 or ISFM2351.
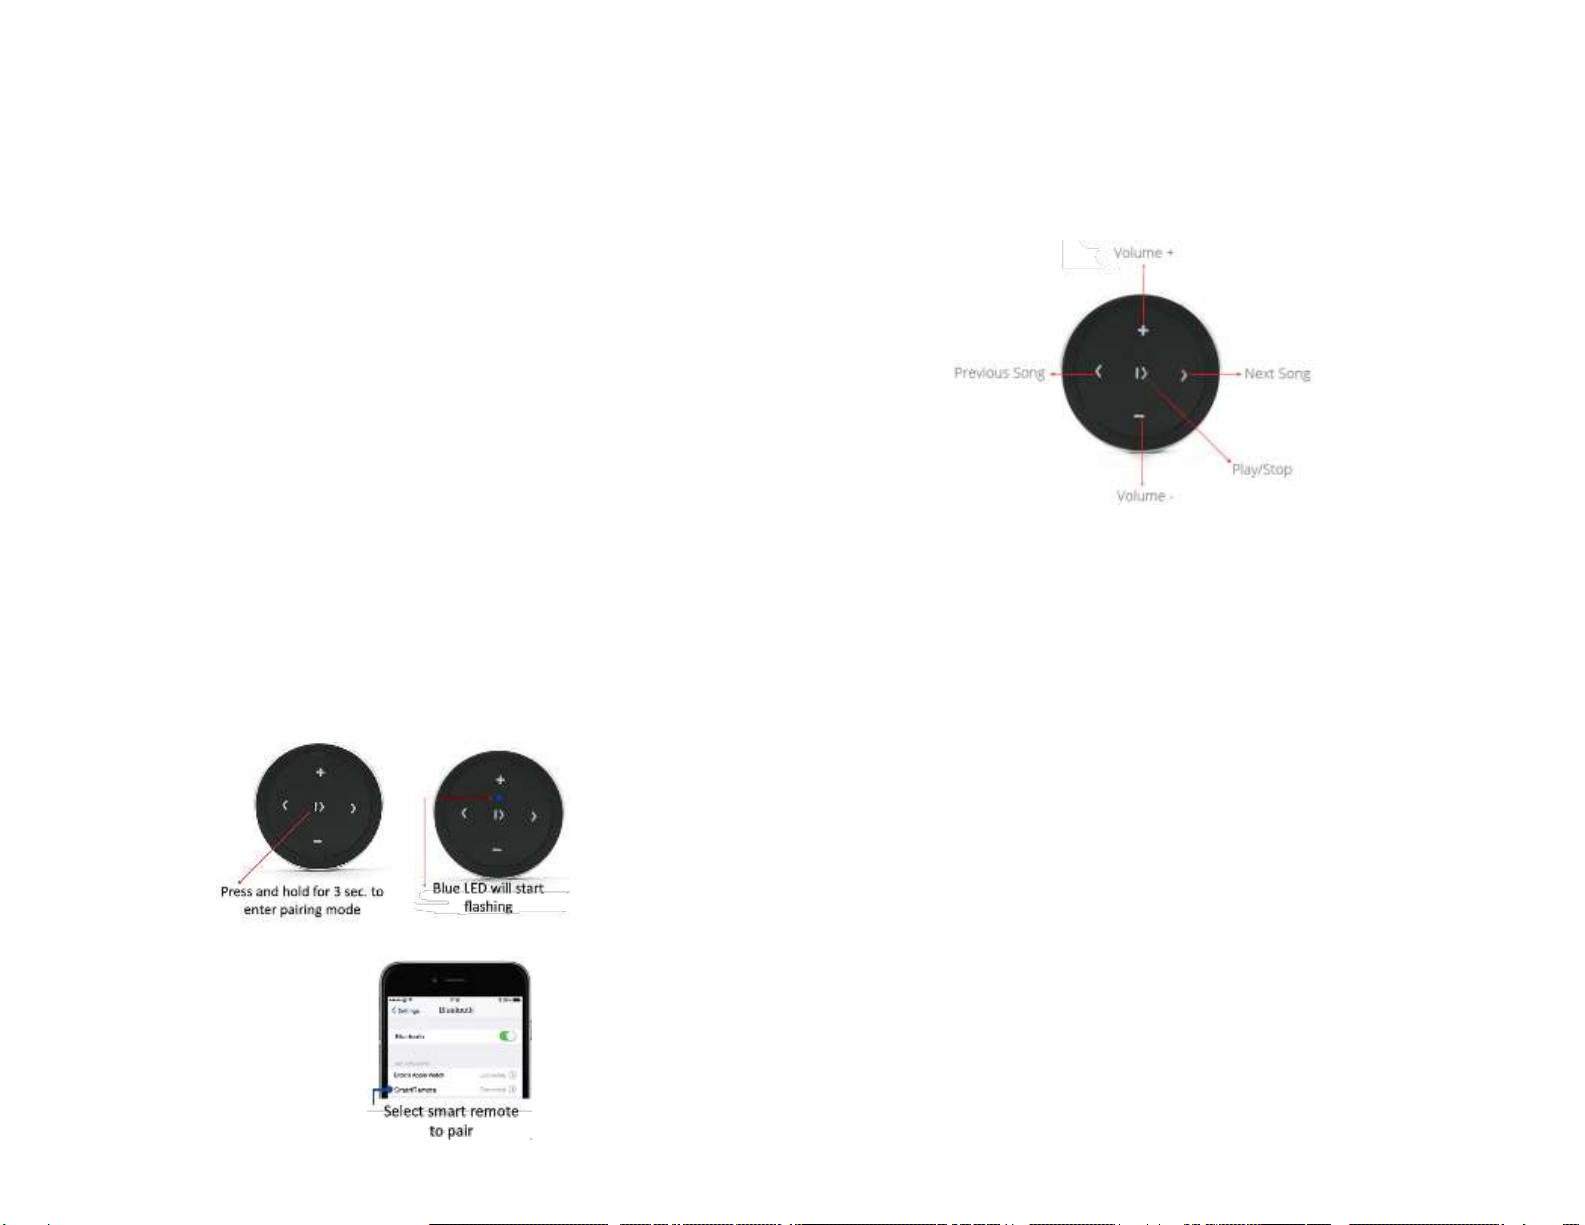
4. Can I control Smartphone from radio buttons?
NO; you must use Smartphone built-in controls and display to operate
device, or purchase optional remote control. Volume button on radio is
used to set the playback level.
5. Can I pair or save more than one device to the A2DIY-VOL?
YES; more than one device (slaves) can be paired however only one
connection can be active at a time. To pair a second device, you must
disconnect first device.
6. When listening to aux device, audio playback is interrupted with every
press of smartphone button.
Is this normal?
YES,when in aux mode, smartphone button operation temporarily
interrupts music playback.
Disclaimer
• This product has no affiliation with Volvo.
• We’re not liable for misuse of this product.
•We recommend professional installation.
Email [email protected]
© 1995-Mar-20 Discount Car Stereo All rights reserved. Information in this document is subject
to change without notice. Other products and companies referred to herein are trademarks or
registered trademarks of their respective companies or mark holders.
Other manuals for A2DIY-VOL
2
Table of contents
Other Volvo Adapter manuals
Popular Adapter manuals by other brands

Linksys
Linksys WPC55AG Quick installation

Renesas
Renesas PROM Programming Adapters PCA7450FP user manual

Motorola
Motorola WN825G Getting started

Rosewill
Rosewill WIRELESS N ADAPTER RNX-N150UBE user manual

Brite View
Brite View BVP-5100D LinkE Mini user guide

VidaBox
VidaBox VidaCharger Ultra VB VCHR U 48V ADPT installation guide

Symbol
Symbol 6220 Installation procedures

Technoton
Technoton DUT-E AF Operation manual

Aiphone
Aiphone MFW-P3 instructions

HP
HP P3410A - NetRAID 1M RAID Controller Installation and configuration guide

NETGEAR
NETGEAR FA511 - 32-bit CardBus PC Card Mobile installation guide

Rayson Technology
Rayson Technology BTD-434 user manual