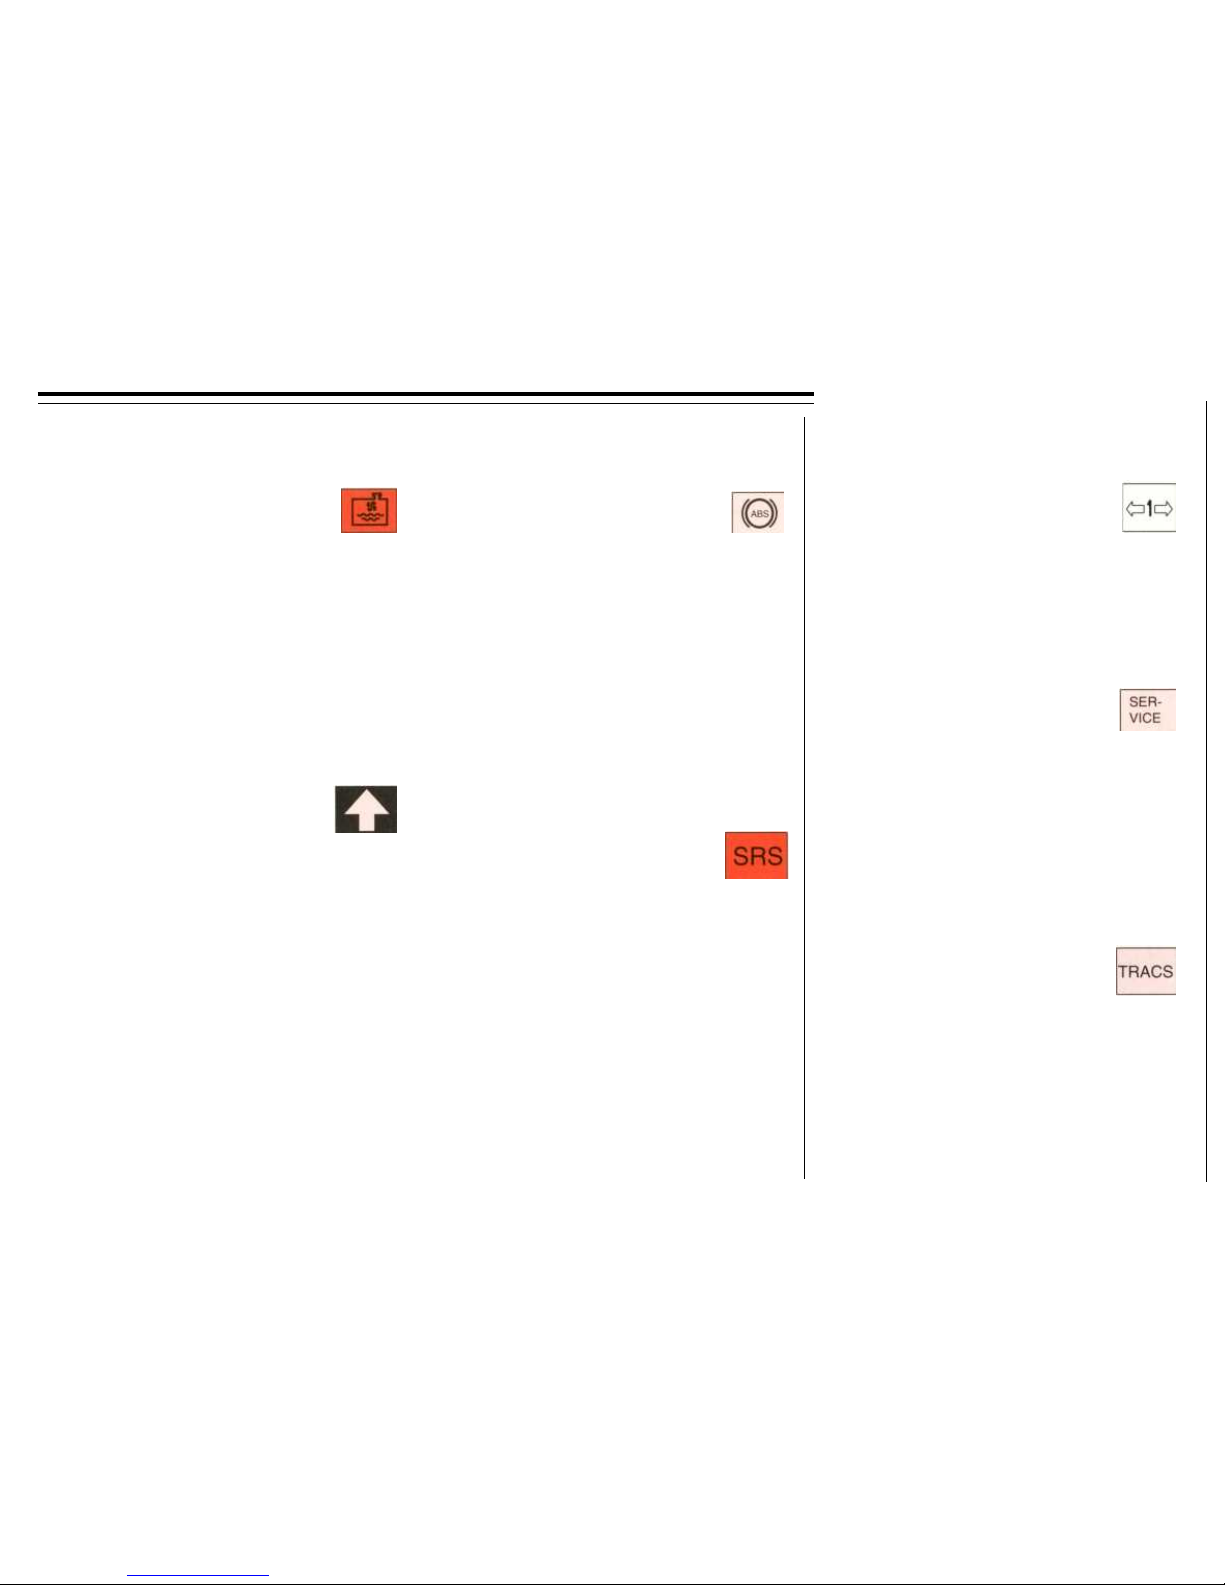
Brake circuit failure
If this light comes on while driving or braking,
the fluid level in the brake fluid reservoir is
too low. Stop immediately and check the level
i
n the reservoir (see the back cover of the manual
for its location).
If the fluid level is under MIN in any part of
the reservoir, do not drive any further; have
the car towed to a workshop to be checked and
repaired!
1:4
Fault in the engine
electronic system
If this light stays on after the engine has started,
a fault has been detected in the engine's fuel
or ignition system. This could mean that the
engine does not meet exhaust regulations.
Have your car checked by a Volvo workshop.
Low oil pressure
If this light comes on when the engine is
running, the oil pressure is too low. Switch off
the engine immediately and check the oil level;
see 7:6.
After hard driving, the light will come on
occasionally when the engine is idling. This is
normal provided it goes off again when the
engine speed increases.
Battery charge failure
The warning light comes on when the
alternator is not charging the battery. If the
lamp comes on while driving, there is either a
fault in the electrical system or the drive belt
is slack.
Note! If the drive belt snaps, or if the belt
tensioner is broken so that the alternator
cannot charge the battery, this light and war-
ning lights 4, 9. 15, 16 and 19 will come on.
Bulb failure warning
light
Lights up if any of the following bulbs fail:
Dipped beam
Tail lights
Rear parking lights
Brake lights (if the light glows when the brake
pedal is depressed).
Check the fuse and the bulb.
Parking brake
engaged
The parking brake, which is separate from the
service or foot-operated brake, is not applied
during normal braking. For this reason, it is
not cleaned automatically. We therefore
recommend that you use the parking brake
regularly to keep it clean.
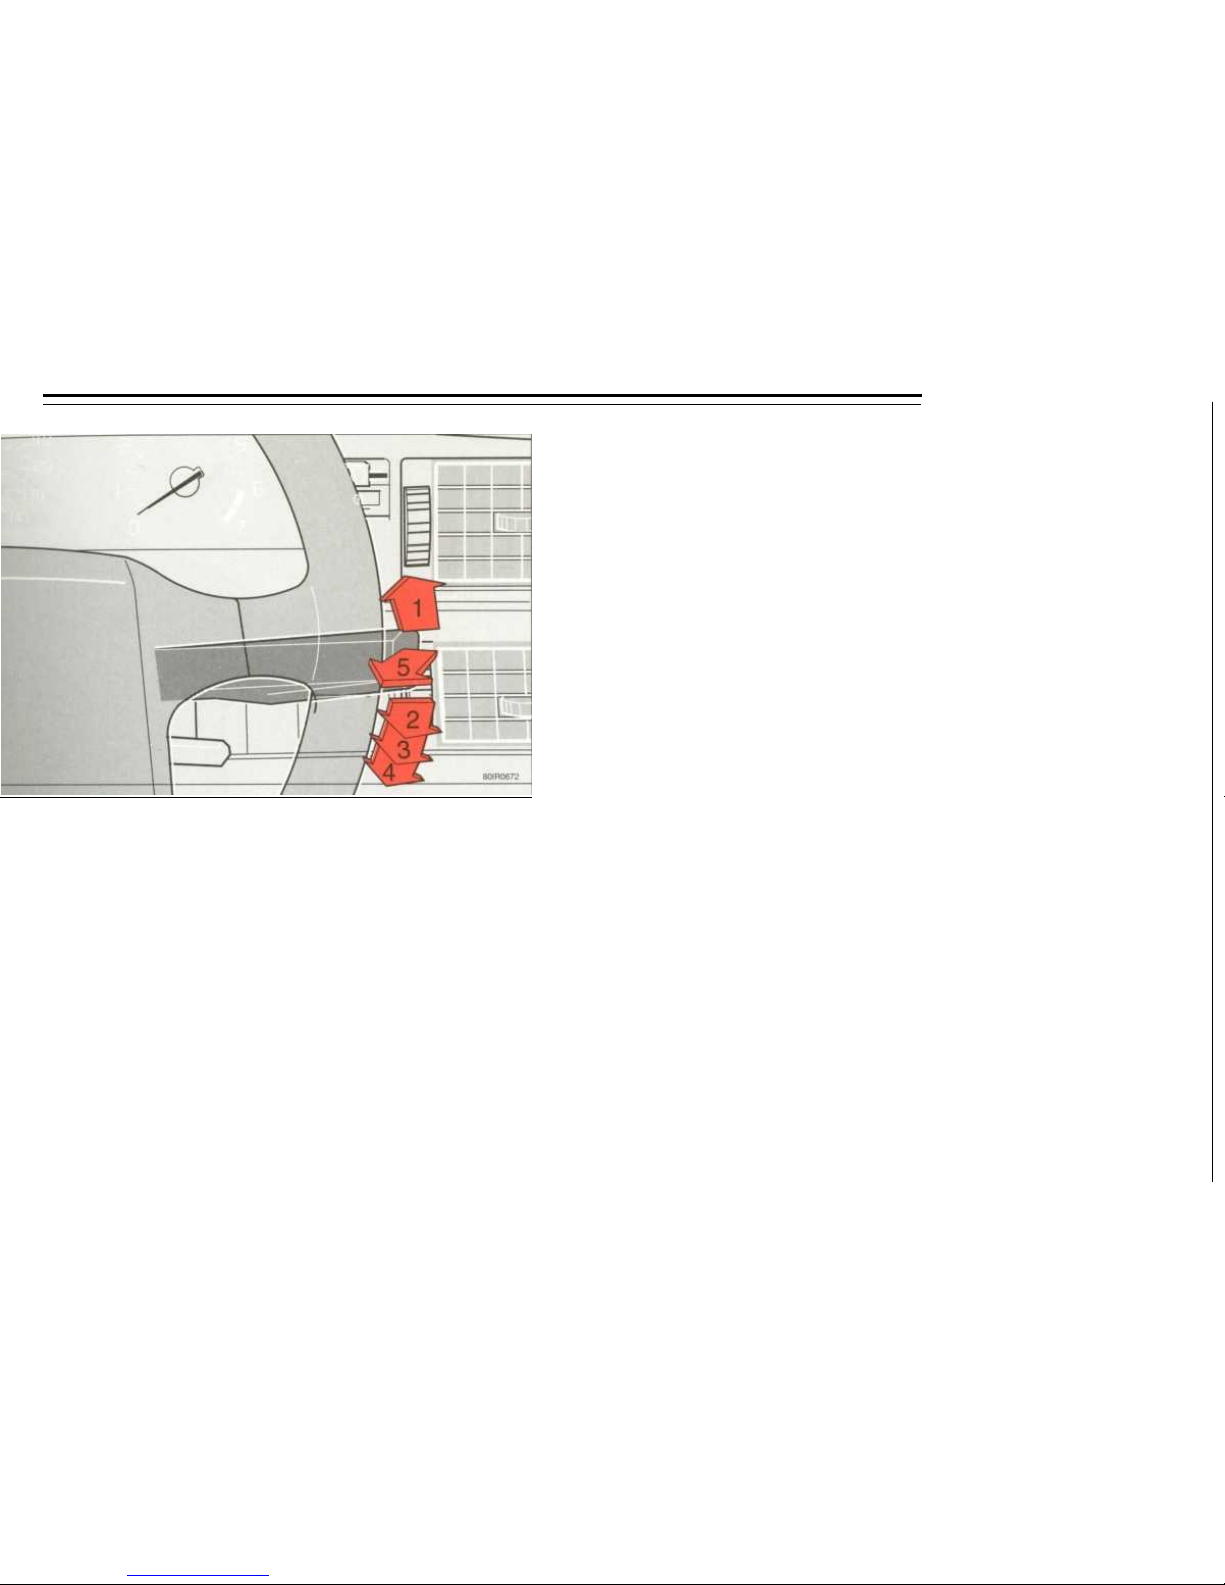
Control and warning lights
The warning lights described here should never be on while driving
However, all the warning lights should light up when the ignition key is turned on and before the engine actually
starts. This allows you to check that the bulbs are in working order. Once the engine starts, all the bulbs except
for the parking brake reminder light, should turn off. The parking brake light will turn off once the parking brake
is disengaged.