Waldmann CHEKOV User manual

Seite/Page 1 / 14 / SAP-Dokument-Nr.: 10000155789 / 03.02.2022
TISCHSENSOR
DESK SENSOR
CHEKOV
DEU
ENG
Gebrauchsanweisung
Instructions For Use

Seite/Page 2 / 14 / SAP-Dokument-Nr.: 10000155789 / 03.02.2022
Willkommen bei Waldmann
Vielen Dank, dass Sie sich für ein Produkt der Marke Waldmann entschieden haben. Höchste
Produktqualität sowie ein kundenfreundlicher Service sind die Basis für den weltweit
expandierenden Erfolg der Waldmann-Produkte. Falls Sie unseren Service in Anspruch nehmen
möchten ist unser Service-Team für Sie erreichbar:
Service-Hotline: +49 (0) 77 20 / 6 01 –170
Service-E-Mail: service@waldmann.com
Ihr Waldmann-Team
Welcome to Waldmann
Thank you for having purchased a product of the Waldmann brand. Highest product quality and a
customer-friendly service are the basis for the successful distribution of Waldmann products
throughout the world.
If you want to make use of our service, our service team can be reached at:
Service-Hotline: +49 (0) 77 20 / 6 01 –170
Service-E-Mail: service@waldmann.com
Your Waldmann team
DEU
ENG

Seite/Page 3 / 14 / SAP-Dokument-Nr.: 10000155789 / 03.02.2022
Sicherheitshinweise
Das Gerät ist nach aktuellem Stand der Technik entwickelt, gefertigt und geprüft. Dennoch können sich bei
der Verwendung Personen- oder Sachschäden einstellen.
Lesen Sie daher diese Anleitung sorgfältig durch und beachten Sie die Warnhinweise in allen
Begleitdokumenten sowie auf dem Gerät. Verwenden Sie das Gerät nur im einwandfreien Zustand.
Bewahren Sie diese Anleitung auf.
Beachten Sie darüber hinaus auch alle Sicherheitshinweise, Warnungen und Vorschriften in den
Begleitdokumenten der verwendeten USB-Versorgung und ggf. weiterer angeschlossener Geräte.
Das Gerät darf nur in trockenen Räumen betrieben werden.
Das Gerät darf NICHT in explosionsgefährdeten Räumen eingesetzt werden.
Bestimmungsgemäßer Gebrauch
Bei dem Gerät handelt es sich um einen Präsenzmelder zur Erfassung von Arbeitsplatzbelegung mit
integrierter Anzeige von z.B. Platzbuchungen. Das Gerät kommuniziert entweder über ein Bluetooth Mesh
oder eine WLAN-Schnittstelle mit einem internetbasierten Dienst. Zur Konfiguration steht zusätzlich eine
NFC Schnittstelle zur Verfügung. Das Gerät wird über einen USB-Anschluss versorgt.
Reparieren
Wartungs- und Reparaturarbeiten nur vom Hersteller, von einem vom Hersteller beauftragten
Servicetechniker oder einer gleichwertig qualifizierten Person durchführen lassen. Ungeeignete Ersatzteile
können zu Verletzungen und Sachschäden führen.
Reinigen
Reinigen Sie das Gerät mit einem Tuch und einem milden Reiniger. Prüfen Sie ggf. zuvor an unauffälliger
Stelle die Verträglichkeit des Reinigungsmittels mit der Oberfläche des Geräts.
Entsorgen
Entsorgen Sie das Gerät getrennt vom Hausmüll über die dafür zuständigen und staatlich bestimmten
Stellen. Mit einer ordnungsgemäßen Entsorgung vermeiden Sie mögliche negative Folgen für Mensch und
Umwelt.
Lieferumfang
•Tischsensor „Chekov“
•Mikro-USB Kabel 1,8m
•Klebepad (zur Untertischbefestigung)
DEU

Seite/Page 4 / 14 / SAP-Dokument-Nr.: 10000155789 / 03.02.2022
Komponenten
•PIR Sensor mit Shutter (drehbar)
•Status-LED (RGB)
•2x Benutzertaste
•QR Code für BlueRange Inbetriebnahme
•NFC Transponder
•Konfigurationstaste
•USB-Anschluss
•Erweiterungsanschluss (aktuell ohne Funktion)
•Befestigungslöcher (optional)
Montage
Das Gerät ist zur Untertischmontage an Sitzplätzen, Stehtischen oder höhenverstellbaren Tischen
vorgesehen (ca. 70cm bis 110cm Höhe). Optimal ist die Positionierung 30-70cm rechts oder links von der
Sitzmitte. Bitte beachten Sie, dass der Sensor nicht vom Stuhl verdeckt wird, da sonst die Belegung des
Arbeitsplatzes nicht erkennbar wäre.
Zur Montage kann das beiliegende Klebepad verwendet werden. Achten Sie dabei auf staub- und fettfreie
Klebeflächen. Alternativ kann bei Bedarf die Montage auch durch Schrauben (im Lieferumfang nicht
enthalten) durch die dafür vorgesehenen Löcher im Gehäuse erfolgen.
Die Gerätekante mit der Status-LED sollte mit der Tischkante abschließen.
30 - 70 cm
30 - 70 cm
… 110 cm
70 cm …

Seite/Page 5 / 14 / SAP-Dokument-Nr.: 10000155789 / 03.02.2022
Unterseite Oberseite
Der PIR Shutter muss auf die Sitzposition ausgerichtet werden.
Bitte beachten Sie, dass bei sehr hohen Raumtemperaturen die PIR Erkennung beeinträchtigt ist.
USB-Anschluss
Das Gerät wird durch das beiliegende Mikro-USB Kabel mit einem USB-Netzteil (5V, nicht enthalten)
verbunden.
Mit einem Multiport Netzteil können auch mehrere Geräte gleichzeitig versorgt werden, insofern genügend
Leistung je Port zur Verfügung stehet (siehe Technische Daten).
Achten Sie bei der Verlegung des Kabels darauf, dass dies den PIR nicht verdeckt, nicht unter Zug steht und
nicht geknickt wird.
Erstinbetriebnahme WiFi
Nach Anlegen der Betriebsspannung startet das Gerät und die Status-LED pulsiert violett.
Da noch keine Konfigurationsdaten vorhanden sind, wechselt das Gerät automatisch in den
Konfigurationsmodus und die Status-LED blinkt 3x zur Bestätigung.
Im Anschluss wird die Konfiguration vorbereitet und die Status-LED pulsiert orange. Bitte
warten Sie auf den folgenden Schritt.
Ist das Gerät bereit für die Übertragung der Konfigurationsdaten, so leuchtet die Staus-LED
statisch orange.
Starten Sie auf Ihrem Mobilgerät die LVE App zur Einstellung der Konfigurationsdaten.
Geben Sie die gewünschten Konfigurationsdaten ein.
WLAN: SSID, Passwort
MQTT: Account, Passwort
Chekov
3

Seite/Page 6 / 14 / SAP-Dokument-Nr.: 10000155789 / 03.02.2022
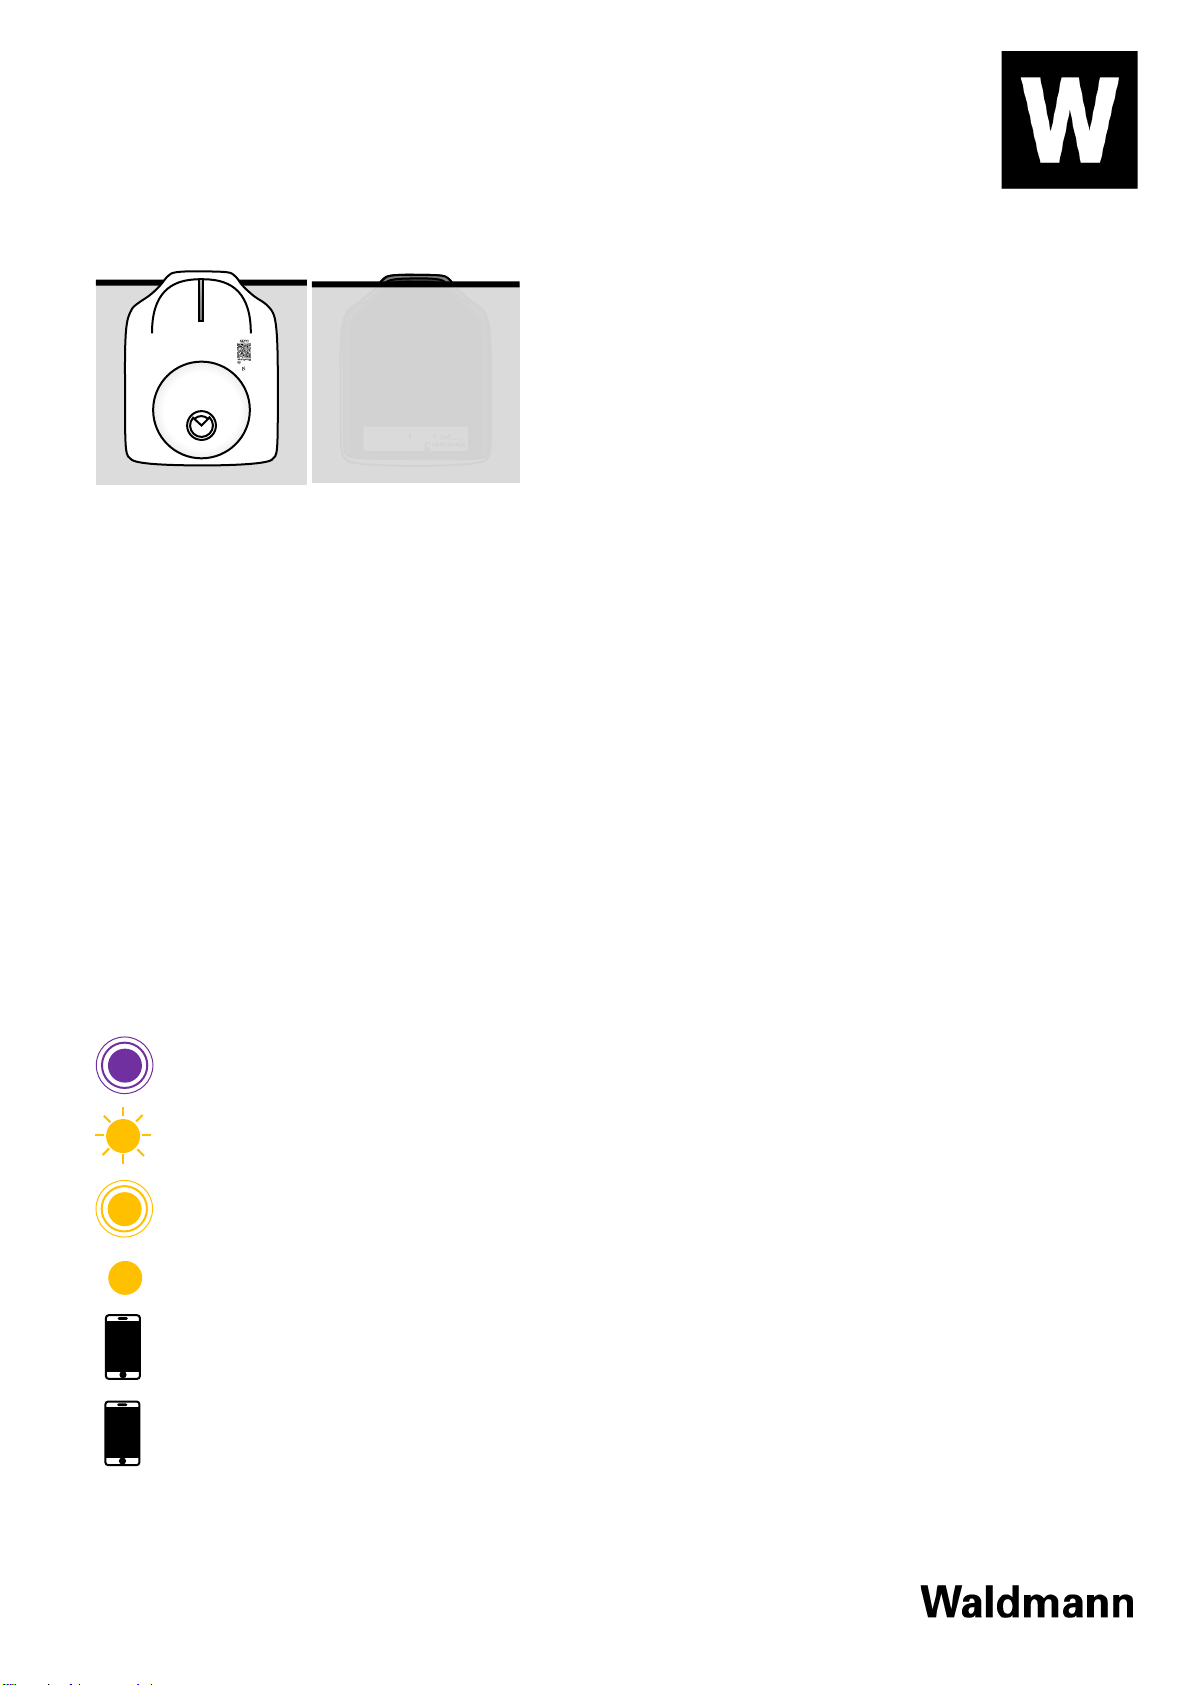
Übertragen Sie nun per NFC die Daten in das Gerät. Der NFC Transponder ist durch das Etikett
mit dem QR-Code auf der weißen Gehäuseschale gekennzeichnet. Die Position des NFC im
Mobilgerät kann je nach Modell variieren.
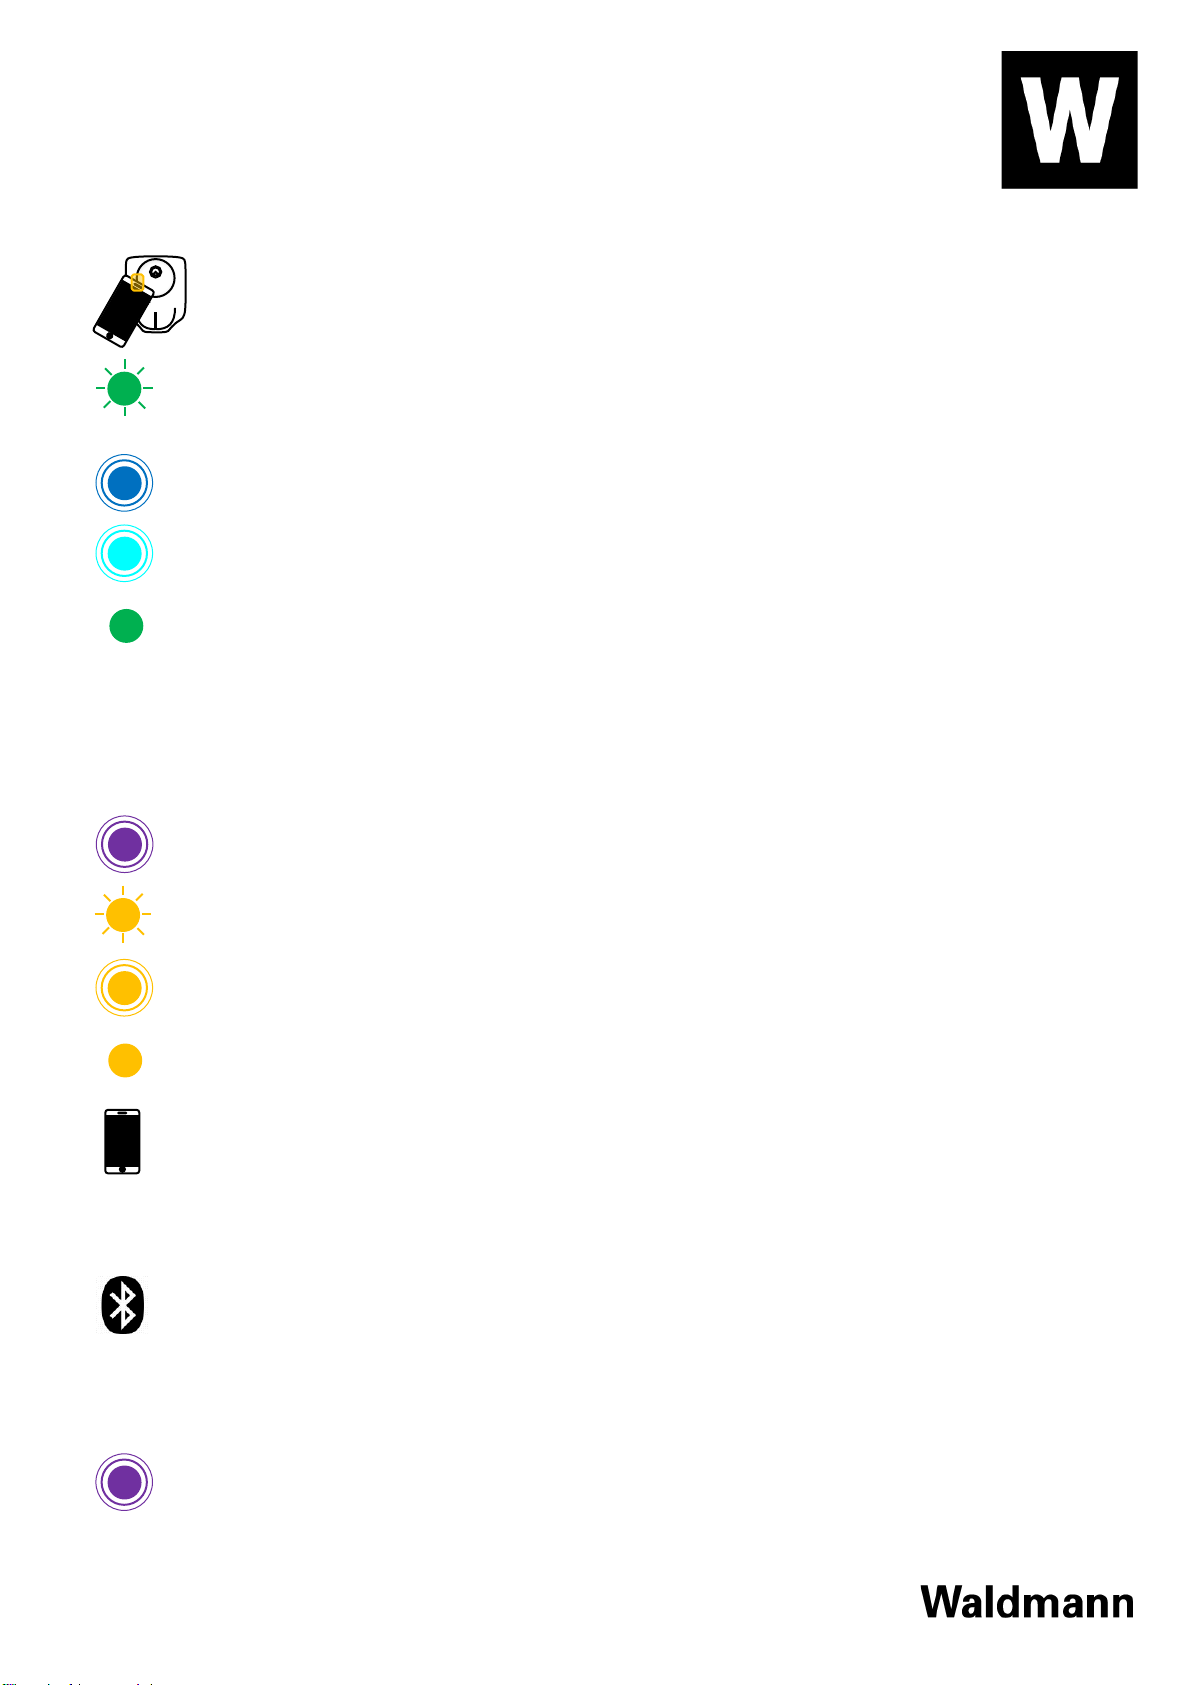
Nach erfolgreicher Übertragung der Konfigurationsdaten blinkt die Status-LED 3x grün. Sollte
bei diesem Prozess ein Fehler aufgetreten sein, so blinkt die Status-LED 3x rot. In diesem Fall
wiederholen Sie bitte den Vorgang.
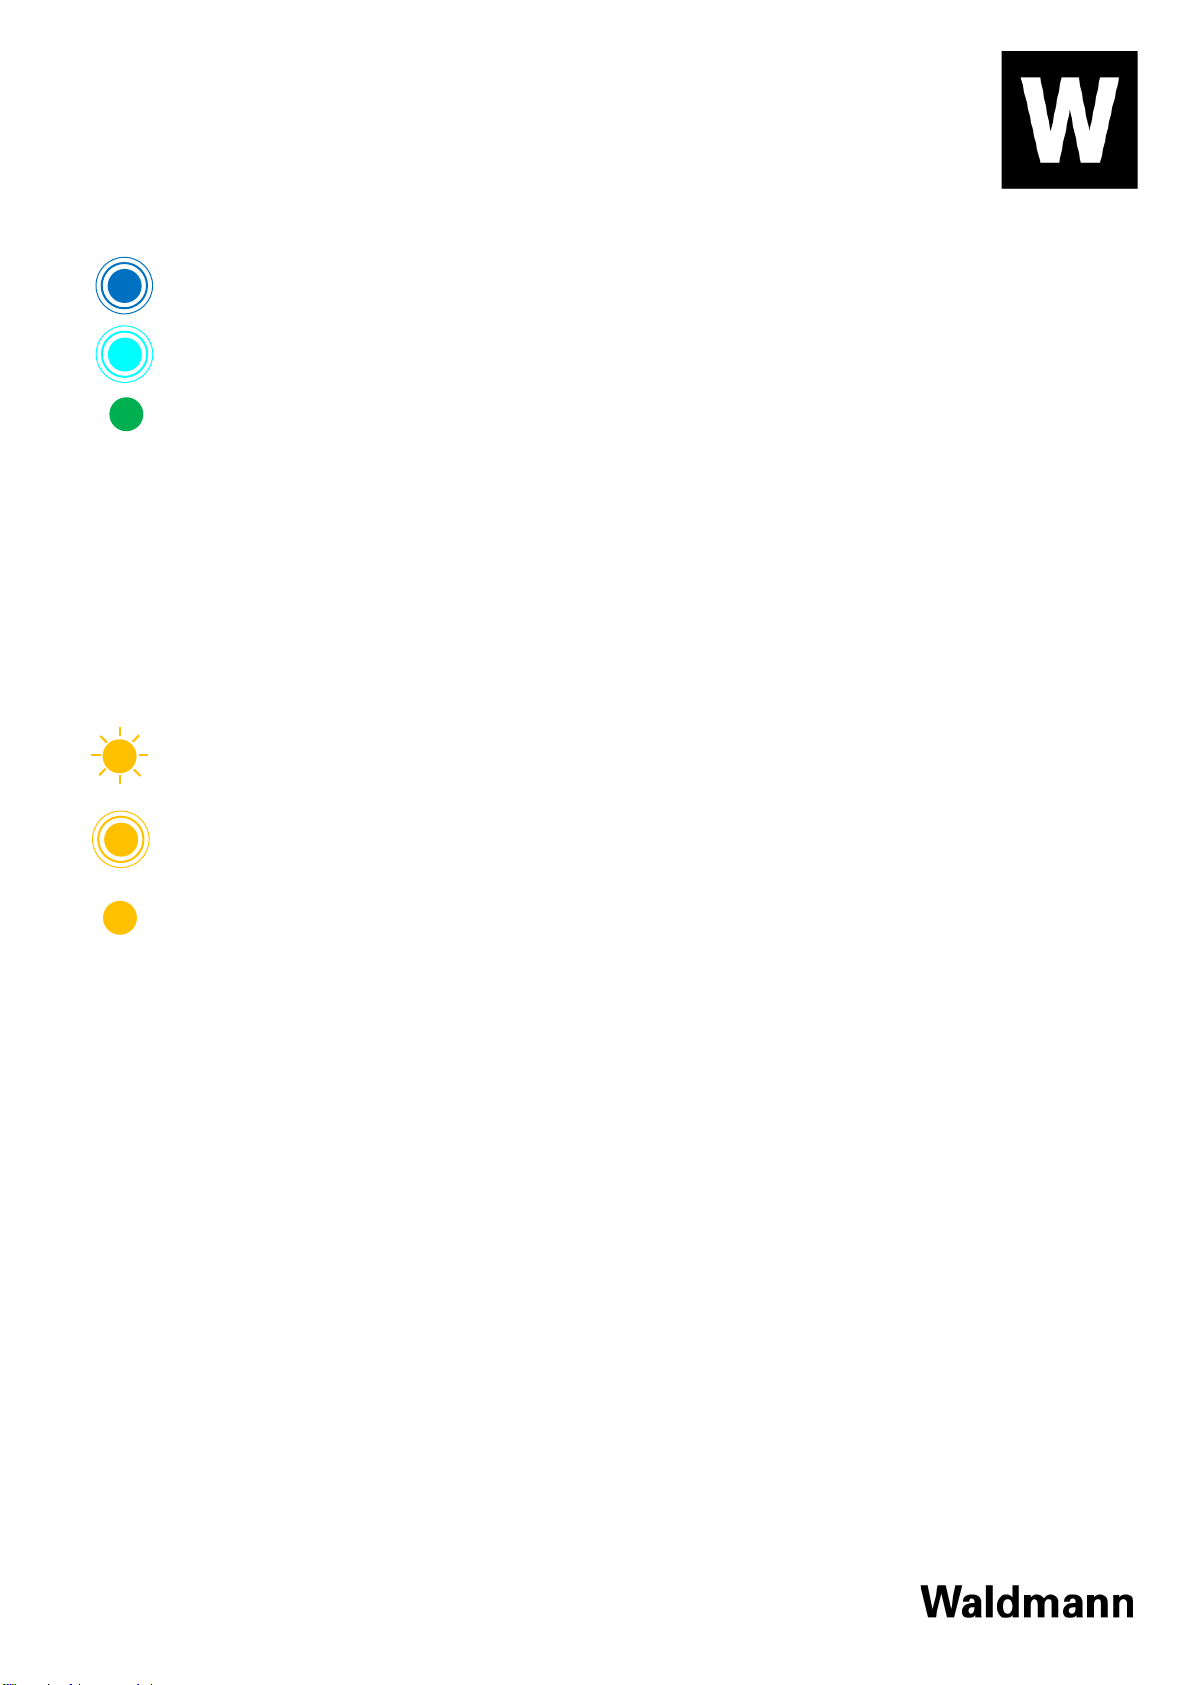
Anschließend stellt das Gerät basierend auf den Konfigurationsdaten eine Verbindung zum
WLAN her und die Status-LED pulsiert blau.
Danach stellt das Gerät basierend auf den Konfigurationsdaten eine Verbindung zum MQTT
Server her und die Status-LED pulsiert türkis.
Nach erfolgreichem Verbindungsaufbau wechselt das Gerät in den normalen Betrieb. Die
Status-LED zeigt zuerst die Default Fabe grün (kann projektspezifisch angepasst werden).
Im weiteren Betrieb werden die Farben der Status-LED und die Funktion der Benutzertasten aus der Cloud
gesteuert.
Erstinbetriebnahme BlueRange
Nach Anlegen der Betriebsspannung startet das Gerät sofort und die Status-LED pulsiert violett.
Da noch keine Konfigurationsdaten vorhanden sind, wechselt das Gerät automatisch in den
Konfigurationsmodus und die Status-LED blinkt 3x zur Bestätigung.
Im Anschluss wird die Konfiguration vorbereitet und die Status-LED pulsiert orange. Bitte
warten Sie auf den folgenden Schritt.
Ist das Gerät bereit für die Übertragung der Konfigurationsdaten, so leuchtet die Staus-LED
statisch orange.
Starten Sie auf Ihrem Mobilgerät die LVE App (alternativ BlueRange Admin App) und loggen Sie
sich ein.
Wählen Sie das gewünschte Bluerange Netzwerk aus, welchem Sie neue Geräte zuordnen
wollen.
Klicken Sie auf die Schaltfläche „+“.
Wählen Sie anschließend entweder „Geräte in der Nähe suchen“ (BT-Nearby Verfahren) oder
„QR-Code scannen“ (QR-Code Verfahren).
Warten Sie, bis das gewünschte Gerät erkannt wird und fügen dies zur Einschreibungsliste
hinzu. Sie können diesen Vorgang für mehrere Geräte wiederholen.
Am Ende des Prozesses lassen Sie alle Geräte auf der Einschreibungsliste enrollen.
Nach erfolgreichem Enrollment startet das Gerät neu und die Status-LED pulsiert violett.
3
3

Seite/Page 7 / 14 / SAP-Dokument-Nr.: 10000155789 / 03.02.2022
Anschließend stellt das Gerät eine Verbindung über das BlueRange Gateway zum MQTT Server
her. Die Status-LED pulsiert blau und anschließend türkis.
Nach erfolgreichem Verbindungsaufbau wechselt das Gerät in den normalen Betrieb. Die
Status-LED zeigt zuerst die Default Fabe grün (kann projektspezifisch angepasst werden).
Im weiteren Betrieb werden die Farben der Status-LED und die Funktion der Benutzertasten aus der Cloud
gesteuert.
Konfigurationsmodus
Wenn das Gerät noch keine Konfigurationsdaten gespeichert hat, wird der Konfigurationsmodus
automatisch gestartet und das Gerät verweilt im Konfigurationsmodus.
Sind schon Konfigurationsdaten gespeichert worden, so kann der Konfigurationsmodus manuell aufgerufen
werden. Drücken Sie hierzu die Konfigurationstaste auf der Geräterückseite für 5s oder länger.
Die Status-LED bestätigt dies durch 3x orange blinken.
Im Anschluss wird der Konfigurations-modus vorbereitet und die Status-LED pulsiert orange.
Ist der Konfigurationsmodus bereit, so leuchtet die Staus-LED statisch orange.
Erfolgt keine weitere Aktion, so verlässt das Gerät den Konfigurationsmodus automatisch nach 2 Minuten.
Im Konfigurationsmodus stehen folgende Optionen zur Verfügung:
•NFC Auslesen der Geräteinformationen (u.a. Version, Serial-ID und MAC Adressen)
•NFC Schreiben der Gerätekonfiguration oder Auslösen von Gerätefunktionen (beides abhängig
vom aktuell konfigurierten Netzwerk)
•BlueRange P2P Zugriff für Änderungen im Enrollment
Wechsel WiFi zu BlueRange
Aktivieren Sie hierfür zuerst den Konfigurationsmodus.
Starten Sie nun die LVE App auf Ihrem Mobilgerät (alternativ die BlueRange Admin App) und führen das
BlueRange Enrollment aus.
Wechsel BlueRange zu WiFi
Aktivieren Sie hierfür zuerst den Konfigurationsmodus.
3

Seite/Page 8 / 14 / SAP-Dokument-Nr.: 10000155789 / 03.02.2022
Starten Sie nun die LVE App auf Ihrem Mobilgerät und führen die WiFi Konfiguration aus.
Was tun, wenn?
Die Status-LED pulsiert dauerhaft blau:
Der Sensor kann sich nicht mit dem WLAN verbinden. Prüfen Sie, ob das konfigurierte WLAN aktuell zur
Verfügung steht und/oder wenden Sie sich an Ihren System Administrator.
Die Status-LED pulsiert dauerhaft türkis:
Der Sensor kann sich nicht mit dem MQTT Server in der Cloud verbinden.
Ein MQTT Server kann beispielsweise zu Wartungszwecken temporär nicht verfügbar sein. Sollte der
Zustand anhalten, informieren Sie bitte Ihren System Administrator.
Die Status-LED leuchtet dauerhaft orange:
Das Gerät befindet sich im Konfigurationsmodus. Dieser wird nach 2 Minuten automatisch verlassen, das
Gerät verbindet sich anschließend mit dem Internet und kehrt zum Normalbetrieb zurück.
Sollte die Status-LED fortgehend orange leuchten, so wurde das Gerät noch nicht konfiguriert. Bitte wenden
Sie sich an den zuständigen Installateur.
Die Status-LED pulsiert dauerhaft violett:
Das Gerät kann aufgrund eines Defekts nicht ordnungsgemäß starten. Bitte wenden Sie sich an den
Kundendienst.
Technische Daten
•Versorgungsspannung: 5 VDC +/- 10 % (USB-Anschluss)
•Leistungsaufnahme: ca. 0,5 W
•Abmessungen: 137 x 108 x 23 mm (L x B x H)
•Gewicht: ca. 108 g
•Umgebungstemperatur: +5°C bis +40°C (im Betrieb)
•Maximale Raumtemperatur für die Bewegungserkennung (PIR) +28°C
•Schutzart: IP20
•Schutzklasse: SK III
•Arbeitsfrequenz Funk: Bluetooth, WLAN, 2.4 GHz, NFC 13.56 MHz
•Sendeleistung Bluetooth: + 4 dBm
•Sendeleistung WiFi: + 19 dBm
•Bluetooth-Deklarations-ID: D050374
•Farbe: weiß
Konformität
Hiermit erklärt die Herbert Waldmann GmbH & Co. KG, dass der Funkanlagentyp CHEKOV der Richtlinie
2014/53/EU entspricht. Der vollständige Text der EU-Konformitätserklärung ist unter der folgenden
Internetadresse verfügbar: www.waldmann.com/conformity

Seite/Page 9 / 14 / SAP-Dokument-Nr.: 10000155789 / 03.02.2022
For your Safety
The device has been developed and manufactured according to state-of-the-art technology. Nevertheless,
personal injury or property damage can occur during use.
Read all the enclosed instructions and information and follow the safety instructions and warnings.
Only use the device in a perfect technical condition. Keep this document on hand near the device.
Please also follow all information and warnings of other documents from connected devices, including, but
not limited to, the USB power supply.
Only operate in dry rooms.
Do not operate in rooms with a potentially explosive atmosphere.
Intended use
The device is a presence detector for desk top work spaces with an integrated display for e.g. reservations.
The device is connected to a cloud-based service via Wi-Fi or a BlueRange mesh network.
For configuration purposes also an NFC transponder is included.
The device is powered via a micro-USB connector.
Repairs
Always have repair work carried out by the manufacturer, a service technician assigned by the manufacturer
or by a comparably qualified person. Only use spare parts approved by the manufacturer.
Cleaning
Clean the device with a cloth and a mild cleaning agent. To avoid property damage through wrong cleaning
agents, please check at an unremarkable position.
Disposal
Dispose the device separately from domestic waste at the responsible and state-specified sites.
You avoid negative consequences for humans and the environment by disposing the product properly.
Scope of supply
•Desk Sensor “Chekov”
ENG

Seite/Page 10 / 14 / SAP-Dokument-Nr.: 10000155789 / 03.02.2022
•Micro-USB cable (1.8m length)
•Adhesive pad (for installation under table top)
Components
•PIR sensor with shutter (rotatable)
•Status-LED (RGB)
•2x User Push Button
•QR code for BlueRange Enrollment
•NFC Transponder
•Config Push Button
•USB-connector
•Expansion Port (for later use)
•Mounting holes (optional)
Installation
The device is intended to be installed under the tabletop of desks or high tables or adjustable desks (app.
70cm to 110cm height). Place the device 30cm to 70cm left or right from the seating position.
Please keep in mind, that the chair does not cover the sensor, as the user then cannot see the status of the
work place.
The sensor can be installed using the included adhesive pad. Please keep the surface free of dust and
grease. Alternatively, you might also use screws (not included) and attach the sensor through the mounting
holes.
30 - 70 cm
30 - 70 cm
… 110 cm
70 cm …

Seite/Page 11 / 14 / SAP-Dokument-Nr.: 10000155789 / 03.02.2022
The front of the device with the status-LED should be aligned with the table’s edge.
bottom view top view
Adjust the shutter, facing the seating position.
High room temperatures might affect the detection sensitivity.
USB-connection
The device will be powered through its micro-USB connector. Please use the included cable to connect the
device with a USB power supply (5V, not included).
A multi-port USB power supply can support multiple devices at the same time, provided a sufficient power
per port (see also Technical Data).
Please keep in mind, that the cable does not block the sight of the sensor. Please also avoid to put tension
on the cable. Do not kink.
Initial commissioning Wi-Fi
After power-up the status-LED will show pulsating purple.
As no configuration data is present, the device automatically switches to the configuration
mode. The status-LED will blink three times.
While the device prepares for configuration, the status-LED will pulsate orange. Please hold on.
When the device is ready for receiving its configuration data, the status-LED will show static
orange.
On your mobile device, please go to the LVE App.
Enter your configuration data.
Wi-Fi: SSID, Password
MQTT: Account, Password
Chekov
3

Seite/Page 12 / 14 / SAP-Dokument-Nr.: 10000155789 / 03.02.2022
Transfer the data via NFC to the sensor. The NFC transponder is located under the sticker
showing a QR code on the white cover. The position of mobile device NFC can vary depending
on model.
The device confirms a successful transmission with three times green blinking. In case of an
error, the status-LED will blink 3 times red. In such case, please retry transmitting the data.
Subsequently the device connects to the Wi-Fi as configured and the status-LED will pulsate in
blue.
Afterwards the device logs into the MQTT server as configured and the status-LED will pulsate
in cyan.
After successful connection, the device switches to normal operation and the status-LED starts
showing the default colour green (might be different for specific installations).
In normal operation the status-LED and the reaction to the user push buttons are under control
of the cloud application.
Initial commissioning BlueRange
After power-up the status-LED will show pulsating purple.
As no configuration data is present, the device automatically switches to the configuration
mode. The status-LED will blink three times.
While the device prepares for configuration, the status-LED will pulsate orange. Please hold on.
When the device is ready for receiving its configuration data, the status-LED will show static
orange.
On your mobile device, please go to the LVE App (or BlueRange Admin App) and login.
Select the Bluerange network where you want to add the new devices.
Use „+“ and selct either „Search for devices in range“ (BT-Nearby) or „scan QR-Code“.
Wait until the device is found and add it to the enrolement list. You might add multiple devices
to this list.
When done, start enrollment for the whole list.
After successful enrollment the device restarts and the status-LED is pulsating purple.
Afterwards the device connects to the MQTT cloud service via the BlueRange mesh network.
During this time the status-LED first pulsates blue and then cyan.
3
3

Seite/Page 13 / 14 / SAP-Dokument-Nr.: 10000155789 / 03.02.2022
After successful connection the device switches to normal operation and the status-LED starts
showing the default colour green (might be different for specific installations).
In normal operation the status-LED and the reaction to the user push buttons are under control of the cloud
application.
Configuration mode
If no valid configuration is stored in the device, it will enter and stay in the configuration mode
automatically.
If the device is already commissioned, the configuration mode can be entered manually by holding the
configuration push button on the back of the device for longer than 5 seconds.
This will be confirmed by the status-LED with 3 times orange blinking.
While preparing for the configuration the status-LED then will pulsate in orange.
When the configuration can start, the status-LED will show static orange.
If no configuration is started within the next 2 minutes, the devices will automatically exit the configuration
mode.
While in configuration mode, the following options are enabled:
•NFC read of device information, such as version, serial, MAC address, etc.
•NFC write of configuration data or executing special functions (depending on the currently running
network mode)
•BlueRange P2P Access for changes on the enrollment status.
Change from Wi-Fi to BlueRange
Enter the configuration mode.
On your mobile device, please go to the LVE App (or BlueRange Admin App) and execute the BlueRange
enrollment.
Change from BlueRange to Wi-Fi
Enter the configuration mode.
On your mobile device, please go to the LVE App and execute the Wi-Fi commissioning.
3

Seite/Page 14 / 14 / SAP-Dokument-Nr.: 10000155789 / 03.02.2022
What to do if?
The status-LED keeps pulsating blue:
The sensor is unable to connect to the Wi-Fi. Please check, that the configured Wi-Fi network is available
and/or contact your system administrator.
The status-LED keeps pulsating cyan:
The sensor is unable to connect to the cloud MQTT server. Due to maintenance such service might be
temporarily unavailable. If the status remains, please contact your system administrator.
The status-LED keeps showing static orange:
The device is in configuration mode. This mode will be disabled after 2 minutes and the device connects to
the cloud and returns to normal operation automatically.
If the status-LED constantly does not change from orange, the device has not been commissioned so far and
cannot operate as intended. Please contact your installer for commissioning.
The status-LED keeps pulsating purple:
Due to an internal error the device is unable to start-up. Please contact the customer service.
Technical data
•Supply voltage: 5 VDC +/- 10 % (micro-USB)
•Power consumption: app. 0,5 W
•Dimensions: 137 x 108 x 23 mm (L x W x H)
•Weight: app. 108 g
•Ambient temperature: +5°C bis +40°C (operating)
•Maximum ambient temperature for presence detection (PIR): +28°C
•IP rating: IP20
•Protection class: SK III
•Wireless transmitter-receiver: Bluetooth, Wi-Fi, 2.4 GHz, NFC 13.56 MHz
•Transmission Power Bluetooth: + 4 dBm
•Transmission Power WiFi: + 19 dBm
•Bluetooth Declaration ID: D050374
•Colour: white
Conformity
Herbert Waldmann GmbH & Co. KG hereby declares that the wireless system type CHEKOV complies with
Directive 2014/53/EU. The complete text of the EU Declaration of Conformity is available at the following
internet address: www.waldmann.com/conformity
Herbert Waldmann GmbH & Co. KG
Peter-Henlein-Straße 5
D-78056 Villingen-Schwenningen
Telefon +49 (0) 77 20 / 601 - 0
Telefax +49 (0) 77 20 / 601 - 290
www.waldmann.com
Table of contents
Languages: