Wallgate PSH-25-PNEU User manual

Product Manual
PSH-25-PNEU Pneumatic
hand wash basin

Revision 1
2
Product Manual PSH-23

Revision 1
3
Table of Contents
1. Disclaimer ..........................................................................................................................4
2. Conventions .......................................................................................................................4
3. Warning..............................................................................................................................4
4. Note ...................................................................................................................................4
5. Numbered procedures........................................................................................................4
6. Bullet lists...........................................................................................................................4
7. Menu items.........................................................................................................................5
8. Glossary.............................................................................................................................5
9. Overview............................................................................................................................6
10. Installation and Commissioning........................................................................................6
10.1 Package Contents..........................................................................................................6
10.2 Site Preparation .............................................................................................................6
10.3 Mounting the basin.........................................................................................................7
10.4 Water Supply Connection...............................................................................................7
10.5 Waste outlet connection .................................................................................................8
10.7 Commissioning for Use ..................................................................................................8
10.8 Technical Specifications.................................................................................................9
11. User and Maintenance Instructions ................................................................................14
11.1 Operation .....................................................................................................................14
11.2 Maintenance.................................................................................................................14

Revision 1
4
1. Disclaimer
The specifications of Wallgate products can change without notice because of
developments in design and manufacturing.
2. Conventions
Certain conventions are used in this manual to make it easier to read and
understand. They are given in the sections below.
3. Warning
A warning with white text on a red background is used to give information about
hazards that can cause injury or death. Read and understand these warnings before
you install and commission the basin. Failure to heed these warnings can have serious
consequences.
WARNING! This is a warning!
4. Note
A note with black text on a yellow background is used to draw your attention to
important and useful information.
NOTE: This is a note.
5. Numbered procedures
Steps in procedures are numbered, starting from 1.
1. This is step 1.
2. This is step 2 etc.
6. Bullet lists
A bullet list is used to give information that is not sequential.

Revision 1
5
7. Menu items
Menu items, submenu items and settings, where available, are given in bold.
8. Glossary
The glossary lists all words, abbreviations and technical terminology used in this
manual, along with a short description of these terms.
Term
Description
Anti-Ligature
Recently we have become aware that there is some inconsistency
in the market as to the exact meaning of "anti-ligature". Where we
use this phrase in connection with our products it means that we
have designed and tested the product in order to reduce any risk of
that product being used as a ligature attachment point.
Pneumatic Pushbutton
Control
The pneumatic pushbutton control consists of a pushbutton, an
actuator shaft and a housing for the shaft. On the forward stroke,
the actuator shaft pushes against the diaphragm in the diaphragm
actuator.
When the pressure on the pushbutton is released, the shaft travels
in the opposite direction. The diaphragm is released, which lowers
the pressure in the air line tube and a chamber within the air-
operated water valve. This opens the water valve.
Diaphragm Actuator
This device is threaded on to the Pneumatic Pushbutton Assembly.
It contains a diaphragm that is moved by the pushbutton actuator
shaft. The differential air pressure is transmitted to the air operated
valve through the air tube.
Air-operated water valve
This valve is operated by lowering the air pressure in a chamber.
You can adjust the length of the water delivery cycle from 5
seconds to 5 minutes using the adjustment screw on the valve. The
default setting is 10 to 15 seconds.
Air tube
This tube is used to connect the actuator diaphragm to the air-
operated water valve.
BSP
The British Standard Pipe (BSP) thread is a family of standard
screw thread types that has been adopted internationally for
interconnecting and sealing pipe ends by mating an external (male)
with an internal (female) thread.1
1
Description sourced from Wikipedia at http://en.wikipedia.org/wiki/British_standard_pipe_thread
1
Description sourced from Wikipedia at http://en.wikipedia.org/wiki/British_standard_pipe_thread

Revision 1
6
9. Overview
The PSH was commissioned by The UK Home Office for use in police holding cells
as an extremely safe in-cell hand wash solution. The PSH-25-PNEU is an anti-
ligature, anti-vandal solid surface pneumatically controlled hand wash recessed
basin.
10. Installation and Commissioning
10.1 Package Contents
Before you begin the installation, make sure that you have the following items:
1 Product manual
1 Hand basin, water inlet isolation valve & waste outlet grille and pipe tail
size 1 ½” (40mm)
2 Wall brackets
4 M10 Fixing studs with 4 nuts and washers
Pneumatic pushbutton assembly, Pneumatic actuation diaphragm,
pneumatic water valve, 2 nuts, 1 washer, 1 air tube.
10.2 Site Preparation
The hand basin requires a wall aperture size of 370mm wide x 350mm high.
The height of the aperture from floor level should be positioned to suit the user
(typically 850mm gives a height of 1m to the basin opening lower edge).
The basin has one water outlet nozzle which may be connected to either hot
or cold water supplies as required, for which the pressure should be between
1 & 3 Bar. The unit is supplied with a pneumatic push button with diaphragm
actuator & pneumatic water valve for operating the water. The water supply
can be connected to the pneumatic water valve with 15mm copper tube. A
mains supply stop tap (not supplied) is recommended so that the water can be
isolated locally to the unit when maintenance is undertaken.

Revision 1
7
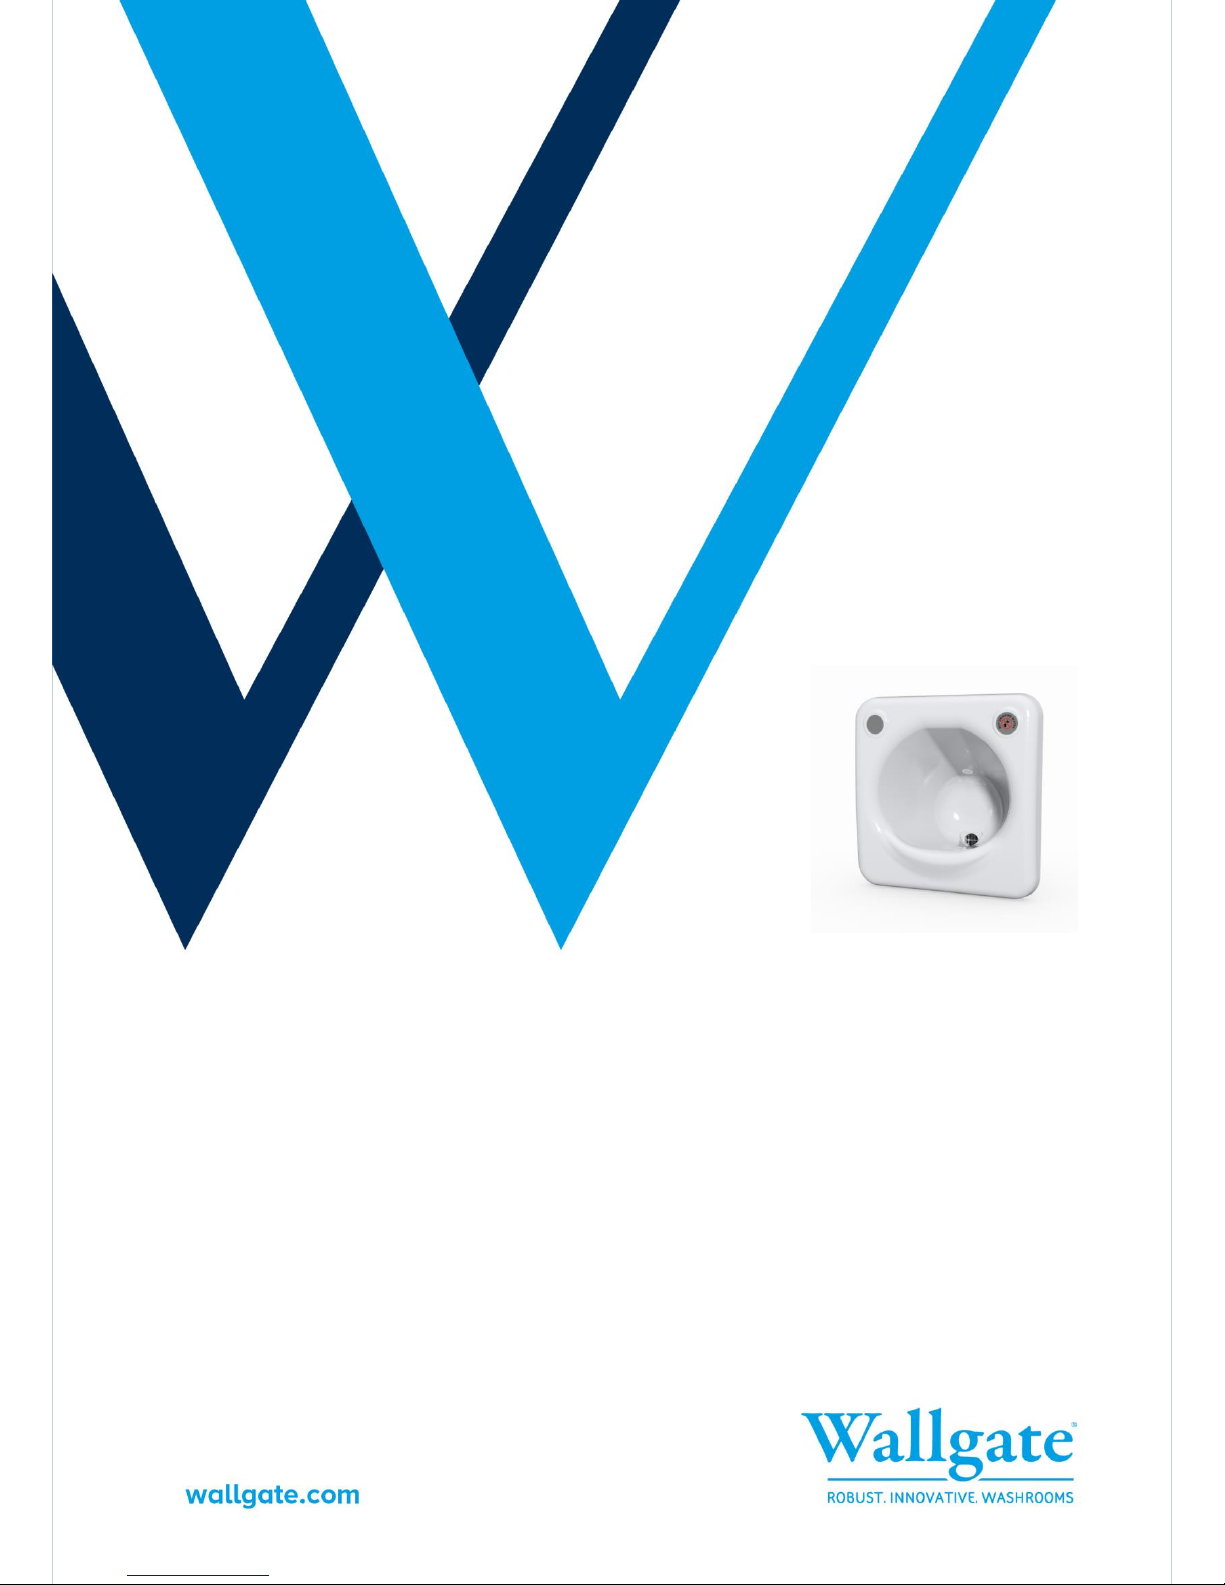
10.3 Preparing & Mounting the basin
Assemble the M10 threaded wall fixings to the four threaded inserts on the
rear face of the basin ensuring they are fully inserted a minimum of 33mm &
then tighten each stud to a torque of 6Nm.
Position the basin into the wall aperture & fit the two wall brackets to the M10
studs ensuring correct orientation of each bracket as shown on drawings
(pages 11 & 12). Fit a washer & nut to each threaded stud hand tight only so
that the position of the basin can be checked to ensure it is level horizontally
and vertically. It is also vitally important to ensure the basin is flat to the wall
face which must be checked to ensure it is vertically level as this may severely
affect the water retention in the basin bowl and the basin drainage if the basin
is not retained in a vertical position. Tighten the wall fixings in a circular
pattern to ensure the basin is clamped evenly to the wall & to a torque of
15Nm.
Apply a non-pick mastic such as Arbokol 1025 or Sikadur 33. The chamfer
around the basin where it meets the wall is provided for application of the
mastic which should be fully filled and shaped to give a ligature resistant
profile.
NOTE! It is important to tighten the wall fixings correctly using a torque wrench
to avoid distorting the metal brackets through excessive tightening.
10.4 Water Supply Connection
NOTE! Prior to proceeding with the following instructions the water supply
pipes must be flushed through, so as to remove any debris & air locks that
may result in blockages & product failure.
The hand wash water outlet requires a water supply connection to the inlet.
The supply should be a pre-mixed water supply suitable for handwashing at a
temperature of 38°C (Max).
The water valve controls the flow of water to the outlet and is fitted with a flow
regulator to maintain the flow at a rate of 1.5 –1.8lpm.
The required water supply pressure to each outlet must be between 1 and
3bar (100 and 300kPa). A pressure regulator valve (PRV) may need to be
fitted to the supply feeds if the pressure exceeds the max recommended. If the
water supply pressure does not meet the minimum recommended pressure,
then a booster pump may be required to meet requirements.

Revision 1
8
It is advisable to fit a Y strainer in the feed pipes prior to the unit connection,
especially on older installations where loose particles from the ageing pipes
may cause a blockage within the water valve or water nozzle. An isolating tap
fitted on the supply feed local to the basin is recommended for ease of
maintenance when required.
Warning! If any form of pipe sealing compound is to be used, then care must be
taken to avoid applying excessive amounts which may cause a blockage on the unit
water system.
Ensure the water supply pipes have been flushed out to remove any debris
before connection to the basin inlet valve.
10.5 Waste outlet connection
The basin includes a waste outlet connection which is a 40mm (1 ½”) size
pipe tail which should be terminated to a suitable deep seal waste trap.
The waste trap must be positioned 300mm (Min) below the center line of the
basin waste pipe outlet to ensure the drainage flow rate is achieved at an
optimum level.
10.6 Pneumatic button installation
Refer to PSH-25-PNEU drawing (Page 13) in this document for details on how
to fit the pneumatic push button and air tube to the fascia and water valve.
10.7 Commissioning for Use
Open fully the water supply service valve. Check the system carefully for any
possible leaks.
Operate the pneumatic push button several times to make sure all air has
been purged from the system and also that the flow rate is acceptable.
If the water time cycle of 10 - 15 seconds requires to be adjusted, then this
can be done by turning the slotted adjusting screw situated next to the airline
nipple on the pneumatic water valve. Clockwise will increase the time setting,
anti-clockwise will decrease the time setting. The valve is adjustable from 5
seconds to 5 minutes.
The hot supply temperature may require setting if a thermostatic mixer valve

Revision 1
9
has been fitted to the system. If so the supplier instructions for the valve
should be followed as it is not a part of this Wallgate product.
10.8 Technical Specifications
Table 1. Technical specifications
Weight
20 Kg
Dimensions
420mm (W) x 430mm (H) x 300mm (D)
Water Supply
Water pressure: 1 - 3 Bar (Static) recommended.
Flow rate hand wash: 1.5 1.8LPM
Supply pipe size 15mm copper
Waste connection
40mm (1.5” pipe)

Revision 1
10

Revision 1
11

Revision 1
12

Revision 1
13

Revision 1
14
11. User and Maintenance Instructions
The PSH-25-PNEU water dispenser has been designed & manufactured from quality
materials. If these instructions are followed, the unit will give reliable efficient service.
If you need any further information or advice, please contact:
Wallgate Ltd, Crow Lane, Wilton,
Salisbury, Wiltshire, SP2 OHB.
Telephone: (01722) 744594 - Fax: (01722) 742933.
The installer must pass these instructions & the installation & commissioning
instructions to the customer.
11.1 Operation
To use the water dispenser, press the pneumatic push button located on the
front of the basin that operate the flow of water. For the hand wash operation
once the cycle is activated it will run for 5 seconds & stop.
If the time cycle of 10 - 15 seconds requires to be adjusted, then this can be
done by turning the slotted adjusting screw situated next to the airline nipple
on the valve. Clockwise will increase the time setting, anti-clockwise will
decrease the time setting. The valve is adjustable from 5 seconds to 5
minutes.
11.2 Maintenance
Wallgate operates a comprehensive service package, details of which can be
obtained from our “After Sales Service Department”. A full spare parts facility
is also available.
General wear will mainly affect the components in contact with the water
dispensing and the basin waste outlet. If the unit is installed in a hard water
area, then lime scale removers should be used on the basin and water nozzle
components. The water nozzle can be dismantled & immersed in a de-scaling
solution for cleaning. The basin waste is fitted with a grille which shall require
regular cleaning to remove build-up of soap residue, hairs, lime scale etc. A
cleaning brush is provided to assist in cleaning between the grille vanes which
must be done on a regular basis depending upon product usage. Spare parts
can be obtained as shown in the spares list table below.
Any service or repair work must be carried out by a qualified engineer, which
during the warranty period must be a Wallgate engineer or appointed service

Revision 1
15
agent. Contact Wallgate to report any warranty breakdowns.
Table 2 Spare Parts List
Part Number
Description.
WV0034
Pneumatic push button.
WF3095
Water nozzle.
WW4004
Waste grille.
BRUSH01
Waste grille cleaning brush.

Revision 1
2
Wallgate Ltd.
Crow Lane, Wilton,
Salisbury, Wiltshire,
SP2 0HB, England
tel: +44 (0) 1722 744594
fax: +44 (0) 1722 742096
email: service@wallgate.com
web: www.wallgate.com
Table of contents
Popular Washer manuals by other brands

AEG
AEG LAVATHERM 65470AH1 user manual

Maytag
Maytag MFS 50-125 Installation and maintenance instructions

White-Westinghouse
White-Westinghouse WTF330HS1 Use & care guide

Fisher & Paykel
Fisher & Paykel WA42T26GW1 Installation instructions and user guide

Siemens
Siemens WG34A200IN User manual and installation instructions

Samsung
Samsung WE357A7P user manual