2
D
Wir freuen uns, dass Sie sich für ein Walimex pro Produkt aus dem Hause
WALSER entschieden haben und wünschen Ihnen viel Freude mit unse-
rem Produkt.
WALSER bietet seinen Kunden mit den Marken Walimex pro und Mantona
preiswerte, ausgewählte und exklusive Produkte für kreative Foto- und
Videograe direkt vom Her steller.
Dabei protieren sowohl ambitionierte Anfänger wie auch Pros von unse-
rem Produkt-Know-How und einem ausgezeichneten Service. Ob Fragen
zu technischen Details oder zu Einsatzgebieten unserer Produkte – mit
einer individuellen Fachberatung durch ausgebildete Fotografen unter-
stützen wir unsere Kunden auch nach dem Kauf in allen Aspekten rund um
unser Portfolio.
Teilen Sie unsere Begeisterung für professionelle Foto- und Videograe
und lassen auch Sie sich von unseren Produkten inspirieren!
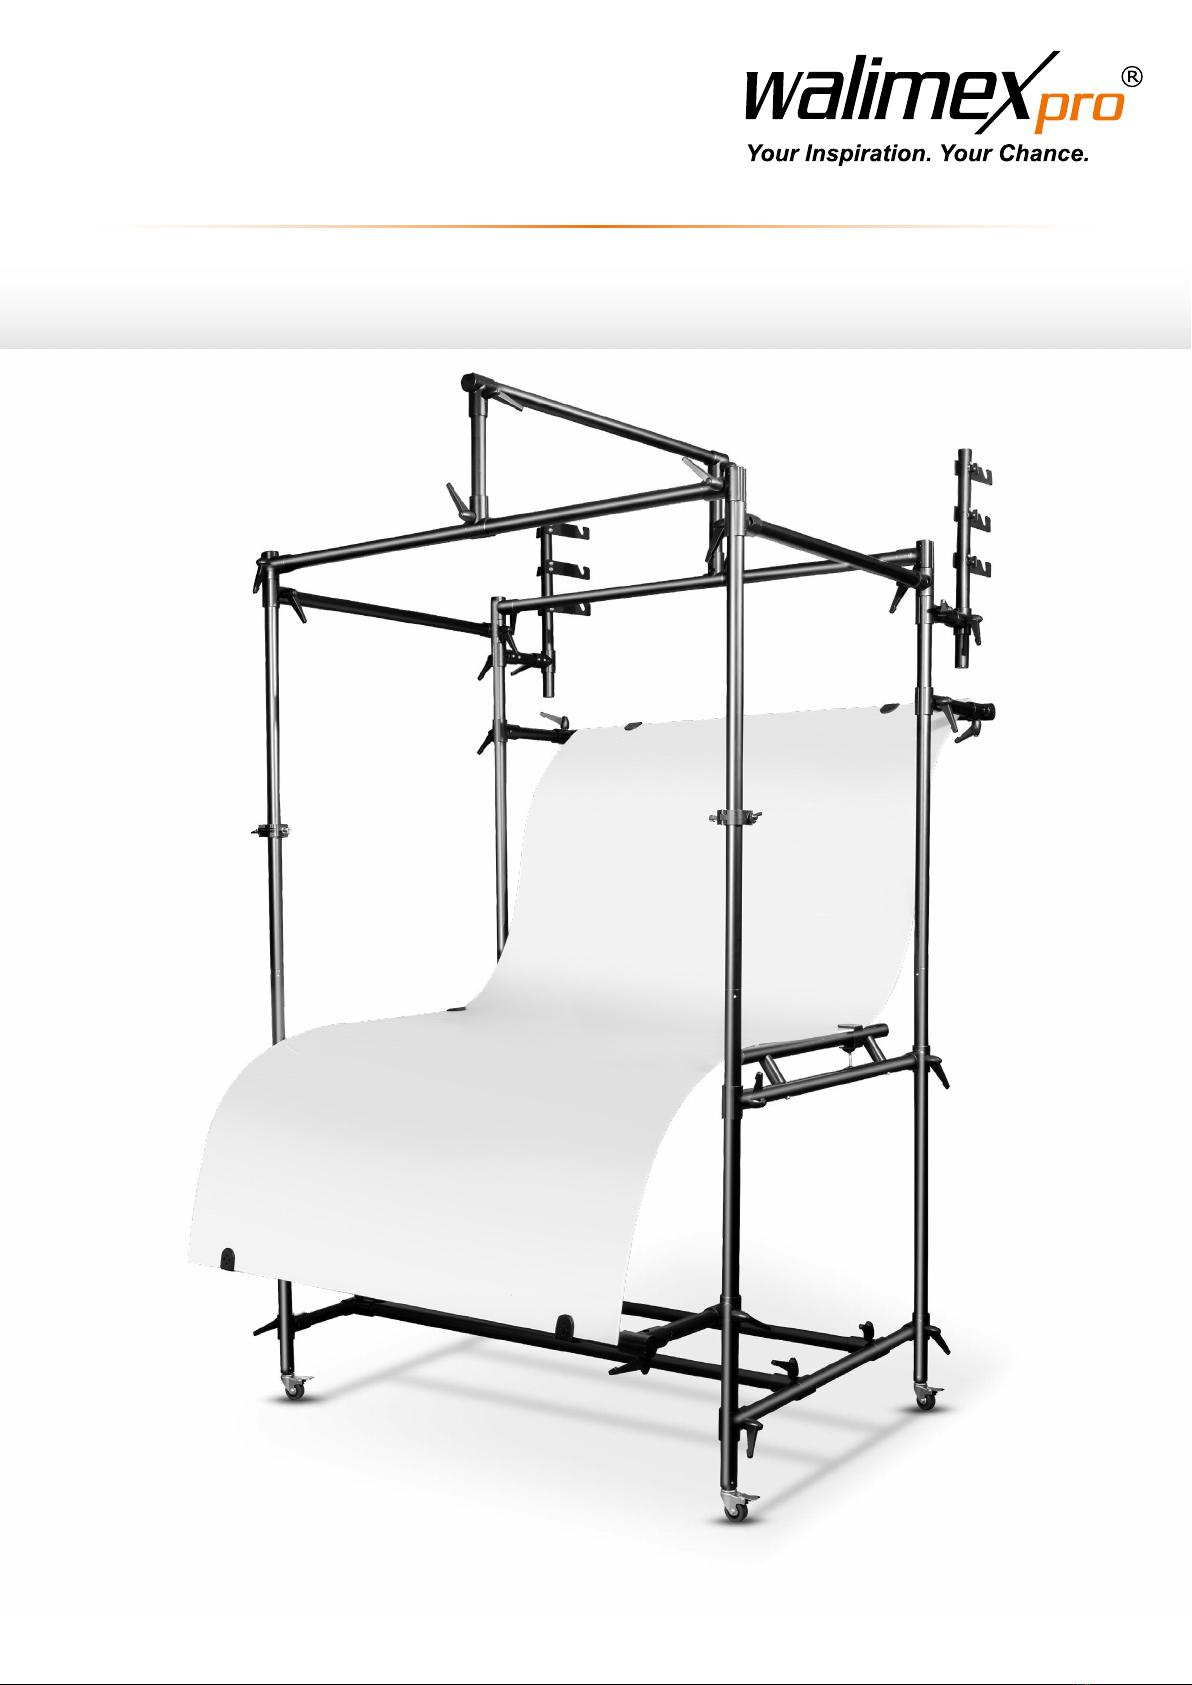
Mit dem Kauf dieses Produktes haben Sie einen hochqualitativen, vielsei-
tigen Aufnahmetisch erworben, an dem Sie lange Freude haben werden.
Der Aufnahmetisch XXL bietet eine ausdauernde Konstruktion und zugleich
hohe Benutzerfreundlichkeit für Ihren Bedarf.
Wir wünschen Ihnen viel Freude mit unserem Produkt!
Ihr Team von WALSER
WARNUNG
Verletzungsgefahr! Mit Vorsicht zusammenbauen und benutzen!
WARNUNG
Benutzen Sie keine Leuchten, die große Abwärme erzeugen, unter der
Auage N.
Hinweis
Die Auage ist nur bei warmen Temperaturen exibel. Sie sollte für die
Verwendung leicht erwärmt werden, z.B. vorsichtig mit einem Föhn. Bei
kalten Temperaturen kann sie brechen.
Hinweis
Es wird empfohlen, den Tisch mindestens mit Hilfe einer zweiten Person
aufzubauen.
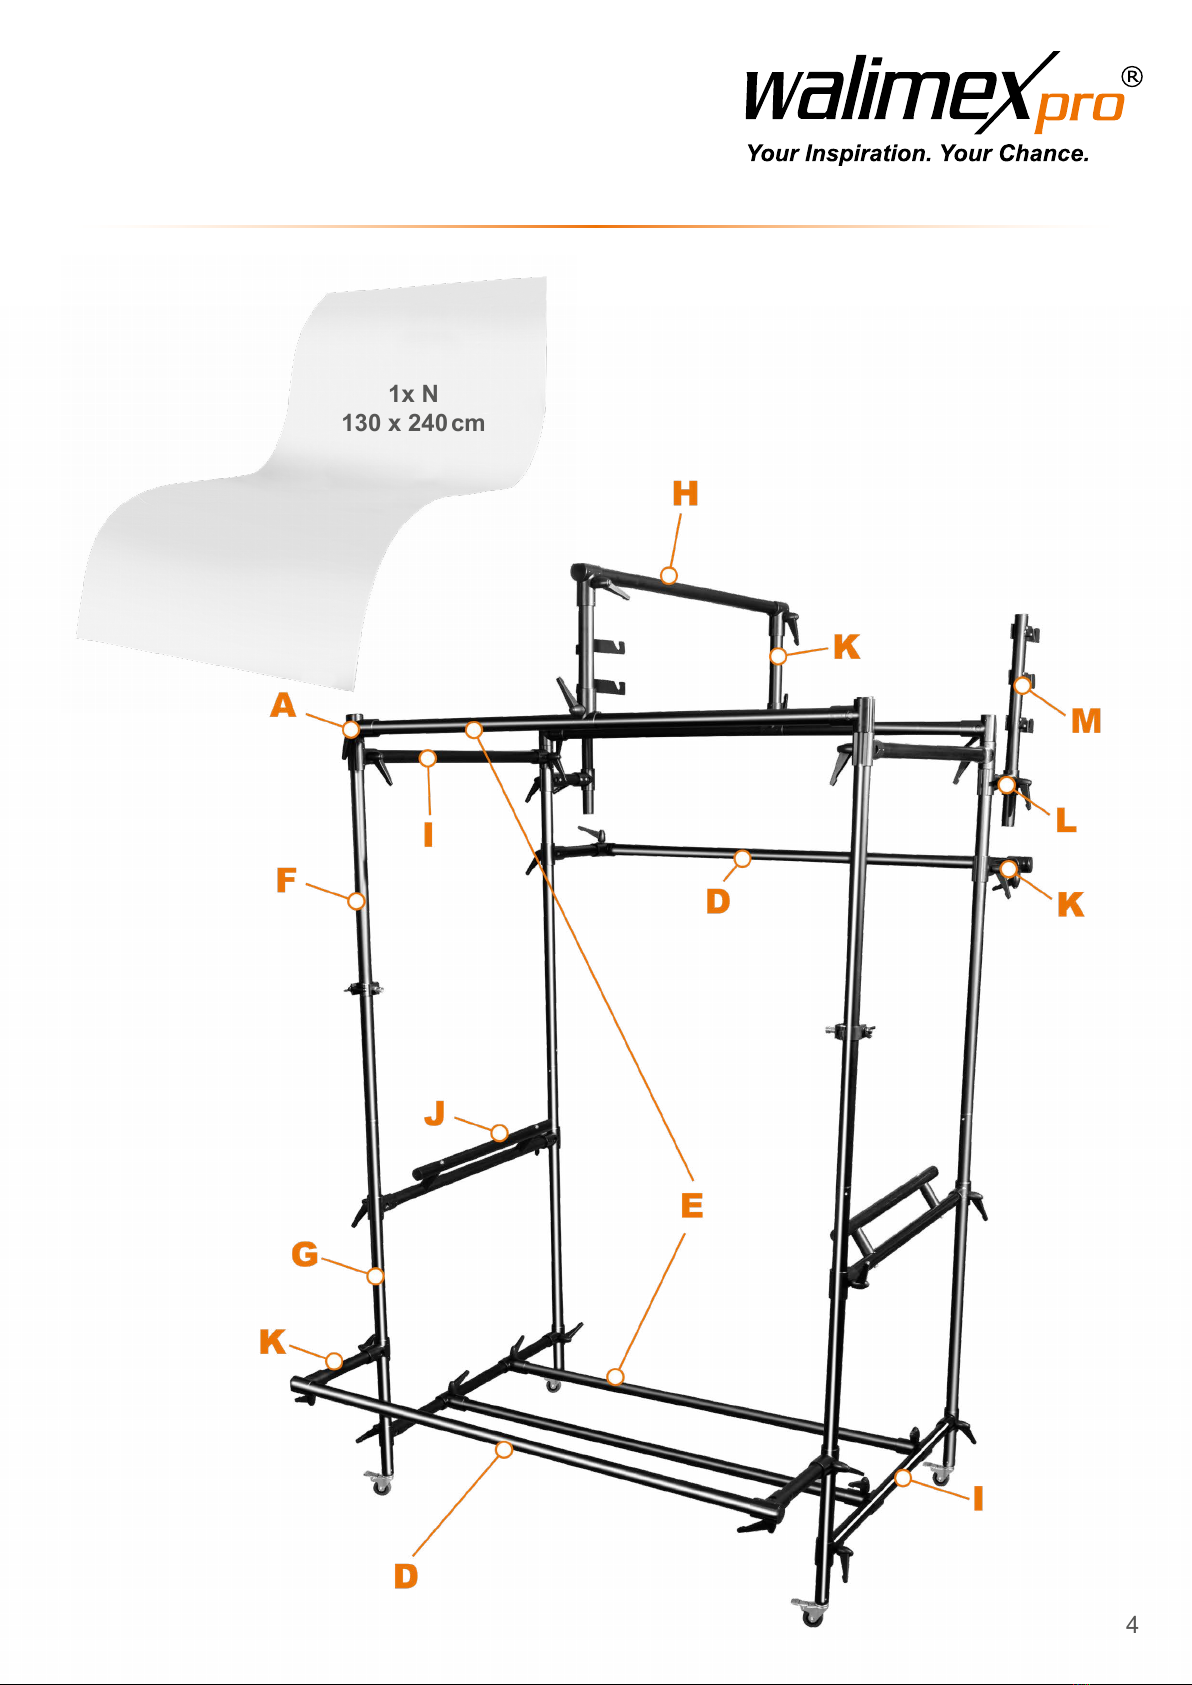
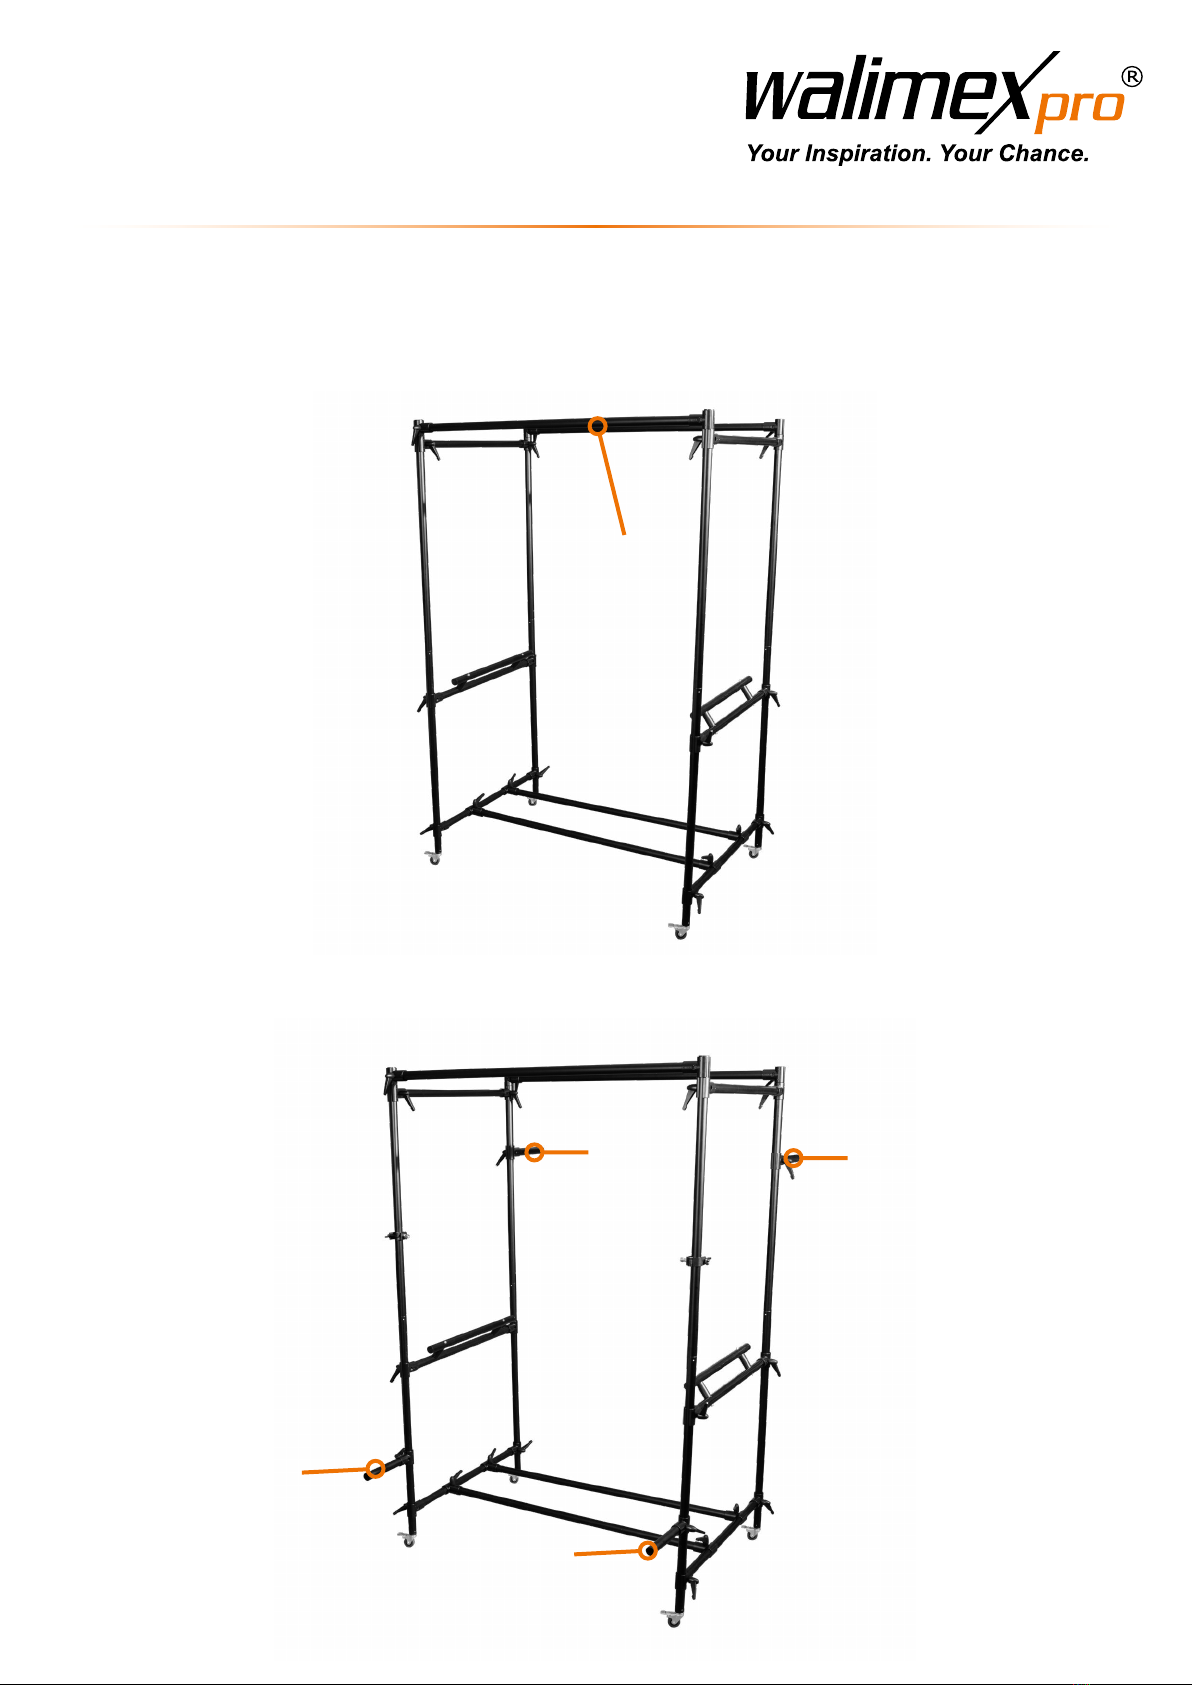
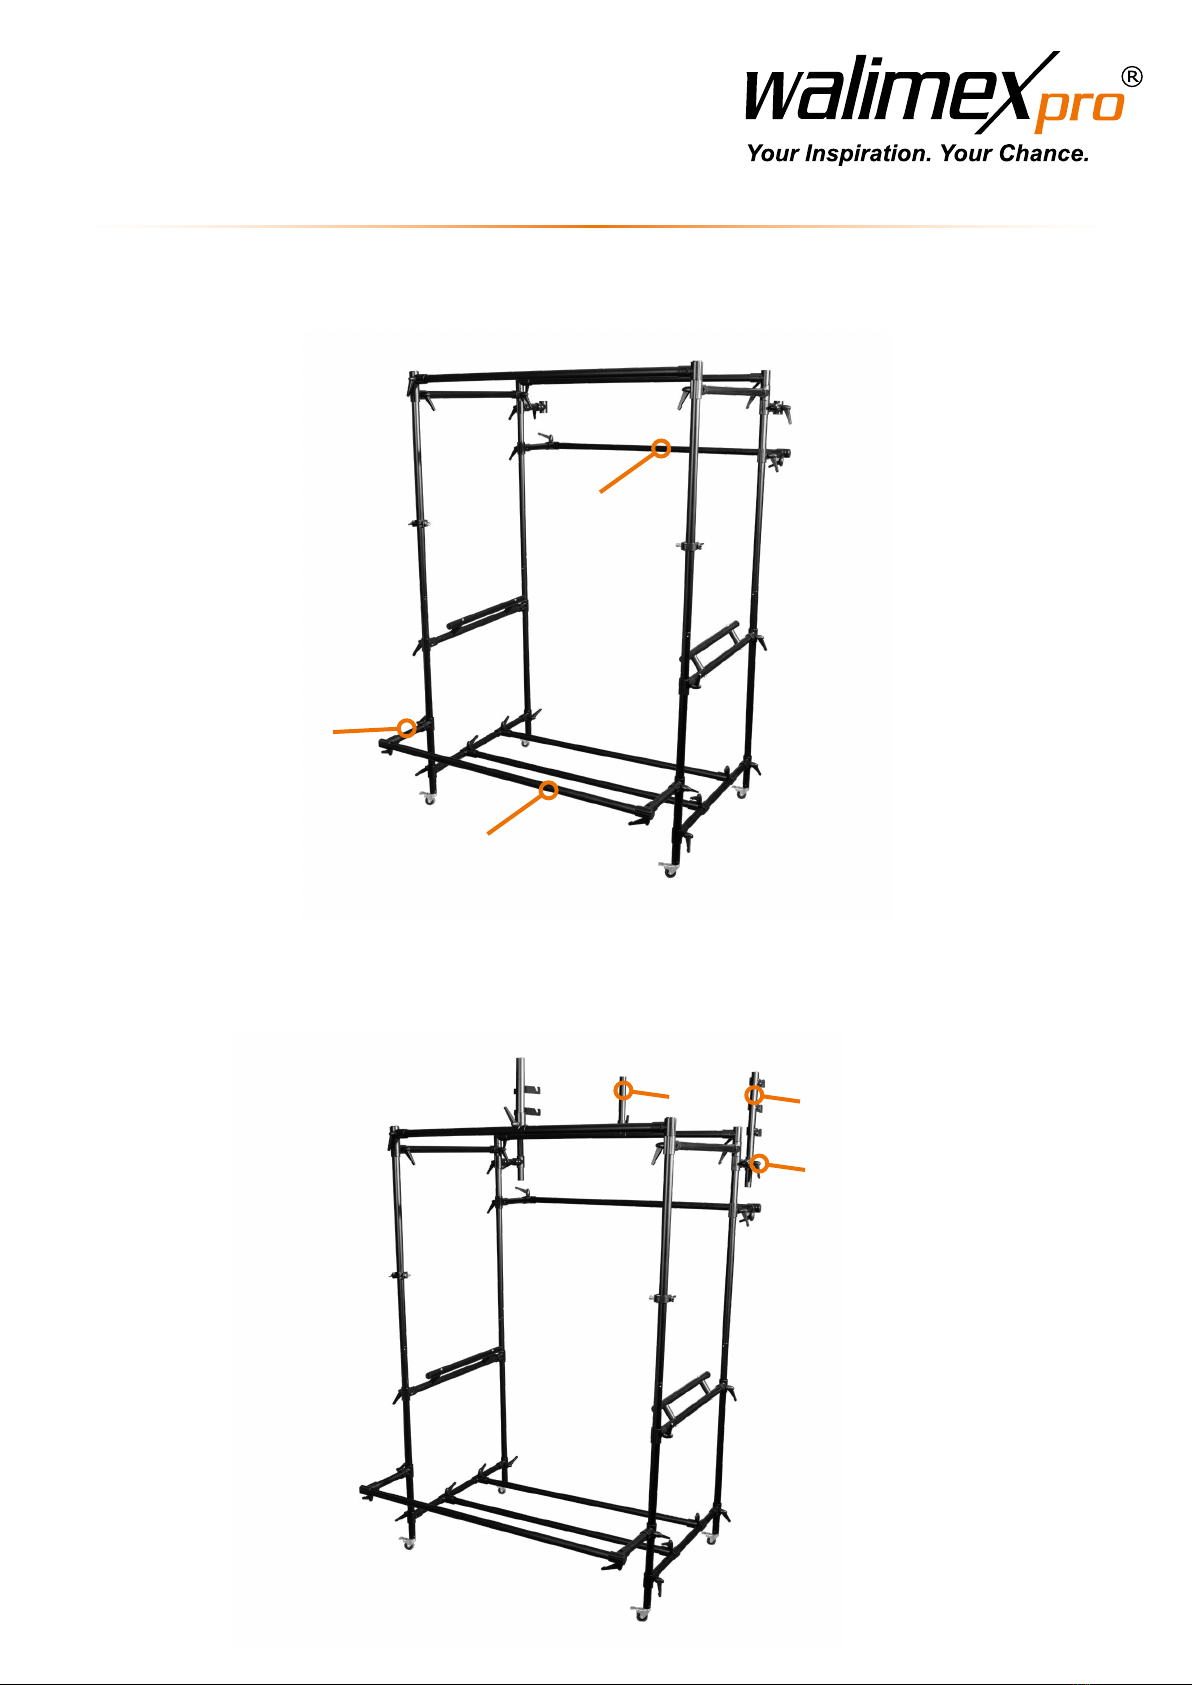
1. Lieferumfang
Kontrollieren Sie, ob der Lieferumfang komplett ist. Identizieren Sie alle
Teile anhand dieses Fotos des fertigen Tisches. Legen Sie sich die Teile
vor dem Aufbau zurecht. Es wird empfohlen, den Aufbau mit einer zweiten
Person zusammen vorzunehmen.
EN
We are pleased that you have chosen a Walimex pro product from
WALSER and wish you lots of pleasure with our product.
With the brands Walimex pro and Mantona, WALSER oers its customers
inexpensive, selected and exclusive products for creative photography and
videography directly from the manufacturer.
Both ambitious beginners and professionals benet from our product know-
how and excellent service. Whether you have questions about technical
details or areas of application for our products - with individual expert
advice from trained photographers, we support our customers in all
aspects of our portfolio even after the purchase.
Share our enthusiasm for professional photography and videography
and let yourself be inspired by our products!
By purchasing this product you have acquired a high-quality and versatile
photo table with long term quality. The Shooting Table XXL oers a high
level of comfort within a sturdy construction for all your product shooting
needs.
We hope you enjoy using our product!
Your team from WALSER
WARNING
Risk of Injury! Assemble with caution! Use with caution!
WARNING
Do not use lamps that generate signicant heat under the table.
Note
The diusor plate is only exible in warm environments. To unroll or
position it, you may heat it up carefully, for example with a hairdryer. In
cold environments, it may even become brittle and break.
Note
It is recommended that the table be set up with at least a second person.
1. Scope of Delivery
Check if the scope of delivery is complete. Please identify the parts with
this photo of the assembled table. Before assembly, sort the parts to have
them at hand when needed. It is recommended to assemble the table
with a second person to help.