manuals.online logo
Brands
  1. Home
  2. •
  3. Brands
  4. •
  5. WamBam
  6. •
  7. Fencing & Gate
  8. •
  9. WamBam BL19101 User manual

WamBam BL19101 User manual

WWW.WAMBAMFENCE.COM 1
ASSEMBLY
INSTRUCTIONS BL19101
BL19101
ASSEMBLY
INSTRUCTIONS
60 MIN
Approximate assembly me
Want to see a video on how to
assemble this product?
Scan the QR code
NANTUCKET
VINYL PICKET FENCE
WITH POST AND

ANCHOR KIT

WWW.WAMBAMFENCE.COM VER. 043021
WWW.WAMBAMFENCE.COM
2
ASSEMBLY
INSTRUCTIONS
BL19101
kCheck the inside of the larger pieces in your box for other
materials packed inside.
kWhen assembling components, place on a non-abrasive
surface (i.e. shipping box) to avoid scratching.
k
unobstructed assembling.
kYou should not need to use excessive force when assembling
components.
VISIT OUR WEBSITE FIRST,
SO WE CAN HELP YOU RIGHT AWAY!
Although great care has been taken to ensure proper packaging
and handling of this product, occasionally problems occur. If you

our website to order replacement parts. If you experience any
further trouble with your product, please contact our customer
service department.
parts.nychbrands.com
hmmm@wambamfence.com
704-892-5222 /877-778-5733
Customer service agents are available to take calls weekdays from 9am-
5pm EST. If you call outside of business hours, please leave a voicemail.
To help you quickly and accurately, please have reference item
number BL19101 

listed on the inside of the box.

this product, we are happy to assist you with the process, so
please give us a call at 704-892-5222 / 877-778-5733.
If for some reason you need to return this product, please

return the product, you will need to iniate the return from the
company you originally purchased from.
GENERAL
INFORMATION
MISSING
OR
DAMAGED
PARTS?
NEED
ASSEMBLY
HELP?
NEED TO
RETURN?
IMPORTANT
WWW.WAMBAMFENCE.COM 3
ASSEMBLY
INSTRUCTIONS BL19101
TIPS
1.
2.
inside gear to the next pipe anchor.
3.
remove the posts to create an unobstructed string line.
4.
5. Once the pipe anchors are set, you can use your string line to adjust your lower donuts to make a
straight fence line (Figure A). Then use a level to adjust the top donuts to ensure each post is level to
(Figure B).
6. 
pitched or is very uneven, you may need to stair step your panels as illustrated below. Post heights
can be trimmed down as necessary.
Figure A
(View From Top)
Pipe Anchor String Line 
Donut

Wood Spacer
Adjust top
donut to level
Figure B
(View From Front)
Note: The boom of the rail bracket
on the higher side of the fence
should sit ush to the top of the
ground.
WARNING!


long enough to accommodate this slope.
WWW.WAMBAMFENCE.COM
4
ASSEMBLY
INSTRUCTIONS
BL19101
AVOID THESE
PITFALLS!
HAVE YOU CONTACTED
YOUR LOCAL UTILITIES?
HAVE YOU CHECKED YOUR
LOCAL ZONING LAWS?
ARE YOU ABSOLUTELY SURE
WHERE YOUR PROPERTY
LINE IS?
HAVE YOU TALKED TO YOUR
NEIGHBORS?
IMPORTANT!
UNSTABLE GROUND OR
ROCK?
1
2
3
4
5

your fence to avoid puncturing any unseen underground

is made easy for you.
Local zoning laws and Home Owners Associations may regulate
the height, style, and placement of your fence. Some locations
may even require a permit.

line limits.
Your fence will become part of their yard too, and you'll have

sides. Besides, you may get lucky if they decide to share the
cost with you.
If you encounter rock or unstable ground, you can concrete

kSimply call 811 in the US or visit www.call811.com.
kIn Canada, visit www.transcanada.com/contactus.html
for a list of phone numbers by province.
WWW.WAMBAMFENCE.COM 5
ASSEMBLY
INSTRUCTIONS BL19101
DETAILED PRODUCT DIMENSIONS AND SPECIFICATIONS
.090 in. Wall Thickness
Ground
3.5 in
1.5 in
72 in
68 in
3 to 4 in 2 in
3.5 in
33 in
3.5 in
48 in
1 in 3.46 in 1.5 in
26 in
32.5 in
3.5 in.
1.5 in.
4in x 4in Post
1 5/8in Galvanized Pipe
Pipe Anchor Detail
26in.
Ground
WWW.WAMBAMFENCE.COM
6
ASSEMBLY
INSTRUCTIONS
BL19101
STEP 1:
LAY OUT MATERIALS
A B
C
E F
D
G
H
Post Cap (1) Post (1)

Bracket
1” Self-Drilling Stainless
Steel Screw
Top Rail (1)

Boom Rail (1)

Pipe Anchor (1)

Picket

Donut and gear
WWW.WAMBAMFENCE.COM 7
ASSEMBLY
INSTRUCTIONS BL19101
STEP 2:
INSTALL PIPE ANCHORS AND POSTS
Note: Try to drive the pipe anchor as level as possible. Check level
about every 12”. Aer about 18” the trajectory of the pipe anchor is
usually established and you cannot manually pull it level (donut will
not compensate for a severely crooked pipe).
Note: If you are using a post
pounder, remove the top donut
and slide it up over the pipe. Your
post pounder barrel cannot be
longer than 24”.
BEST BETTER GOOD DO NOT USE
F
  
(F)


pipe anchor and drive it into the ground.
If you removed the upper donut,
slide it back down over the inner
gear.
Post Pounder 10lb Sledgehammer 5lb Sledgehammer Hammer
STEP 2.2 STEP 2.3
Note: The distance between the
inner plasc gears (not donuts) to
the pipe should be 70⅜” (or center
to center of pipe at 72”).
72”
STEP 2.1
70⅜”
String line
WWW.WAMBAMFENCE.COM
8
ASSEMBLY
INSTRUCTIONS
BL19101
STEP 3:
INSTALL BRACKETS AND BOTTOM RAILS
Note: The ground can be dug out about
3” to 4” to allow post booms to sit below
the ground if necessary.

to compensate for a crooked pipe
anchor.
Install (1) Bracket (G) on the post approximately
-
less Steel Screws (H).
Place the second bracket over the opposite
(E) and slide the rail
down into the bracket on the opposing side.
Note: There could be a slight conict between
the head of the exposed screw and the end of the
rail in a ght ng applicaon. The end of the rail
can be notched to accommodate.
Slide the Posts (B) down over the
donuts.
STEP 2.4
STEP 3.1 STEP 3.2
STEP 2.5
B
G
E
H
2”
WWW.WAMBAMFENCE.COM 9
ASSEMBLY
INSTRUCTIONS BL19101
33”
STEP 3.3 STEP 3.4
-

self-drilling stainless steel screws.
STEP 3.5 STEP 3.6

to determine the height of the opposing

Temporarily remove the bottom rail and
install the lower brackets using (4) total 1”
self-drilling stainless steel screws.
Step 1: 

stainless steel screws.
Step 2: Slide the Top Rail (C)
down into the brackets. Secure the brackets with

1 2
C
WWW.WAMBAMFENCE.COM
10
ASSEMBLY
INSTRUCTIONS
BL19101
STEP 4.1
Install the Pickets (D)
through the top rail and locking them

Trim down the tops of the posts if neces-
sary, and install the Post Caps (A). Use PVC
glue (not included) to secure permanently.
D
A
STEP 4:
INSTALL PICKETS AND POST CAPS
Note: Pickets cannot be removed
once inserted.
INSTALL ONE COMPLETE PANEL OF
FENCE FIRST. Then proceed to install
only one or two pipe anchors at a me,
unl you fully understand the funda-
mentals. This will help you to avoid
repeve mistakes.
STEP 4.2
WWW.WAMBAMFENCE.COM 11
ASSEMBLY
INSTRUCTIONS BL19101
WWW.WAMBAMFENCE.COM
704-892-5222
877-778-5733
hmmm@wambamfence.com
6935 Reames Rd. Ste. K.
Charloe, NC 28216

Other manuals for BL19101

2

Other WamBam Fencing & Gate manuals

WamBam VG26100 User manual

WamBam

WamBam VG26100 User manual

WamBam VF13002 User manual

WamBam

WamBam VF13002 User manual

WamBam HANDY ANDY User manual

WamBam

WamBam HANDY ANDY User manual

WamBam VG26300 User manual

WamBam

WamBam VG26300 User manual

WamBam MS29998 User manual

WamBam

WamBam MS29998 User manual

WamBam HANDY ANDY User manual

WamBam

WamBam HANDY ANDY User manual

WamBam VG26200 User manual

WamBam

WamBam VG26200 User manual

WamBam Nantucket Vinyl Picket Gate w/Stainless Steel... User manual

WamBam

WamBam Nantucket Vinyl Picket Gate w/Stainless Steel... User manual

WamBam Steady Freddy User manual

WamBam

WamBam Steady Freddy User manual

WamBam VG24100 User manual

WamBam

WamBam VG24100 User manual

WamBam Steady Freddy User manual

WamBam

WamBam Steady Freddy User manual

WamBam TRADITIONAL VG13005 User manual

WamBam

WamBam TRADITIONAL VG13005 User manual

WamBam BL19101 User manual

WamBam

WamBam BL19101 User manual

WamBam NERVOUS NELLY VG25100 User manual

WamBam

WamBam NERVOUS NELLY VG25100 User manual

WamBam NANTUCKET User manual

WamBam

WamBam NANTUCKET User manual

WamBam Plain Jane Vinyl Gate User manual

WamBam

WamBam Plain Jane Vinyl Gate User manual

WamBam BL19042 User manual

WamBam

WamBam BL19042 User manual

WamBam PLAIN JANE VF14200 User manual

WamBam

WamBam PLAIN JANE VF14200 User manual

WamBam TRADITIONAL CLASSIC VF13003 User manual

WamBam

WamBam TRADITIONAL CLASSIC VF13003 User manual

WamBam Nervous Nelly Vinyl Gate User manual

WamBam

WamBam Nervous Nelly Vinyl Gate User manual

WamBam Jiminy Picket User manual

WamBam

WamBam Jiminy Picket User manual

WamBam STURBRIDGE BL19104 User manual

WamBam

WamBam STURBRIDGE BL19104 User manual

WamBam Yard & Pool Vinyl Gate User manual

WamBam

WamBam Yard & Pool Vinyl Gate User manual

WamBam JIMINY PICKET VG24300 User manual

WamBam

WamBam JIMINY PICKET VG24300 User manual

Popular Fencing & Gate manuals by other brands

Protector Aluminium Slat Screen Kit installation guide

Protector

Protector Aluminium Slat Screen Kit installation guide

Frisco 250606 instruction manual

Frisco

Frisco 250606 instruction manual

Think Fencing Bellbrae Fencing installation guide

Think Fencing

Think Fencing Bellbrae Fencing installation guide

Honeywell COMBISAFE 9535 User instruction

Honeywell

Honeywell COMBISAFE 9535 User instruction

Zippity ZP19052 Assembly instructions

Zippity

Zippity ZP19052 Assembly instructions

Te Pari Racewell DR3 Installation and operation manual
Te Pari

Te Pari Racewell DR3 Installation and operation manual

ABS Safety SG2-DOME-G installation manual

ABS Safety

ABS Safety SG2-DOME-G installation manual

Magnetic MHTM FlowMotion mWing operating instructions

Magnetic

Magnetic MHTM FlowMotion mWing operating instructions

Geobrugg RXE-500 manual

Geobrugg

Geobrugg RXE-500 manual

Casanoov DO 300B160 instruction manual

Casanoov

Casanoov DO 300B160 instruction manual

ENCLO EC18016 Assembly instructions

ENCLO

ENCLO EC18016 Assembly instructions

2M2 FENCE Glass fence manual

2M2 FENCE

2M2 FENCE Glass fence manual

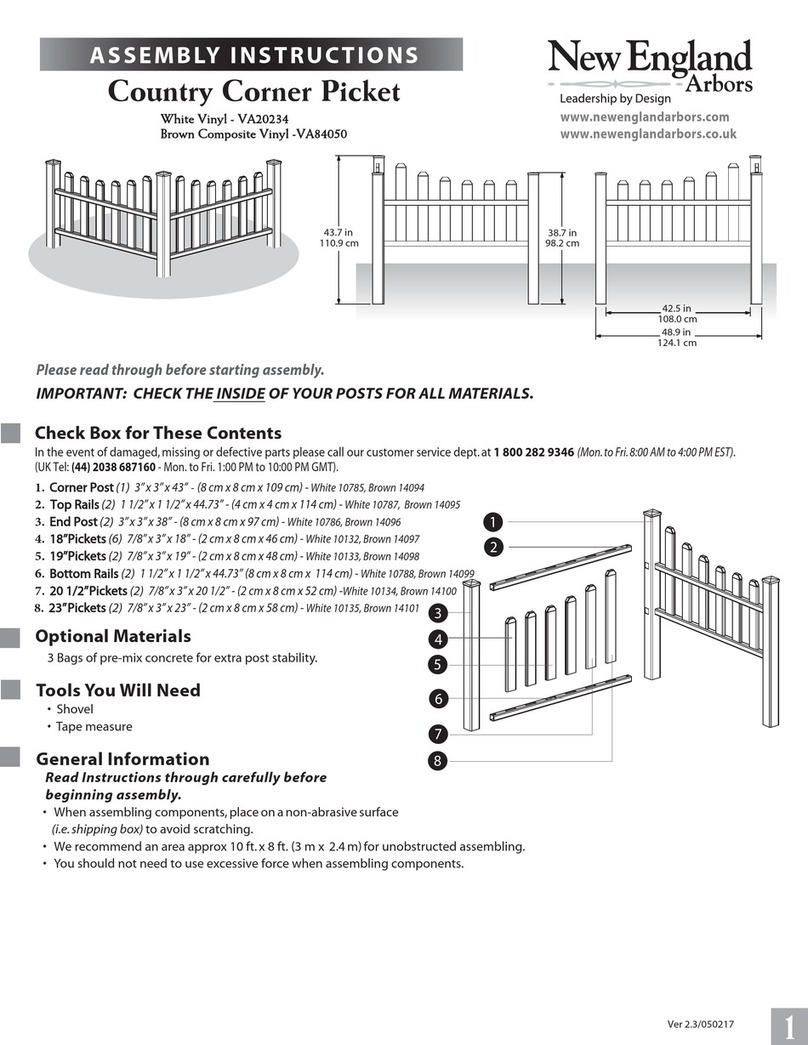
New England Arbors Country Corner Picket VA20234 Assembly instructions

New England Arbors

New England Arbors Country Corner Picket VA20234 Assembly instructions

Jewett-Cameron Adjust-A-Gate CONTRACTOR Series Assembly instructions

Jewett-Cameron

Jewett-Cameron Adjust-A-Gate CONTRACTOR Series Assembly instructions

Casanoov ART300B140 manual

Casanoov

Casanoov ART300B140 manual

Qimarox Securyfence Assembly instructions

Qimarox

Qimarox Securyfence Assembly instructions

Oxgard MODELK-14 Operation manual

Oxgard

Oxgard MODELK-14 Operation manual

JAXSUNNY HG61S0719 user manual

JAXSUNNY

JAXSUNNY HG61S0719 user manual

manuals.online logo
manuals.online logoBrands
  • About & Mission
  • Contact us
  • Privacy Policy
  • Terms and Conditions

Copyright 2025 Manuals.Online. All Rights Reserved.