TOOLS NOT SUPPLIED, BUT NECESSARY FOR THE ASSEMBLY
*Facilita a montagem / Facilita un montaje / Facilitates montagem.
** Para identificar as peças / Para identificar las partes / To identify the parts.
Martelo
Martillo
Hammer
*Parafusadeirada
Atornillador
Screwdriver
Chave Cruzada
Llave cruzada
Cross wrench
**Trena
Cinta métrica
Measuring tape
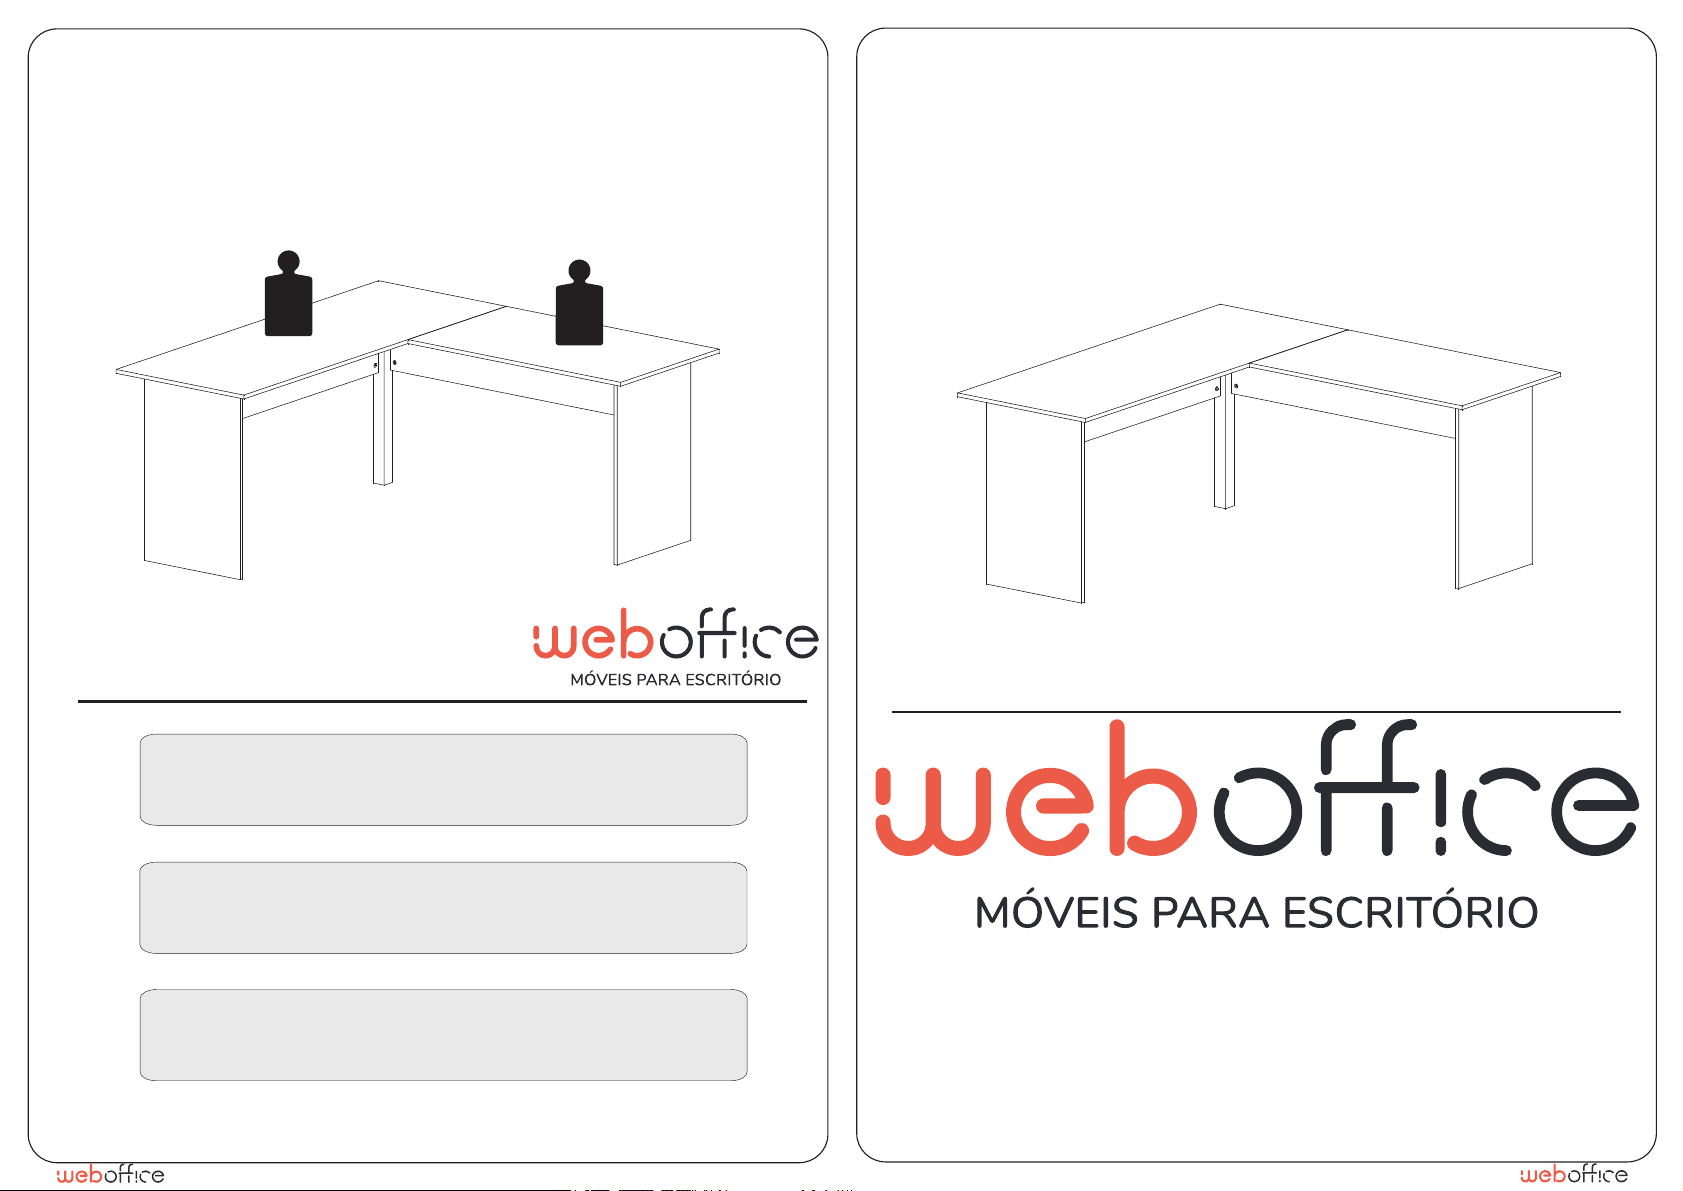
1.350mm
1.350mm
750mm
600mm
WEB0327 WEB0321
600mm
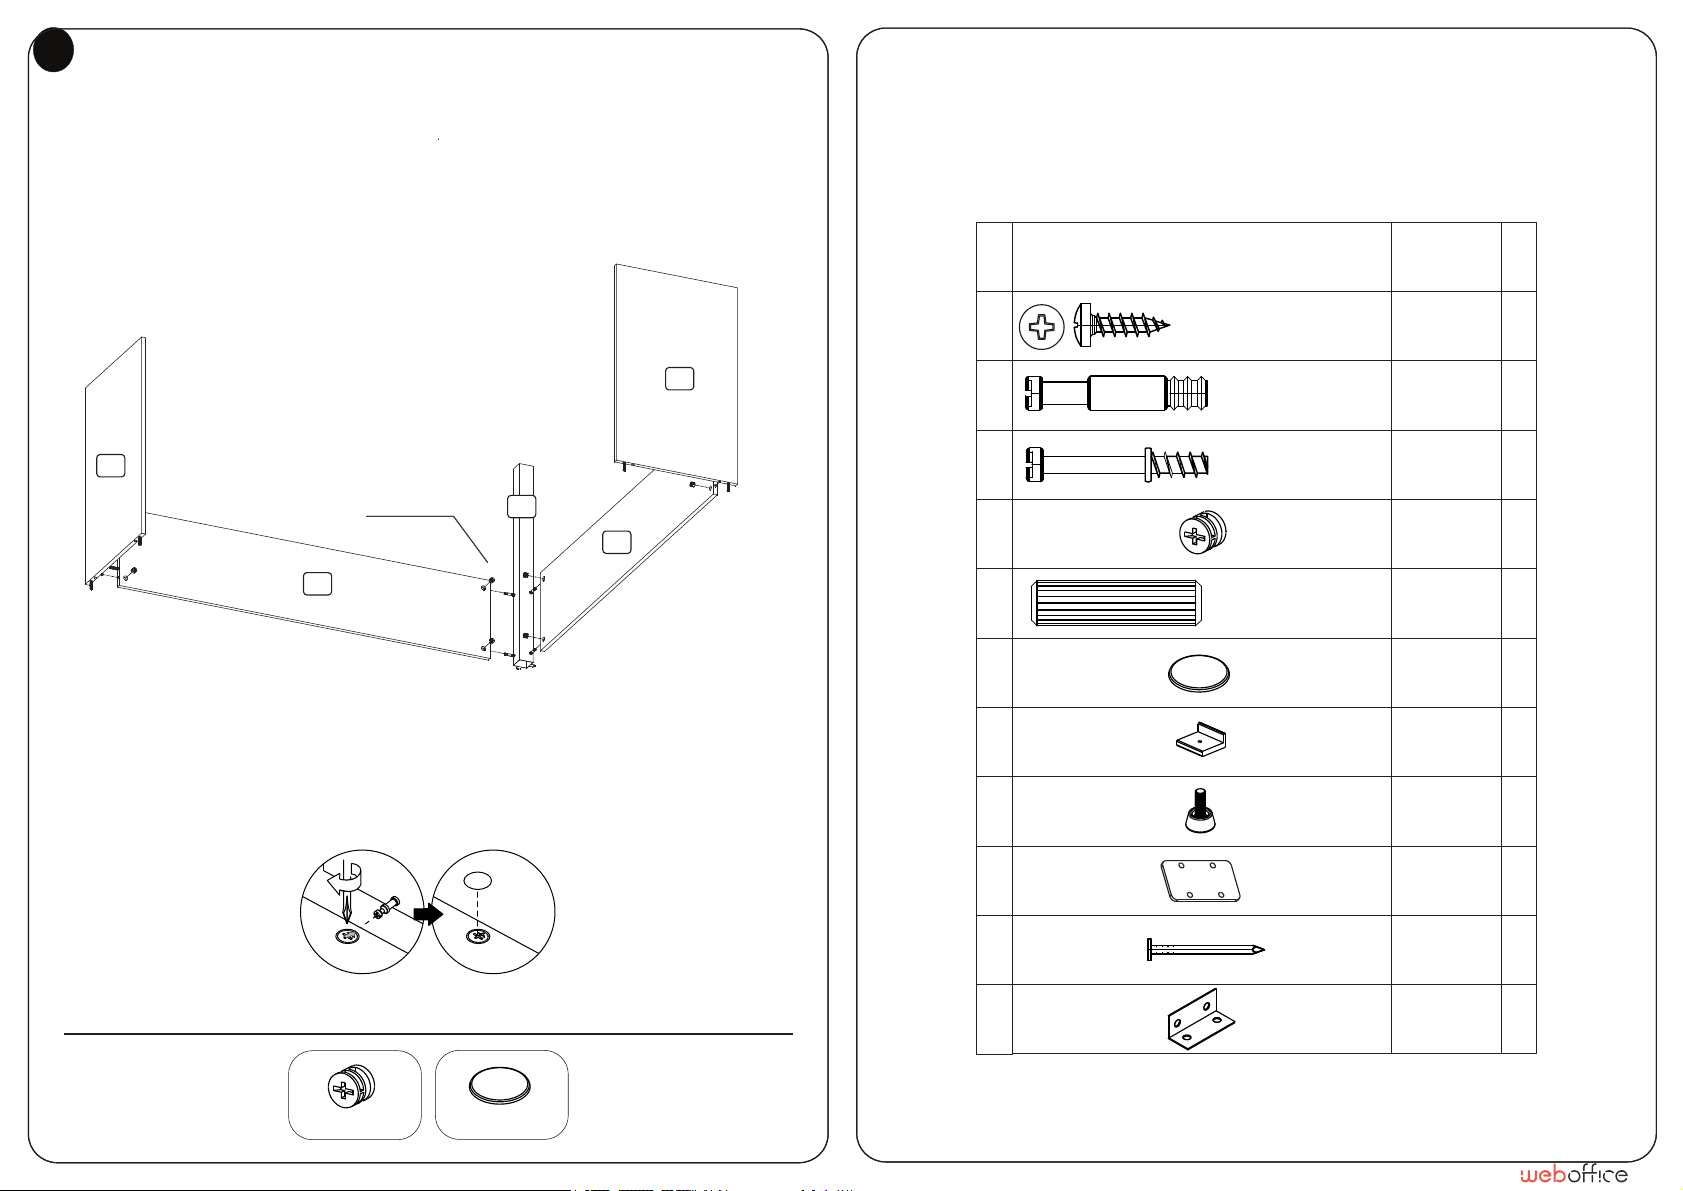
A8 - 14x M17 - 1x
03
02
05
01
04
02
01
F1 - 4x A35 - 4x M4 - 2x
Coloque a Chapa centralizada
Colocar la placa centralizada entre
las piezas de forma horizontal.
DETALHE 3
Detalle / Detail
entre as peças na horinzontal.
Place the centralized plate between
the pieces horizontally.
A8
M4
M17
A8
A8
DETALHE 2
Detalle / Detail
Posicione a chapa encostada
Coloque la placa contra la
esquina de las piezas.
na quina das peças.
Position the plate against the
corner of the pieces.
A8
A8
M17 A8
M4
A35
A8 A8
DETALHE 2
Detalle / Detail DETALHE 1
Detalle / Detail
DETALHE 3
Detalle / Detail
06
ETAPA A
Etapa / Stage
ETAPA B
Etapa / Stage
750mm
600mm
600mm
Depois de encaixar as peças coloque o tambor com a sua seta
F1
A35
DETALHE 1
Detalle / Detail
voltada para o parafuso. Para apertar Gire no sentido horário.
Después de colocar las piezas, coloque el tambor
con su flecha hacia el tornillo.Para apretar, gire en sentido horario.
After fitting the parts, place the drum with its arrow facing the screw.
To tighten, turn clockwise.
PREVIAMENTE, UNA OS TAMPOS ‘03’ E ‘04’COM A CHAPA ‘M4’, APÓS, ENCAIXE A ESTRUTURA
SOBRE OS TAMPOS ATRAVÉS DOS PARAFUSOS ‘A32’ E APERTE COM OS TAMBORES ‘A35’,
3
FINALIZE A UNIÃO DOS TAMPOS COM A CANTONEIRA ‘M17’ (ETAPA A).
FIXE A COLUNA ‘06’ NO TAMPO PELAS SUAS LÍNGUETAS COM OS PARAFUSOS ‘A8’ (ETAPA B).
07/08
2 P.
FERRAMENTAS NÃO FORNECIDAS, MAS NECESSÁRIAS
PARA MONTAGEM DO PRODUTO
HERRAMENTAS NO SUMINISTRADAS, MAS NECESSÁRIAS PARA EL MONTAJE DEL PROTUCTO
TOOLS NOT SUPPLIED, BUT NECESSARY FOR THE ASSEMBLY
10mim
RECOMENDAÇÕES
- Siga atentamente todas as instruções de montagem;
- Monte seu produto no local ou próximo de onde será colocado.
Movimentações do produto já montado podem avariá-lo;
- Faça a montagem em uma superfície limpa e plana. Aconselhamos usar a própria
embalagem de papelão e plástico para forrar o chão;
- Verifique se as quantidades de peças e acessórios estão de acordo com o Manual;
- Compare atentamente os furos de cada peça com a ilustração do manual
- Se o produto necessitar fixação na parede, tenha cuidado para não atingir
fios e canos ao furar a parede;
- É responsabilidade do montador seguir as instruções do Manual de Montagem
que são fundamentais para a estruturação do produto.
Recommendations
- Carefully follow all assembly instructions;
- Assemble your product at or near where it will be placed.
Movements of the product already assembled may damage it;
- Mount on a clean, flat surface. We advise you to use the cardboard
- Check that the quantities of parts and accessories are in accordance with the manual;
- Carefully compare the holes in each part with the illustration in the manual;
- If the product needs to be fixed to the wall, be careful not to reach wires and pipes when drilling into the wall;
- It is the assembler's responsibility to follow the instructions in the Assembly Manual,
and plastic packaging itself to cover the floor;
which are fundamental for structuring the product.
Recomendaciones
- Siga cuidadosamente todas las instrucciones de montaje;
- Ensamble su producto en o cerca de donde se colocará.
Los movimientos del producto ya ensamblado pueden dañarlo;
- Montar sobre una superficie limpia y plana.
- Compruebe que las cantidades de piezas y accesorios están de acuerdo con el manual;
- Compare cuidadosamente los agujeros en cada parte con la ilustración en el manual;
- Si el producto necesita ser fijado a la pared,
- Es responsabilidad del ensamblador seguir las instrucciones del Manual de ensamblaje,
Le recomendamos que utilice el embalaje de cartón y plástico para cubrir el piso;
que son fundamentales para estructurar el producto.
tenga cuidado de no alcanzar cables y tuberías al perforar la pared;
1.600mm
1.600mm