5
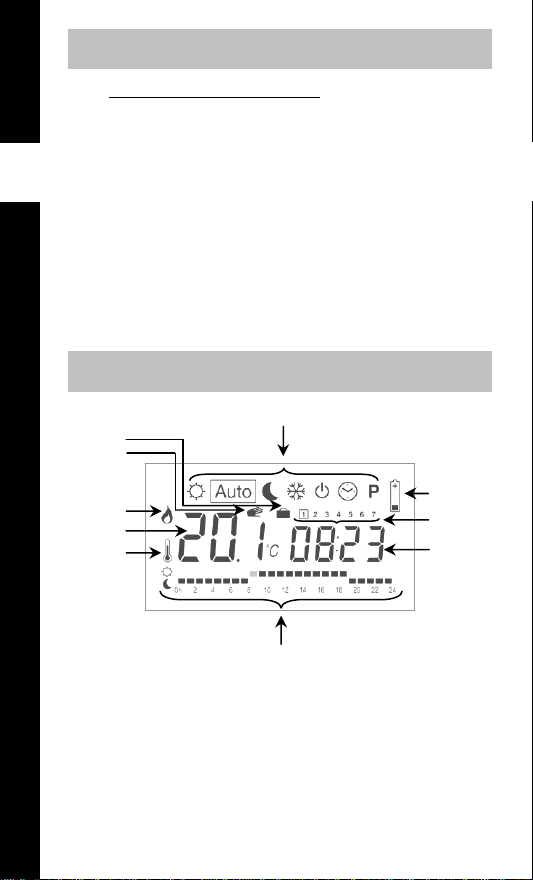
SPECIAL FUNCTIONS
HOLIDAY Function :
With &keys, go to function. Then select with & keys the
delay in hours ( H) if below 24h then in days ( d). Then select a mode or
or .
The logo is active and the number of hours/days left is displayed until the
MILUX RF returns in mode and continues to follow the program.
KEYPAD LOCK Function :
Function to prevent any modification of the parameters.
In , ,, and operating modes you can maintain the
key pressed and press simultaneously on the or key to lock
( ) or unlock ( ) the keypad.
RESET Function :
Erase all user programs and sets the factory parameters by default.
Go to mode, maintain & keys pressed and press simultaneously
on the key.
All segments will lit up during a few seconds showing that the MILUX RF has
been erased and restarted with factory defaults parameters.
Factory parameters are :
Temperatures 21°C 17°C 6°C, Program U1 all comfort.
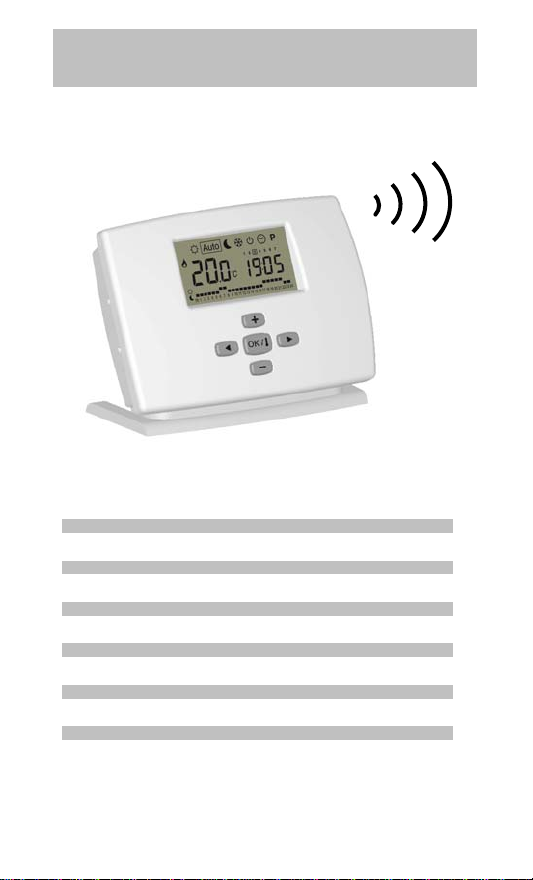
RADIO CONFIGURATION
1. To assign the MILUX RF thermostat with the receiver you must put the
receiver in “RF init” mode, please refer to the receiver leaflet. (In this
mode the thermostat should be near the receiver)
2. On the MILUX RF, select operating mode.
Then press the key during 5 seconds, you will enter in the Radio
configuration mode ( ).
The MILUX RF is now sending by radio signal its configuration address 4
times per second,
3. You can now perform a radio range verification.
Place the MILUX RF in the room where you need to regulate the
temperature and leave it in Radio configuration mode ( ).
Close the doors and come back to the Receiver.
Verify that the green LED blinks at each radio signal received :
- If it blinks regularly 4 times per second, the installation of the MILUX RF
and Receiver is correct.
- If it blinks irregularly, you are at the range limit. Install the MILUX RF
closer to the Receiver.
- If it does not blink at all, you are out of range. Install the MILUX RF
closer to the Receiver.
4. On the MILUX RF press on the key to exit the radio configuration
mode. Now your MILUX RF controls the Receiver.
GB