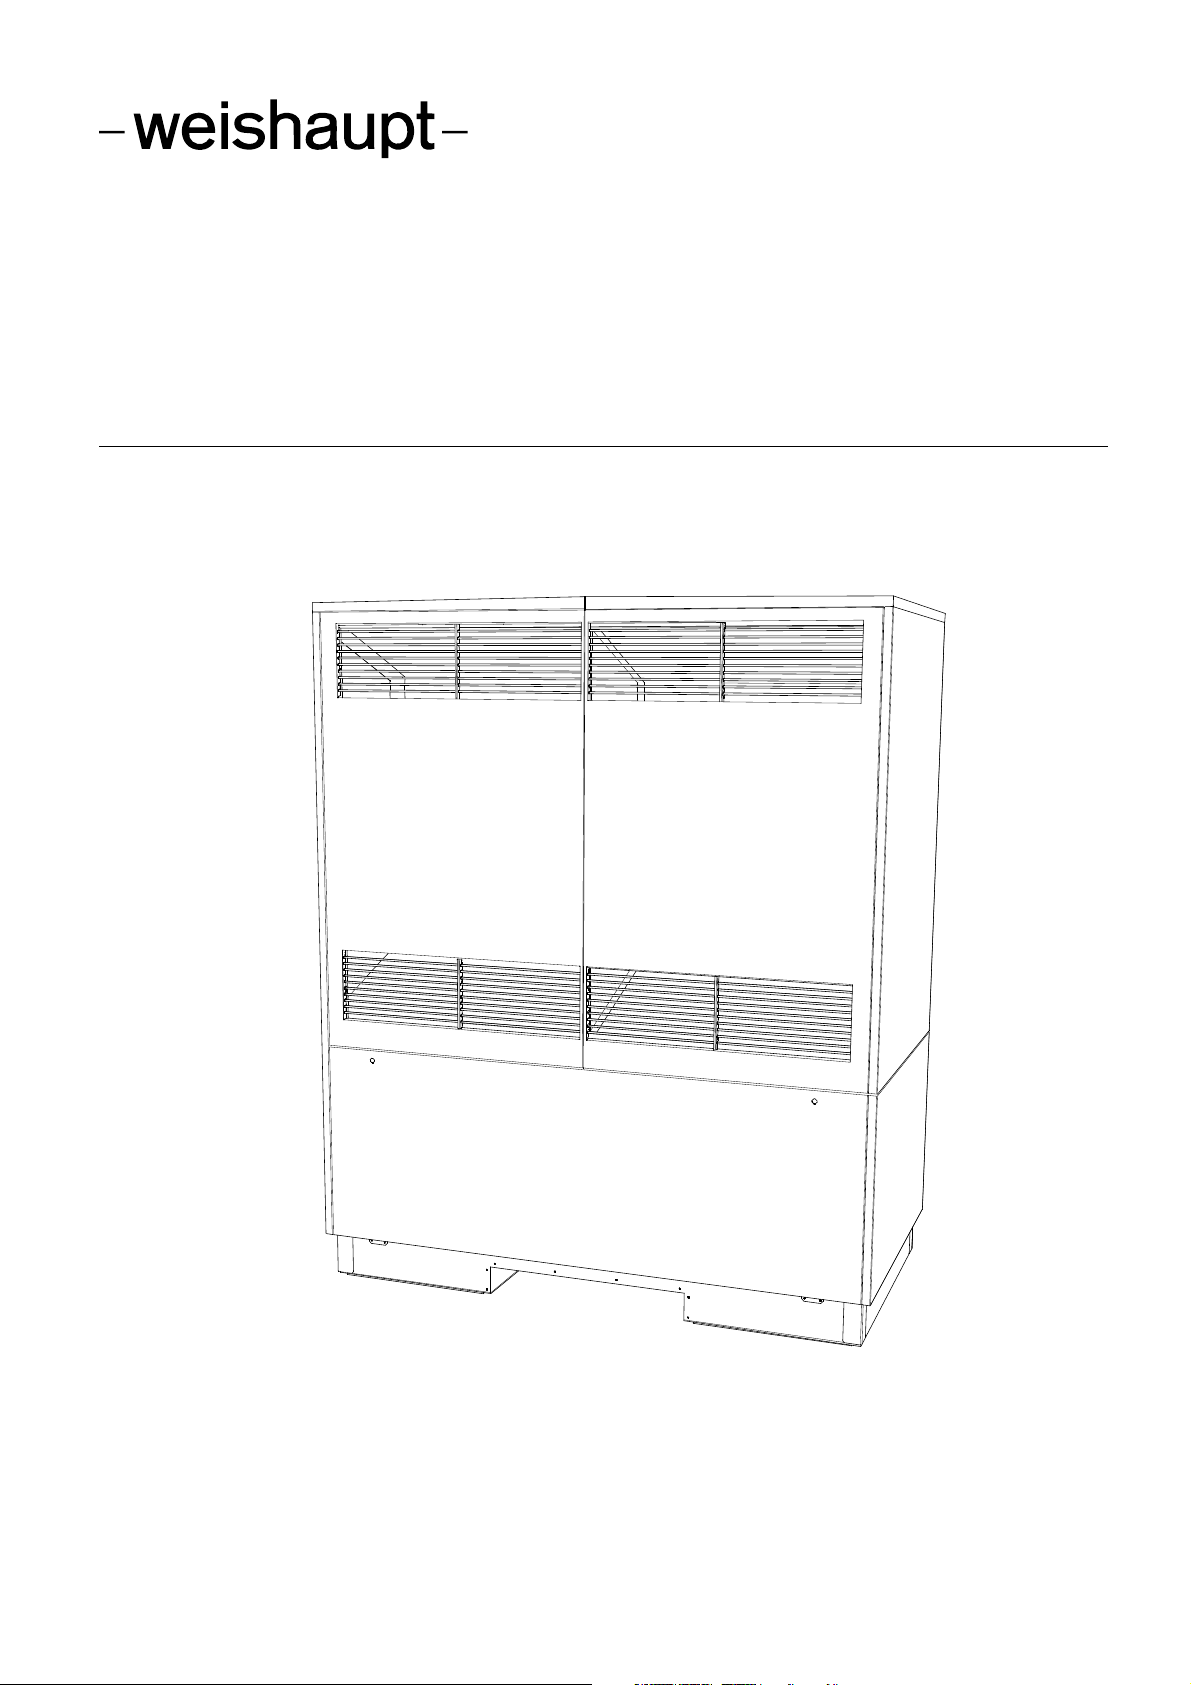
Installation and operating instructions
WWP LA 60-A R
452163.66.99 · 03/2021 · Rei 18332132
Table of contents
1 Safety notes ..................................................................................................................................... 2
1.1 Symbols and markings .............................................................................................. 2
1.2 Intended use ................................................................................................................ 2
1.3 Legal regulations and directives.............................................................................. 2
1.4 Energy-efficient use of the heat pump................................................................... 3
2 Intended use of the heat pump ............................................................................................. 4
2.1 Area of application...................................................................................................... 4
2.2 Operating principle..................................................................................................... 4
3 Scope of supply ............................................................................................................................. 5
3.1 Basic device.................................................................................................................5
3.2 Switch box.................................................................................................................... 5
3.3 Heat pump manager .................................................................................................. 6
4 Accessories ...................................................................................................................................... 7
4.1 External 4-way reversing valve................................................................................. 7
5 Transport............................................................................................................................................ 8
6 Installation......................................................................................................................................... 9
6.1 General information.................................................................................................... 9
6.2 Condensate pipe ......................................................................................................10
7 Installation.......................................................................................................................................11
7.1 General information..................................................................................................11
7.2 Connection on heating side ...................................................................................11
7.3 Electrical connection................................................................................................13
8 Commissioning.............................................................................................................................14
8.1 General information..................................................................................................14
8.2 Preparation.................................................................................................................14
8.3 Procedure...................................................................................................................14
9 Cleaning/maintenance .............................................................................................................15
9.1 Care .............................................................................................................................15
9.2 Cleaning the heating system..................................................................................15
9.3 Cleaning the air system...........................................................................................16
10 Faults/troubleshooting.............................................................................................................17
11 Decommissioning/disposal...................................................................................................18
12 Device information......................................................................................................................19
13 Dimension drawings ..................................................................................................................21
13.1 Dimension drawing...................................................................................................21
14 Diagrams..........................................................................................................................................22
14.1 Characteristic curve, heating .................................................................................22
14.2 Characteristic curve, cooling .................................................................................23
14.3 Operating limits diagram, heating .........................................................................24
14.4 Operating limits diagram, cooling .........................................................................25
15 Integration diagrams .................................................................................................................26
15.1 Sample system diagram..........................................................................................26
15.2 Circuit diagram..........................................................................................................27
15.3 Circuit diagram, extension module .......................................................................28