2M-Z21001 Rev- Owner's Manual for IRCS4 Impingement/Radiant Split-Belt Conveyor Toaster
5
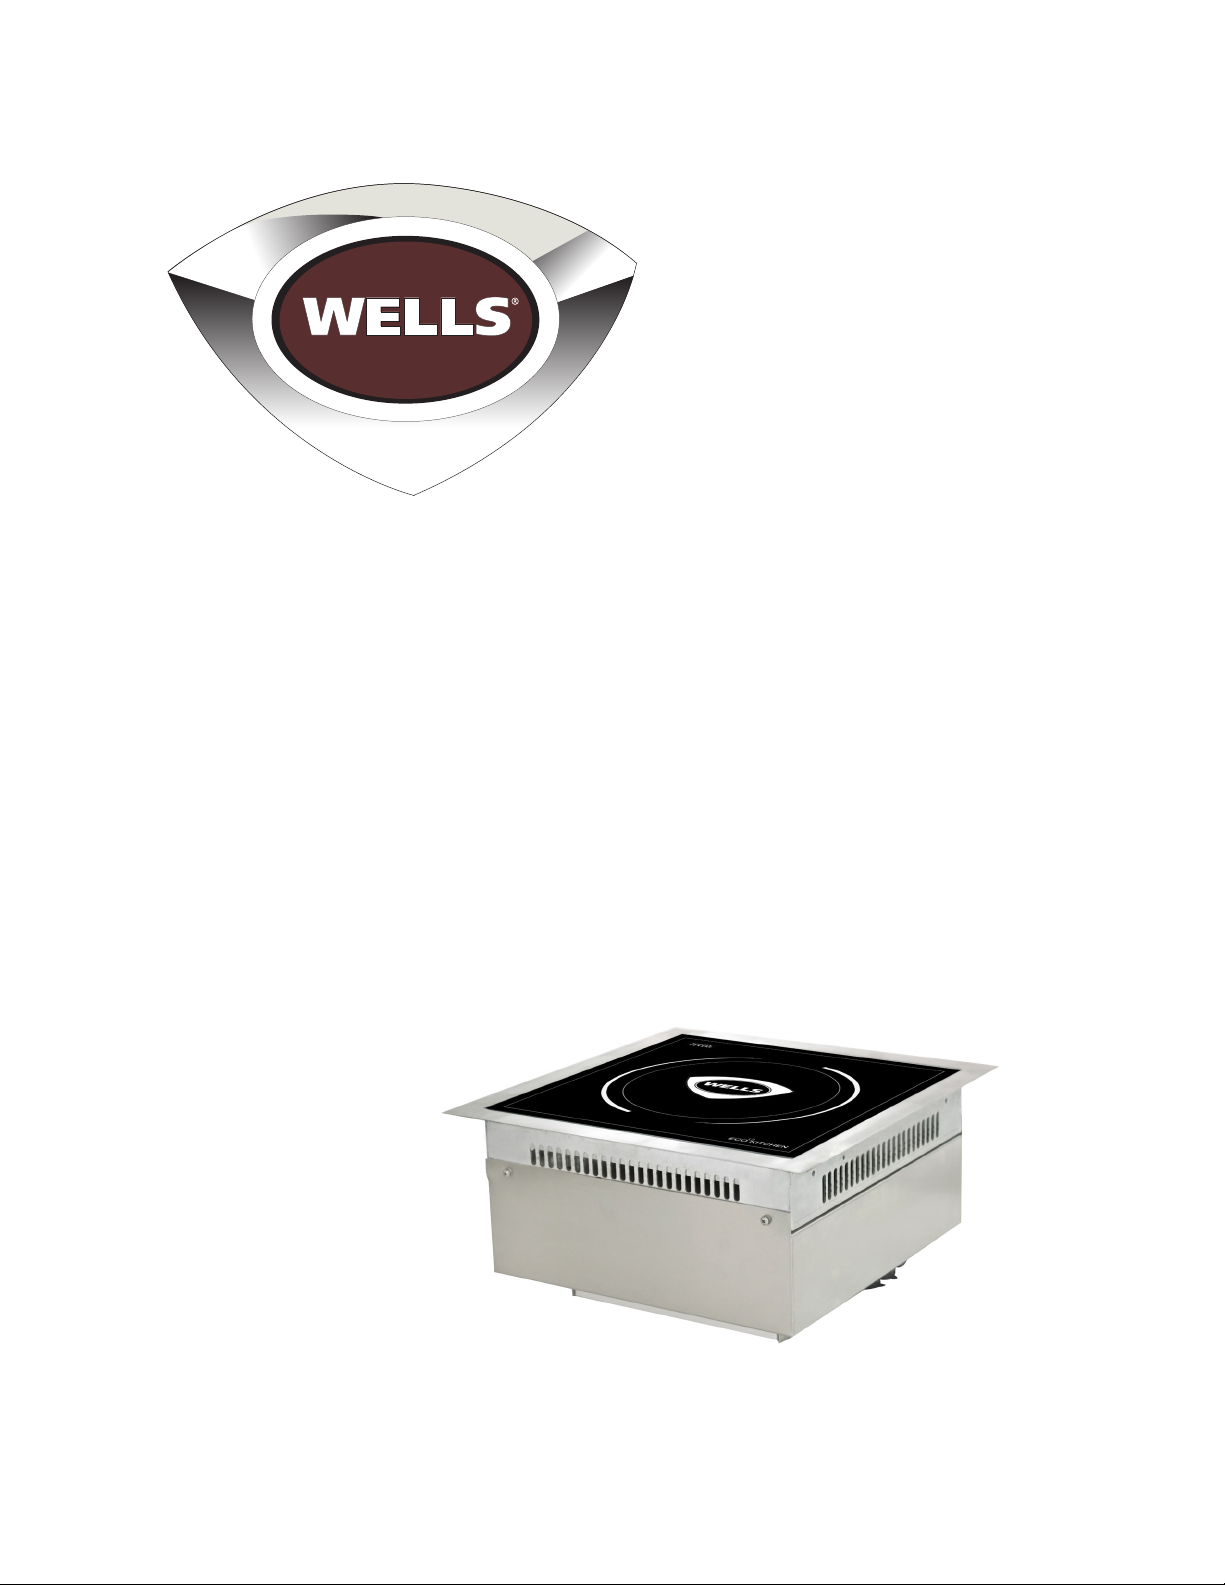
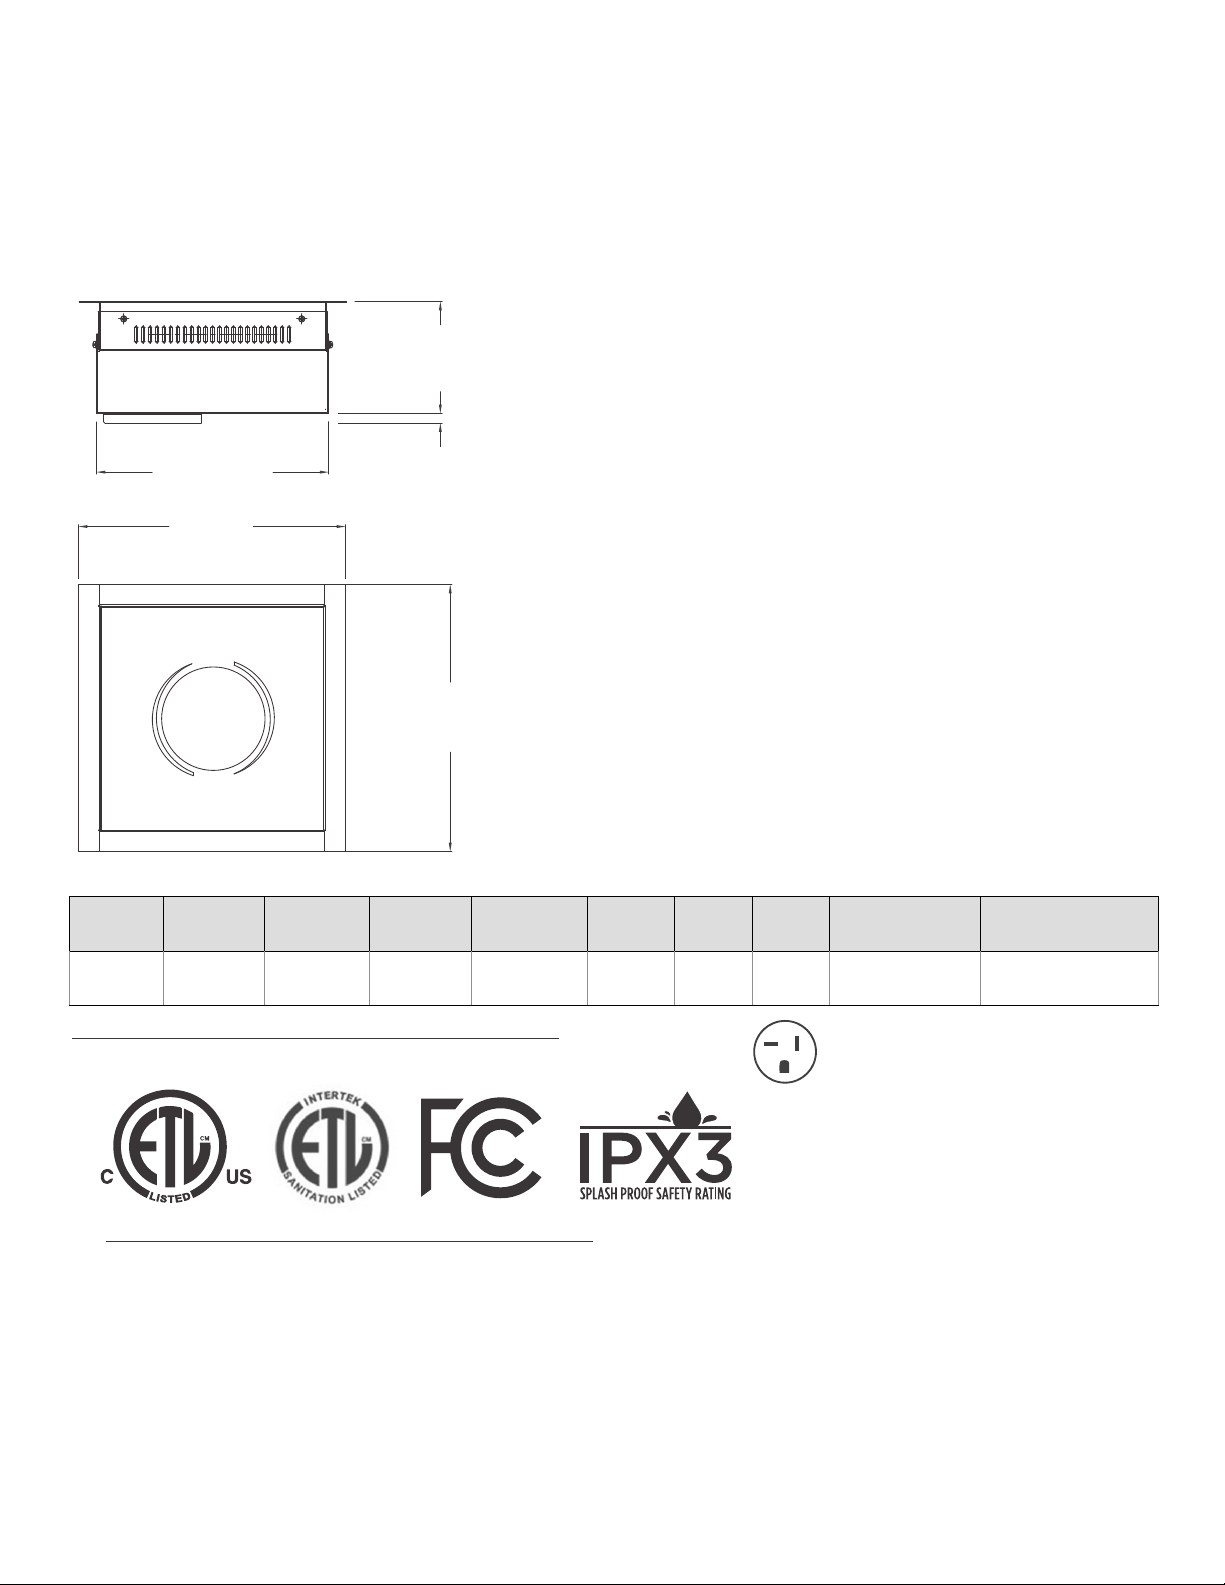
2M-Z21951 Rev- Owner’s Manual for ISDIxx Drop-In Induction Range
OPERATION
CERTAIN SURFACES ARE EXTREMELY HOT DURING
OPERATION AND CARE SHOULD BE TAKEN WHILE
USING THIS UNIT.
DO NOT LEAVE THE UNIT IN OPERATION WITHOUT
AN ATTENDANT.
DO NOT LEAVE THE UNIT ON DURING IDLE PERIODS.
DO NOT CYCLE THE POWER QUICKLY ON AND OFF
AS THIS MAY CAUSE DAMAGE TO THE UNIT OVER
TIME.
MAKE CERTAIN TO READ ALL INSTRUCTIONS AND
WARNINGS CONTAINED WITHIN THIS MANUAL
IN FULL, PRIOR TO USE.
KEEP PAPER AND OTHER MATERIALS THAT CAN
BLOCK THE FAN AWAY FROM THE BOTTOM OF
THE UNIT.
DAILY USE
i. Make sure the dial indicator is at the o position
[pointing straight up] and plug the unit into an
appropriate power outlet.
ii. Place an appropriate pot or pan onto the cooking
zone. [an error code will appear if there is no pan
or an incorrect type of pan placed on the unit]
iii. Adjust the knob slowly to the desired heat setting
while making certain that there are no error codes
present. If there are any error codes, record the
code[s], immediately turn the unit to the o position
and remove power to the unit, and consult the
troubleshooting section of the manual before
proceeding.
iv. Once done cooking, turn the knob back to the o
position and at the end of day, remove power from
the unit.
MAINTENANCE
The unit should be inspected by an authorized
agent at least once per year. Anything other than
standard cleaning procedures should be performed
by authorized service agents only. The inside of this
unit has no user-serviceable parts.
CLEANING & MAINTENANCE
CLEANING PROCEDURE
Preventive maintenance consists of the following
recommended cleaning procedures. To keep your
unit in its best operating condition, these steps
should be performed on a daily basis as required.
The cooking area must be kept clean for the unit
to function properly.
i. Turn the unit o, unplug it from the power source,
and allow it to cool completely.
ii. Once cool, begin by using a soft, slightly damp
sponge to wipe away and spilled food and debris.
If there is any hardened residue, use a scraper
or cleaning pad made specifically for glass/ceramic
surfaces and an appropriate glass/ceramic cooktop
cleaning solution.
iii. Wipe down the surface with glass/ceramic cooktop
cleaner and a soft cloth. A small amount of vinegar
can be used to clean away water spots and light
stains.
iv. Use a soft, dry cloth to wipe down the surface and
remove any remaining cleaner/liquid.
v. While cleaning the unit, make certain to examine
the screen on the fresh air intake located on the bottom
of the unit and clean as needed. This must stay clear
of blockages in order for the unit to function properly.
vi. Once the unit is clean and has dried, it is ready to plug
back in and begin using.
DO NOT USE COARSE SPONGES/PADS
WHICH WILL SCRATCH THE FINISH.
DO NOT USE CAUSTIC CLEANERS,
DEGREASERS, FLAMMABLE CLEANERS,
OR ANY OTHER CLEANER WHICH CAN
DAMAGE THE COOKING AREA SURFACE.
DO NOT IMMERSE THE UNIT IN WATER.
DO NOT ALLOW ANY CLEANER OR
LIQUID TO COLLECT ON THE TOP OF
THE UNIT.
DO NOT HOSE DOWN THE UNIT OR
THE TABLE/COUNTER THE UNIT IS
MOUNTED IN.
front