7
STARTING (Fig 2-1A, 1B, 1C)
CAUTION!
Before starting, make sure the cutting attachment does not touch anything
1. Set ignition switch (14) to the ON position. (Fig. 2-1A). Push priming bulb (18) several
times so that fuel flows through return pipe (Fig. 2-1B)
2. With the safety trigger (16) pressed, pull throttle trigger (13) and push throttle lock
(15), then slowly release the throttle trigger first, then the safety trigger. This will lock the
throttle in the starting position.
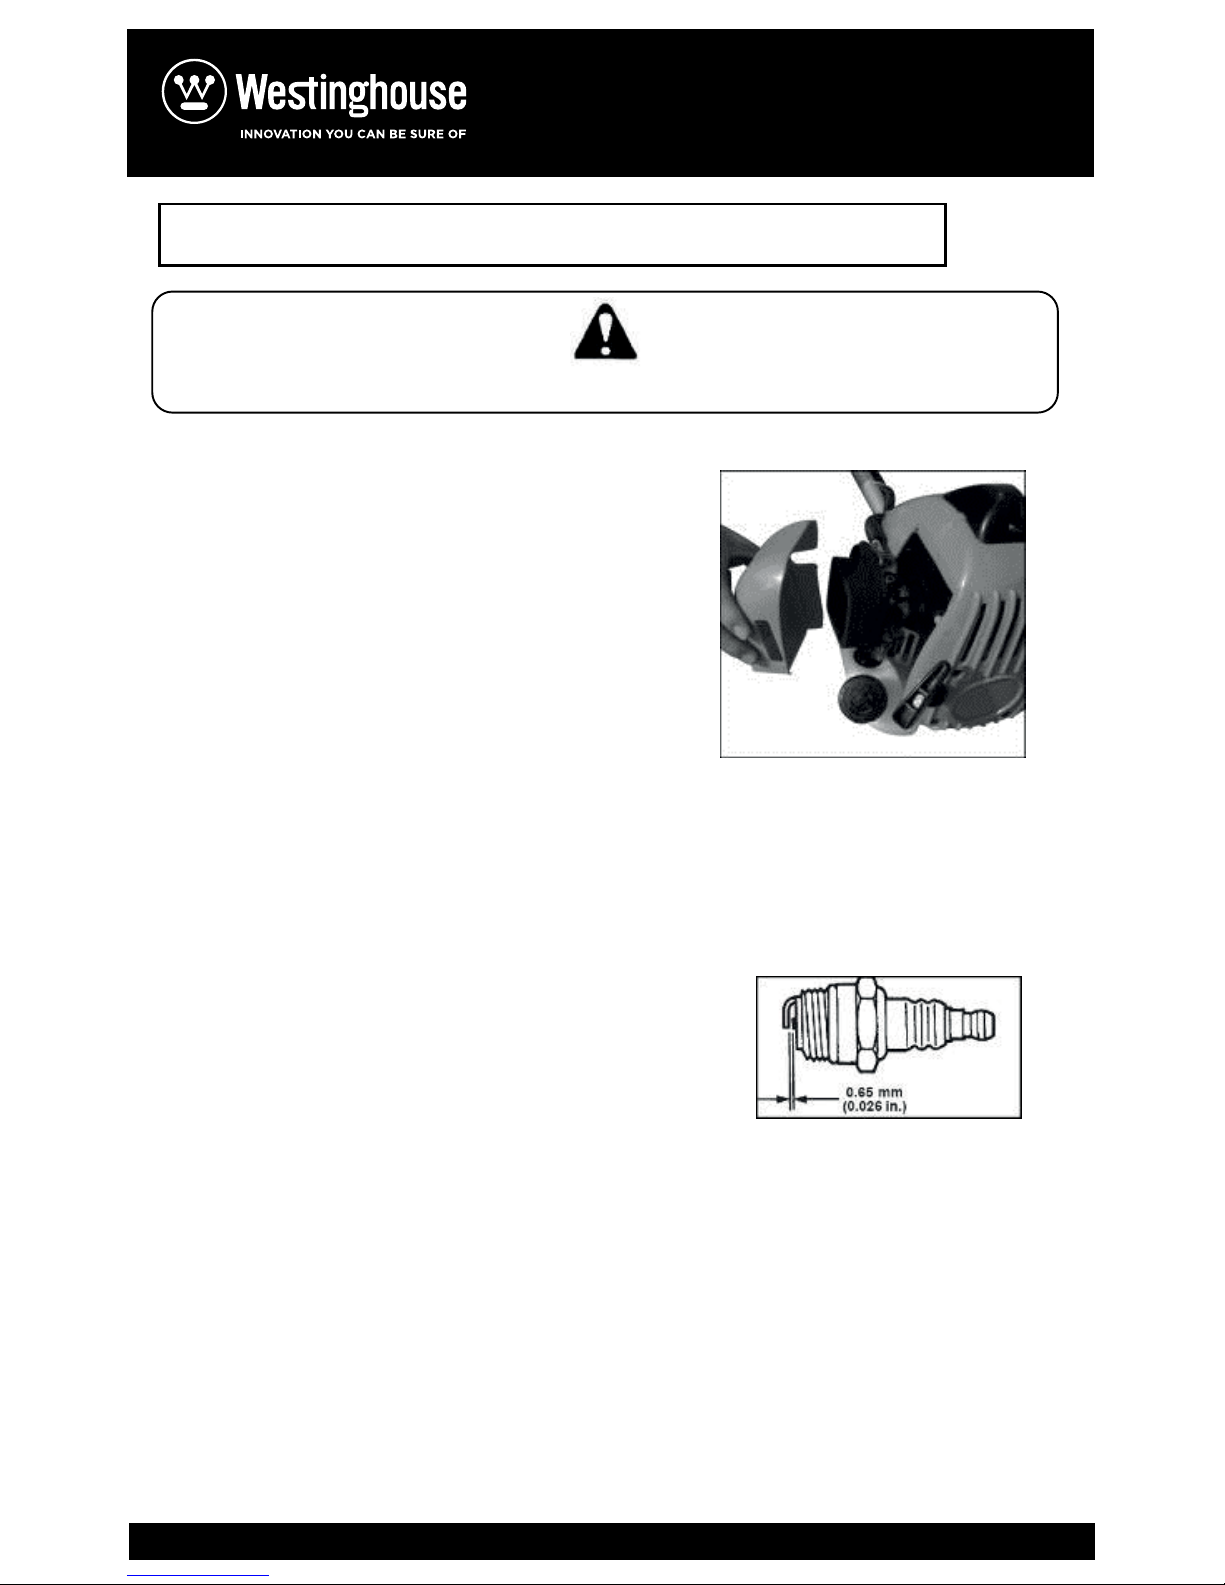
3. Set choke lever (19) to OFF position. (Fig. 2-1C, 3)
4. Pull recoil starter briskly, taking care to keep the handle in your grasp and not allowing
it to snap back.
5. When you hear the engine want to start, return choke lever to ON position. Then pull
recoil starter briskly again.
NOTE!
If engine does not start, repeat procedures from 2 to 5
Fig 2-1A
Fig 2-1C
Fig 2-1B
6. After starting engine, pull throttle trigger to release throttle lock. Then allow the
engine about 2-3 minutes to warm up before subjecting it to any load.
CUTTTING (Fig. 2-2A, 2B, 2C)
• When cutting, operate engine at over 6500 rpm. Extended use at a low rpm will wear
the clutch prematurely.
• Cut grass from right to left.
• Blade thrust may occur when the spinning blade contacts a solid object in the critical
area. A dangerous reaction may occur causing the entire unit and operator to be thrust
violently. This reaction is called BLADE THRUST. As a result, the operator may lose
control of the unit which may cause serious or fatal injury. Blade thrust is more likely to
occur in areas where it is dicult to see the material to be cut.
• Wear the harness as shown in the figure. The blade turns counterclockwise, therefore,
be advised to operate the unit from right to left for ecient cutting. Keep onlookers out
of working area at least 15m (50ft.).
NOTE!
Press the quick release button or pull emergency release flap in the event
of emergency. (Fig. 2-2C
Empezando (Fig 2-1A, 1B, 1C)
PRECAUCIÓN!
Antes de empezar, asegúrese que el accesorio de corte no toque nada.
1. Coloque el interruptor de encendido (14) en la posición “ON” (Encendido). (Fig. 2-1A).
Empuje la bombilla de cebado (18) varias veces para que el combustible fluya a través de
la tubería de retorno (Fig. 2-1B)
2. Con el gatillo de seguridad (16) presionado, hale el gatillo del acelerador (13) y empuje
el seguro del acelerador (15), luego lentamente libere el gatillo del acelerador primero, y
entonces el gatillo de seguridad. Esto asegurará el acelerador en la posición de
encendido.
3. Establezca la palanca del cebador (19) en la posición OFF (Apagado). (Fig. 2-1C, 3)
4. Hale el encendedor de retroceso rápidamente, teniendo cuidado de mantener el
mango a su alcance y sin permitir que salte hacia atrás.
5. Cuando escuche que el motor quiere encender, regrese la palanca a la posición ON
(Encendido). Luego hale el encendedor de retroceso rápidamente de nuevo
NOTA!
Si el motor no enciende, repita los procedimientos del 2 al 5
6. Después de encender el motor, hale el gatillo del acelerador para liberar el seguro del
acelerador. Luego permita que el motor se caliente alrededor de 2-3 minutos antes de
someterle a cualquier carga.
CORTANDO (Fig. 2-2A, 2B, 2C)
• Al cortar, utilice la máquina por sobre 6500 rpm. El uso prolongado en un rpm bajo
desgastará el embrague de forma prematura.
• Corte el césped de derecha a izquierda.
• Puede ocurrir un contragolpe de la cuchilla cuando la cuchilla en movimiento tiene
contacto con un objeto solido en el área crítica. Puede ocurrir una reacción peligrosa
ocasionando que toda la unidad y el usuario sean empujados de forma violenta. Esta
reacción es llamada CONTRAGOLPE DE CUCHILLA. Como resultado, el usuario puede
perder control de la unidad lo que puede ocasionar lesiones serias o fatales. Es más
probable que el contragolpe de cuchilla ocurra en áreas donde es difícil ver el material
que se va a cortar.
• Utilice el arnés como se muestra en la figura. La cuchilla gira en dirección contraria a las
manecillas del reloj, por lo tanto, se aconseja que utilice la unidad de derecha a izquierda
para un corte eficiente. Mantenga a espectadores fuera del área de trabajo en por lo
menos 15m (50 pies).
NOTA!
Presione el botón de liberación rápida o hale la tapa de liberación de
emergencia en el caso de una emergencia. (Fig. 2-2C)