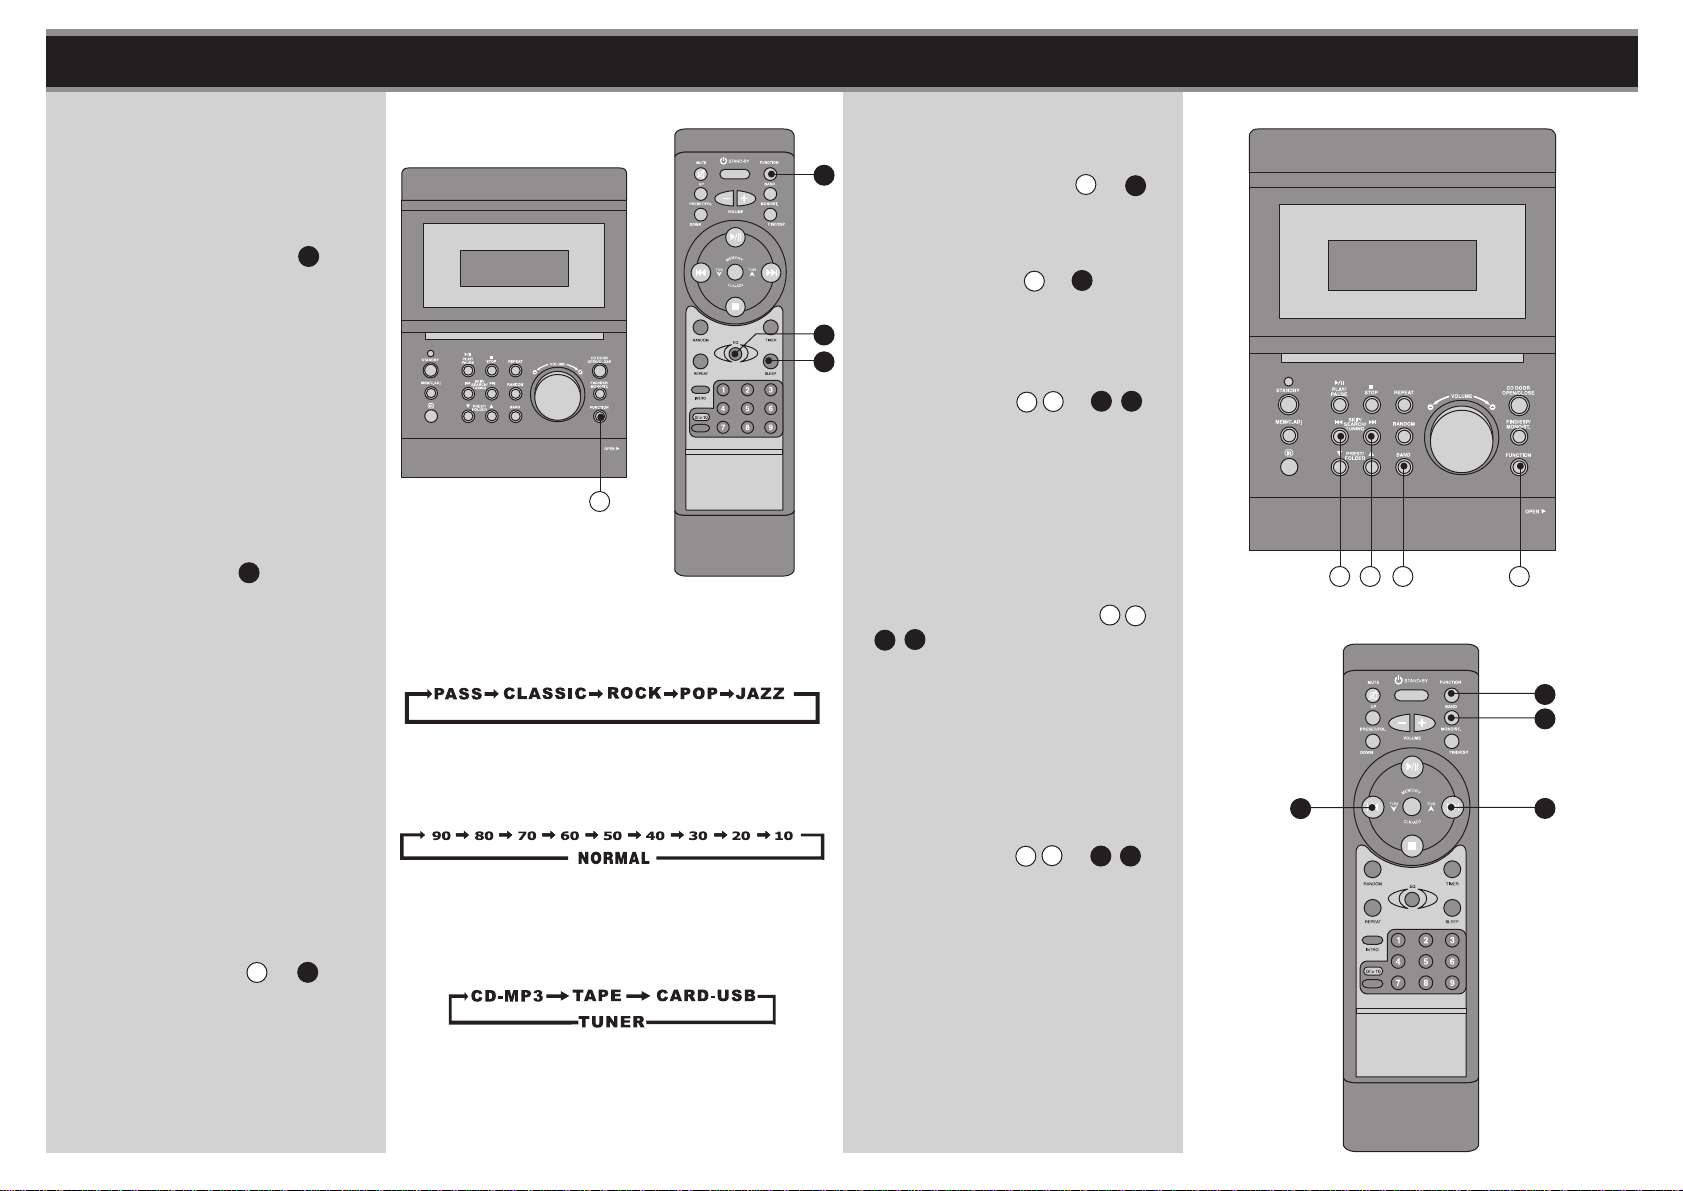
1312
OPERATION OPERATION
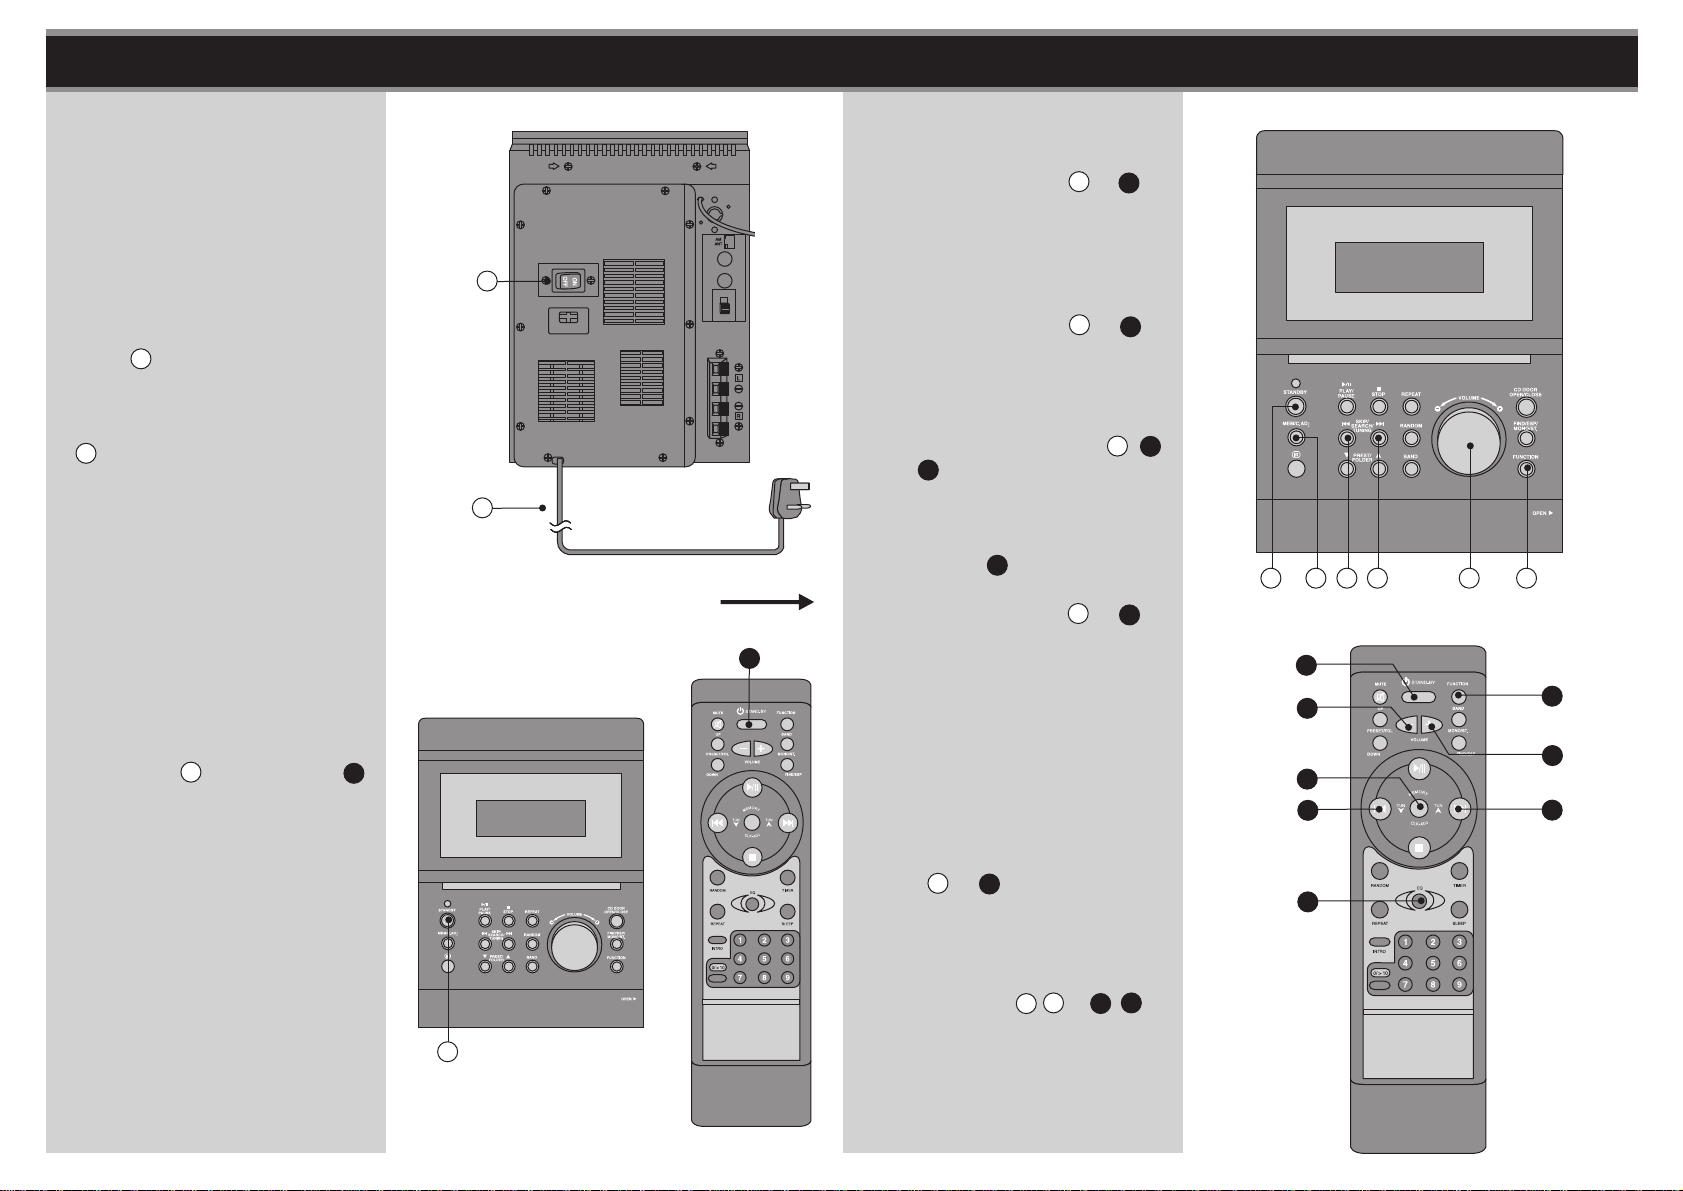
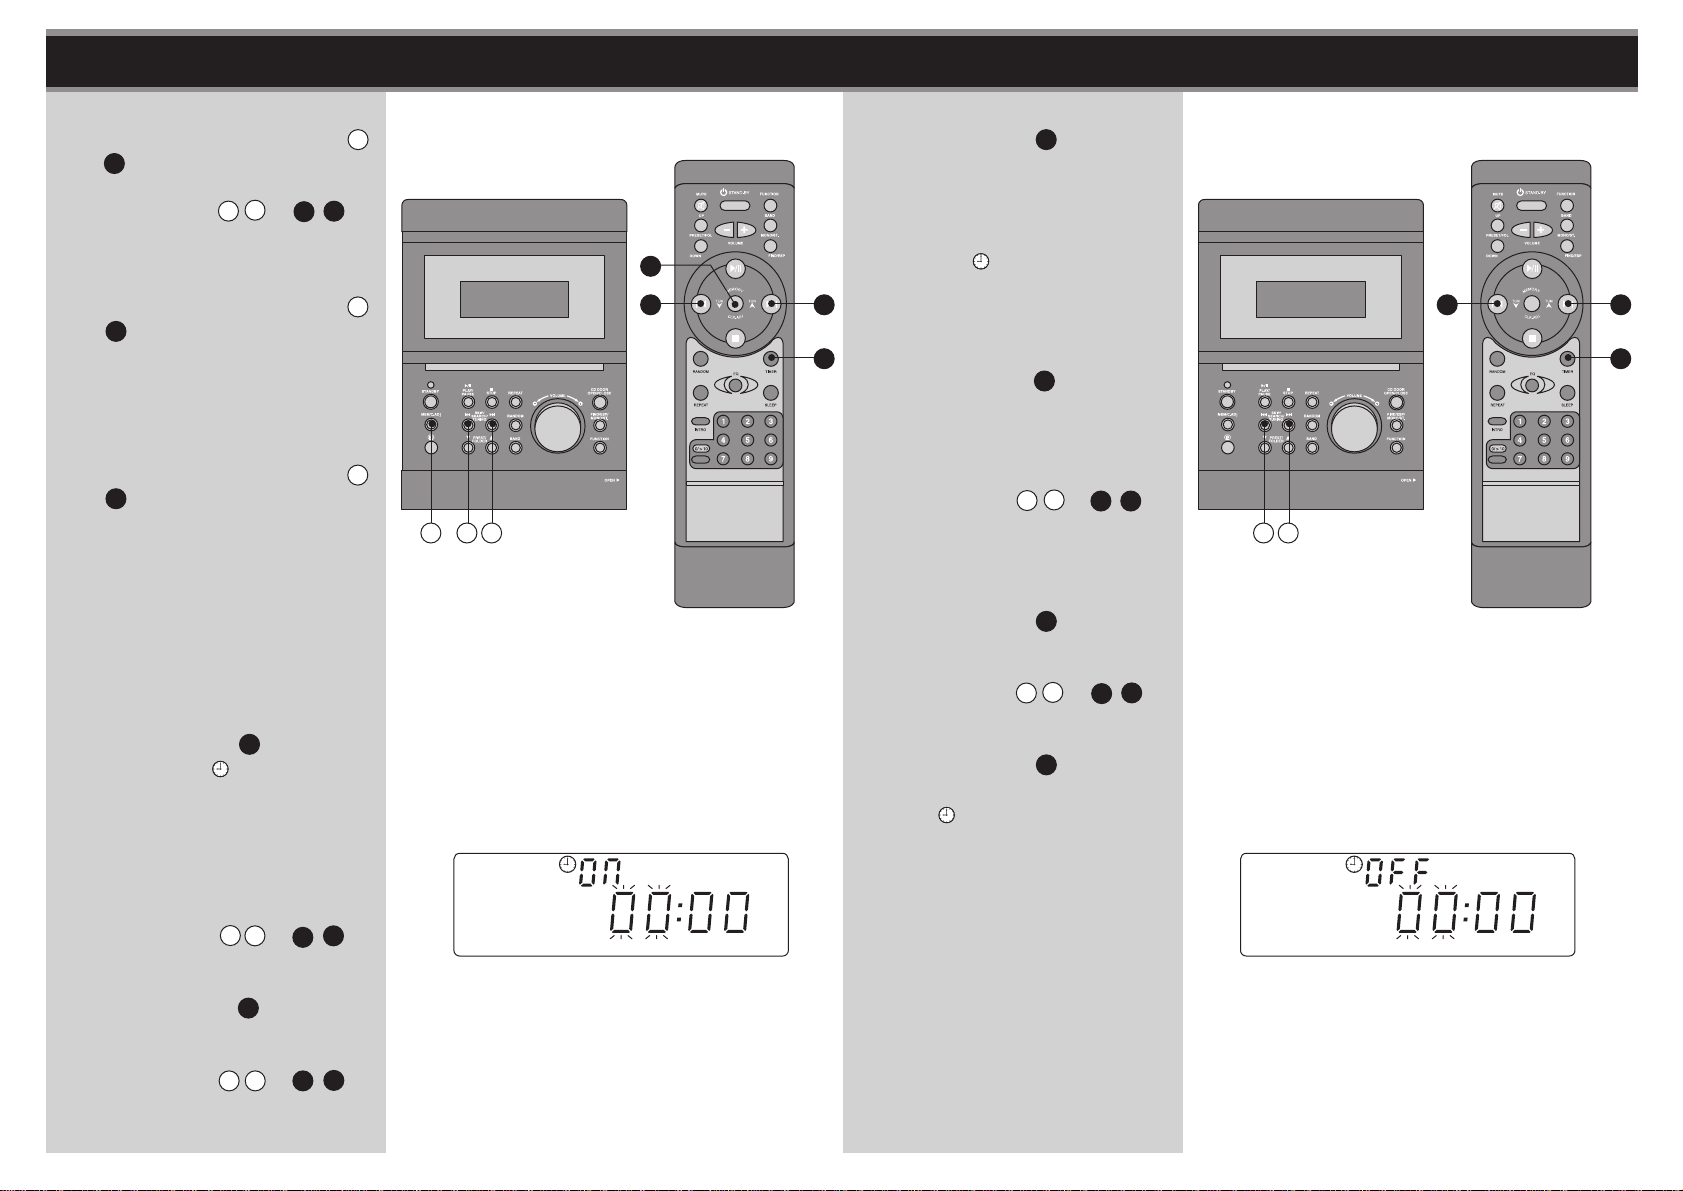
fig. 17 fig. 20
fig. 15
fig. 16
fig. 18
fig. 19
3. Press the MEM/CLOCK-ADJ. E
or Gagain, the HOURS will flash,
press the SKIP/TUNING/SEARCH
(UP or DOWN) L, Jor R,Hto
adjust the HOURS.
See fig. 15 and 16.
4. Press the MEM/CLOCK-ADJ. E
or Gonce more, the MINUTES
will flash.
5. Repeat step 3 to adjust the
minutes.
6. Press the MEM/CLOCK-ADJ. E
or Gagain to confirm the time.
7. During setting the clock if a key
is not pressed for 10 seconds, the
changes will be lost.
TIMER SETTING
During in the STANDBY mode.
1. Press the TIMER Sfor a few
seconds, " ON" and "00:00"
appears on the display after
confirmation of the current time
and the HOURS will flash.
See fig. 15-17.
2. Press the SKIP/TUNING/SEARCH
(UP or DOWN) L, Jor R,Hto
adjust the HOURS.
3. Press the TIMER Sagain, the
MINUTES will flash, and then
press the SKIP/TUNING /SEARCH
(UP or DOWN) L, Jor R,Hto
adjust the MINUTES.
4. Press the TIMER Sonce more to
to confirm the "TIMER ON" on the
display.
See fig. 18 and 19.
5. Then the " OFF" appears on the
display and the HOURS will flash.
See fig. 20.
6. Repeat the above steps 2 to 3, then
press the TIMER Sonce more to
confirm the "TIMER OFF" on the
display.
7. Press the SKIP/TUNING/SEARCH
(UP or DOWN) L, Jor R,Hto
select the CD or TUNER for the
confirmation of desired music on
time.
8. Press the TIMER Sagain, the
timer "VOL" flashes on screen.
Press the SKIP/TUNING/SEARCH
(UP or DOWN) L, Jor R,Hto
adjust the volume of the music.
9. Press the TIMER Sagain to
confirm the TIMER ON and TIMER
OFF, " " will appear on the
display.
10.
The unit will switch on automatically
at "TIMER ON" and start playing,
the unit will switch off automatically
at "TIMER OFF".
11.
During setting the timer if a key is
not pressed for 10 seconds, the
changes will be lost.
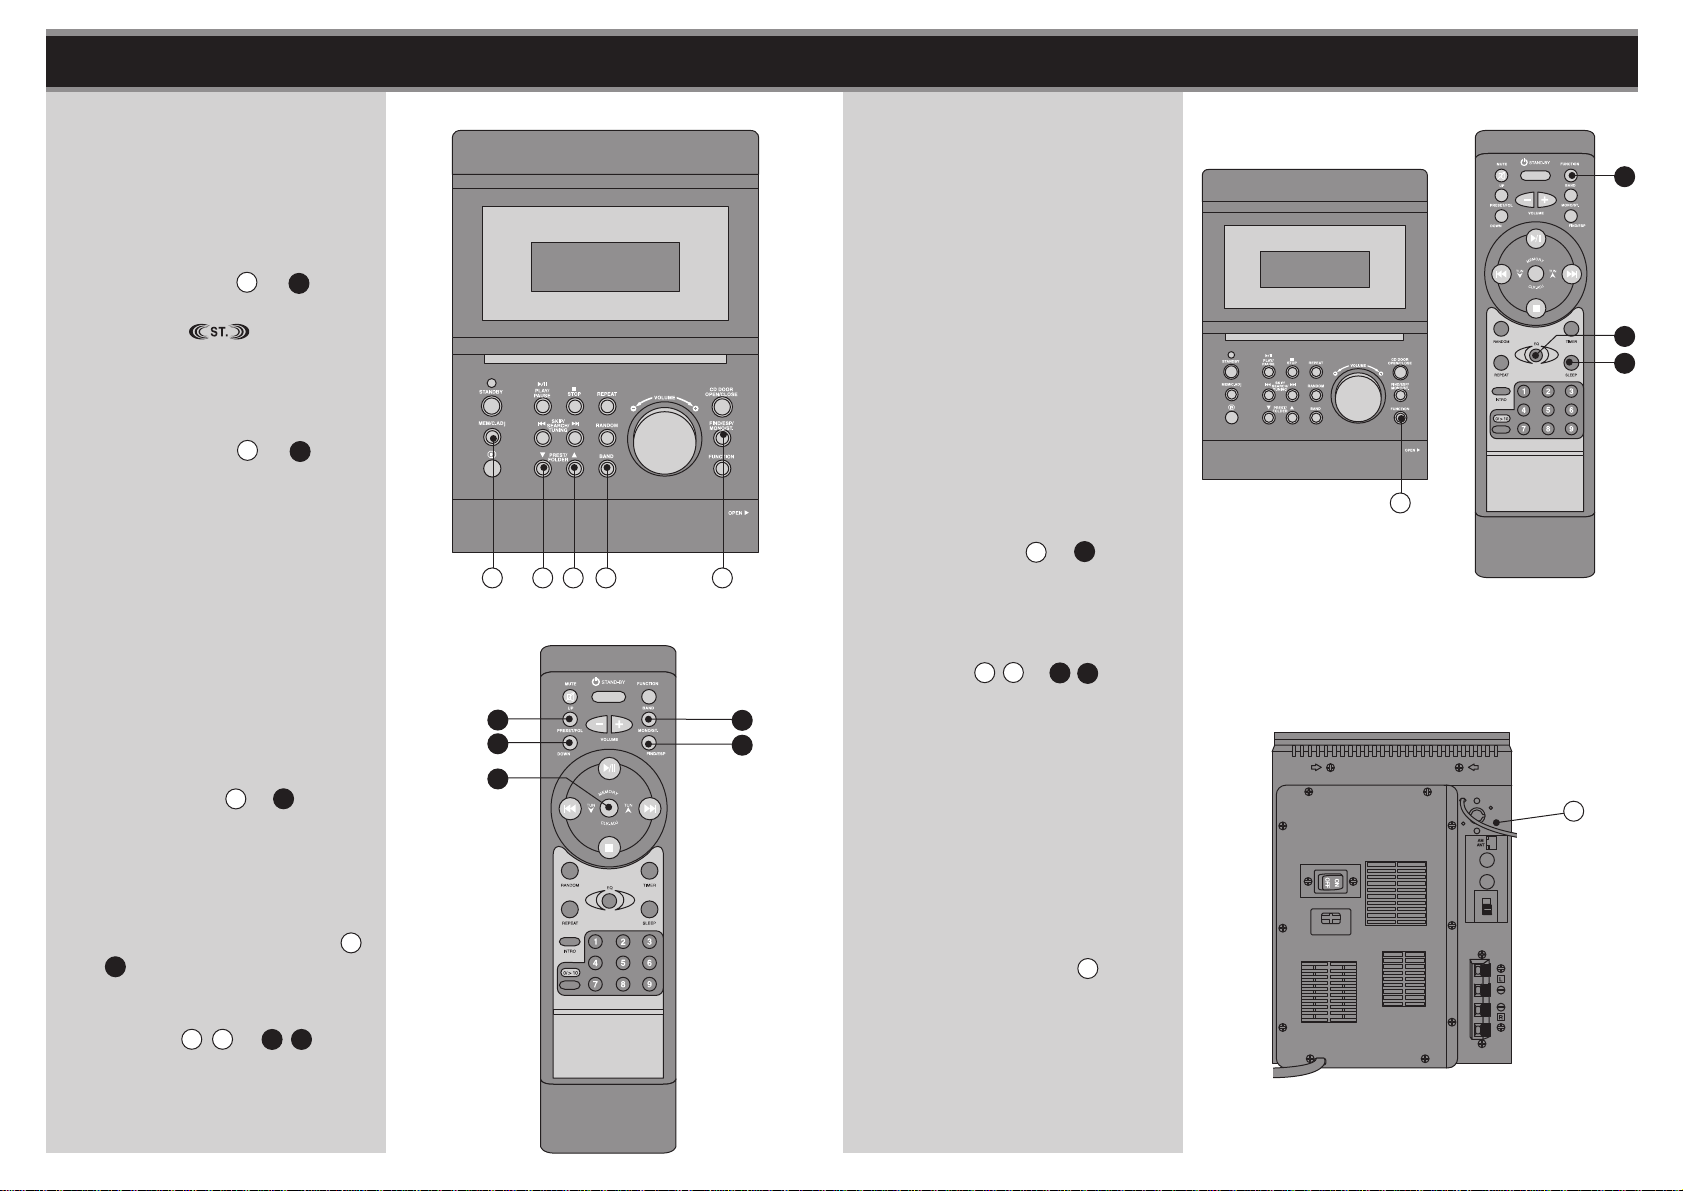
G
H R
S
H R
S
E J L J L