Whirlpool GBW3050TS User manual

INDOOR
WARMING DRAWER
Use & Care Guide
For questions about features, operation/performance,
parts, accessories or service, call: 1-800-253-1301
In Canada, for assistance, installation and service, call:
1-800-807-6777
or visit our website at...
www.whirlpool.com or www.whirlpool.ca
TIROIR-RÉCHAUD
POUR USAGE
INTÉRIEUR
Guide d’utilisatio
et d’e tretie
Au Canada, pour assistance, installation ou service composez le
1-800-807-6777
ou visitez notre site web à
www.whirlpool.ca
Table of Contents/Table des mati res .................. 2
W10162194A
Model/Modèle GBW3050TS

2
TABLE OF CONTENTS
WARMING DRAWER SAFETY ......................................................2
Electrical Requirements ...............................................................3
WARMING DRAWER USE .............................................................4
Control Knob ................................................................................4
Moist-Dry Slide Control................................................................4
Setting the Controls .....................................................................4
Warming Cookware .....................................................................5
Positioning Racks and Pans ........................................................5
WARMING DRAWER CARE ..........................................................6
Drawer Slides ...............................................................................6
Warming Drawer ..........................................................................6
General Cleaning..........................................................................6
TROUBLESHOOTING ....................................................................7
ASSISTANCE OR SERVICE...........................................................8
In the U.S.A. .................................................................................8
In Canada .....................................................................................8
WARRANTY ....................................................................................9
TABLE DES MATIÈRES
SÉCURITÉ DU TIROIR-RÉCHAUD .............................................10
Spécifications électriques ..........................................................11
UTILISATION DU TIROIR-RÉCHAUD.........................................12
Bouton de commande ...............................................................12
Curseur de réglage Moist-Dry (humide-sec)..............................12
Réglage des commandes ..........................................................12
Ustensiles de réchauffage..........................................................13
Positionnement des grilles et des ustensiles.............................13
ENTRETIEN DU TIROIR-RÉCHAUD...........................................14
Glissi res du tiroir.......................................................................14
Tiroir-réchaud .............................................................................14
Nettoyage général ......................................................................14
DÉPANNAGE.................................................................................15
ASSISTANCE OU SERVICE.........................................................15
GARANTIE.....................................................................................16
WARMING DRAWER SAFETY
You can be killed or seriously injured if you don't immediately
You can be killed or seriously injured if you don't follow
All safety messages will tell you what the potential hazard is, tell you how to reduce the chance of injury, and tell you what can
happen if the instructions are not followed.
Your safety and the safety of others are very important.
We have provided many important safety messages in this manual and on your appliance. Always read and obey all safety
messages.
This is the safety alert symbol.
This symbol alerts you to potential hazards that can kill or hurt you and others.
All safety messages will follow the safety alert symbol and either the word “ ANGER” or “WARNING.”
These words mean:
follow instructions.
instructions.
DANGER
WARNING

3
Electrical Requireme ts
It is important to make sure you have the proper electrical
connection:
A 115 Volt, 60 Hz., AC only 15- or 20-amp electrical supply,
properly grounded in accordance with the National Electrical
Code and local codes and ordinances, is required.
It is recommended that a separate circuit, serving only your
warming drawer, be provided.
Recommended Grounding Method
The warming drawer must be grounded. This warming drawer is
equipped with a power supply cord having a 3 prong grounding
plug. To minimize possible shock hazard, the cord must be
plugged into a mating, 3 prong, grounding-type wall receptacle,
grounded in accordance with the National Electrical Code and
local codes and ordinances. If mating wall receptacle is not
available, it is the personal responsibility of the customer to have
a properly grounded, 3 prong wall receptacle installed by a
qualified electrician.
SAVE THESE INSTRUCTIONS
IMPORTANT SAFETY INSTRUCTIONS
WARNING: To reduce the risk of fire, electrical shock,
injury to persons, or damage when using the warming drawer,
follow basic precautions, including the following:
■ Read all instructions.
■ Proper Installation – Be sure the warming drawer is
properly installed and grounded by a qualified technician.
■ Never Use the Warming rawer for Warming or Heating
the Room.
■ o Not Leave Children Alone – Children should not be left
alone or unattended in area where warming drawer is in
use. They should never be allowed to sit or stand on any
part of the warming drawer.
■ Wear Proper Apparel – Loose-fitting or hanging garments
should never be worn while using the warming drawer.
■ User Servicing – o not repair or replace any part of the
warming drawer unless specifically recommended in the
manual. All other servicing should be referred to a qualified
technician.
■ Storage in Warming rawer – Flammable materials should
not be stored in a warming drawer.
■ o Not Use Water on Grease Fires – Smother fire or flame
or use dry chemical or foam-type extinguisher.
■ Use Only ry Potholders – Moist or damp potholders on
hot surfaces may result in burns from steam. o not let
potholder touch hot heating elements. o not use a towel
or other bulky cloth.
■ Use Care When Opening rawer – Let hot air or steam
escape before removing or replacing food.
■ o Not Heat Unopened Food Containers – Build-up of
pressure may cause container to burst and result in injury.
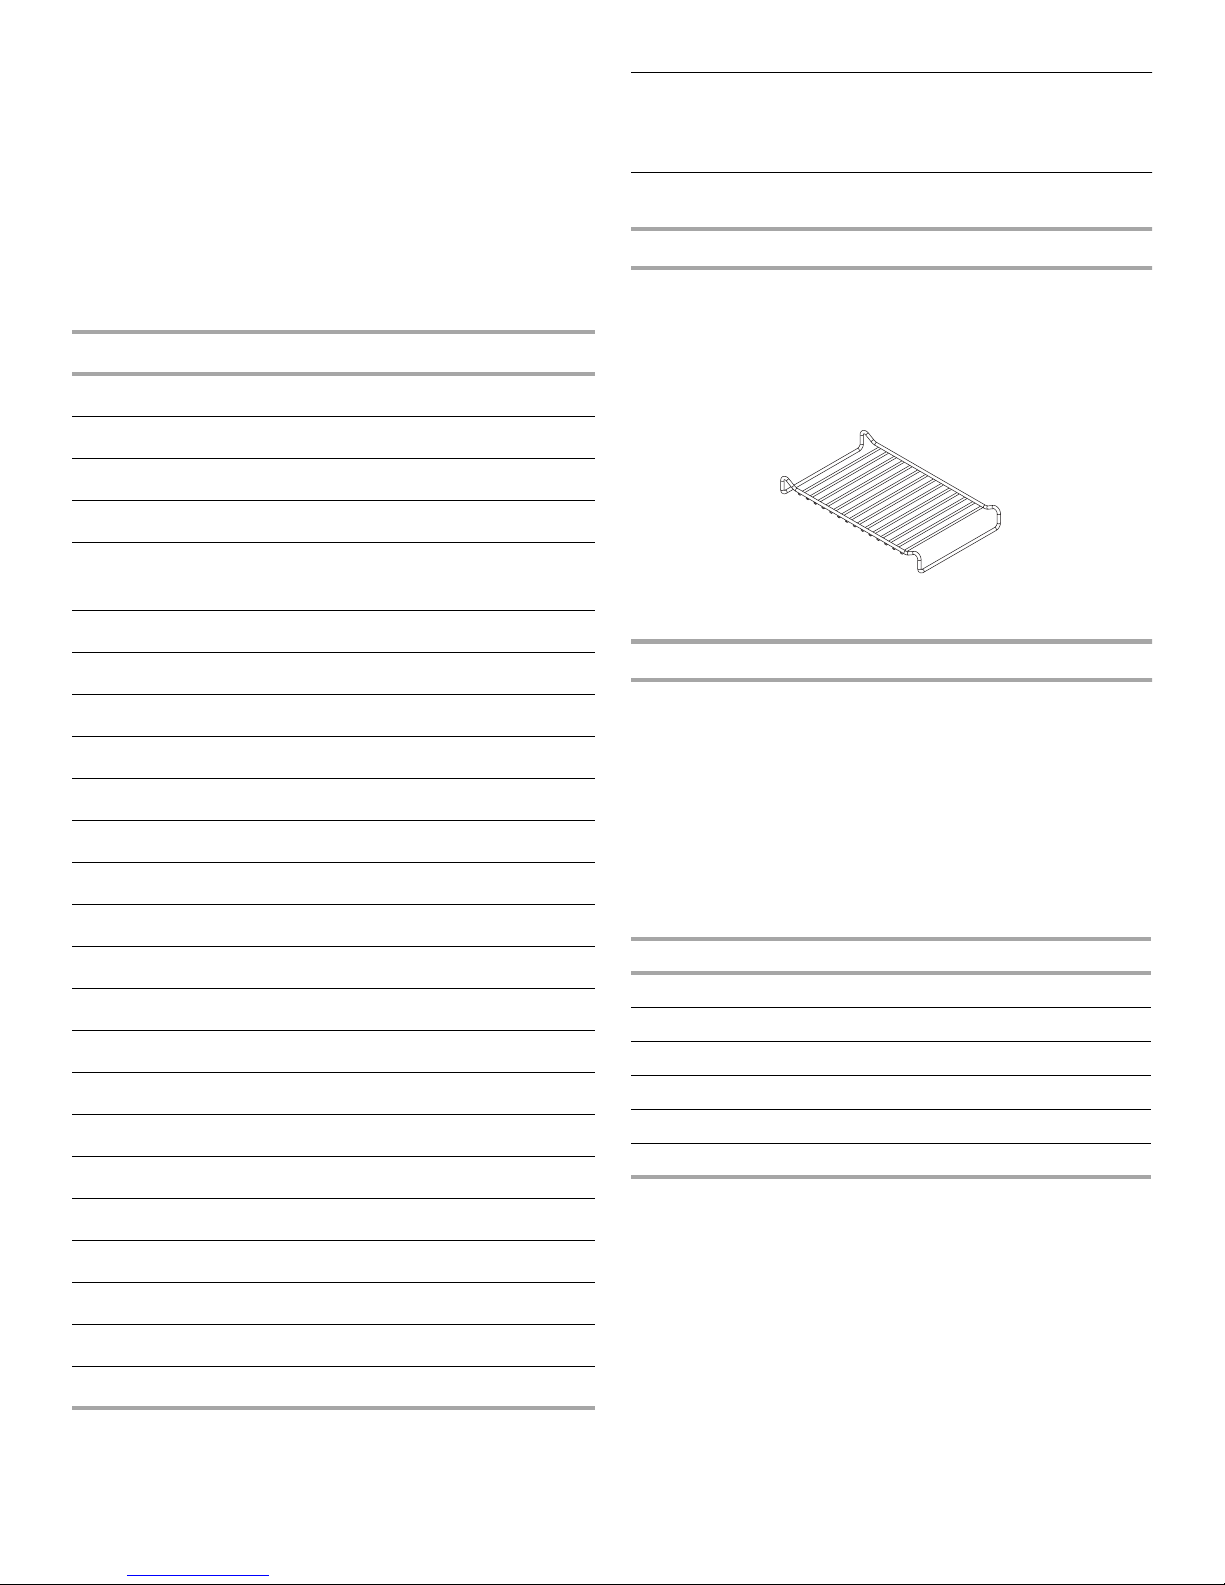
■ Placement of Warming rawer Racks – Always place
warming drawer racks in desired location while warming
drawer is cool. If rack must be moved while warming
drawer is hot, do not let potholder contact hot heating
element in warming drawer.
■ O NOT TOUCH HEATING ELEMENTS OR INTERIOR
SURFACES OF WARMING RAWER – Heating elements
may be hot even though they are dark in color. Interior
surfaces of a warming drawer become hot enough to
cause burns. uring and after use, do not touch, or let
clothing or other flammable materials contact heating
elements or interior surfaces of warming drawer until they
have had sufficient time to cool. Other surfaces of the
warming drawer may become hot enough to cause burns –
among these surfaces are warming drawer vent openings
and surfaces near these openings and warming drawer
doors.
■ o not touch hot surfaces. Use handles or knobs.
■ o not operate any appliance with a damaged cord or plug
or after the appliance malfunctions or has been damaged
in any manner. Return appliance to the nearest authorized
service facility for examination, repair or adjustment.
■ The use of accessory attachments not recommended by
the warming drawer manufacturer may cause injuries.
■ o not use warming drawer for other than intended use.
■ To reduce risk of electric shock, do not mount over a sink.
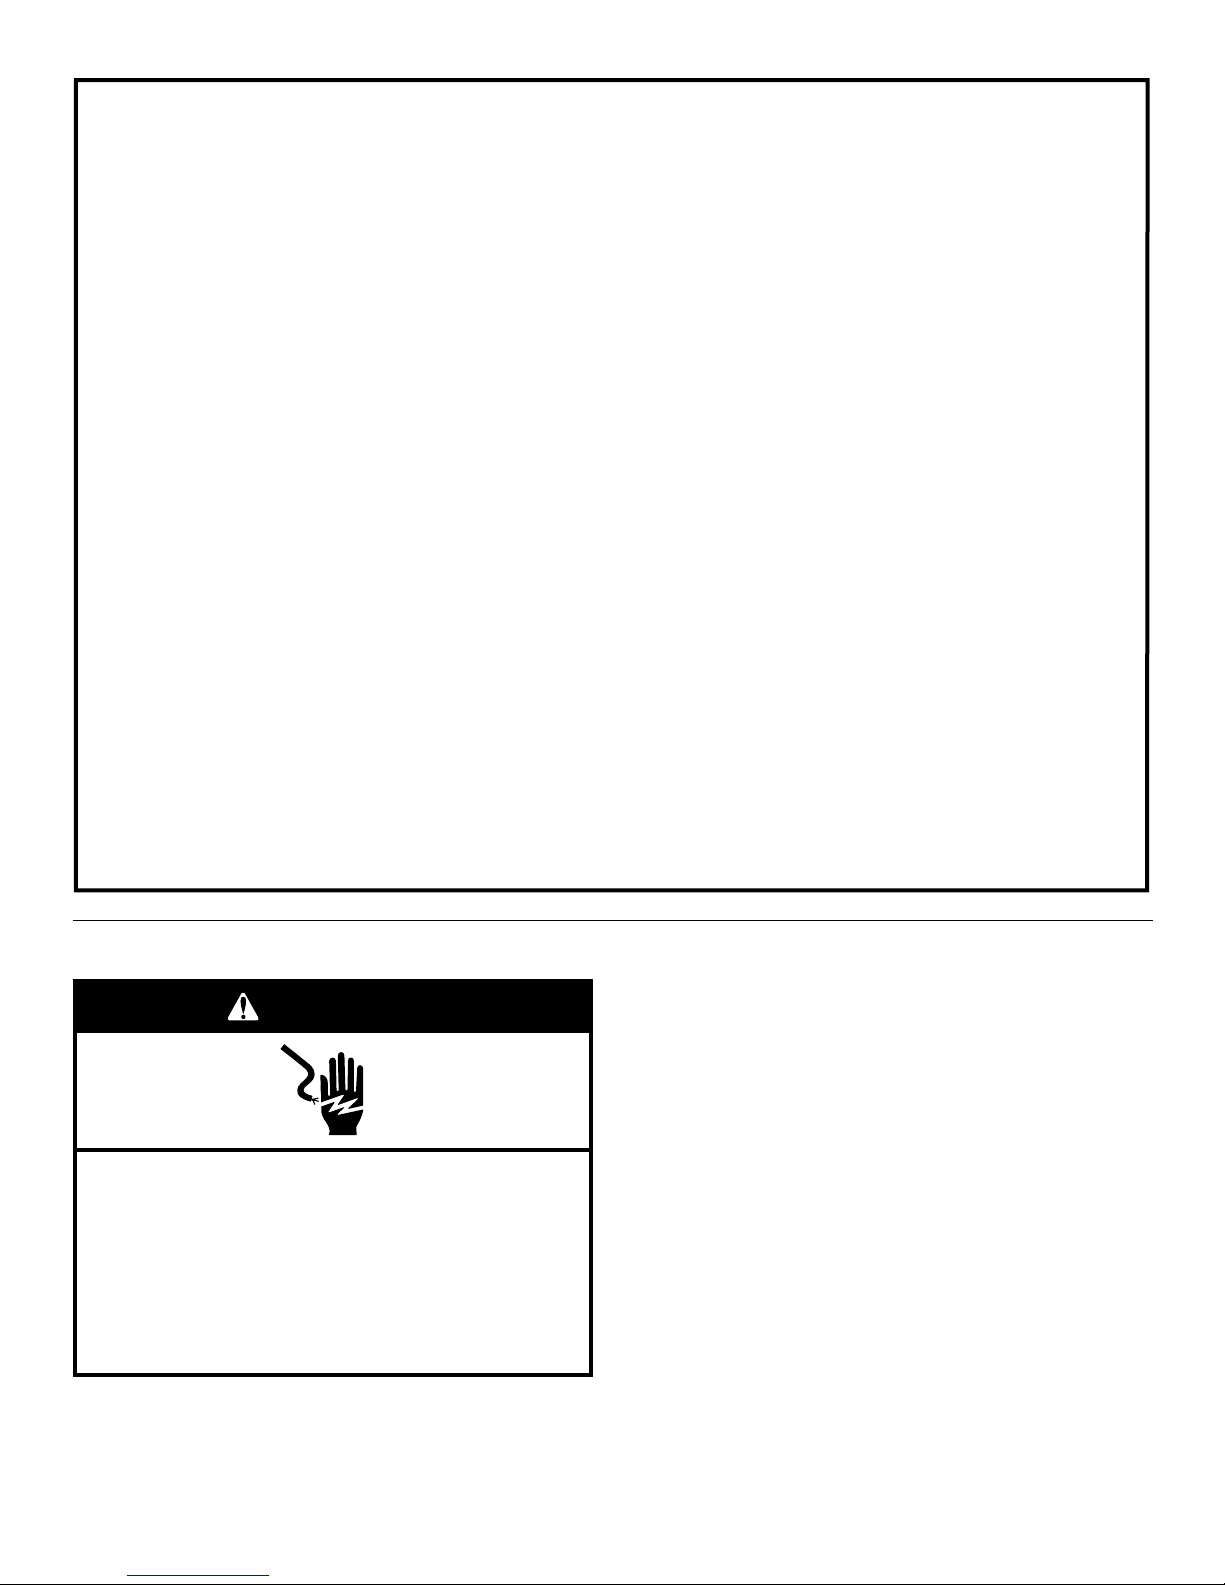
Electrical Shock Hazard
Plug into a grounded 3 prong outlet.
Do not remove ground prong.
Do not use an adapter.
Do not use an extension cord.
Failure to follow these instructions can result in death,
fire, or electrical shock.
WARNING

4
WARMING DRAWER USE
Control Panel
Co trol K ob
Push in and turn the control knob to turn on the warming drawer.
The red power indicator light will turn on and remain on while the
warming drawer is in operation.
When finished, turn the control knob to OFF to turn off the
warming drawer. When the warming drawer is turned off, the red
power indicator light will go out and the drawer will begin to cool.
The temperature is controlled by rotating the control knob to the
desired setting. The temperature setting ranges from LO to HI on
the warming drawer control to keep heated foods warm at the
selected temperatures.
Moist-Dry Slide Co trol
The Moist-Dry slide control allows you to open or close the vent
slots in the door. The MOIST setting holds moisture in, while the
DRY setting allows steam and moisture to escape from the
drawer.
NOTE: Condensation may form on inner surfaces. This is normal.
To keep foods moist, slide control to the MOIST setting, closing
the vents. Closing the vents will seal the drawer and keep hot
foods soft and moist.
To keep foods crisp, slide control to the DRY setting, opening the
vents. Opening the vents releases moisture from the drawer and
keeps hot foods crisp and dry. See the Warming Drawer
Temperature Chart in the “Setting the Controls” section.
Setti g the Co trols
The Indoor Warming Drawer is ideal for keeping hot cooked
foods at serving temperature.
Different types of food may be placed in the warming drawer at
the same time.
When keeping several types of food hot, use the setting for the
highest temperature food in the warming drawer. Place foods
requiring the highest temperature on the bottom of the drawer
and those foods requiring the lowest temperature on the elevated
rack.
For best results, do not hold foods in the warming drawer longer
than 1 hour. For smaller quantities or heat-sensitive foods, such
as eggs, do not hold longer than 30 minutes.
Food must be cooked and at serving temperature before being
placed in the warming drawer. Cover foods with a lid.
Breads, pastries, and fruit pies may be heated from room
temperature on the HI setting. Remove food from plastic bags
and place in oven-safe container.
Oven-safe serving dishes and dinner plates can be heated while
the warming drawer is preheating.
NOTE: To conserve heat, place cookware and positioning rack in
the warming drawer before preheating.
To Use:
1. Push in and turn the control knob to the desired food
warming setting: LO (low), between LO and MEDIUM
(medium low), MEDIUM, between MEDIUM and HI (medium
high) or HI (high).
NOTE: For best results, meats, seafood, poultry and any
foods containing meat, seafood or poultry should be set to
medium or higher.
2. Select MOIST or DRY setting.
3. Allow warming drawer to preheat. Recommended minimum
preheating times are 5 minutes for LO, 10 minutes for
MEDIUM, and 20 minutes for HI.
4. Push in and turn the control knob to OFF when finished.
A. Warming drawer temperature control knob
B. Red power indicator light
Power
A
B
WARNING
Food Poisoning Hazard
Do not let food sit for more than one hour before or
after cooking.
Doing so can result in food poisoning or sickness.
WARNING
Food Poisoning Hazard
Do not let food sit for more than one hour before or
after cooking.
Doing so can result in food poisoning or sickness.

5
WARMING DRAWER TEMPERATURE CHART
Different foods require different settings in order to maintain the
ideal serving temperature. Use the following chart as a guide.
You can set the drawer temperature anywhere between LO and
HI. For best results, meats, seafood and poultry should be set to
medium or higher. Cover food, if desired, to maintain heat and
moisture.
When keeping several different types of food hot, set the drawer
to the food requiring the highest temperature setting. Place
item(s) requiring the highest temperature on the bottom of the
drawer and those items requiring the lowest temperature on the
rack.
Warmi g Cookware
Use only cookware approved for oven use. Follow the cookware
manufacturer’s instructions.
Positio i g Racks a d Pa s
Positioning Racks
The 2 racks accompanying your warming drawer will fit from front
to back or side to side.
NOTE: The warming drawer must be fully opened when placing
or removing racks.
Each rack raises an oven-safe container 1¹⁄₈" (2.86 cm) from the
bottom of the drawer.
Keep the number of times the drawer is opened to a minimum in
order to maintain set temperature in the warming drawer.
Optional Pans (accessory)
The warming drawer includes 2 pan support rails designed to
hold a variety of serving pan sizes. Pan sizes that can be used are
1/6, 1/9, 1/3, 1/2, and 2/3. A full size serving pan can be placed
across the width of the 30" (76.2 cm) warming drawer.
1/2 and 1/3 size pans may be purchased from the Whirlpool
Customer eXperience Center. See the “Assistance or Service”
section to order.
Other size serving pans can be purchased at various retailers and
restaurant supply stores.
Please refer to the following chart to determine the correct
positioning of the pan support rails for each of the pan sizes.
FOOD SETTING
Bacon MEDIUM to HI - DRY
Beef, medium and well-done MEDIUM to HI - MOIST
Bread, hard rolls MEDIUM - DRY
Bread, soft rolls MEDIUM - MOIST
Casseroles - with a crisp top
Casseroles
MEDIUM - DRY
MEDIUM - MOIST
Coffee cake MEDIUM - MOIST
Cooked cereal MEDIUM to HI - MOIST
Eggs HI - MOIST
Fish, Seafood (no breading) HI - MOIST
Fish, Seafood (breaded) HI - DRY
Fried foods HI - DRY
Gravy, Cream Sauces HI - MOIST
Ham MEDIUM HI - MOIST
Hors d’oeuvres (crisp) HI - DRY
Lamb MEDIUM to HI - MOIST
Pancakes, waffles HI - DRY
Pies, single crust MEDIUM - DRY
Pies, double crust MEDIUM to LO - DRY
Pizza HI - DRY
Pork MEDIUM to HI - MOIST
Potatoes, baked MEDIUM - DRY
Potatoes, mashed MEDIUM to HI - MOIST
Poultry HI - DRY
Vegetables MEDIUM to HI - MOIST
Pan Size Pan Support Rails
Full Positions 1 and 3
2/3 Positions 1 and 3
1/2 Positions 1 and 3
1/3 Positions 1 and 3 or 1 and 2
1/6 Positions 1 and 2
1/9 Positions 1 and 2
Other manuals for GBW3050TS
1
Table of contents
Languages:
Other Whirlpool Warming Drawer manuals