manuals.online logo
Brands
  1. Home
  2. •
  3. Brands
  4. •
  5. Whirlpool
  6. •
  7. Washer Dryer
  8. •
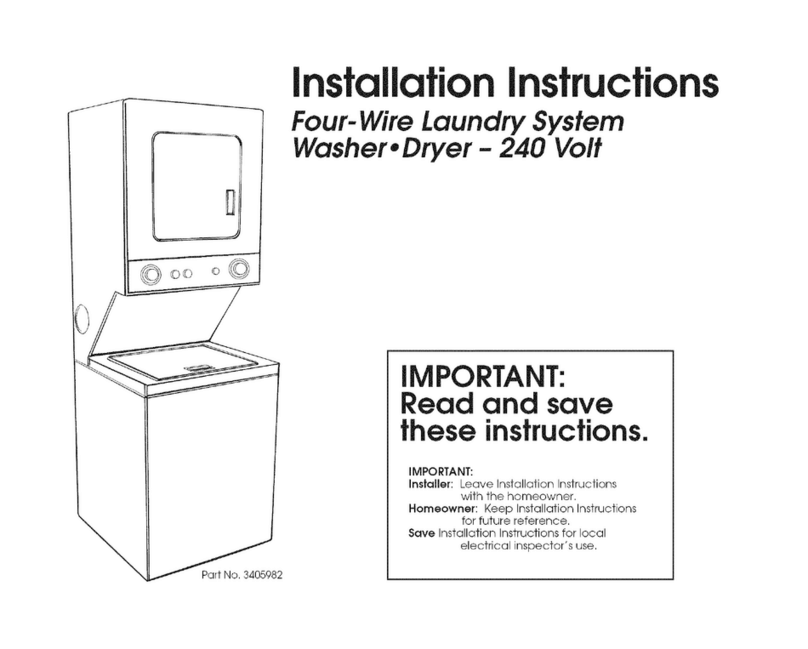
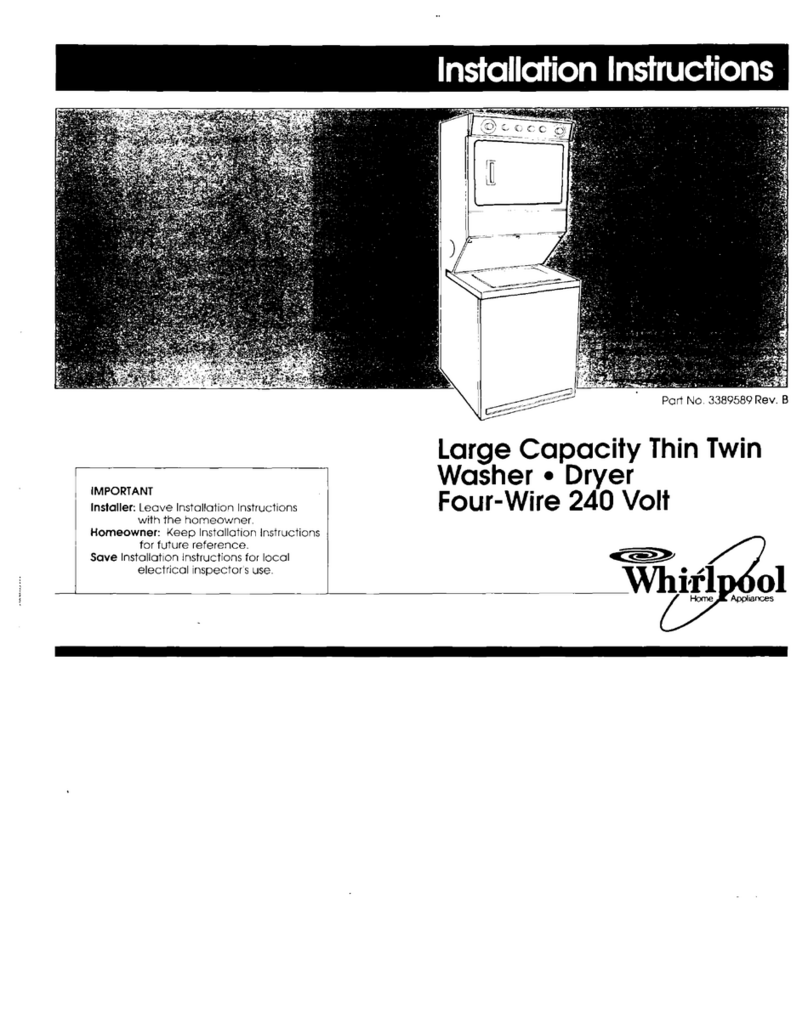
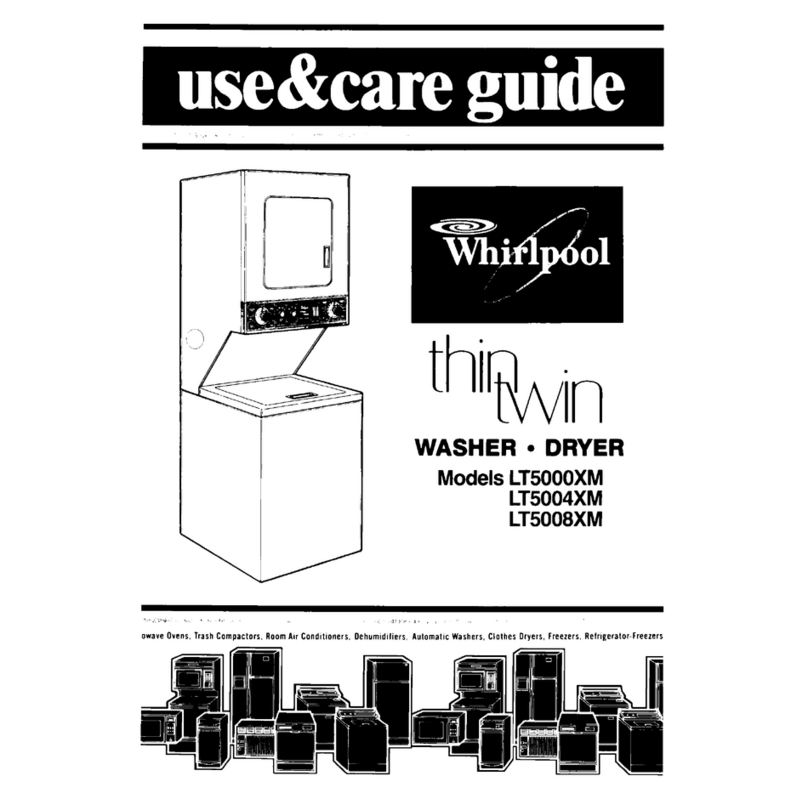
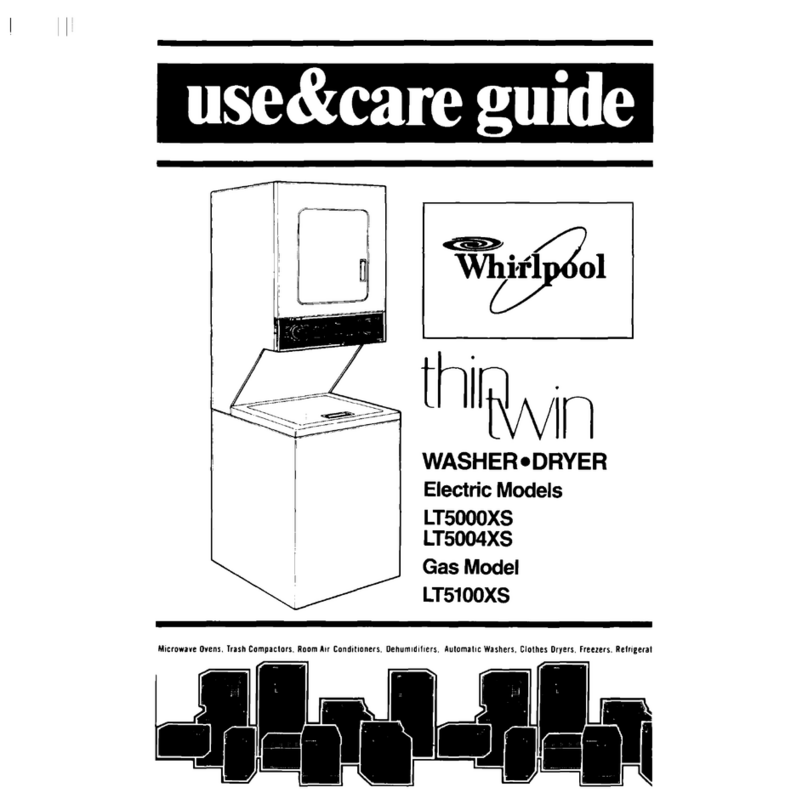
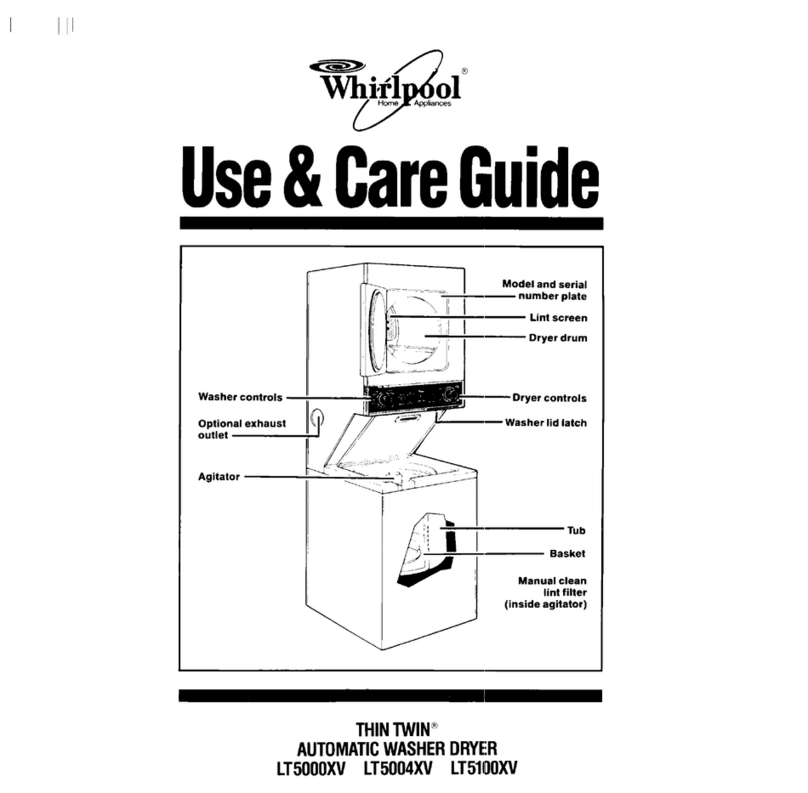
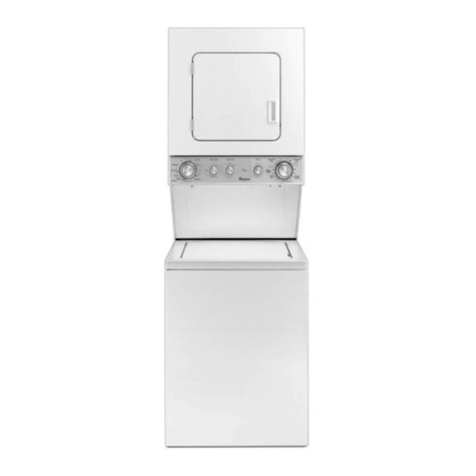
  9. Whirlpool THIN TWIN User manual

Whirlpool THIN TWIN User manual

- -
/
Home/,:E Appliances
WASHERaDRYER
120VOLT
I
Befom you start...
Mark an X across the letter or
number as You complete each step.
phllllps screwdriver
RECOMMENDED GROUNDING
MErHoD
Electrical ground Isrequired on
lhls appliance.
DO NOT. UNDER ANY
CIRCUMSTANCES, REMOVE THE
POWER SUPPLYCORD GROUND
PRONG
Foryour personal safety. this
You need these tools to install your
Whirlpool washer/dryer. Get fhem
together in one place to keep
hack of them.
B.
Check
the spot where
you’re going
to install the
wosher/dryer...proper
installation isYour responsibility
Make sure you have everyihing
necessary for proper installation.
You’ll need:
To meet code reaultemenh:
some codes keep from or limit
installation of clothes drvers in
garages, closets. mobile homes
and sleeping quarters. (Check
with your local building inspector.)
Important: observe all
gavemlng codes and
ofdlnances.
LOCAOII
Size: Must be large enough to fully
open dryer door. Fof recessed of
closet installations see Panel Efor
spacing. for product dimensions
see buck page of these
instructions.
Support: The floor must be able
to support the appliance weight
of 375 pounds.
Level Floor: Maximum floor slope
under washer/dryer 1inch
ProteCtIon from the weather:
Proper operation of dryer cycles
requires temperatures above 45°F
As some water remains in the
washer do not store or operate the
washer below 32°F For storaae
below 32°F see Laundry Guize for
“Winterizing:’
CWTION:
l
It isthe person01 responsibility of
the customer to ensure that
gasoline. paint, thinners and
other flammable moteriols are
not used or stored near the
washer/dr/er. Fumes from these
materials could result in fire or
explosion.
l
Never install the washerldryer
up against droperies or curiains
and be sure to keep ony and all
items from falling or collecting
behind the washer/dwer
l
Replace oil access or service
panels before operating
wosher/drYer
Elect&al Requirements
WARNING: Imptaper connection
of the equipment grounding
conductor can result In a risk ot
electdcal shock.
A 120volt. 60 Hz.AC only 15
ampere fused electrical supply
isrequired [time-delay fuse or
circuit breaker isrecommended],
If Your home has a circuit wired
and fused for 20 amperes, this is
preferred. If yourare installing a
new circuit, one wired and fused
for 20 amperes is recommended
It isalso recommended that a
separate circuit serving only this
appliance be provided. DO NOT
use on edension cord.
PANEL A
appliance musi be grounded
Thisawliance iseauioaed with
a power supply cord Ii&g a
J-prong grounding plug. To
minimize possible shock hazard.
the cord must be plugged into a
mating 3-prong QrcundinQ tvpe
wall r&eptacle. grounded in
accordance with the National
Electrical Code. ANSI Cl-1984 and
local codes and ordinances.
See Figure 1.If a mating Wall
receptacle isnot available. it is
the penonal responsibility and
obligation of the customer to have
o properly grounded J-prong wall
receptacle installed by a
qualified electrician.
For added personal safety. use
clomp and areen colored
cop&r QrOUndinQ wire. Connect the
Qroundlng Wire (#14 minimum] from
the exlernol grounding connector on
the bock of the appliance to 0
Supply Card
ALTERNAlE GROUNDING METHOD
DO NOT, UNDER ANY CIRCUM-
STANCES, REMOVE THEPOWER
SUPPLYCORD GROUNDING PRONG.
If changing and properly
Qroundina the wall receptacle IS
Imble or-d where local codes
permit fconsult vourelectrical
&zsciorl. a ter&ororv adapter
may be plugged into the existing
2-prong wall receptacle to mate
with the 3.prong power supply cord
THIS.HOWEVER. ISNOT
RECOMMENDED.
If this isdone. vou must connect o
separate copper grounding wire
(#I4 minimum] to 0 grounded
cold water pipe’ by means of a
clamp and then lo the external
grounding connector screw. Da
nol ground lo a gas supply pipe.
Do not connect to electrical
supply until appliance is
Exhaust requirements
Pour Inch Metal Exhaust Duel is
required [Do not use 3 inch
exhaust duct.) Melal flexible duct
may be used. Non-metallic
flexible duct isnot recommended
For Safely:
l
Do not exhaust dryer into a
chimney. furnace cold air duct.
attic or crawl space. or any
other duct used for venting.
Accumulated lint could
become a fire hazard or
moisture could cause damage.
. The exhaust system should be
cleaned periodically. ot least
every 2 Years.
. Flexible duct should never be
installed concealed in walls.
ceiling 0Tfloor
use Duct Tape
to seal all joints.
Bhausllng lhe
dryer oulslde is
recommended. If
You cannot exhaust the
V
dryer to the outside. use Exhaust
Deflector Kit LCK4500 available
from Your Whirlpool dealer.
Exhausting Me dryer thrcugh
the side isavailable wlth use
of Side Exhaust Kil LCK46M). Follow
the installation instructions with the
kit for proper exhaust instollotion.
For Moblle Home Exhaust
Requlremenis see Panel E.
Alternate Exhaust Methods. for
detailed instructions.
Metal Flexible Duct must be fully
exiended and supporled when
the dryer isin its final position. Do
NOT KINK OR CRUSHTHEDUCT.
The Exhaust Duct should end
with an exhaust hood to prevent
exhausted oir returning into dryer
The outlet of the hood must be
at least 12inches from the ground
or anYthing else that may be in
the path of the exhaust.
A 2R inch outlet Exhaust Hood
should be used with shoalsystems
only Thisoutlet creates greater
backward pressure than other
hood types.
Exhaust Hoods with magnetic
latches should not be used
The Maxlmum Length of the
exhaust system depends upon the
vpe of duct used. number of
elbows and type of exhaust hood.
The maximum length for both rigid
and flexible duct isshown in chart
Exhaust Systems longer than
specified ~111:
l
Shorten the life of the dryer.
l
Reduce the performance. such
as cause longer drying times
and increase the use of energy
. Accumulate lint.
Hot and Cold water f
within 4 feet of back of the
washer/dryer and enough
pressure (51W PSI)are required
Waler Healer should be set to
deliver 13o’F or above water to
the washer for best results.
ToDmln the Whirlpool washer.
You need either a Atk
20 gallon laundry
tub or a two inch
diameter standpipe
having a minimum
carry-away capucity of
17gallons perminute. ’
The top of the tub or the top of the
standpipe cannot be lower than
28 inches or higherthan 48 inches
from the bottom of the StandpIpe
washer. Use a floor drain
only if o siphon break
[air valve to equalize
pressure] is installed.
[A siphon break, Part No.
285320 isavailable from
Whirlpool authorized
parts distributor.]
-.
Now start...
1.
Using a %ainch socket wrench
remove the two bolts holding the
wood pallet to the bottom of the
washer/dryer.
Then remove the pallet. Remove
a11parts from me plostrc package.
Line these up next to Your tools
so each port isthere when you
need rt.
Check to see that you have these
parts
.4 legs
l
1 plastlc strap
l
1hose clamp
l
4 flat water
3
hose washers
n
Prck up a rear leveling leg: turn
ii so the flat side and pegs fit Into
the hole in the rear corner Push
the leg in until it snaps into place.
Do the same thing with the other
leveling leg in the other rear
corner.
4a
‘-a
n
When you have both rear legs in.
push up on one leg; check io see
if the other leg goes down. Check
the other leg in the same way (If
the legs don’t adjust as they’re
moved, go through step 3 again.)
took for the shipping bolts-these
are the largest bolts and have red
labels beneath the bolt heads.
Using a Yz”wrench, remove only
the two shipping bolts. Do NOT
remove the three smaller bolts as
they are part of the suspension
With one of the front legs in hand.
check the ridges for a dramond
marking. That’s how far the leg is
supposedtogointothehole
in the trrangular brace at the front
corner of the machine.
With the washer/dryer still in the
carton stand the washer/dryer
upright.
Because of the weight and JZe Of
the washer/dryer, two people are
Start to screw me front legs into
the hole bv hand. A little liquid
detergent to lubricate the screw
will help. (vou’ll need pliers
to turn the leg all the way to the
diamond.)
PANEL B
that come with your Whirlpool
washer/dryer.
10
n
Remove the
packing piece
attached to the
outside of the
washer/dryer
except the two
blocks between
washer and dryer.
between the w&her--d
and dryer until unit is in place.
You should have these pieces:
s 2 front corner pieces
l
2 rear comer oieces
. 1dryer cover
Untape and open washer lid.
Latch under the dryer will hold lrd
open. \
Remove foam shrpprng piece.
Now check to see that you have
all these shrpping pieces
Remove hoses and parts
package from rnsrde the washer
Place hoses and other pans by _
your tools Remove all parts from
the plastic package and check
to see that you have these parts:
l
2 washer hoses
l
Copper
l
drain hose grounding wire
l
grounding
clamp
Now place a flat washer into
each end of the inlet hoses.
[Check to make sure washers are
firmly seated in couplings.]
Attach hoses to faucets. Tighten
couplings by hand. then make a
final two-thirds turn with pliers.
with screw
f
Do no1 remove
the blocks
belween
the washer
and dryer
until unit
isin place.
-.
-26.
19.
I
Toexhaust the dryer straight from
back of the washer/dryer unit or
to either side, determine if any
additlonal exhaust duct isneeded
[see exhaust requirements.
Panel A]. Toexhaust the dryer
inside see Alternate Exhaust
Methods, Panel E.Connect exhaust
duct to exhaust hood.
Washer fill hoses. drain hose and
electrical mrd can be connected
before movina the washeridrver
into fmal posicon if work spa&
permits. [For installotlon in
recessed, closet or mobile home
locations see Alternate
Installations. Panel E.)
Move the
washer/dryer
to itspermanent
location. Put
drain hose in tub
or standpipe and
secure according to
Alternate Methods of
Ribbed Drain Hose, Panel E.
Plug the electrical cord into the
grounded outlet. ,
a carpenter’s level and place it
on the top of the washer, firstside
to side. then front to back. Ifyou
do not have a level take your
Whirlpool Operating Instructions:
turn to the oaae where the
controls a& 6own. Following
those directions, [open washer lid]
fill the water basket to anv aiven
row of holes, then stop the washer
Check to see if the water meets
the holes all the wav around the
basket. If it does not: screw
the front feet of the washer up or
down to adiust. Then tilt the
machine fo’ward and the back
legs will self-adjust.
I
1 Use duct tap-e to seal all Joints.
B
128
, With the washel
control in the
1 “OFF”position.tumon the water
faucets and check for leaks.
Tighten couplings if necessary.
Also check power cord to make
sure it isnot pinched
Attach the hose from the ho
water faucet to the bottom
valve opening (marked “H”
the washer. The cold water
attaches to the top inlet valve
opening [marked “C”]. Tighten
couplings by hand. then make an
additional two-thirds turn with
pliers.
29.
Replace access panel. Be sure to
tighten both screws.
Remove plug from
Place the hose clamp on the
drain connector. Next, take the
drain hose and firmly push the
coupling end over the connector.
Using pliers, open the clamp on
the connector and slide it up and
over the drain hose. Release and
check for good fit. Move the
washer close to itsfinal position.
Putthe “hook”end of the drain
hose in the laundry tub or
/
0
4
--
If the drain hose istoo long -
disconnect the drain hose.
Remove the coupling and clamp
from the hose. Estimate how lona
the drain hose should be. Cut th;
flexible end of the hose to the
correct lenath. tDo not cut the
hook&a& end of the drain
hose.) Pushand twist the coupling
securely onto the dram hose. (Vou
$ou!d be able to feel the top of
me araln nose
TtVOugh the
couplmg.) Slide the clamp over
the coupling and hose. Re-install
the drain hose as described in
Take out two blocks
between washer and
dryer and place with
other shipping pieces.
Check to see if you have all of
these shipping pieces removed
from the washet/drver. Ifyou don’t
remove all the shipping materials,
the washerjdrver mav “walk”
away from its iocatio;l...it3
happened! If you are missing a
shipping piece go back through
the steps to see what you skipped
bV unscrewing 2 phillips
head screws located
at the top of the panel.
Set oanel and screws
siep 21 aside
Now check to see that all of the
parts you removed from the
inStallatiOn pah bag in step 2 are
now Installed rnthe washer/dryer,
IfYOUstill have an extra aart.
~6
back through the steps to see
what you skrpped
phllllps screwdriver
AItemate installations:
recessed or cIoset area
locations.
The following are mrnimum
installatron spacings and
openings (In inches] that you
should allow. For easier installatron
and service, consider additional
spacing.
L
;
Dryer
Check to make sure you have all
the 1001syou started with
33
Take a few mrnutes to
m read the Use and Core
Guide so you can get the best use
from Your new washer/dryer. Now start
the washer and allow it to complete
one cycle [such as the permanent
Remove tape from dryer door
Open door and remove the tape
that holds the lentscreen rnplace
Check to be sure lentscreen is
In Itsproper positron. Wipe out
drum Start dryer ond allow itto
complete a cycle to make sure
the dryer isworking properly
35
Finally. save all
n kterature and keep
with the washer/dryer. Save all
shipping materrals for reshipping
/Congiatu.lations!\
I
You hove just finlshed installing
Your new whirlpool I
Washer
4
f
L!l
G ’ JcSide View
closet Door
LL
J
-I
H
0
f
I
t
Front View
Minlmum Installation Soacina
When the washer/dryer is
Installed in other than the
recessed and closet type of
Installation shown, minlmum
dIr&~~~dlcated must
To prevent large amounts of
lint and moisture from
occumulatlng and to malntaln
drying efftciency, this appliance
must be exhausted outdoors.
Non-exhausted Installotlon -
only rear exhaust positlon
permItted. Exhaust Deflector Kit
LCK4500 musf be used.
AItemate methods
of securing ribbed
pIastic drain hose
A
Put the bent end ’
n of the ribbed P
plastic drain hose ’
in the tuborstandpipe.
Figure 3
B
The dram hose
m must be held
securely with the
Stmp
plastic strap provided
so it does not come
out of the tub
or stondpipe _
durrng use
C
W
n ::
and secure as shown in
Figures 3 Standpipe. 4 Tub,
5 In-wall
slandprpe Pi-b
cc
Figure 5 ,./g
Strap*
D
Ifthe drain hose cannot
n be strapped rnplace, it
must be cut exactly to
length so the bent end ISheld
tightly over the edge of the tub or
standpipe [see Figure 6.)
Hose must be cut
exactly to length
SOthe bent end
Isheld tightly
over the edge
of the tub
orslandplpe.
BESURETHEHOSEIS NOT lWlSTED
CR KINKED AND IS SECURELY
IN PlACE
AItemate exhaust
methods.
A
There are exhaust
n kttsavailable that allow
vou to direct filtered
exhaust dir inside to conserve
energY during winter months. You
may use these devrces with
Whrrlpool dryers providing their
use does not violate natronol or
locot codes, and the device does
not restrrct exhaust air flow, If You
use one of these kits, be aware
that excessrve moisture rnthe
home can cause manv oroblems
and that you may see an Increase
in the time required to dry a load.
Also. YOUmust maintarn the kit
rnstallbtion properly to avoid
excessive lint build-up, which can
affect the dryer’s performance.
B
For mobile home
’ rnstallation. the dryer
must have an outside
exhaust If you exhaust the dryer
through the floor and the area
under your mobile home is
enclosed. the exhaust system
must terminate outside the
enclosed area Extension beyond
the enclosure will prevent lint
and moisture build-up under the
mobile home. See Figure 7.
Mobile home lnstallotlon
PANEL E
I- 215/k-
I
7
A
I
27%
I
----
32%’
Port No. 697084
38
7
0
\
\
- 24”-
I
C
v
-
I
c
DEPTH
_---
_-~-
Prepared by Whirlpool Corporatm. Benion Harbor. Michigan 49022
27%’ DRAIN .
~%”
I-
t
OUTLET
I I
38” EXHAUST
I
2aY8/a”COLD
hnted I” US A

Other manuals for THIN TWIN

4

Other Whirlpool Washer Dryer manuals

Whirlpool LTE5243DQ8 User manual

Whirlpool

Whirlpool LTE5243DQ8 User manual

Whirlpool AWG 995 User manual

Whirlpool

Whirlpool AWG 995 User manual

Whirlpool Combination WASHER / DRYER User manual

Whirlpool

Whirlpool Combination WASHER / DRYER User manual

Whirlpool AWF74141 User manual

Whirlpool

Whirlpool AWF74141 User manual

Whirlpool THIN TWIN YLTE5243DQ3 User manual

Whirlpool

Whirlpool THIN TWIN YLTE5243DQ3 User manual

Whirlpool 8572777 User manual

Whirlpool

Whirlpool 8572777 User manual

Whirlpool Thin Twin LT5000XV User manual

Whirlpool

Whirlpool Thin Twin LT5000XV User manual

Whirlpool THIN TWIN LTG6234D Service manual

Whirlpool

Whirlpool THIN TWIN LTG6234D Service manual

Whirlpool LTE5243DQ3 Use and maintenance manual

Whirlpool

Whirlpool LTE5243DQ3 Use and maintenance manual

Whirlpool 3396314 Installation instructions

Whirlpool

Whirlpool 3396314 Installation instructions

Whirlpool WGT3300SQ0 User manual

Whirlpool

Whirlpool WGT3300SQ0 User manual

Whirlpool LTE5243DQ9 User manual

Whirlpool

Whirlpool LTE5243DQ9 User manual

Whirlpool RAB3132D Installation instructions

Whirlpool

Whirlpool RAB3132D Installation instructions

Whirlpool THIN TWIN YLTE5243DQ2 User manual

Whirlpool

Whirlpool THIN TWIN YLTE5243DQ2 User manual

Whirlpool WGTLV27HW User manual

Whirlpool

Whirlpool WGTLV27HW User manual

Whirlpool WFCR 75230 Installation guide

Whirlpool

Whirlpool WFCR 75230 Installation guide

Whirlpool WFCR 86430 Installation guide

Whirlpool

Whirlpool WFCR 86430 Installation guide

Whirlpool WFC 3C26 User manual

Whirlpool

Whirlpool WFC 3C26 User manual

Whirlpool THIN TWIN User manual

Whirlpool

Whirlpool THIN TWIN User manual

Whirlpool YLTE5243DQ6 User manual

Whirlpool

Whirlpool YLTE5243DQ6 User manual

Whirlpool CGT9000GQ User manual

Whirlpool

Whirlpool CGT9000GQ User manual

Whirlpool YLTE5243DQB User manual

Whirlpool

Whirlpool YLTE5243DQB User manual

Whirlpool 3406876 User manual

Whirlpool

Whirlpool 3406876 User manual

Whirlpool WET4027EW1 User manual

Whirlpool

Whirlpool WET4027EW1 User manual

Popular Washer Dryer manuals by other brands

Smeg WDF6127-1 instruction manual

Smeg

Smeg WDF6127-1 instruction manual

Indesit WDG 1295 Instructions for installation and use

Indesit

Indesit WDG 1295 Instructions for installation and use

Zanussi WD 802 user manual

Zanussi

Zanussi WD 802 user manual

Frigidaire FFLE39C1QW Product dimensions

Frigidaire

Frigidaire FFLE39C1QW Product dimensions

Zanussi ZKG7145 user manual

Zanussi

Zanussi ZKG7145 user manual

EAS Electric Steam Care EMWY1075V instruction manual

EAS Electric

EAS Electric Steam Care EMWY1075V instruction manual

LG F1696SWDE owner's manual

LG

LG F1696SWDE owner's manual

Hotpoint Ultima 6kg Ultima Instructions for installation and use

Hotpoint

Hotpoint Ultima 6kg Ultima Instructions for installation and use

Electrolux WD41A84160 user manual

Electrolux

Electrolux WD41A84160 user manual

AEG LAVAMAT 16810 Instruction booklet

AEG

AEG LAVAMAT 16810 Instruction booklet

AEG Electrolux LAVAMAT TURBO 14820 Instruction booklet

AEG Electrolux

AEG Electrolux LAVAMAT TURBO 14820 Instruction booklet

Haier HWD1050AN1 user manual

Haier

Haier HWD1050AN1 user manual

Firenzi FWD 1200 Instruction booklet

Firenzi

Firenzi FWD 1200 Instruction booklet

Kuppersbusch IKE3280-1-2T user manual

Kuppersbusch

Kuppersbusch IKE3280-1-2T user manual

Beko BWD7541W user manual

Beko

Beko BWD7541W user manual

Bosch WDU28 GB Series Instruction manual and installation instructions

Bosch

Bosch WDU28 GB Series Instruction manual and installation instructions

Hotpoint Ariston FDD 9640 Instructions for use

Hotpoint Ariston

Hotpoint Ariston FDD 9640 Instructions for use

LG WM3455H Series User's guide & installation instructions

LG

LG WM3455H Series User's guide & installation instructions

manuals.online logo
manuals.online logoBrands
  • About & Mission
  • Contact us
  • Privacy Policy
  • Terms and Conditions

Copyright 2025 Manuals.Online. All Rights Reserved.