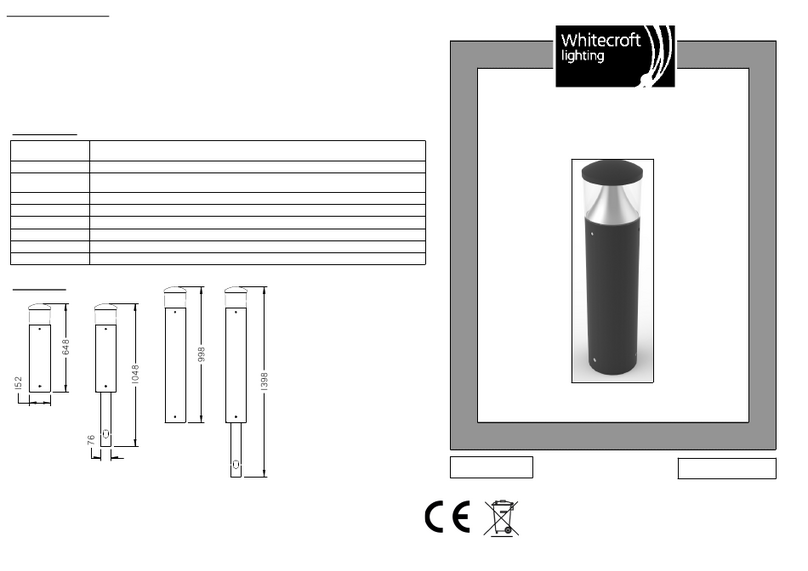
BOLLARD INSTALLATION FLANGE MOUNT
Page - 3
Page - 2
BOLLARD INSTALLATION ROOT MOUNT
2.Feed armoured cable through cut out ensuring
it is long enough to connect to the head of the
bollard. Support root mount such that the lip is
10mm above ground level as shown.
3.Fill hole with concrete that sets over a 2 day
time interval. Do not use quic setting concrete.
Chec the final level is correct before
concreting. Ensure body can be bolted to root
mount. 4.Pass the bollard tube over the root mount / gear
tray assembly (ta e care not to damage any of the
gear tray wiring). Secure the bollard tube with (x4)
M10 CSK screws. Attach the flying earth lead from
the bollard top to the spade on the gear tray.
Carefully fit the bollard top. Align the 3 fixing holes
in the top with the bollard tube. Fit the (x3) M6 x
40 CSK fixing screws and tighten.
Note: Bollard must not be installed where standing water is or can be present
Note: Bollard must not be installed where standing water is or can be present
1.Dig a hole deep enough to
ensure the bollard is adequately
supported. Suggested 400mm
Minimum.
1.Dig a hole at least 500mm deep
2.Armoured cable must be used
and left long enough to connect
to the head.
3.Fill hole with concrete that sets over a
2 day time interval. Do not use quic
setting concrete. If using “J” Bolts, set
them in concrete to align with flange
mount.
4.The flange mounted bollard can
be fixed to the ground by either
Rawl-bolts or “J” bolts.
A.Rawl-Bolts ( Not supplied):
Minimum diameter 10mm
B.“J” bolts (Not supplied): Set the
“J” bolts and suitable armoured
supply cable (ensure there is
sufficient cable to reach the top of
the bollard) in the concrete with
the bolts on centres defined by the
corners a of 155 x 155 square.
Leave an exposed length of bolt of
25mm from the finished surface.
When the concete has cured fit the
bollard tube on the exposed bolts.
Tighten down the stainless steel
nuts and washers(Not Supplied)
5.Wire up the supply cable to the three way terminal bloc .
Fix the gear tray to the bollard tube using the (x2) M5 x 10
CSK head screws. Attach the flying earth lead from the
bollard top to the spade on the bollard tube.
Align the 3 fixing holes in the top with the bollard tube. Fit
the (x3) M6x40 CSK fixing screws and tighten ensuring that
the each tag is connected.
Maximum18mm
O


