© by WilTec Wildanger Technik GmbH Item 61956 Page 5
http://www.WilTec.de
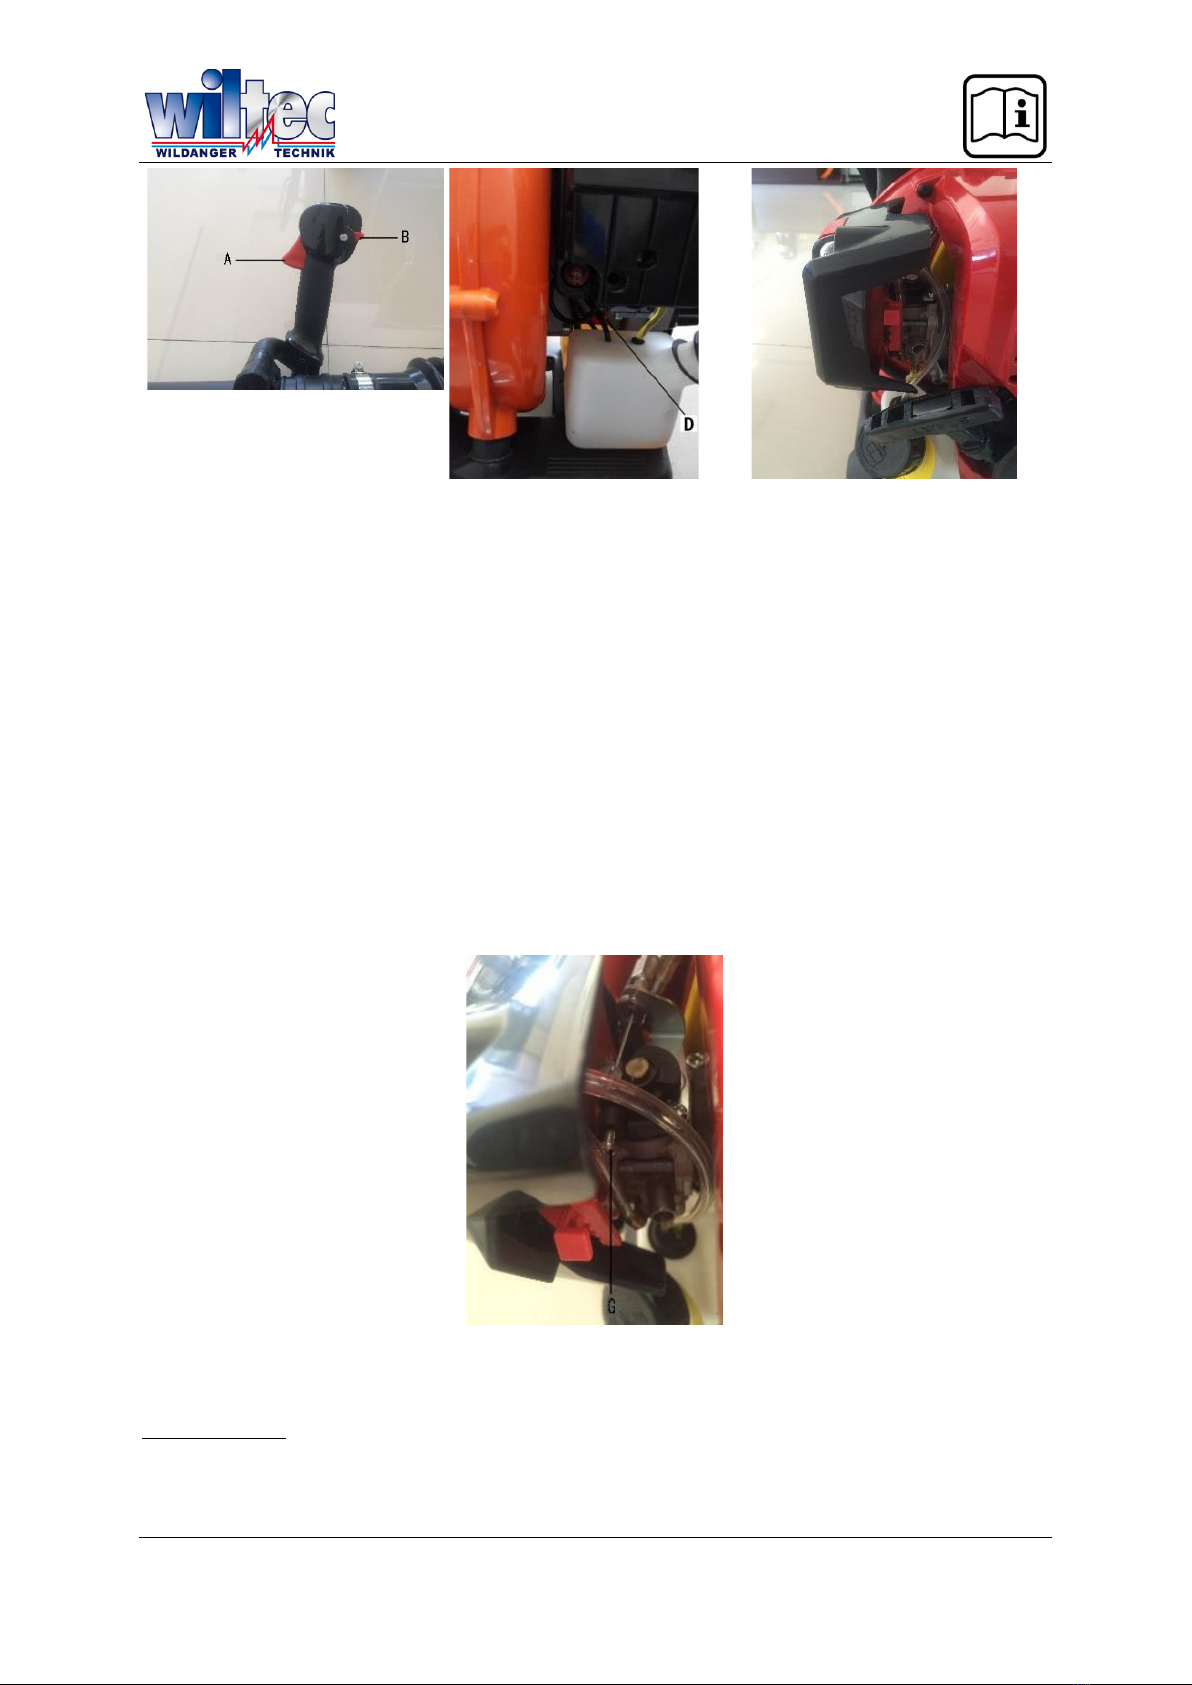
http://www.aoyue.eu 12 2021-1
http://www.teichtip.de
•Avoid dangerous environments. Do not work in unventilated rooms or in places where explosive
gases or carbon monoxide can develop.
•Do not work on unstable surfaces such as ladders, trees, steep slopes, roofs, etc. Make sure
that you keep balance and stand securely at all times.
•Hold the device so that leaves blown together are not directed towards persons, animals, glass,
and solid objects such as trees, cars, walls, etc. The air discharge pressure can throw up stones,
dirt, or sticks and thereby injure people and animals, break glass, or cause other damage.
•Only operate the device with the suitable accessories. Always mount the blowpipes. Switch off
the device before placing it on the ground, before fixing accessories, or removing them.
•The blower opening and tubes must be checked regularly. The engine must be switched off and
the spark plug connector removed. Keep vents and exhaust pipes free of debris to ensure
proper airflow.
•Never use the device to spray chemicals, fertilisers, or other substances that may contain toxic
substances.
•To prevent fire spreading, do not use the device near burning branches or bushes, chimneys,
barbecue areas, ashtrays, etc.
•Only use the device according to the intended use defined in this manual.
•Tighten all screws and fixing elements and keep the device in good operating condition. Never
operate it if it has been adjusted incorrectly or mounted incompletely and insecurely.
•Always keep the handles clean, dry, and free from oil and grease.
•Operate the device at appropriate times of the day – neither too early in the morning nor too late
in the evening – to avoid disturbing persons. Refer to the times listed in local ordinances. Work-
ing hours between 9 a.m. and 5 p.m. from Monday to Saturday are usually advisable.
•To reduce the noise level, operate the device at the lowest possible throttle speed to get the job
done.
•Never place the hot engine near flammable material.
Safety of maintenance
•Any maintenance work not listed in this manual should be performed by a qualified person.
•The spark plug cap must be removed before servicing the device. This is not necessary for
carburettor adjustments.
•Use only recommended spare parts. The use of other spare parts can invalidate your warranty
and damage your device.
•Empty the fuel tank if the device is not used for a long time. Use the remaining fuel in the
carburettor by starting the engine and running it until it stops by itself.
•Do not store the device or fuel in a closed area where fuel exhaust gases can come into contact
with sparks, open flames (e.g., from water heaters), electric motors or switches, stoves, etc.
•Keep it in a dry place and out of children’s reach.
•Secure the device during transport so that it cannot skid, tip over, or fall down.
Residual risks
Even if the device is properly operated, it is not possible to eliminate all residual risks. The following
risks can arise because of the construction of the device:
•damages to lungs if the user does not wear an effective protective mask.
•damages to hearing if the user does not wear an effective protection.
•damages caused by vibrations if the user operates the device during a long time, if it is not
handled correctly, or if it is maintained improperly.
Warning: This machine generates an electromagnetic field when in operation. This field can affect the
functioning of active or passive medical implants under certain conditions. To avoid the risk of serious
injury or death, persons with a medical implant should consult their doctor and/or the manufacturer of
the implant before using this machine.
Warning: Never remove, modify, or add components of or to the device. Otherwise, injuries and/or
damages to the device might follow, and the manufacturer’s warranty will be voided.