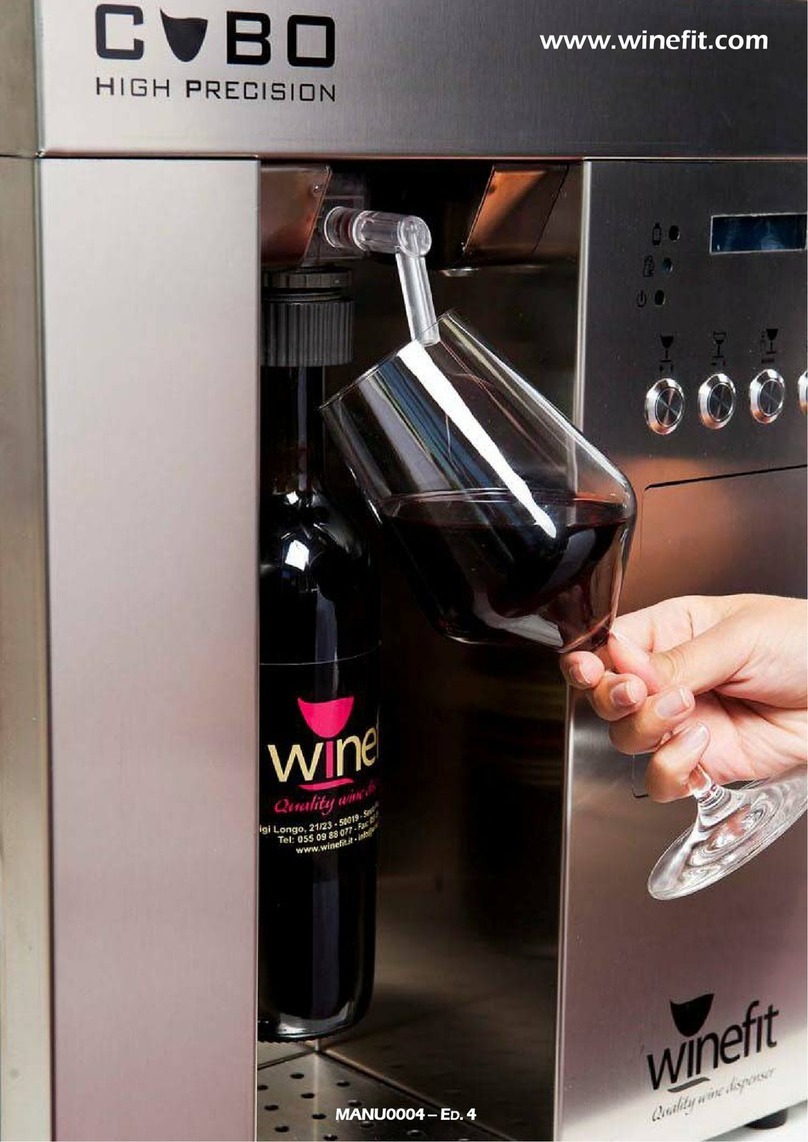
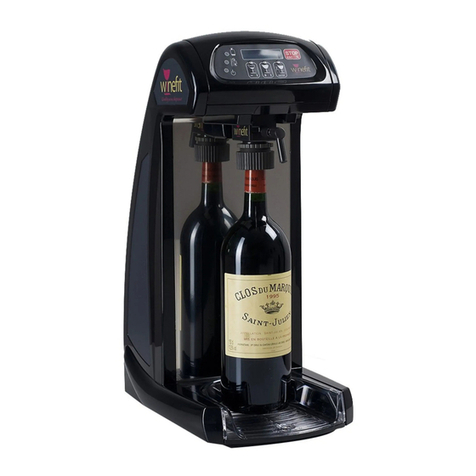
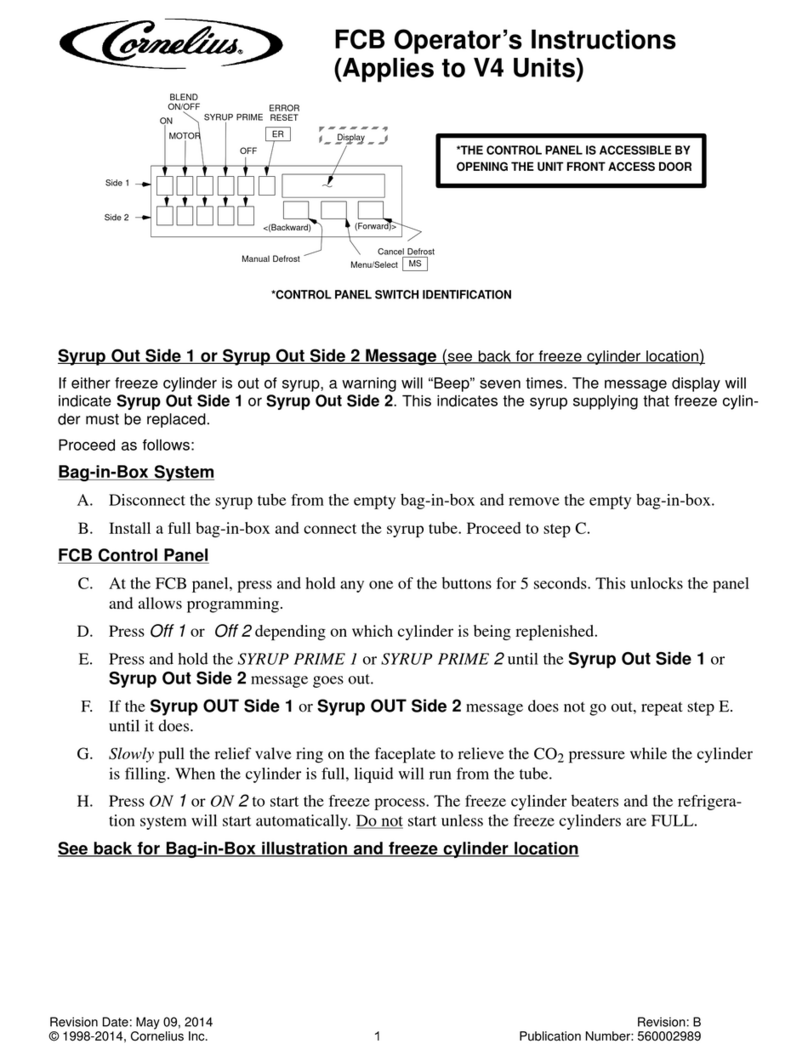
winefit EVO User manual

ENGLISH
\\\
1
Wine dispenser
User manual
Winefit EVO

ENGLISH
2
SAFETY REGULATIONS
The machine can only be used correctly after having read this manual which also contains
the basic safety rules set out below:
SAFETY INFORMATION
•This appliance is intended for use in domestic and similar applications such as:
•The kitchen area for the staff of shops, offices and other working environments;
oFarms and clients in hotels, motels and other residential environments;
oThe bed and breakfast;
oCatering services and similar applications not for retail
•The appliance may be used by children aged not less than 8 years and by persons with
reduced physical, sensory or mental capacities, or lack of experience or knowledge,
provided they are supervised or after they have received instructions regarding the safe
use of the device and the understanding of the dangers inherent to it. Children should
not play with the appliance. The cleaning and maintenance intended to be carried out
by the user must not be carried out by children without Supervision.
•This appliance contains a small amount of 50g of propane R290, a natural gas with
high environmental compatibility which, however, is also combustible. When
transporting and installing the appliance, be careful not to damage any part of the
refrigeration circuit.
•Warning; Fire hazard/flammable materials. Important symbols and precautions for
safety:
•If water is detected inside the appliance, unplug the power cord and contact a
Dealer's service centre, failure to comply with this warning may result in electric
shock, fire, or problems with the product or injury.
•The appliance must be grounded properly.
•Never connect the power cord to an improperly grounded outlet and make sure it
complies with local and national regulations.
•If the power cord is damaged, request a replacement from the manufacturer, a
service technician, or a qualified technician to avoid potential hazards.
•Do not store explosive substances in this appliance, such as aerosol cans
with flammable propellant.
•Do not use mechanical devices or other means to accelerate the defrosting
process other than those recommended by the manufacturer.
•Do not damage the refrigerant circuit.
•Do not use electrical appliances inside food storage compartments if these
appliances are not of the type recommended by the manufacturer.
ENGLISH
\\\
3
IMPORTANT WARNING SIGNS FOR INSTALLATION
•Do not place this appliance in direct sunlight or expose it to heat emitted from
stoves, radiators or other household appliances.
•Do not install this appliance in damp, greasy or dusty places or expose it to direct
sunlight or water (raindrops)
•Do not connect multiple devices in a single multi-power outlet. This appliance
should always be connected to a single electrical outlet with a nominal voltage
corresponding to that indicated on the Nameplate. This makes it possible to obtain
optimum performance and also avoids the overload of the domestic electrical
system which, in case of overheating of the electrical wires, could cause fire.
•Install the appliance on a flat surface that can sustain its weight. Failure to comply
with this precaution may result in vibration, displacement, noise or Malfunction.
•Do not install the appliance near a heater or inflammable material.
•Do not install this unit in a location where there may be gas leaks, this may cause
electrical shock or fire.
•The appliance must not be exposed to rain.
•Keep the ventilation openings in the housing of the appliance or in the recessed
structure free of obstructions.
•NOTE: to obtain an electronic version of the user manual, please forward the

ENGLISH
4
INTRODUCTORY GUIDE TO THE INSTALLATION OF THE APPLIANCE
•To avoid hazards due to the instability of the appliance, this must be fixed
according to the Instructions.
•Leave sufficient space to install the appliance on a flat surface.
•Follow the minimum distances required to install the device in a dedicated bin.
Refer to the following dimensions in the Image:
•If the device is inserted in a closed place, install an electrically operated fan to
facilitate the extraction of hot air from the rear compartment of the appliance, the
minimum required flow rate is 200 m3/h with a static pressure of 84 Pa.

ENGLISH
\\\
5
•Do not place anything on top of the device.
•The maximum opening of the doors is shown below in the following images never
open more than specified:
•Place the device taking into account the size of the doors opening

ENGLISH
6
•The maximum opening of the front console is shown below in the following image
never open more than specified:
•For a correct levelling, position the device on a perfectly flat surface and adjust the
feet, indicated in the following images, by screwing or loosening them until the
stability is achieved.

ENGLISH
7
\\\
•When positioning the device, make sure that the power cord is not entangled.
•Be careful not to crush or damage the power cord while positioning it, this
may cause electrical shock or fire.
•The device must be positioned in such a way as to make the power cord plug
accessible.
•Deterioration of the insulating material of the electrical parts may cause electric shock or fire.
•Do not connect the device in a single multi-power socket with other appliances.

ENGLISH
8
INDEX
INTRODUCTION………………………………………………………………………………………………………… 10
GENERAL INFORMATION………………………………………………………………………………………………………….. 10
GENERAL DESCRIPTION…………………………………………………………………………………………………………... 10
MAINCOMPONENTS (FIGURE1)…………………………………………………………………………………………………. 10
CAPACITIVE KEYBOARD(FIGURE2)……………………………………………………………………………………………. 11
NOTES BEFORE USE………………………………………………………………………………………………………………... 11
HOW TO PREPARE WINEFIT EVO………………………………………………………………………………………………… 12
HOW TO SWITCH ON THE APPLIANCE………………………………………………………………………………………….. 12
HOW TO INSERT THE CYLINDERS……………………………………………………………………………………………….. 14
HOW TO PREPARE THE CAP……………………………………………………………………………………………………… 15
HOW TO INSERT THE CORK INTO THE BOTTLE OF WINE………………………………………………………………….. 16
HOW TO REPLACE THE 17MM EXPANDABLE WITH A NEW ONE AND HOW TO PUT THE 19MM
EXPANDABLE…………………………………………………………………………………………………………… 17
BOTTLE INSERTION………………………………………………………………………………………………………………. 21
HOW TO REPLACE THE CYLINDERS…………………………………………………………………………………………….. 23
HOW TO USE WINEFIT EVO………………………………………………………………………………………………………... 24
MAIN MENU……………………………………………………………………………………………………………………. 24
WINE SUMMARY……………………………………………………………………………………………………………… 24
INSERT/REPLACE BOTTLE………………………………………………………………………………………………………… 25
SETTINGS……………………………………………………………………………………………………………… 26
LANGUAGE SETTINGS……………………………………………………………………………………………………………… 26
DATE AND TIME………………………………………………………………………………………………………………………. 27
UNIT OF MEASURE………………………………………………………………………………………………………………... 27
USING THE MACHINE………………………………………………………………………………………………………………... 28
CURRENCY…………………………………………………………………………………………………………….. 28
CELL TEMPERATURE………………………………………………………………………………………………….. 29
SELECTION OF GLASS DOSE……………………………………………………………………………………………………… 29
PASSWORD……………………………………………………………………………………………………………. 30
COLOR MANAGEMENT………………………………………………………………………………………………………… 30
WASHING DISPENSERS…………………………………………………………………………………………………...………. 31
RELOAD PREPAID CARD (IF AVAILABLE)………………………………………………………………………………………. 33
RESET, RELOAD AND READ PREPAID CARD FROM PC (IF AVAILABLE)………………………………………………... 33
CREDIT READING AND PREPAID CARD RECHARGE FROM THE MACHINE (IF AVAILABLE)……………..........……. 35
WINE DELIVERY MENU………….…………………………………………………………………………………………………... 37
HOW TO USE WITH CARD AND WITHOUT CARD (IF AVAILABLE)…………………………………………………………. 37
NOTIFICATIONS………………………………………………………………………………………………………. 40
WASHING OF DRIP TRAY................................................................................................................................. 41

ENGLISH
\\\
O P Q
9
FIG. 1
FIG. 2

ENGLISH
10
INTRODUCTION
Winefit EVO is a device that is used for the preservation of bottled wines, using an inert
gas such as argon and an air-conditioned bottle housing. Whenever a bottle of wine is
opened, the special cap is applied, which keeps it hermetically sealed. The bottle with the
cap is inserted in one of the 4 available slots of the machine, the latter will keep it at the
right temperature of preservation and will put it under pressure until the wine is low; The
bottle is not pressurized until the first dose is dispensed through the Winefit EVO machine.
The application of Winefit EVO concerns the field of oenology, or where there is a
consumation by glass of bottled wine: wineries, restaurants, bars, hotels, wine cellars or for
private use.
GENERAL INFORMATION
Winefit EVO has the following dimensional characteristics:
Height: 617.0 mm Width: 562.0 mm
Depth: 465.0 mm Weight: 60.0 kg
GENERAL DESCRIPTION
MAIN COMPONENTS (figure 1)
WINEFIT EVO
CYLINDERS
CONTROL PANEL/BOTTLE EMPLACEMENT
GRID
DRIP TRAY
CAP
WINE BOTTLE

ENGLISH
\\\
11
CAPACITIVE KEYBOARD (Figure 2)
FIRST BOTTLE SWITCHES
SECOND BOTTLE SWITCHES
THIRD BOTTLE SWITCHES
FOURTH BOTTLE SWITCHES
CARD READING DEVICE
PROXIMITY SENSOR
LCD DISPLAY
“TASTING” AUTOMATIC DISPENSING BUTTON
“HALF GLASS” AUTOMATIC DISPENSING BUTTON
"FULL GLASS" AUTOMATIC DISPENSING BUTTON
BUTTON FOR BOTTLE WASHING.
NOTES BEFORE USE
Before using Winefit EVO read the manual carefully and keep it in a safe place. Do not
remove pages from the manual, do not write on the manual pages; Spaces for notes and
notes are provided at the end of chapters.
!
Before connecting the socket to the Winefit EVO's main switch, Check that
the voltage corresponds to that of the local Network.
!
Place Winefit EVO on a horizontal and stable plane.
!
Winefit EVO is not intended to be used by persons whose physical,
sensory or mental capacities are reduced, or with lack of experience or
knowledge, unless they have been able to benefit, through the intermediary
of a responsible person safety, supervision or instructions concerning the
use of the appliance.
!
Children must be supervised to ensure that they do not play with
Winefit EVO.
!
Winefit EVO is not suitable for outdoor use.
!
The minimum and maximum ambient temperature for winefit EVO
installation are: 10 ° C and 35c °.
!
The minimum and maximum ambient temperature for the correct
operation of Winefit EVO are: 10 ° C and 35c °.
!
Winefit EVO is not suitable for installation in areas where a water jet can be
used; The appliance must not be cleaned with a water jet.

ENGLISH
12
HOW TO PREPARE WINEFIT EVO
HOW TO SWITCH ON THE DEVICE
!
Place Winefit EVO on a
horizontal and stable plane.
!
Plug the power cord into a local socket of
the current with the same voltage as the
WinefitEVO label.

ENGLISH
\\\
13
!
Now press the console under
the display, the Push-pull system
will unlock it and can rotate
upwards as shown in the Figure.
!
There is another switch behind the
console, indicated by the arrow in the
Figure. Once the Winefit EVO switch
is pressed, it will light up.
The Touch-screen display, after the screen with the logo, will display this screen:
No gas cylinder in
Enter now to activate the
winestation.

ENGLISH
14
HOW TO INSERT THE CYLINDERS
This appliance has been designed to use only one type of cylinder authorized by the WINEFIT ®
Company. The use of any other cylinder makes the warranty void and compromises the general safety
of the machine. The used cylinder can contain three types of pressurized gases for alimentary use
according to the Need. The gases used are nitrogen or argon.
Due to the high initial pressure (110 bar), handle the cylinders carefully and keep them in places far from
heat sources. Read the bottle label for proper use and storage.
This model is designed to hold two Cylinders.
!
Opening the console, as explained
above, You can also access the housing
of the Cylinders.
!
With the machine turned on and the red
led lit, indicated by the arrow in the figure,
insert the cylinder 1 screwing it into the
special fitting located on the bottom, as
shown in the figure; Do this quickly and
accurately.
NOTE FOR CORRECT SCREWING OF THE
CYLINDER: Screw the cylinder into the seat until the red LED turns
off. Once the red LED is turned off, tighten again for a maximum of
1/8 around. WARNING: Do not exceed 1/8 turn in the screw;
otherwise the cylinder gasket may be damaged.
!
Repeat the same operation for the tank
2 taking care that the red LED, shown in
the figure, goes off as per the cylinder 1.
Now you can proceed to insert the bottles.
If the operation completed and successful, the display should no longer indicate the absence
of the cylinders.

ENGLISH
\\\
15
HOW TO PREPARE THE CAP
The cap is made up of 4 main components: the cap body, the suction pipe, the bottom filter
and the steel spout. In order to use the cap correctly, the 4 components must be assembled
together. Perform the following steps on a clean plan:
!
Before inserting the cap into the bottle, make sure that the ring nut is
completely unscrewed as in the left figure; Otherwise the cork will not enter the
bottle.
After this operation, the cap is ready to be used.
NOTE: The red expandable can only be used for bottles with neck diameter ranging from
17.5mm to 19.0mm; The white expandable can be used only and exclusively for bottles
with neck diameter ranging from 19.0mm to 21.0mm.
PRECAUTION FOR TIGHTENING RING NUT
For the lower diameters for each expandable, it is likely that the tightening limit switch
cannot be reached, in this case it is advisable not to continue tightening to avoid damaging
the threading.
OK!
NO!

ENGLISH
16
HOW TO INSERT THE SPECIAL CAP 2.0 INTO THE WINE BOTTLE
Perform the following operations on a horizontal plane. Uncork the bottle using a corkscrew.
!
Insert the special cap 2.0 into the newly opened
bottle as shown in the figure on the left.
!
Insert the cap
cartridge (shown
in the figure on the
right) inside the
bottle neck.
!
Grasp the cap body make a slight pressure on
the top of it and rotate the ring clockwise as
shown in the figure alongside. NOTE: To obtain
a correct tightening of the cap, the bottle
must beat on the inner bottom of the ring nut
before starting to screw.
Operation completed.

ENGLISH
\\\
17
HOW TO REPLACE THE 17mm EXPANDABLE WITH A NEW ONE AND HOW TO
PLACE THE 19mm EXPANDABLE
It is possible to replace the expandable gasket when it is worn or damaged following
these simple operations:
!
Rest the cap on a stable surface as
shown in the figure and remove the suction
filter.

ENGLISH
18
!
Turn the locking ring on the screwdriver while keeping the screwdriver
pointed at the cap until it exits its seat.
!
Turning the ring nut in
the direction of the arrow
in the figure will be
easier to extract the
expandable.

ENGLISH
\\\
19
!
Take the new expandable of
17mm and apply the two side
washers of the same size as the
images show.
!
Insert the new expandable in the
appropriate seat as shown in the Image.
Remember to reassemble the suction tube with its filter and the operation is Completed.

ENGLISH
20
The cap comes with the expandable of 17mm gasket that can be used for most bottles of wine, but it is
possible to replace it with a 19mm gasket needed for bottles with a larger diameter. To put the
expandable from 19mm follow the following steps after removing the locking ring as described in the
previous paragraph:
!
Take the 19mm expandable and apply
the two side washers of the same size
as the images show.
NOTE: For the 19mm diameter expandable the colors used are white and Green.
!
Insert the new expandable in the
appropriate seat as shown in the Image.
Operation completed.
Table of contents
Other winefit Beverage Dispenser manuals
Popular Beverage Dispenser manuals by other brands

Polar Electro
Polar Electro DB331-A instruction manual

Ugolini
Ugolini INSTANT 20/2 Operator's manual

Cornelius
Cornelius FlavorFusion Series installation manual

Bunn
Bunn JDF-2S Specification sheet

Bunn
Bunn FMD DBC-3 OPERATING & SERVICE MANUAL

Flavor Burst
Flavor Burst Dual Series Operation manual supplement