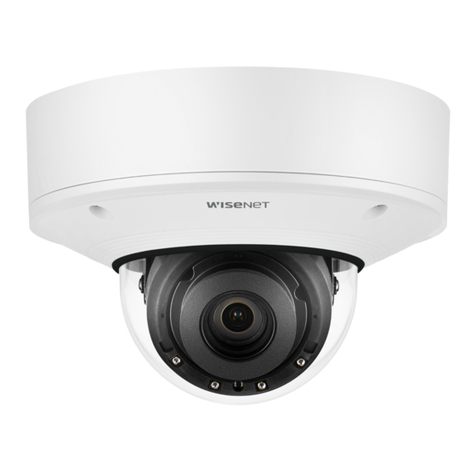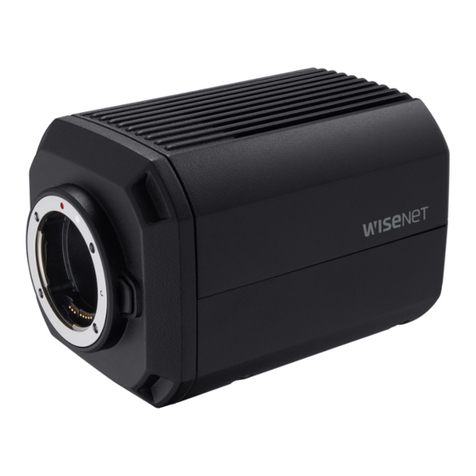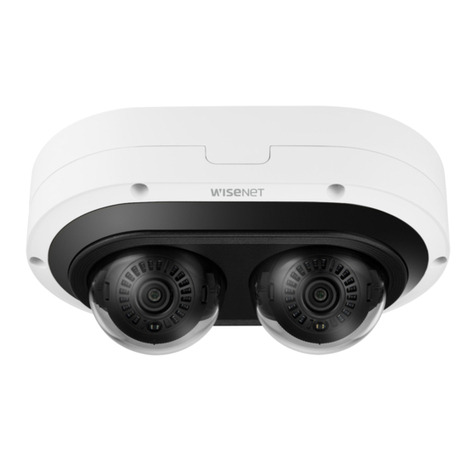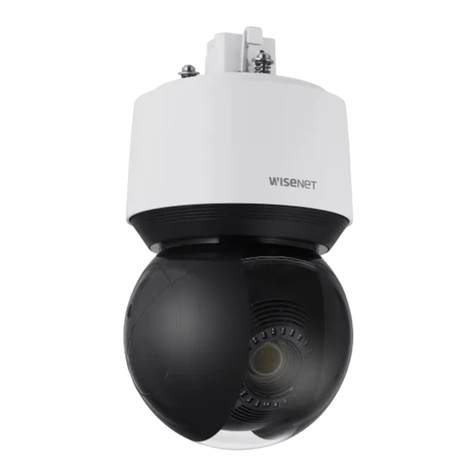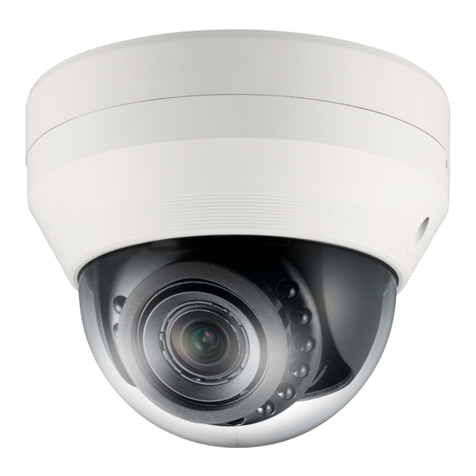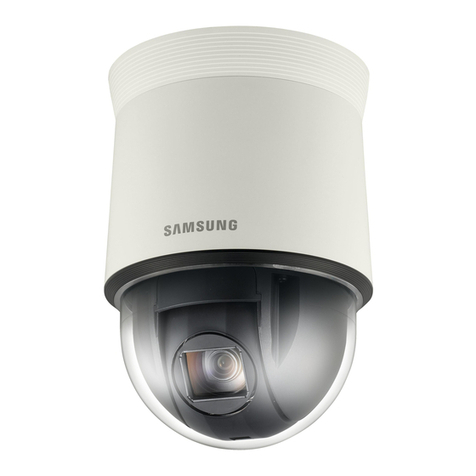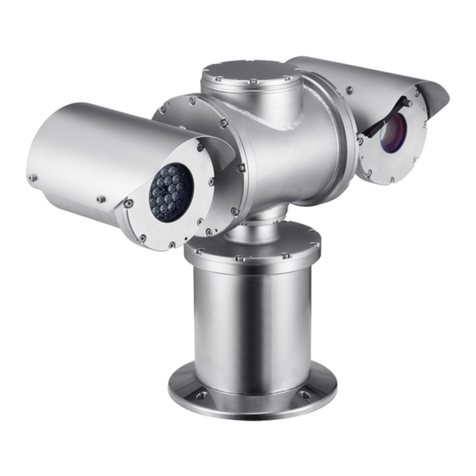
The LEDs shown in the figure allow you to check the
product's operating status.
LED
LED
Status
Apparatus
Status
LD1 (Power
supply)
Off
The device is
not powered
The device is correctly powered
LD2
(Camera)
Off
The camera is not connected or
Cold Start is
active
On
The camera is correctly powered
1
flashing
The camera has a low identification
resistance
2 flashings
The camera has a high identifica
tion resistance
5 flashings
The camera has an excessive power
consumption
9 flashings
The camera requires more power
than the
LD3
(Demi
sting)
Off
Demisting was not correctly
detected
1
flashing
Standard demisting is inactive
2 flashings
The anti-ice system (optional) is
inactive
On
Demisting, or anti-ice system, is in
operation
LD4
(Heater)
Off
Heating is not available or power
available is
not sufficient
1
flashing
Heating is inactive
On
Heating is active
LD5
(Illumi
nator)
Off
The illuminator (optional) is not
detected or
the available power is
not sufficient
1
flashing The illuminator is correctly
powered
(illuminator activation is
controlled by the
photocell)
LD6
(Delayed
activation)
Off
Heating is
not available
1
flashing
The pre-heating procedure is
inactive
On
The pre-heating procedure is
underway
Procedure to assemble the camera with the lens.
Carefully insert the lens screw threads into the camera body
and fully tighten. Attach the lens iris cable into the camera
body connector. Adjust the lens zoom / focus levers. You
may need to perform a Focus Initialization to adjust the
sensor position after installation. Then perform a Simple
Focus.
Please consult the PNB-A9001 camera user manual and
Quick Guide for additional configuration steps that may
be necessary, such as configuring a password and IP
addressing.
The Wisenet Road AI application has been pre-installed
and licensed on the camera. Please consult the Wisenet
Road AI Quick Start Guide for more information on
getting started with using the LPR application.
9_Installation

