5
a
b
Regular Cleaning *)
17
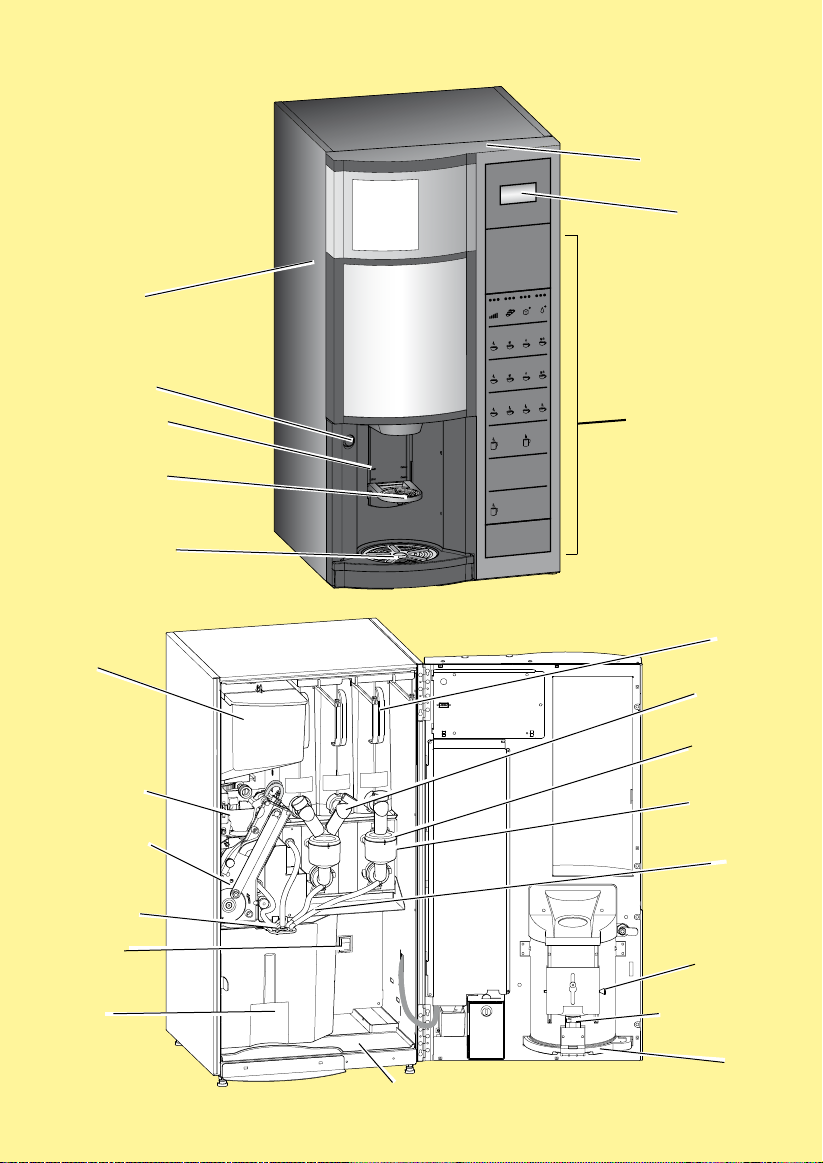
Opening
•Open the door (turn key clockwise) (1).
Coffee waste containers
•Take out waste containers (2). If used,
remove plastic bag from the solid waste
container.
•Remove the liquid container, empty it and
wipe it clean. Wipe dry sensors (3).
•Wipe clean solid waste container, relocate
liquid waste container and, if used, insert a
new plastic liner.
•Leave waste containers outside of machine.
Ingredient canisters
Instant ingredient canisters
•Pull base tray (4) forward.
•Push the outlet tubes upwards to close the
outlet spouts of the canisters (5).
•Take the canisters by the handles and pull
them forward to the end stop in guiding
rails (6). The lids are automatically triggered
open.
•If required, the canisters can be removed by
lifting canisters upwards and pulling forwards
over the end stops in guiding rails
•Fill canisters with ingredients.
•Press lid slightly down and push back
canisters.
•Push the outlet tubes downwards to open
the outlet spouts of the canisters (7).
•Push base tray back in place.
Coffee bean canister
•Open lid (8) and fill canister with coffee
beans.
•Put lid back on.
Cleaning parts
Cup carrier
It is recommended to have the cup carrier
as an exchange kit (hygiene kit).
•Remove cup carrier: Take hold of the cup
carrier with your right hand (9) and remove
the corresponding retaining pin (10), situated
on the rear side of the cup station, with your
left hand.
•Clean the drip grid (11a) and tray (11b) in
hot water with cleaning agent and dry parts.
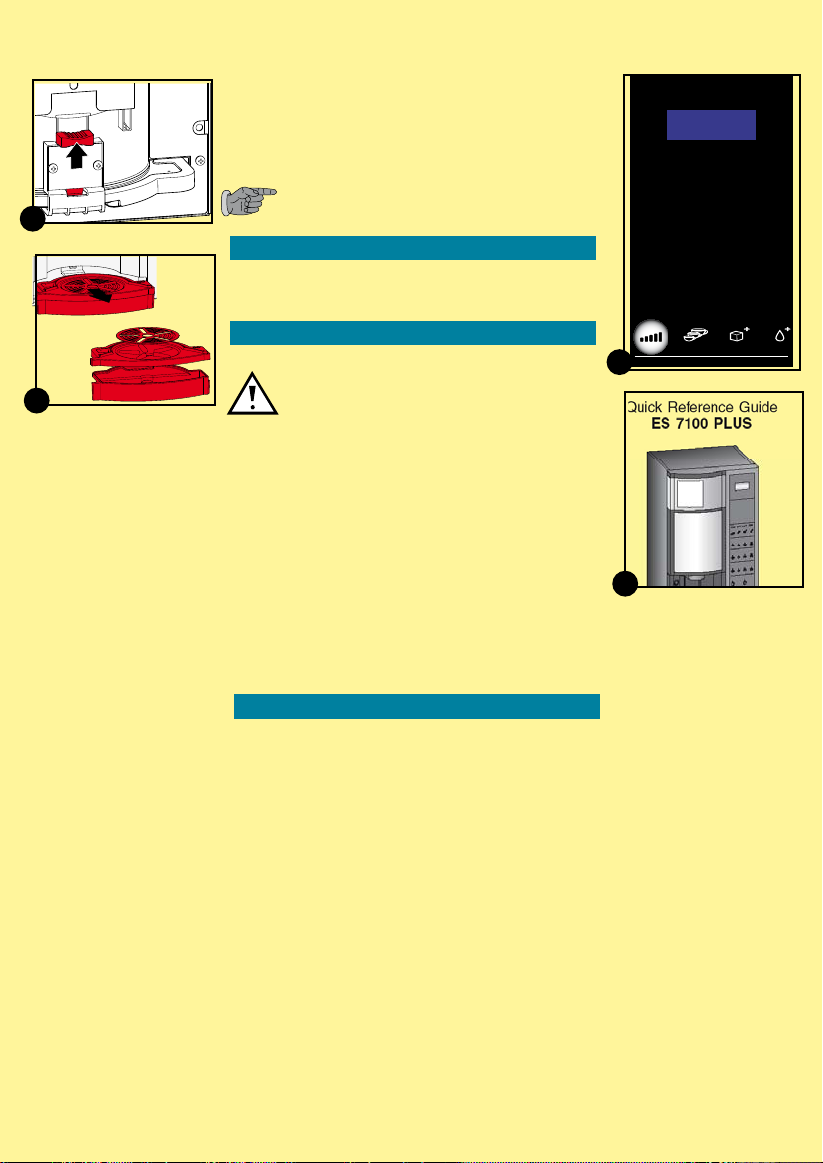
9
8
*) All parts to be cleaned regularly are
designed in a light blue colour. All parts
of action are supplied in a green colour.
(see overleaf))
11
10
3
2
5
6
4