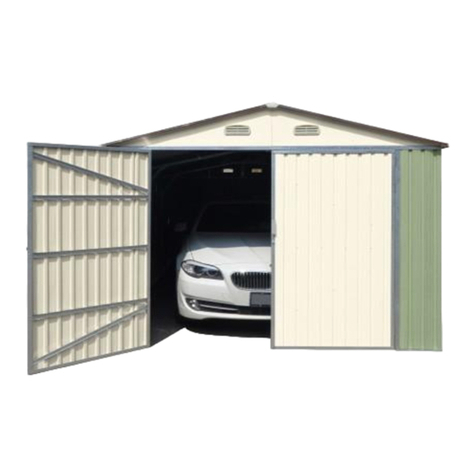
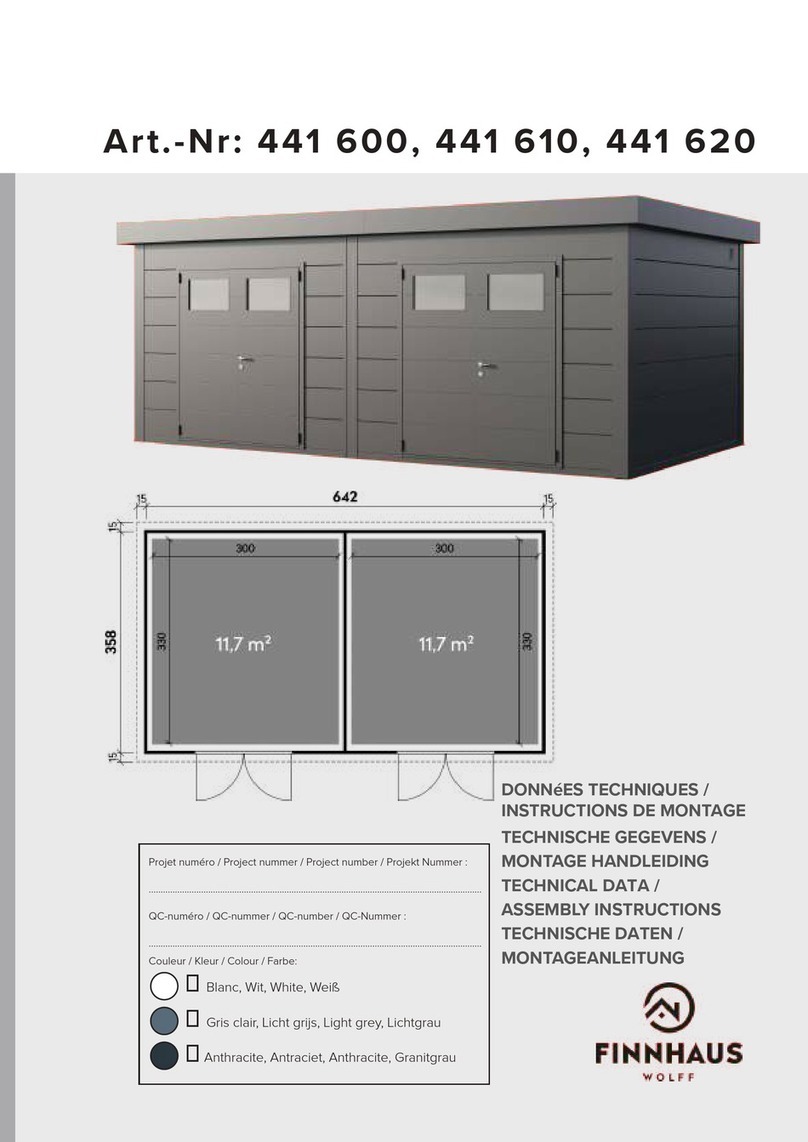
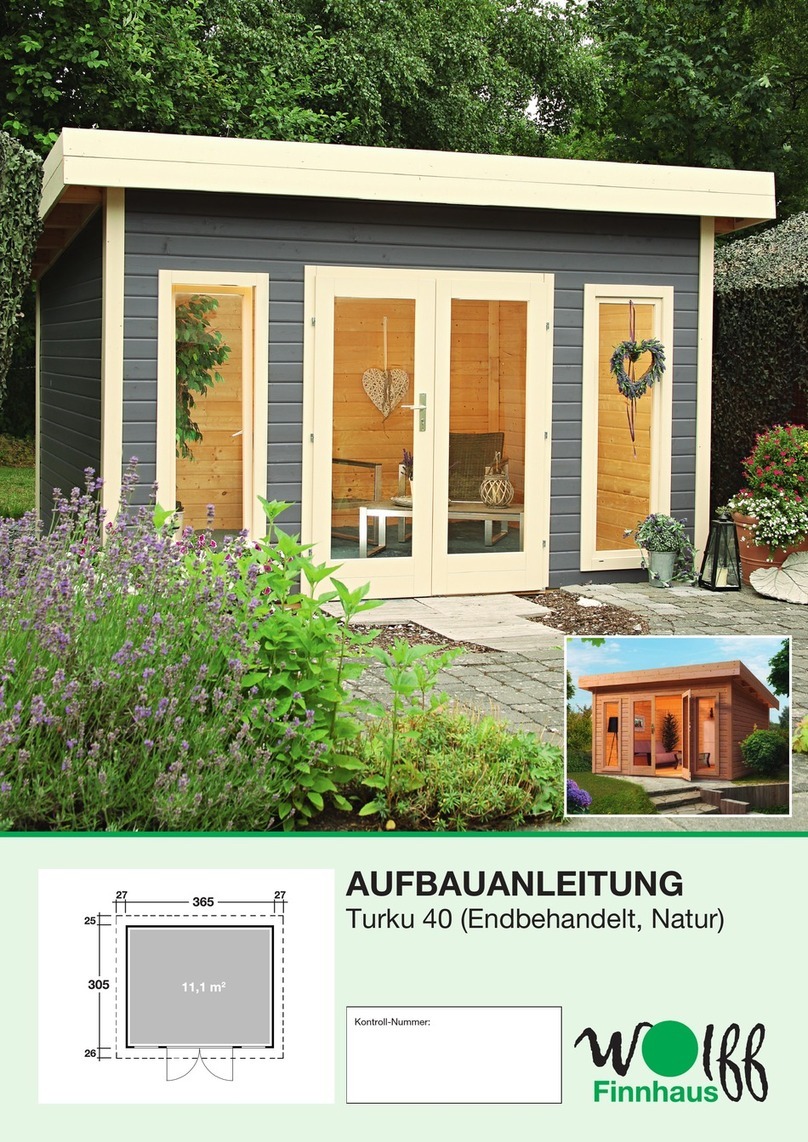
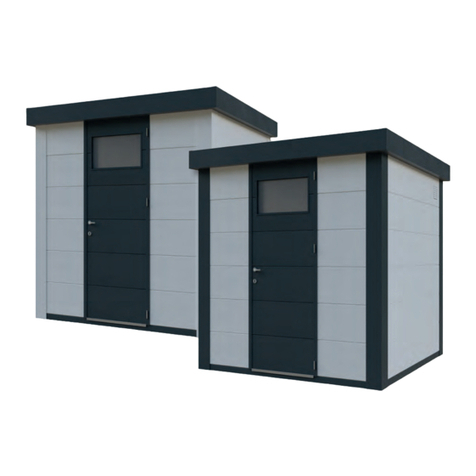
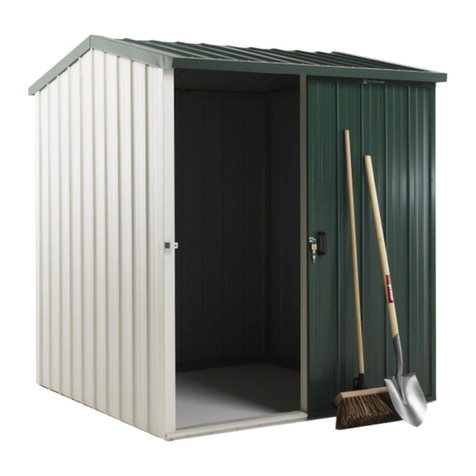
Wolff Finnhaus Metal shed Osaka User manual

1
ASSEMBLY INSTRUCTIONS OSAKA
029220|14
COMFORT
LINE
ASSEMBLY INSTRUCTIONS
Top quality from Japan
Metal shed Osaka
The assembly video can be found on: www.finnhaus.de

2
ASSEMBLY INSTRUCTIONS OSAKA
A
A
B
C
A
A
B
C
AB C
AB C
AB C
The basement and the cross-beam must be layed together as in the plan.
ASSEMBLY OF THE BASEMENT AND CROSS-BEAM
Required accessories
Pce no. Article Qty
Base frame, in front 1
Base frame, left 1
Base frame, right 1
Base frame, rear 1
Cross-beam 2
-Metal fitting for corner
basement, front left 1
-Metal fitting for corner
basement, front right 1
-Metal fitting for
corner basement, rear 2
01
02
03
04
05
Metal fitting rear corner. Metal fitting front right. Metal fitting
front left.
Drive the metal fittings on the frame, so that the holes conform.
Front view with bricks used
as foundation.
Front view with plastic plates used as foundation.
Supplied with house.
01
01
02
02
03
03
04
04
05
05
05
05
To guarantee the shed
stands correctly it
requires a good found-
ation. (More information
can be found in our
leaflet).
The shed must be built
raised from the ground to
insure that the rain water
can run underneath.

3
ASSEMBLY INSTRUCTIONS OSAKA
A
A
B
C
Front view
Spirit level
Short screws
Short screws
Short screws
Short screws
※
※
Attention: Please insure that all the base frame parts are level, so that after completion the door opens and closes
easily.
FITTING OF THE BASE FRAME AND THE CROSS-BEAM
01
02
03
04
05
Required accessories
Pce no. Article Qty
- Short screws 14
- Spirit level 1
After the frame has been checked that it is level the two
screws marked can then be secured, checking that
there are no gaps in between the frame parts.
※
B + C
Metall fitting
for the front
※
Short screws
AMetall fitting
for the rear corner
Short screws
05

4
ASSEMBLY INSTRUCTIONS OSAKA
ASSEMBLY OF THE CORNER POST
Required accessories
Pce no. Article Qty
Corner post, front left 1
Corner post, front right 1
Corner post, rear left 1
Corner post, rear right 1
- Short screws 14
06
07
08
09
Slot
Hook
Put the hook in the slot.
Short screws
Tighten all the screws.
07
02 03
04
01
09
08
06
Front view
ATTENTION:
To maintain that everything is at a right angle
check the length of diagonals are exactly the
same.
Please check that all the edges of the frames
are together. Otherwise the ground panels
may not fit.

5
ASSEMBLY INSTRUCTIONS OSAKA
ASSEMBLY OF THE REAR AND FRONT ROOF FRAME
Required accessories
Pce no. Article Qty
Roof frame, rear 1
Roof frame, front 1
- Rubber plug, small 2
- Short screws 6
15
19
Short
screws
Short
screws
Rubber plug,
small
Slot
Hook
Hook
Rubber plug,
small
Short
screws
Hook the top rear frame in both corner
post slots and screw tightly.
Hook the top over the front corner post lip. Fit bottom hook
in slot and secure with two short screws.
After fitting the rear top framework please fit the smaler
rubber grommets (these holes are for electric cable).
A B
15
19
06
08
08
06
07
19
09
15
Front view

6
ASSEMBLY INSTRUCTIONS OSAKA
ASSEMBLY OF THE LEFT AND RIGHT DECORATIVE COVER
Required accessories
Pce no. Article Qty
Decorative cover, left 1
Decorative cover, right 1
- Short screws 6
17
18
A
B
short
screws
short
screws
A
B
18
15
09
18
19
07
18
17
Front view

7
ASSEMBLY INSTRUCTIONS OSAKA
ASSEMBLY OF THE CENTRAL WALL STRENGTHENERS FOR THE LEFT, RIGHT AND THE REAR
Please fit the wall strengthener provisionaly.
Screw the metal holder for the gutter to the central post .
A B
14
Hole to
the inside
Central
hole
Top, shorter
Bottom,
longer
①
②
C
11
11
12
12
13
13
Central
hole
Top side
Hole to
the inside
Short
screws
Side view
14
12
12
13
13
14
14
14
15
13 12
Metal holder for
gutter
Metal holder
for gutter
11
14
Required accessories
Pce no. Article Qty
Central wall strengthener,
left, right 2/2
Central wall strengthener,
rear 3
- Metal holder for gutter 1
- Short screws 15
13
12

8
ASSEMBLY INSTRUCTIONS OSAKA
ASSEMBLY OF THE CENTRAL WALL STRENGTHENERS IN FRONT
Required accessories
Pce no. Article Qty
Central wall strengthener,
front 2
- Long screws 2
- Short screws 2
- Nut 2
10
Short
screws
Long
screws
Nut
Long
screws
Nut
Nut
Long
screws
A
Upper Attachement
Short
screws
B
Lower Attachement
The base of the strengthener is pressed and
secured into the third hole of the corner post.
Please watch the
hook direction!
Left Right
Counting from corner post use third hole.
Threaded hole for door panel
Threaded hole for the central wall
strengthener in front
19
10
10
10
10
ATTENTION!
Don‘t forget to
secure the top of the
strengthener.
For a door opening left: The strengthener is
turned over and is secured on the baseframe
in the third hole from left.
01

9
ASSEMBLY INSTRUCTIONS OSAKA
Required accessories
Pce no. Article Qty
Central
Ground panel 2
Ground panel
left, right 2
- Special screw 16
ASSEMBLY OF THE GROUND PANEL
29
30
The front of the ground panel (C) to be mounted
over ledge of gutter.
Please use the special srews.
(If the screws do not fit exactly
please take a look on page 27 (3)
Tips for Assembling)
A
B
C
Special
screw
30
30
29
29
A B C
Basement
groundpanel
Side view Front viewRear view
Basement
groundpanel Basement
groundpanel

10
ASSEMBLY INSTRUCTIONS OSAKA
A bag with each roof
panel contains seven
snow plugs. Remove
glue covering and fit
as shown.
ASSEMBLY OF THE ROOF PANELS
Required accessories
Pce no. Article Qty
Roof panel, big 4
- Short screws 16
- Snow plug (4 Bags) 28
27
27
27
27
27
Fit roof starting on left
side.
Slop roof down to rear so that rain
can drop off there.
Rear
Strengthering
Short screws
Front Fit roof in this order.
A
Rear
Strengthe-
ring
Short
screws
27
27
15 19
27
27 27
2727 27 27
27 27
ATTENTION!
Before mounting the
roof fill holes with snow
plugs.
27

11
ASSEMBLY INSTRUCTIONS OSAKA
ASSEMBLY OF THE ROOF STABILISER
Required accessories
Pce no. Article Qty
Roof stabiliser 2
- Long screws and nuts
each with 24
16
16
16
Lift the roof stabilisator and secure with two
long screws central holes.
Strengthering of the roof panels
lower
side
upper
side
long screw
Nut
Nut
long
screw
Long
screws
Nut
long
screw
1.
Fix both
ends of the
stabilisator
with nuts
and bolts.
2.
3.
NutNut Nut
long
screw
long
screw
long
screw
Please check all nuts and bolts are tight.
27
16 12 13+ 12 13+
1
2
2

12
ASSEMBLY INSTRUCTIONS OSAKA
1
2
1
2
ASSEMBLY OF THE SIDE WALL PANELS
Required accessories
Pce no. Article Qty
Side wall panel big 10
- Hooks out of aluminium 3
- Short screws 18
- Long screws and nuts 21
20
1. BEFORE ASSEMBLING
Only the hooks within the red markings can be moved
when the shed is finished. Please decide – before the
shed is build up – where the hooks should be.
Attaching the hooks
The hooks can be mounted in the holes of the large
or small sides of the panels but with a max. of 2 kg
per hook.
2. MOUNT
1. Place the bottom of the panels in the base frame.
2. Lift top of place between posts.
While assembling the side wall panels do not let them
go, before they are not provisorily bolted. They might
fall down and hurt someone.
20
20
30
Upper
wall strengthener

13
ASSEMBLY INSTRUCTIONS OSAKA
ASSEMBLY OF THE SIDE WALL PANELS
20
20
20
20
20
20
20
20
20
20
1.
SIDE WALL PANELS, REAR
Please check the right angle
of 90 ° between the base frame
and the posts.
2.
BOLTING
In corner posts secure with short srews, all
the strengtheners with long nuts and bolts and
strengthen, then fix strengtheners.
First fix panels to corner posts provisionally
and tighten all the screws.
Short
screws
Long
screws
Nut
Side view Rear view
2020 20 20 2020 20

14
ASSEMBLY INSTRUCTIONS OSAKA
2
6
7
8
3
5
4
1
26
7
8
3
5
4
1
Please fit the screws as shown.
74 24
ASSEMBLY OF THE DOOR PANEL FOR OPENING AT THE RIGHT
Required accessories
Pce no. Article Qty
Side wall panel big,
front right and left 1/1
- Short screws 16
24
74
90
Short
screws
Be shure that the
doors are right
angles.
24
74
10
10

15
ASSEMBLY INSTRUCTIONS OSAKA
ASSEMBLY OF THE FRONT DECORATIVE COVER AND THE HEIGHT COMPENSATION COVER BAR
Required accessories
Pce no. Article Qty
Decorative cover, front 1
Height compensation
cover bar 1
- Screw head caps 3
- Short screws 7
25
51
Short
screws
Hole cover
Roof panel
25
51
25
25
19
1
2
Hook the trim panel in the front roof frame.
Rotate the trim panel as shown up over the roof
and secure it with short screws.
Secure the adjustment ledge with three short
screws and hole caps.
1
2
3

16
ASSEMBLY INSTRUCTIONS OSAKA
ASSEMBLY OF THE GUTTER
Required accessories
Pce no. Article Qty
Gutter 1
- Short screws 5
26
26
Hook both ends of the
gutter on the trim panels.
Rotate over the roof
and secure it with
short screws.
Short
screws
1
2
26
15
metal holder
for the gutter

17
ASSEMBLY INSTRUCTIONS OSAKA
Put both bends with
connecting piece together
Fit clamps over down pipe and attache both
bends with connection piece to gutter.
ATTENTION:
Please cut the rainwater pipe to the correct
length BEFORE assembling it. The metal
clamps have to be slid onto the rainwater
pipe before mounting.
Secure the down pipe to the angle joint star-
ting from the top, then centre and last at the
bottom.
Secure with the same screw
as corner post.
Bend
Drain
hole
Angle joint
Screw the three angle joints with short screws.
Gutter
Hole for
rainwaterr
Angle
joint
Angle
joint
Metal clamp for
rainwater pipe
Short
screws
Short
screws
Short screws
Angle joint
Bend
Rainwater
pipe
Connection
piece
Short
screws
SIDE VIEW
1
3
2
ASSEMBLY OF THE RAINWATER PIPE
Fit both down pipes left and right. Required accessories
Pce
no.
Article Qty
-
Rainwater
pipe and
connec-
tion piece
2/2
-
Metal
clamp
and angle
joint
6/6
- Bend 4
-Short
screws 10

18
ASSEMBLY INSTRUCTIONS OSAKA
ASSEMBLY FOR RIGHT HAND DOORS
Required accessories
Pce no. Article Qty
Door, front right 1
Door, front left 1
- Metal stopper 4
- Short screws 4
- Door stop cover 2
32
31
32
31
Before mounting door please fit
both metal stoppers top and bottom
as shown.
Take precaution that the cylinder
lock isn‘t scratched.
Short
screws
Metal
stopper
Metal
stopper
Metal
stopper
First fit both hooks of the metal stoppers in the slots as
shown.
Door stop
cover
Runner wheel
unit
Fit door stop cover on left door on left side. For a right hand door, fit
door stop cover on the right.
Door stop
cover
Runner wheel
unit at the
door
Likewise on left for right door.
ATTENTION!
To build the left hand
door, go to page 19 in
this assembly instruction.

19
ASSEMBLY INSTRUCTIONS OSAKA
32
31
83
33
ASSEMBLY FOR LEFT HAND DOORS
31
83
32
33
24
74
10
10
Drip ledge
Place rear movable door in lower
rear sill and hook on the runner
wheels, so that there is a wheel
either side of the fixed door
strengthener.
Afterwards place front door in
front sill and hook on runner
wheels on either side of drip
ledge.
Required accessories
Pce no. Article Qty
Door, front left 1
Door, front right 1
Door paneel, rear right 1
Door paneel, front left 1
31
32
33
83
3233
Hook bottom of door in rear
sill.
Hook bottom of door in front sill and fit top in upper door sill.
Fit top in upper door sill.
1 2
11
22
ADJUSTING THE DOOR
Check the following points:
1. Before fitting the front decoration cover, check that
both doors completly open and shut.
2. Check the doors are square.
3. The door lock must work perfectly.
Problems with the lock?
See „Tips for assembling“ on page 26 (7).
Lock Unlock

20
ASSEMBLY INSTRUCTIONS OSAKA
ASSEMBLING THE FRONT DECORATION COVER
Required accessories
Pce no. Article Qty
Front decoration cover 1
- Metal holder for the upper
front decoration cover 2
- Door holder 1
- Short screws 6
34
Short
screws
Door holder
Stick the top of the door holder in
the slot in the front decoration cover.
Stick the other end of the door
holder in the slot in the frame.
Fix the door holder with a short
screw.
Metal holder for the upper
front decoration cover
Front decoration
cover
34
Metal holder for
the upper front
decoration cover
1. Fit the front decoration cover
between the corner posts and
provisionaly srew on.
2. Then fit both metal holder in the
slots.
3. The front decoration cover will
lock in exactly. When complete
tighten screws.
34
34
A
B
1
1
3
2
3
2
Door holder
Table of contents
Other Wolff Finnhaus Outdoor Storage manuals
Popular Outdoor Storage manuals by other brands

Moebelix
Moebelix BS-MK1-EXT owner's manual

Arrow Storage Products
Arrow Storage Products EN65A Owner's manual & assembly instructions

Lifetime
Lifetime 6426 Assembly instructions

Forest garden
Forest garden Tongue and Groove quick start guide

Keter
Keter 70 US GAL 270L Assembly instructions

ABSCO SHEDS
ABSCO SHEDS 60303WK Assembly instructions

Outsunny
Outsunny 845-030YL operating instructions

Lifetime
Lifetime 60223 Assembly instructions

Lifetime
Lifetime 60025 manual

Arrow Storage Products
Arrow Storage Products EG1414AB Owner's manual & assembly guide

Riverlea
Riverlea Duratuf Garrison Sheds PL36 Assembly instructions

Suncast
Suncast Sierra BMS6550 Assembly instructions