woodmizer MK20-2 User manual

Wood-Mizer®Dry Kilns
Installation & Operation Manual
MK20-2, MK20-4, Rev.B1.00
MK40-2, MK40-4
Safety is our #1 concern! Read and understand
all safety information and instructions before
operating, setting up or maintaining this machine.
Form #1212
!

ii DKdoc020322 Table of Contents
Table of Contents Section-Page
SECTION 1 GENERAL INFORMATION 1-1
1.1 Introduction ............................................................................................................... 1-1
1.2 Getting Service..........................................................................................................1-2
General Contact Information ...............................................1-2
1.3 Specifications ............................................................................................................1-3
1.4 Electric Schematics ...................................................................................................1-5
1.5 Electrical Components List ....................................................................................... 1-8
SECTION 2 SAFETY 2-1
2.1 Safety Symbols..........................................................................................................2-1
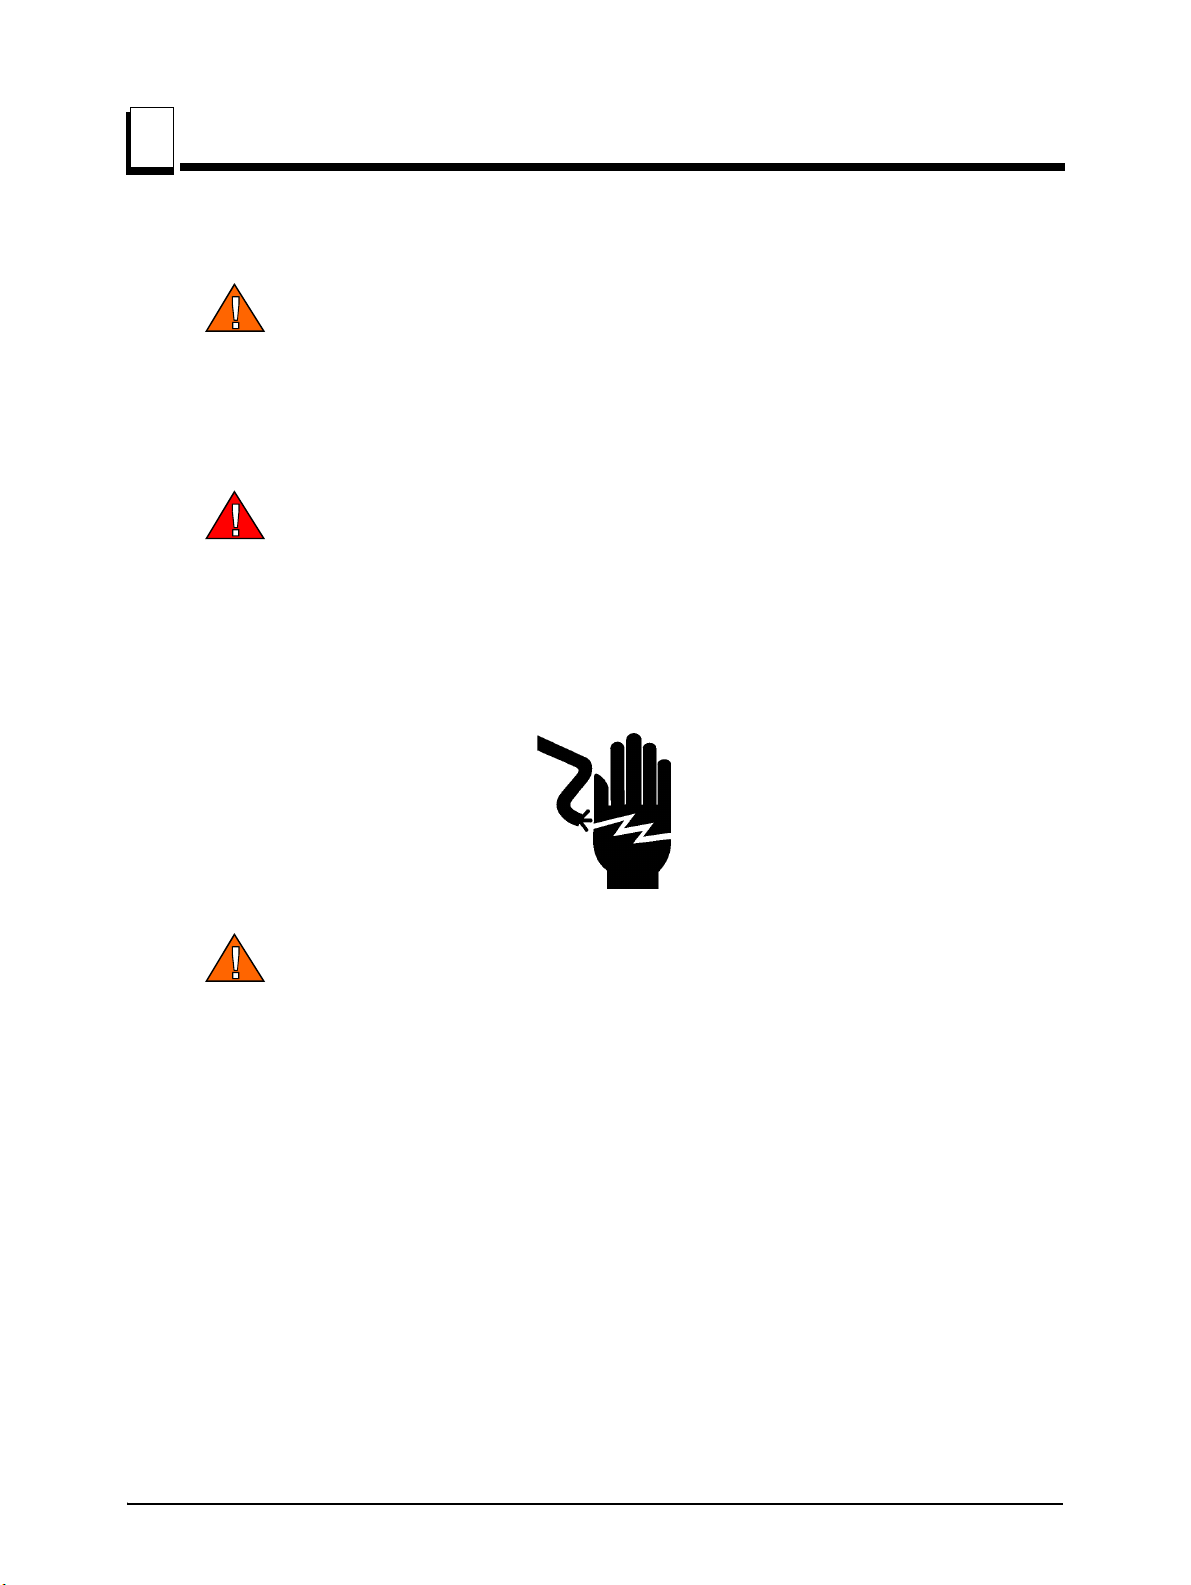
2.2 Safety Instructions.....................................................................................................2-2
SECTION 3 INSTALLATION AND SETUP 3-1
3.1 Materials....................................................................................................................3-1
3.2 Installation Requirements..........................................................................................3-2
Tools .........................................................................3-2
Manpower .........................................................................3-2
3.3 Chamber Location.....................................................................................................3-3
3.4 Fan Module Installation.............................................................................................3-4
Fan Modules Layout for 20’ and 40’ Kiln. ..........................3-7
3.5 Plenum Blanking Kit Installation..............................................................................3-9
3.6 Control Box Installation..........................................................................................3-11
3.7 Thermometer Assembly Installation .......................................................................3-15
3.8 Exhaust Module Installation....................................................................................3-17
3.9 Air Intake Installation..............................................................................................3-21
3.10 Plenum Baffle..........................................................................................................3-24
3.11 Internal Track Assembly .........................................................................................3-28
3.12 External Track Assembly........................................................................................3-31
3.13 Instruction for using MS88 UZ Hand Rivet Gun....................................................3-34
SECTION 4 OPERATION 4-1
4.1 Timber Preparation....................................................................................................4-1
4.2 Stickering The Timber...............................................................................................4-2
4.3 Hold-down System....................................................................................................4-3
4.4 Loading The Kiln ......................................................................................................4-4
4.5 Kiln Operation........................................................................................................... 4-7
4.6 Temperature Controller............................................................................................. 4-8
4.7 Checking The Depression........................................................................................4-10
4.8 Conditioning Process...............................................................................................4-11
4.9 Preconditioning For Well Air Dried Stock..............................................................4-12

iii DKdoc020322 Table of Contents
Table of Contents Section-Page
SECTION 5 DRYING SCHEDULE 5-1
5.1 Kiln Drying Schedule................................................................................................5-1
SECTION 6 GLOSSARY 6-1
SECTION 7 IMPORTANT INFORMATION 7-1
SECTION 8 EMC CHART 8-1
SECTION 9 WMUK MODULAR KILN RECORD SHEET 9-1
SECTION 10 REPLACEMENT PARTS 10-1
10.1 How To Use The Parts List.....................................................................................10-1
10.2 Electrical Components.............................................................................................10-2
10.3 Mounting Tools.......................................................................................................10-2
10.4 Fan Module Assembly.............................................................................................10-3
10.5 Thermometer ...........................................................................................................10-5
10.6 Exhaust Fan.............................................................................................................10-6
10.7 Air Intake.................................................................................................................10-7
10.8 Track........................................................................................................................10-8
10.9 Lumber Cart.............................................................................................................10-9
10.10 Safety Bar..............................................................................................................10-10
10.11 Decals....................................................................................................................10-11
INDEX I

General Information
Introduction
1
1-1 WMDKdoc020322 General Information
SECTION 1 GENERAL INFORMATION
1.1 Introduction
Thank you for selecting our WMDK Kit series of kiln-dryers. This manual will assist you in
assembling and operating the kiln. It will also guide you in how best to kiln-dry various
types of lumber, and how to obtain the best results with the equipment.
The WMDK series is designed especially for meeting the needs of lumber processors,
furniture manufacturers, interior designers and decorators, home builders, and hobbyists
whose day-to-day quantity requirements may not be high, but yet must still have
high-quality kiln-dried lumbers meeting both domestic as well as international standards.
All of our WMDK kilns are designed with the following features in mind:
Easy to Install
Easy to Operate
Versatile
Economical
To make the installation as simple as possible, we have designed the kiln in such a way
that no special technical skills will be required to install or operate it. All the components
that require welding and special tools for assembly have been put together at the factory.
All the steps necessary for installing the kiln have been outlined in details and supported
with easy-to-follow diagrams, drawings or pictures. All the equipment that is needed for
operating the kiln (such as loading carts, and the electrical elements for providing the
heating energy) are included. Once the kiln has been assembled, the only requirements
is a power supply. Once it is connected, the kiln can be used to dry lumber immediately.
The easy-to-operate control system makes operation simple. You will find the easy to
follow instructions in this manual. Kiln-drying schedules for most of the popular species
have also been developed and are provided in section named "Kiln Drying Schedules".
Please read this manual carefully before starting installation.

Introduction
Getting Service
Introduction WMDKdoc020322 1-2
1
1.2 Getting Service
Wood-Mizer is committed to providing you with the latest technology, best quality and
strongest customer service available on the market today. We continually evaluate our
customers’ needs to ensure we’re meeting current wood-processing demands. Your
comments and suggestions are welcome.
General Contact Information
The phone numbers are listed below for Poland.
European Headquarter Office Hours:
In the first-instance please contact your local distributor for assistance.
Poland
Sales +48 63 26 26 000
Service +48 63 26 26 026
Parts Hotline
Website www.woodmizer.pl
E-mail recepcja@woodmizer.pl
Monday - Friday Saturday and Sun-
day
7 a.m. to 4 p.m. Closed

Introduction
Specifications
1
1-3 WMDKdoc020322 Introduction
1.3 Specifications
See Table 1-1. Specifications for the kiln electric equipment are shown below.
See Table 1-2. For example for standard power specification 20’ Chamber or Container
Kiln see the table below.
Model No. WMDK
Kiln Module Power 2.1 kW
4.1 kW (high power module)
Power Consumption (one
module) 2.3 kW/h
4.3 kW/h (high power module)
Single Fan Power 65W
Exhaust Fan Power 145 W
290W (two fans required for high power modules)
Voltage Requirement 3x400V 50Hz 1
1 NOTE: The WMDK Kiln System requires a 3x400V AC supply with a switched waterproof
IP65 isolator with current rating shown in the table below.
Operating Temperatures 0°C - 60°C (32°F - 140°F)
TABLE 1-1
Model No. WMDK
No. of Fans 8 required for 20’ Container/Chamber (4 modules)
Power Consumption (one
module) 2.1 kW
Total Power Requirement 8,7 kW
Voltage Requirement 3x400V 50Hz 1
1 NOTE: The WMDK Kiln System requires a 3x400V AC supply with a switched waterproof
IP65 isolator with current rating shown in the table below.
CAUTION! The fans can work at temperatures not exceeding 60 oC
Operating Temperatures 0°C - 60°C (32°F - 140°F)
TABLE 1-2

Introduction
Specifications
Introduction WMDKdoc020322 1-4
1
See Table 1-3. Electrical Requirements are listed in the following table.
See Table 1-4. The overall dimensions of the WMDK 20’ and 40’ container/chamber kiln
are listed below.
See Table 1-5. Required number of fan modules depends on chamber lenght.
One module adds 1,37 m
Number of
Fan Modules Current Rating for 2kW per
Module kiln (Amps) Current Rating for 4kW per
Module kiln (Amps)
210A 20A
314A 27A
417A 34A
520A 41A
625A 50A
TABLE 1-3
Dimensions External Internal
Length 20’ (6.09m) / 40’ (12.19m) 19’ 4” (5.89m) / 38’77” (11.78m)
Width 8’ (2.43m) 7’ 8” (2.35m)
Height 8.6’ (2.59m) 7’ 10” (2.38m)
Weight 20’ 5291lbs. (2400kgs.) / 40’ 10582 lbs. (4800kgs.)
TABLE 1-4
Lenght number of module
20’ (6m) 4
40’ (12m) 9
TABLE 1-5

Safety
Safety Symbols
2
2-1 WMDKdoc020322 Safety
SECTION 2 SAFETY
2.1 Safety Symbols
The following symbols and signal words call your attention to instructions concerning your
personal safety. Be sure to observe and follow these instructions.
DANGER! indicates an imminently hazardous situation
which, if not avoided, will result in death or serious injury.
WARNING! suggests a potentially hazardous situation
which, if not avoided, could result in death or serious injury.
CAUTION! refers to potentially hazardous situations which,
if not avoided, may result in minor or moderate injury or
damage to equipment.
IMPORTANT! indicates vital information.
NOTE: gives helpful information.
Warning stripes are placed on areas where a single decal
would be insufficient. To avoid serious injury, keep out of
the path of any equipment marked with warning stripes.
!

Safety
Safety Instructions
Safety WMDKdoc020322 2-2
2
2.2 Safety Instructions
NOTE: ONLY safety instructions regarding personal injury are listed in this section.
Caution statements regarding only equipment damage appear where applicable
throughout the manual.
OBSERVE SAFETY INSTRUCTIONS
IMPORTANT! Read the entire Operator's Manual before operating
the kiln. Take notice of all safety warnings throughout this manual
and those posted on the machine. Keep this manual with this
machine at all times, regardless of ownership.
Also read any additional manufacturer’s manuals and observe any
applicable safety instructions including dangers, warnings, and
cautions.
Only persons who have read and understood the entire operator's
manual should operate the kiln. The kiln is not intended for use by
or around children.
IMPORTANT! It is always the owner's responsibility to comply with
all applicable federal, state and local laws, rules and regulations
regarding the ownership, operation of your Wood-Mizer kiln. All
Wood-Mizer kiln owners are encouraged to become thoroughly
familiar with these applicable laws and comply with them fully while
using the kiln.
!

Safety
Safety Instructions
2
2-3 WMDKdoc020322 Safety
KEEP HANDS AWAY
WARNING! Always keep clear of exiting hot air through the
exhaust system. Keep hands, feet and any other objects away
from the exhaust when operating kiln. Failure to do so may result in
serious injury.
USE PROPER PROCEDURE WHEN CONDUCTING ELECTRICAL SAFETY CHECKS
AND MAINTENANCE
DANGER! Make sure all electrical installation, service and/or
maintenance work is performed by a qualified electrician and is in
accordance with applicable electrical codes.
DANGER! Hazardous voltage inside the electric disconnect box,
starter box, and at the fans can cause shock, burns, or death.
Disconnect and lock out power supply before servicing! Keep all
electrical component covers closed and securely fastened during
kiln operation.
WARNING! Consider all electrical circuits energized and
dangerous.
WARNING! Never assume or take the word of another person that
the power is off; check it out and lock it out.
WARNING! Do not wear rings, watches, or other jewelry while
working around an open electrical circuit.
WARNING! Voltage is still present in the condensing fans even
when the fans are not running and in many places in the control
cabinet such as the fuses when the control box is off.

Safety
Safety Instructions
Safety WMDKdoc020322 2-4
2
KEEP SAFETY LABELS IN GOOD CONDITION
IMPORTANT! Always be sure that all safety decals are clean and
readable. Replace all damaged safety decals to prevent personal
injury or damage to the equipment. Contact your local distributor,
or call your Customer Service Representative to order more
decals.
IMPORTANT! If replacing a component which has a safety decal
affixed to it, make sure the new component also has the safety
decal affixed.
USE CAUTION WHEN WORKING WITH HEAVY BOARDS
WARNING! Always make sure boards are clamped securely
before drying. Failure to do so may result in serious injury or death.
!
!

Installation and Setup
3
3-1 WMDKdoc020322 Installation and Setup
SECTION 3 INSTALLATION AND SETUP
3.1 Materials
Congratulations on the purchase of a Wood-Mizer®DK Modular Kiln! Enclosed are
complete construction instructions for the kiln. This manual contains drawings and lists of
materials required to construct the WMDK Kit. Follow the instructions carefully,
strictly heeding all special WARNINGS and NOTES.
IMPORTANT! Before beginning construction, check your
local building code authority to see if a building permit is
required.
Open the box and identify all parts listed on the materials list for your kiln.
See Table 3-1. Required materials to be supplied by the customer for the WMDK Kit are
listed below.
See Table 3-2. A list of recommended books concerning lumber drying is provided
below.
Material Total Qty.
Drying chamber, insulated
container or own build 1
Main Disconnect 1
1 See Table 1-3. for amperage requirement
1
TABLE 3-1
Publication Supplier
Wood Handbook AH No. 72, USDAForest Service, Forest Products Lab,
Madison, WI, 1955; (608) 231-9200
Dry Kiln Operator's Manual AH No. 188, E.F. Rasmussen, USDA Forest Service,
Forest Products Lab, Madison, WI 1988
(Stock No. 001-000-04576-8); (202) 512-1800
Understanding Wood, A Craftsman's
Guide to Wood Technology R. Bruce Hoadley, available from Wood-Mizer (Part No.
P05877)
TABLE 3-2

Installation and Setup
Installation Requirements
Installation and Setup WMDKdoc020322 3-2
3
3.2 Installation Requirements
Tools
Necessary tools and components that are required to install kiln:
Bolts
Screws
Drills
Silicones
Hole Saw 60mm
Hole Saw 102mm
Rivet gun (if mounting the kiln in the container)
Rivet gun for rivet nuts (if mounting the kiln in the container)
Drills: 5.1 mm, 9mm, 11mm, 16mm (for steel, concrete of wood depends on
application)
Silicon sealant 310ml
Foam sealant
Manpower
Although two people can put the kiln together, three people (adults) are recommended.
Two people working together should be able to assemble the kiln within one day.

Installation and Setup
Chamber Location
3
3-3 WMDKdoc020322 Installation and Setup
3.3 Chamber Location
The kiln chamber for the Modular Kiln system should be sited on level and firm ground
taking into consideration access for handling equipment and loading/unloading the
timber.
A concrete pad is not necessary if an insulated container1is used. However, wooden
track support bearers, approximately 7” x 9” (18cm x 23cm), or a metal frame are required
to secure the kiln external tracks needed for loading and unloading the lumber.
See Figure 3-1.
Gravel can be added between the wooden bearers for ease of working around the loads.
1.A room with good wall insulation also can be used.
FIG. 3-1

Installation and Setup
Fan Module Installation
Installation and Setup WMDKdoc020322 3-4
3
3.4 Fan Module Installation
In this installation process we will describe the process for a 20’ kiln with 4
modules.
NOTE: All references to right and left are as viewing the kiln chamber from the door end.
CAUTION! The fans can work at temperatures not exceeding 60 oC
The fan module has already been pre-assembled at the factory and no further assembly is
required during the installation. See Section 3.6 for instructions on how to connect the fan
modules to the control box.
Four (4) fan module units are required for a 20’ kiln.
First install the fourth module (marked “4” in the left bottom corner):
Drill holes for the module mounting strip in the chamber roof. Use two people to do
it. One person should place the module with bolted strip in the rear right hand corner
of the chamber and hold it in this position and the other person should drill through
the 5 holes into the roof. Remove the fan module and unbolt the module from the
strip. Re-position the strip to the roof and rivet the strip using the holes already
drilled. Now, position the fan module to the strip and bolt together. NOTE: You can
also drill the holes for the mounting strip using the dimensions indicated in figure
below.
FIG. 3-2
WDK033
Module no.

Installation and Setup
Fan Module Installation
3
3-5 WMDKdoc020322 Installation and Setup
NOTE: Mounting in the isothermal container is shown on the pictures below.
Rivet the mounting strip in the remaining four holes.
Bolt the module to the mounting strip.
FIG. 3-3
FIG. 3-4

Installation and Setup
Fan Module Installation
Installation and Setup WMDKdoc020322 3-6
3
Drill the holes for the bottom rivets and rivet1the module to the side wall.
NOTE: It is very important that the bottom part of the module is perpendicular to the side
wall (where the fans are mounted). Use a triangle to ensure that it is perpendicular to the
wall.
Use the same procedure as described above to mount the third, the second and the first
modules.
Place the fan module cables on the support trays properly. All the fan modules cables
need to be later connected to the outside control box.
There may be a length of clear wall between the last fan module and the inside face of the
closed kiln door. If so, it will be necessary to use a Plenum Blanking Kit to fill this gap. See
Section 3.5 for plenum blanking kit installation instructions.
FIG. 3-5
1.If you are installing in a room other than a container, use wood screws or concrete mounting dowels.

Installation and Setup
Fan Modules Layout for 20’ and 40’ WMDK Kit.
3
3-7 WMDKdoc020322 Installation and Setup
3.4.1 Fan Modules Layout for 20’ and 40’ WMDK Kit.
Plenum Blanking
Kit
Fan Module No. 1
Fan Module No. 2
Fan Module No. 3
Fan Module No. 4
20’ Kiln

Installation and Setup
Fan Modules Layout for 20’ and 40’ WMDK Kit.
Installation and Setup WMDKdoc020322 3-8
3
Plenum Blanking
Kit
Fan Module
No. 4
Fan Module
No. 2
Fan Module
No. 4
Fan Module
No. 6
Fan Module
No. 3
Fan Module
No. 2
Fan Module
No. 1
Fan Module
No. 3
Fan Module
No. 5
Control Box
9x4kW
(095376-9)
40’ Kiln

Installation and Setup
Plenum Blanking Kit Installation
3
3-9 WMDKdoc020322 Installation and Setup
3.5 Plenum Blanking Kit Installation
Position the blanking section against the last fan module. Mark, centre punch and drill
pilot holes for mounting screws. Cut the blanking section to length using a jig saw.
See Figure 3-6.
FIG. 3-6
This manual suits for next models
3
Table of contents
Popular Dryer manuals by other brands

Mediclinics
Mediclinics M14ACS-UL Installation and operating manual

Alliance Laundry Systems
Alliance Laundry Systems D355IE1B Installation and operation

Siemens
Siemens WT44W4G3 Installation and operating instructions

Bosch
Bosch WTR88T81GB Installation and operating instructions

Electrolux
Electrolux EDC 5370 operating instructions

Whirlpool
Whirlpool W10054080A Use and care guide