WORK EXPERT G2394 User manual

After Sales Support 0871 911 7031 customerservice@gardengearonline.co.uk
For correct usage, read these instructions carefully and keep in
a safe place for future reference
1600W ELECTRIC HIGH
PRESSURE WASHER
INSTRUCTION MANUAL
After Sales Support
Call 0871 911 7031
Email: customerservice@
gardengearonline.co.uk
www.geargearonline.co.uk
Product Code: G2394
Thank you for purchasing this
product, which has been made to
demanding high quality standards
and is guaranteed for domestic
use against manufacturing faults
for a period of 24 months from
date of purchase.

2
INTRODUCTION
Congratulaons
You have made an excellent choice with the purchase of this quality Work Expert product.
By doing so you now have the assurance and peace of mind which comes from purchasing
a product that has been manufactured to the highest standards, performance and safety.
We want you to be completely sasfied with your purchase so this Work Expert product is
backed by our full 24 month manufacturer’s guarantee and an outstanding aer sales service
through our dedicated Helpline.
We hope you enjoy using your purchase for many years to come.

3
Contents
2. Introducon
3. Safety informaon and general warnings
4. Safety symbols and their meaning
5. Descripon of parts
5. Assembly
6. User guide
9. Troubleshoong
10. Technical Data.
10. Care and maintenance
11. Plug Wiring
12. Declaraon of Conformity
13. Guarantee
General informaon and safety warnings
• Use the appliance for its intended use only.
• Never touch the power switch, plug or other electrical parts of the pressure washer with wet hands.
• Thoroughly dry hands before turning offor disconnecng from the power supply.
• Keep the power cable offthe ground and away from the working area during operaon.
• Keep the body of the pressure washer behind you during operaon and change locaon so as to avoid
water contact during use.
• The appliance is intended for domesc use only not for commercial purposes.
• In order to protect against the risk of electric shock, do not immerse any part of the body of the
pressure cleaner into water.
• Ensure the voltage on the rang plate matches the mains power supply. To avoid a circuit overload,
do not operate another high waage appliance in the same circuit.
• Never pull
•
•
•
•
•
•
•
•
•
•
•
•
•
•
•
•
•
•
•
the power cord to disconnect from outlet
always hold the
plug and pull to disconnect.
During use, do not lithe appliance by power cord or hoses.
Always disconnect the plug of the appliance from electrical outlet when emptying and when not in
use.
Do not operate the appliance with a damaged cord or if the appliance has been dropped or damaged,
it must be taken to a qualified technician for examinaon and repair. Incorrect re-assembly can cause
a risk of electric shock when the pressure cleaner is used.
Keep the pressure washer and its cord out of reach of children less than 8 years of age at all mes.
During use, always posion the pressure washer on a stable, level and horizontal surface.
Place the pressure cleaner in a posion where the power cord does not obstruct use.
Do not allow power cord or water supply hose to become entangled or trapped.
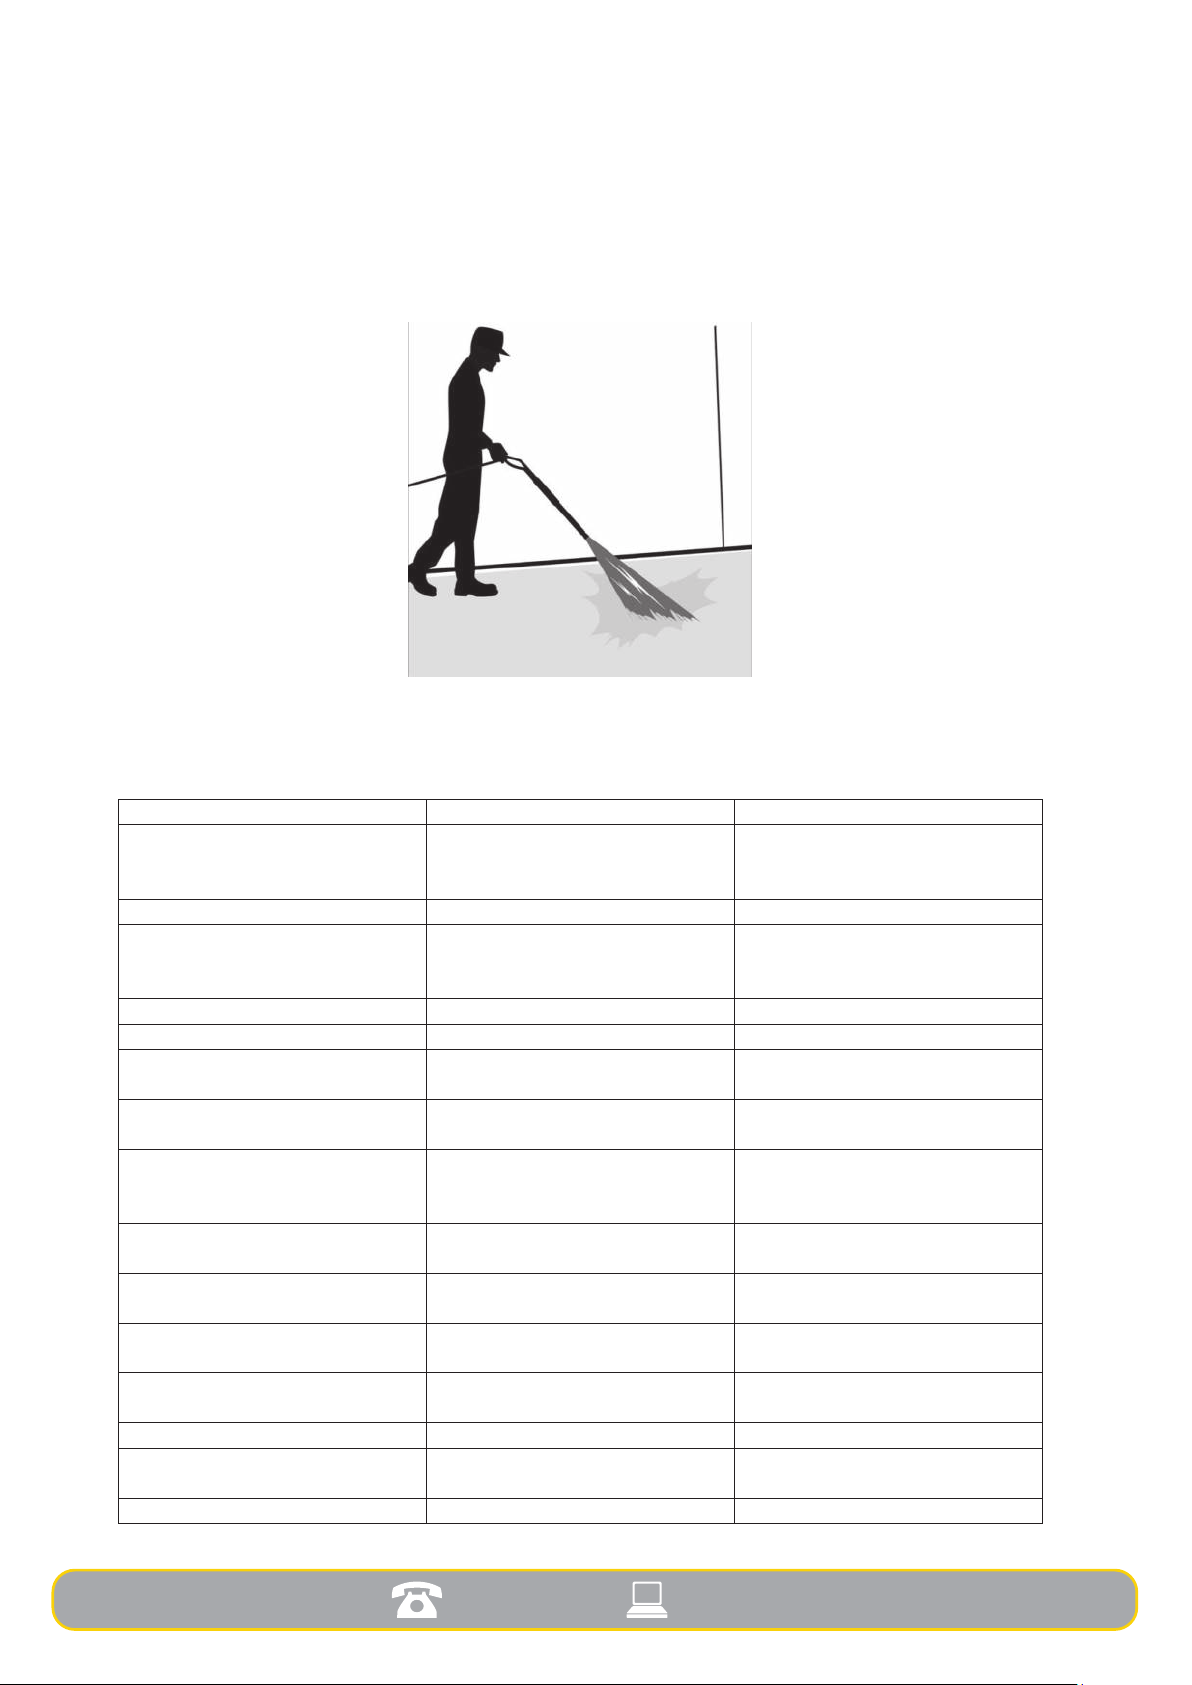
Beware of flying debris.
The pressure washer must not be leunaended while it is connected to the supply mains.
The pressure washer is not to be used if it has been dropped, if there are visible signs of damage or if
it is leaking.
Always make sure the water tank is emped aer use especially to avoid freezing.
Ensure that bystanders especially children are kept at a safe distance from the working area.
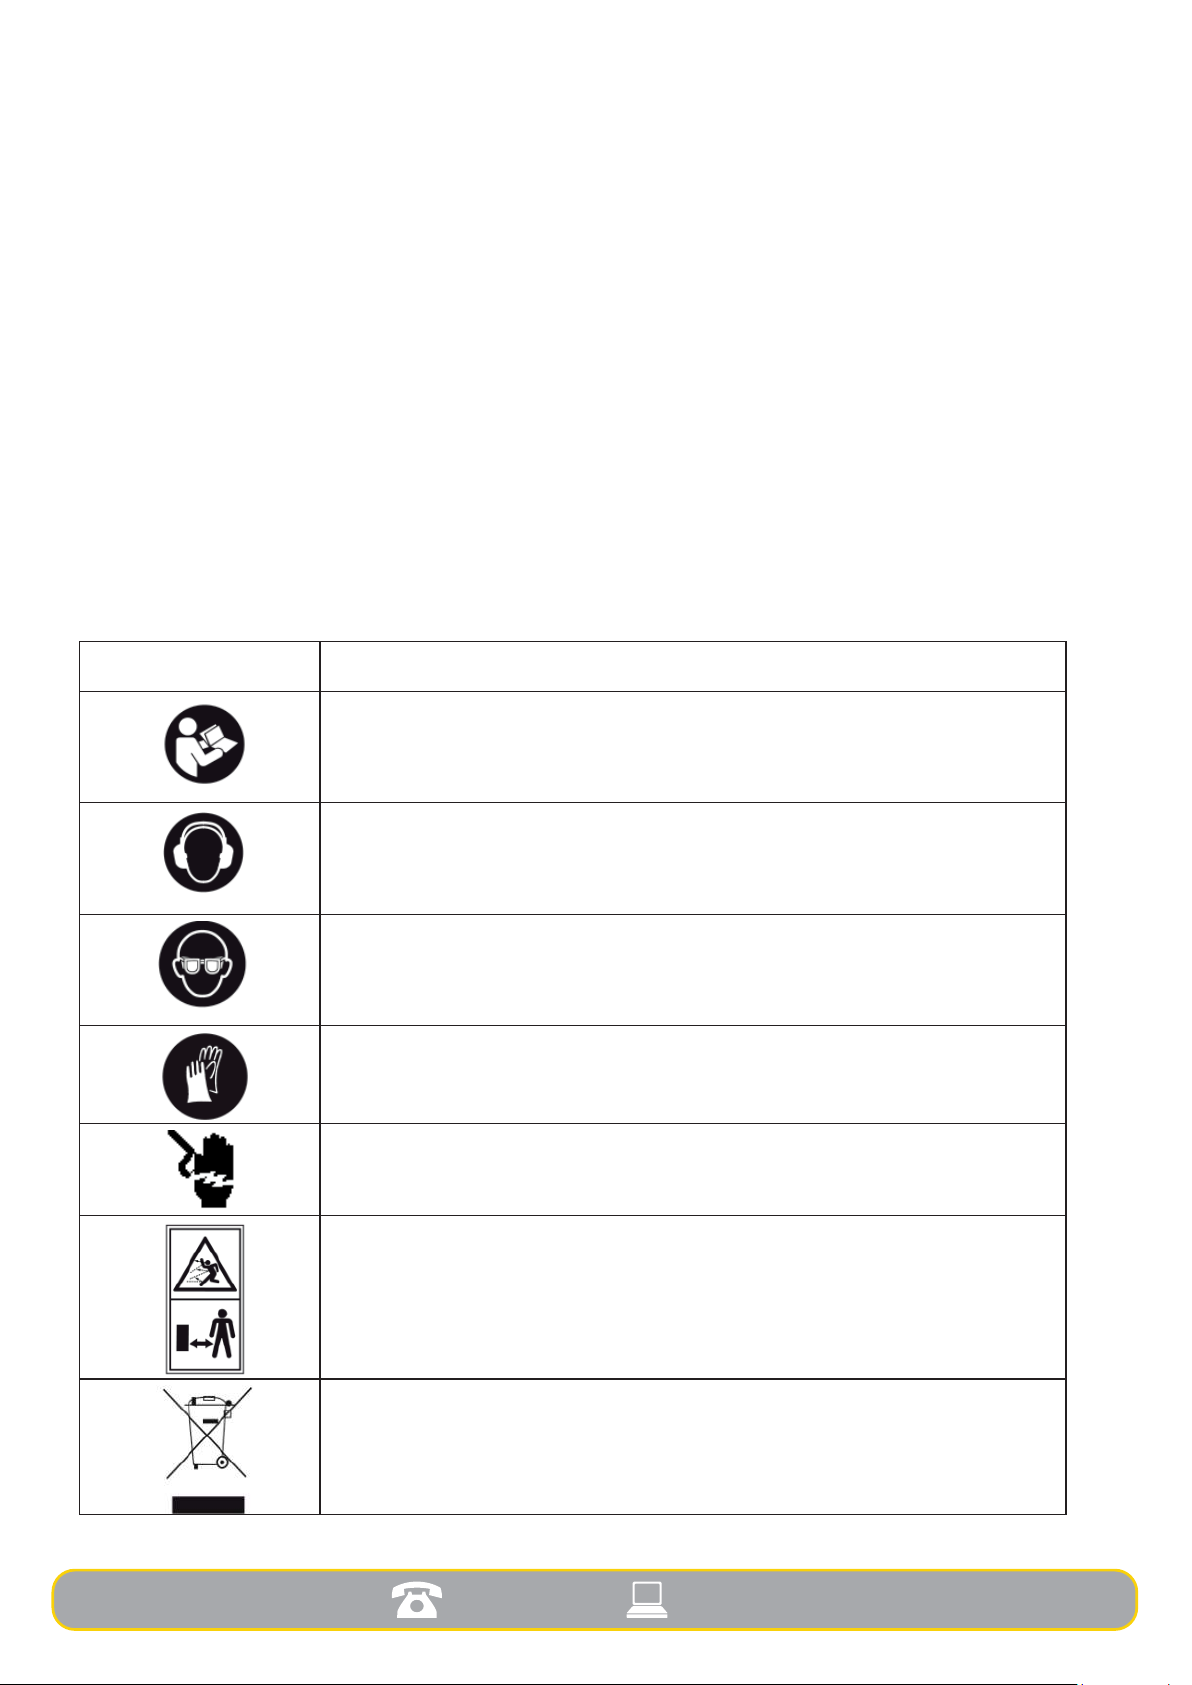
Use personal protecon equipment wear eye protecon and non-skid safety shoes or preferably
wellingtons and hearing protecon in appropriate condions this will reduce the possibility of
personal injuries.
Never wear loose clothing shorts or jewellery whilst using the pressure cleaner.
Never use the pressure cleaner whilst standing on a ladder.
Do not over reach. Always keep a firm foong and maintain your balance during operaon, always
distribute the weight evenly on your body and reduce the possibility of strain.
Keep a diligent eye on what you are working and also on the ground where you are moving around to
prevent tripping over. Take regular breaks and remove and debris before recommencing.
Do not use if the switch fails to turn it on and off.
Do not use the pressure washer while you are red or under the influence of drugs alcohol or

4
medicaon.
Only use the pressure washer and accessories in accordance with these instrucons, taking into
account the working condions and the work to be performed.
Before each use, check the cable and plug for signs of damage. If there is any visible damaged, do not
use it or try to repair it, instead take it to your local qualified specialist.
Do not modify the pressure washer’s parts or components only use those fied. If replacements parts
are required or go to a specialist supplier.
Always hold the pressure washer gun and wand firmly when turning on and during use to avoid
kickback due to the high pressure of the water.
The pressure washer is only designed to use cold water, do not use hot water.
Never aempt to modify or alter factory sengs or any part of the pressure washer.
Always engage the trigger safety latch in the safe posion even when spraying is stopped for a
moment.
Safety symbols and their meaning
Symbol
Meaning
Please read the instrucons carefully before starng the machine.
Wear ear protecon.
Wear eye protecon.
Wear waterproof heavy duty gloves.
T
o reduce the risk of electrocuon, keep all connecons dry and offthe ground
.
Do
not touch plug with wet hands.
Beware of thrown or flying objects. Keep all bystanders, especially children
and pets, at least 15m away from the operang area.
Waste electrical products should not be disposed of with household waste.
Please recycle where facilies exist. Check with your local authority or retailer
for recycling advice.
•
•
•
•
•
•
•

5
Descripon of Parts
1. Main unit
2. On/Offswitch
3. Water inlet ( at the rear of the cleaner)
4. Water outlet
5. Spray gun
6. Lance
7. Nozzle
8. Detergent container
9. Power cable
10. High pressure hose (not shown)
Note: The motor on this pressure washer does not run connuously. It only runs when the trigger of the spray
gun is squeezed. Aer following the startup procedures in this manual, turn the pressure washer ON and
squeeze the trigger for acvaon, see usage instrucon secon in this manual for further details.
Always follow detergent manufacturer’s label recommendaons for proper use of detergents. Always protect
eyes, skin, and respiratory system from detergent use.
Assembly
1. Aach the high pressure hose to the pressure water outlet on the front of the pressure washer.
2. Aach the spray handle to the high pressure hose.
3. Prior to operang the machine please ensure that the high pressure hose has been completely
uncoiled. Whilst the pressure washer is in use the hose should not loop.
4. Mount the nozzle, lance or any other equipment you want to use.
5. Connect the machine to the water and power supplies.
WARNING The pressure washer is not supposed to pump hot water. NEVER connect it to a hot water supply as
it will significantly reduce the life of the pump.
WARNING! This machine has been designed for use with the cleaning detergents designed for use in pressure
cleaners. The use of other cleaning agents or chemicals may adversely affect the safety of the machine.
WARNING! In order to avoid a hazard due to inadvertent reseng of the thermal cut-out, this appliance must
be used with a Residual current Device (RCD) within the circuit.
Always release the trigger when changing from high to low pressure modes. Failure to do so could result in
damage.
2
1
8
9 6 7
3
4
5

6
Adjusting the width of the spray
The angle of spray coming out of the lance may be adjusted on by rotating the nozzle. This will vary the spray
pattern from approximately a 0° narrow high impact stream to a 60° wide fan spray. See below.
A wide fan pattern will distribute the impact of the water over a larger area, resulting in excellent cleaning
action with a reduced risk of surface damage ideal for large surface areas
A narrow stream has high impact force on the cleaning surface and results in maximum deep cleaning in a
concentrated area. However, this narrow high impact spray must be used cautiously, as it may damage some
surfaces.
Usage
Detergents
The use of detergents can reduce cleaning time and assist in the removal of difficult stains. Some detergents
have been designed specifically for pressure washers. These detergents are approximately as thick as water.
The use of thicker detergents, the consistency of washing up liquid and shampoo, will clog the chemical
injection system and prevent the application of the detergent.
Spraying/cleaning techniques
The cleaning power of detergents comes from applying them to a surface and giving the chemicals time to
break down the dirt and grime. Detergents work best when applied at low pressure.
The combination of chemical action and high pressure rinsing is very effective.
On vertical surfaces, apply the detergent starting at the bottom and work your way upward. This will prevent
the detergent from sliding down and causing streaks.
High pressure rinsing should also progress from the bottom to top. On particularly tough stains, it may be
necessary to use a brush in combination with detergents and high pressure rinsing.
Operation
The following cleaning procedure will help you to organize your cleaning task, ensuring that you achieve the
most beneficial results in the shortest amount of time.
Remember to use the spraying/cleaning techniques as above.
1. Surface preparation
Protecting all garden furniture and make sure that all windows and doors are closed tight before use of the
pressure washer. In addition, you should make sure that all plants in the cleaning area are protected by
covering with a plastic sheet.
2. Initial High Pressure Rinse
The next step is to spray the cleaning surface with water to clear off any dirt or grime that may have collected
on the surface. This will allow your detergent to attack the deep down dirt that has worked its way into the
surface. Before commencing, adjust the nozzle to a wide fan pattern and slowly adjust to the desired spray
Lance
Nozzle

7
pattern. This will help you avoid applying too much concentrated spray to the surface that may cause damage.
3. Detergent Application
NOTE: Use only detergents formulated for pressure washers. Test detergent in an inconspicuous area before
use.
NOTE: Detergent will only be released when the gun is set to low pressure.
Detergent application
Follow manufacturer’s label directions for mixing correct concentrations of detergent to water ratio through
the pressure washer setting is approximately 5.4% (1 to 19).
1. Unscrew to top of detergent applicator and fill applicator with detergent.
2. Replace top on applicator.
3. Remove the lance from gun if preferred.
4. Attach detergent applicator to gun and set the gun to low pressure see below.
5. Apply detergent so it thoroughly covers cleaning surface. Apply from bottom to top to prevent detergent
from sliding down and streaking.
6. Allow detergent to remain on the surface for a few minutes. This is a good time to use a brush to lightly
scrub heavily soiled areas.
Never allow detergent to dry on the cleaning surface.
7. Remove detergent applicator from gun and replace with the lance, or remove applicator from end of lance.
8. Rinse detergent from surface.
NOTE: Flush detergent applicator with clear water following each use.
4. Final Rinse
Start final rinse at bottom and work upward. Make sure you thoroughly rinse the surface and that all detergent
has been removed.
5. Turning Off
1. Be sure all detergent is flushed from system.
2. Turn off motor.

8
3. Turn off water supply.
4. After motor and water supply are turned off press the trigger of the gun to depressurize system.
CAUTION: NEVER turn water supply off before turning motor off. Serious damage could occur to the pump and
or motor.
WARNING! NEVER disconnect high pressure discharge hose from machine while system is pressurized. To
depressurize, turn motor off, turn water supply off and squeeze the gun trigger 2-3 times.
5. After each use, wipe all surfaces of the pressure washer with a clean, damp cloth.
6. Storage
Do not store the pressure washer outdoors.
Do not store pressure washer where it might freeze.
Tips for extending the life of your pressure washer
•Never operate unit without water.
•Pressure washers are not meant to pump hot water. Never connect to a hot water supply this will
significantly reduce life of the pump.
•Using non branded detergent may cause damage to pump components and O-rings. This also applies
to chemicals such as bleach shampoo and soap, etc.
•Never operate unit for more than one minute without spraying water. Resulting heat buildup will
damage the pump.
•Before adjusting nozzle’s pressure (high-to-low or low-to-high) release the trigger. Failure to do so will
reduce life of the O-rings in the lance.
Nozzle cleaning instruction
A clogged or partially clogged nozzle can cause a significant reduction of water coming out of the nozzle and
cause the unit to pulsate while spraying.
To clean out the nozzle:
Turn off and unplug unit.
Turn off water supply. Relieve any pressure trapped in the hose by squeezing trigger 2-3 times.
Separate lance from gun.
Rotate nozzle to the narrow stream setting. This opens up the fan blades.
Using included tip cleaner, or an unfolded paper clip, insert wire into the nozzle hole and move back and forth
until debris is dislodged see below.
Remove additional debris by back-flushing water through the nozzle. To do this, place end of a garden hose
with water running to the end of the nozzle for 30-60 seconds.

9
Cleaning angle
When spraying water against a surface, maximum impact is generated when the water strikes the surface head
on. However, this type of impact tends to cause dirt particles to imbed in the surface, thereby preventing the
desired cleaning action. The optimum angle for spraying water against a cleaning surface is 45 degrees.
Spraying water against a surface at this angle provides for the most beneficial impact force combined with
efficient removal of debris from the surface see below.
Troubleshooting
Problem
Possible cause
Possible solution
No detergent getting through
Lance or other detachable
components clogged
Rinse all parts in warm water and
clean the nozzle with tip cleaner as
described above
No detergent getting through
Lance nozzle is not at low pressure
Rotate to set at low pressure
Pressure is too low hoses too long
or water source power not high
enough.
Shorten hose length or increase
water pressure.
Injector clogged on pump.
Seek qualified support
Pressure washer does not start up
Unit is pressurized
Squeeze trigger on gun
Plug is not connected or electric
supply has a fault
Check plug, socket and fuse
Power supply or extension cable at
fault
Check rating matches requirement
of pressure washer
Thermal safety switch has tripped
due to overheating
Switch off and allow the pressure
washer to cool down for 10
minutes and try again
Pump does not reach required
pressure
Water inlet filter is clogged
Clean water inlet filter
The extension lead could be too
long causing a drop in power
Change the extension lead for a
shorter one
Pump is sucking air in from the
hose or connections
Check all connections and hose for
loose fittings openings and rectify
Nozzle is worn or not the correct
size
Seek qualified support
Pump parts are clogged or worn
Seek qualified support
Fluctuating pressure
Pump is sucking air in from the
hose or connections
Check all connections and hose for
loose fittings openings and rectify
Clogged nozzle
Rinse all parts in warm water and

10
clean the nozzle with tip cleaner as
described above
Valves dirty worn or seized
Seek qualified support
Water seals worn
Seek qualified support
Motor suddenly stops
The extension lead could be too
long causing cut out
Change the extension lead for a
shorter one
Thermal safety switch has tripped
due to overheating
Switch off and allow the pressure
washer to cool down for 10
minutes and try again
Power supply or extension cable at
fault
Check rating matches requirement
of pressure washer
Care and maintenance
Check the pressure washer thoroughly after every use and before every use, any identified damage should be
rectified make sure to inspect all filters and the nozzle, make sure there are no impurities or debris if there is
clean as described above. Make sure there is no water in the pump or the hoses.
Wipe all external parts with a damp cloth using warm soapy water and dry thoroughly before storing in a cool
dry place.
Technical Data
Item
G2394
Working pressure
9MPa(90 bar)
Allowable pressure
13.5MPa(135 bar)
Working flow rate
5.5 l/min
Max. flow rate
6.8 l/min
Max. pressure water
supply
0.4MPa(4 bar)
Motor Capacity
1600W
Power Supply Voltage
Max. Water
Temperature
50
℃
220-240V~50Hz

11
Plug Wiring
These safety instructions should be read carefully and kept in safe place for future
reference.
This appliance is fitted with a plug that complies with BS 1363. Only high quality 13A (square
pin) plugs that comply with this standard should be fitted.
Wires are coloured as follows:
Brown – Live
Blue – Neutral
Yellow & Green – Earth
If the appliance is fitted with a 2-core cable it is double insulated and will not have the
yellow and green earth wire.
IT IS ESSENTIAL THAT WIRES ARE ATTACHED ONLY TO THEIR DESIGNATED POSITIONS IN
THE PLUG
Fuses must be replaced with the same rating as the original; please refer to the fuse rating stated on
the plug for this information. Only genuine fuses compliant with BS 1362 should be used.

Declaration of Conformity
In accordance with EN ISO 17050-1:2010
We Branded Garden Products Ltd
of Poplar Lane, Ipswich, Suffolk, IP8 3BU, UK
in accordance to the following Direcves: ;;Pressure Washer
G2394 / ABW-VAT-90P(A)
Measured sound power level Guaranteed sound power level
79 dB LpA 97 dB Lwa
I hereby declare that the equipment named above has been designed to comply with the relevant
secons of the above referenced specificaons and is in accordance with the requirements of the
Direcves.
Signed by:
for the machinery is available from:
hereby declare that:
Equipment
Model number
is in conformity with the applicable requirements of the following documents
Ref. No.
EN 60335-1:2012+A11:2014+A13:2017+A1:2019+A14:2019+A2:2019,EN 60335-2-79:2012;
EN 62233:2008, EN 55014-1:2006+A1:2009 + A2:2011, EN 61000-3-2:2014, EN 61000-3-3:2013,
EN 55014-2:2015
Noise measurements have been made in accordance with EN ISO11680-1 with internal control of
producon (Schedule 8 / Annex V). The declared noise values are as follows:
Mr Dan Price
Managing Director
BVG Group Ltd
April 2021
The technical
Poplar Lane, Ipswich, Suffolk, IP8 3BU
1907/2006 Annex XVII & SVHC
94/62/EC Packaging and Packaging Waste
850/2004/EC Amended by EU No. 757/2010 & EU 756/2010 Persistent Organic Pollutants

GUARANTEE
IMPORTANT
Please do not return this product without first calling
the Customer Service number below:
0871 911 7031
Thank you for purchasing this product, which has been made to demanding high
quality standards and is guaranteed for domestic use against manufacturing faults
for a period of 24 months from the date of purchase.
This guarantee does not affect your statutory rights. If your product fails due to a
defect in material or workmanship during this period, please return it to the place of
purchase. Normal wear and tear is not covered under the guarantee.
Any guarantee is invalid if the product has been misused or subject to neglect or an
attempted repair other than by our own service centre.
Due to continuous product improvement, we reserve the right to change the product
specification without prior notice.
After Sales Customer Service:
Customer Service Department, Branded Garden Products Ltd, Premier House,
Hortonwood 7, Telford, TF1 7GP
Telephone: 0871 911 7031
E-mail [email protected]
Please retain for future reference.
Colours and contents may vary.
Waste electrical products should not be disposed of with household waste. Please
recycle where facilities exist. Check with your Local Authority or retailer for recycling
advice.
Please note that all products with the symbol below must be recycled.
*Calls cost 13p per minute plus your phone company’s access charge
Table of contents