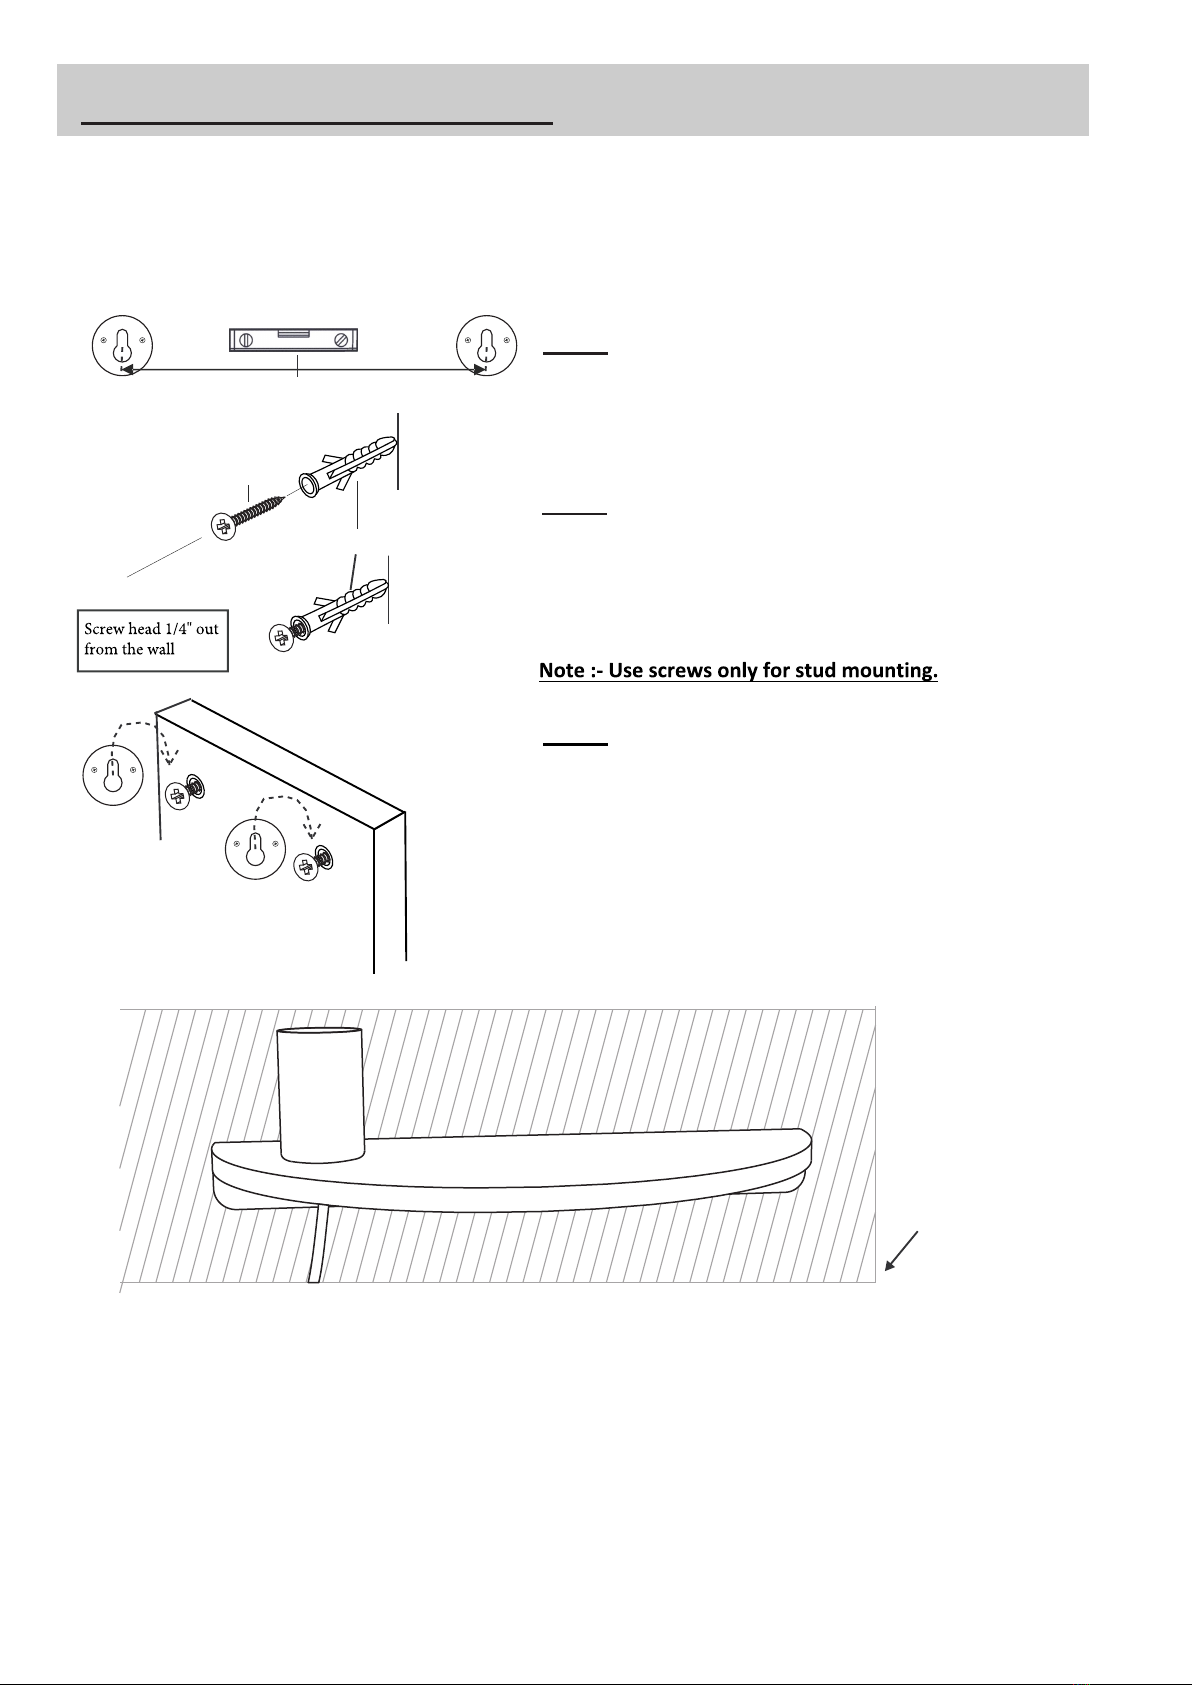
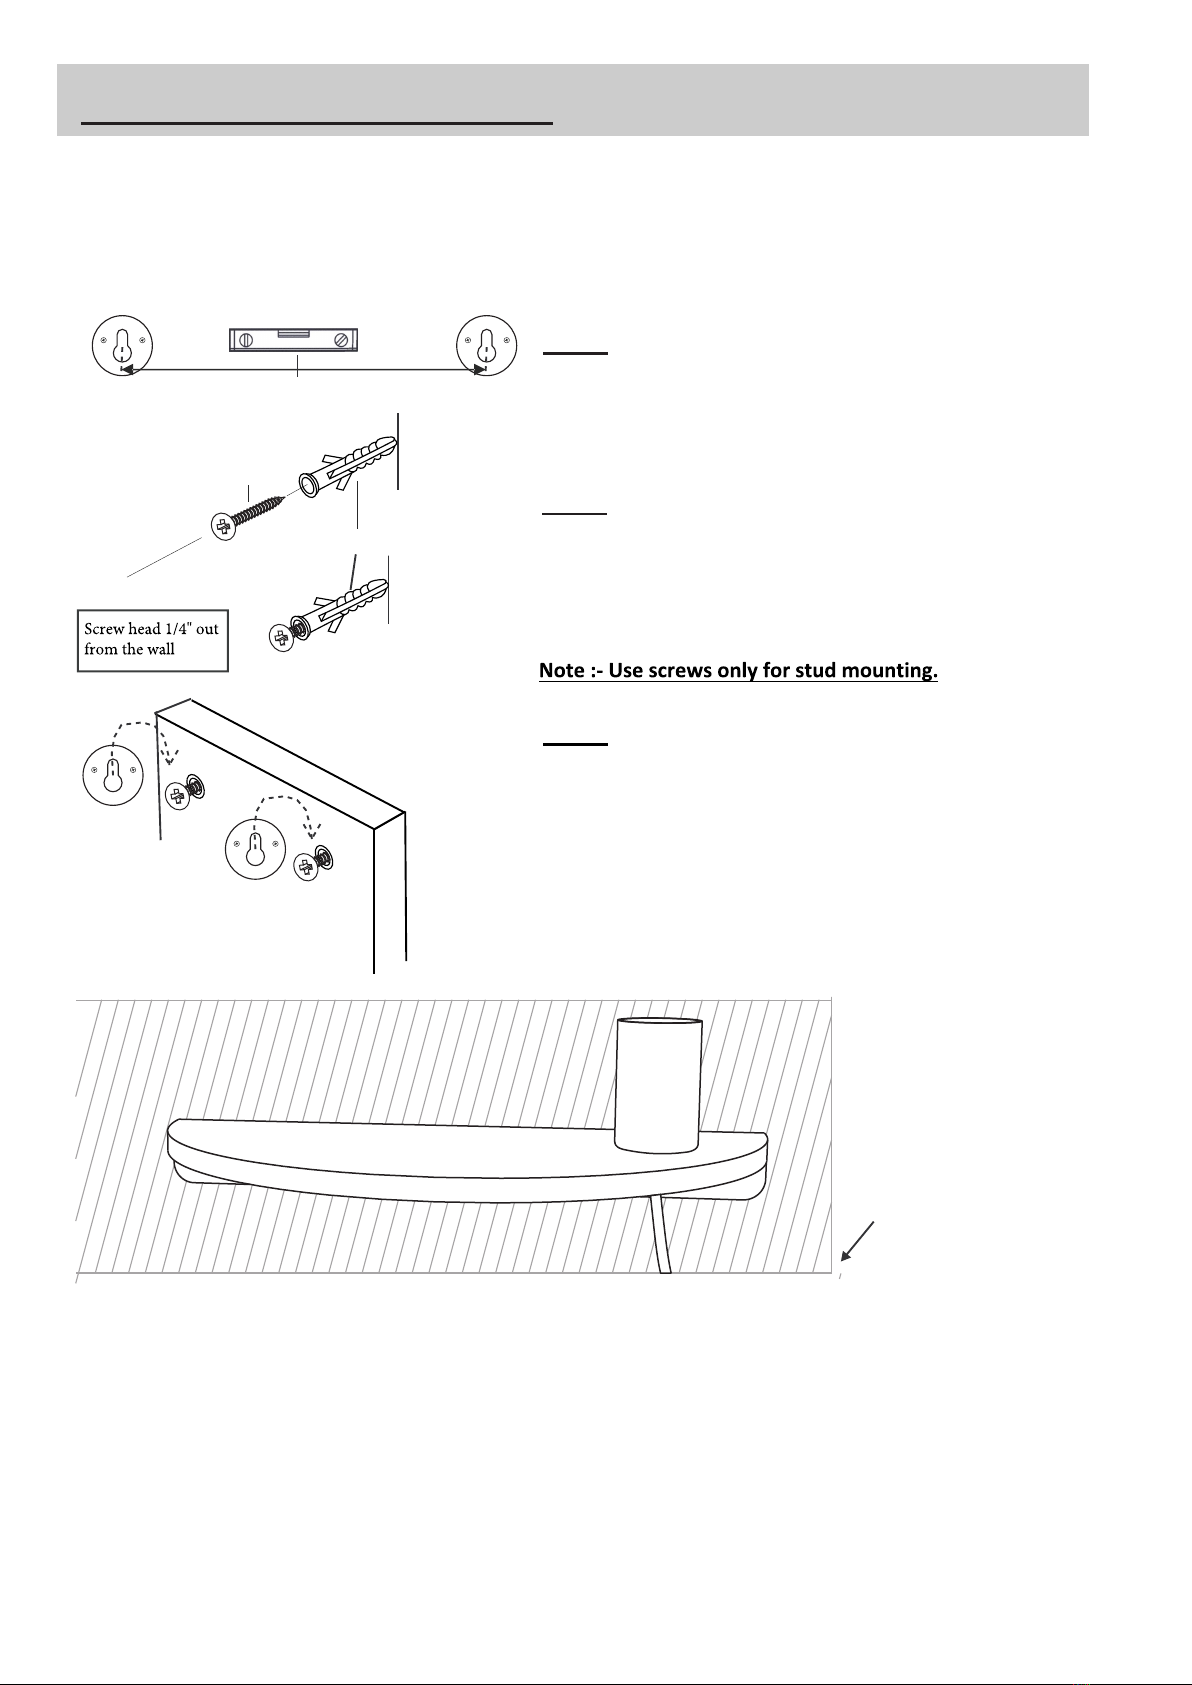
Step-3:- Align key holes over screw heads. Slide Shelf
Sconce down until Screws (H-1) locks in Keyhole.
Adjust protruded Screw (H-1) to fit the Shelf Sconce
snugly against the wall.
Note : This product can take maximum load of 15 lbs
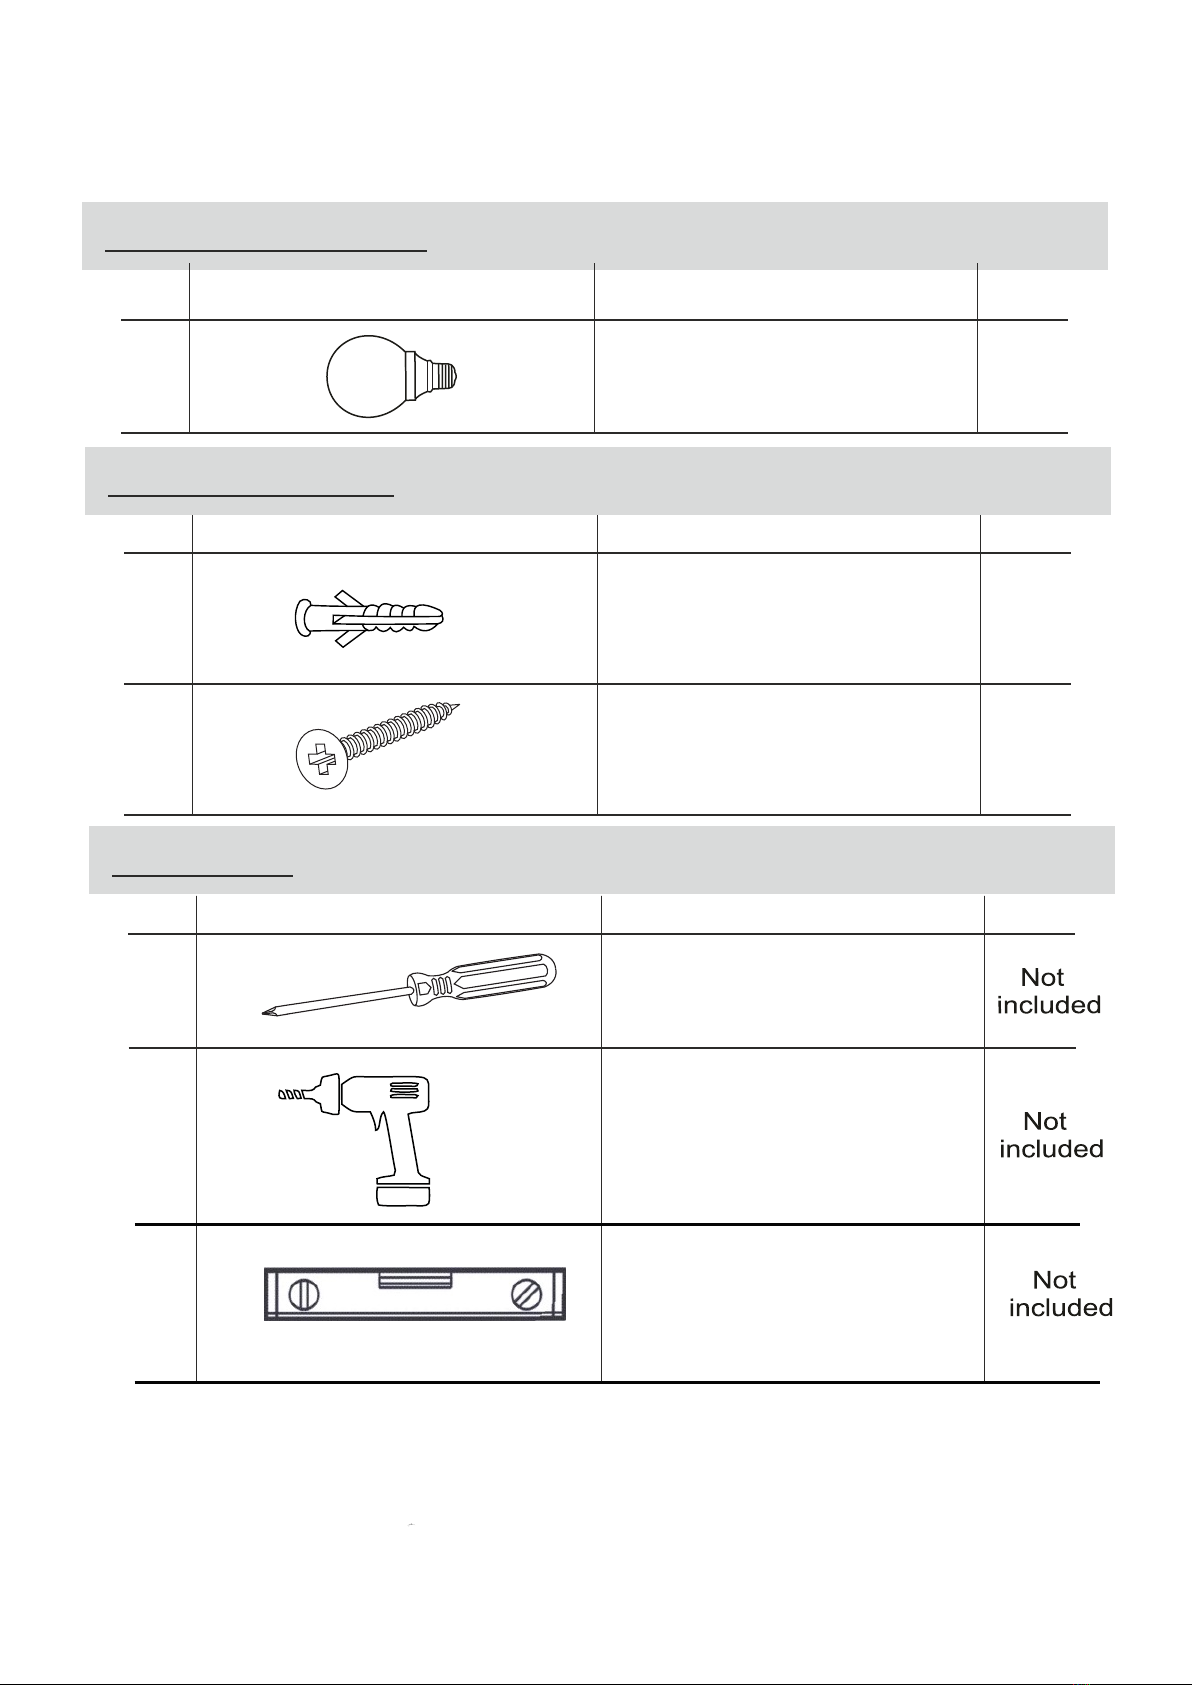
H-1
H-2
Installation Instruction
Step-1 :- Measure the center to center distance of the
keyhole hardware, as shown in the drawing. Mark the
location of holes on the wall as per the measured
distance. Use carpenter’s level (T-3) (not included). to
ensure that hole marks are in level.
Step-2 :- Pre-drill holes at the market location with a
Drill machine (T-2) (not included). Insert Wall plug
(H-1) into the wall. Fix Screws (H-2) into Wall plug
(H-1), leaving approximately 1/4" space between the
back of the Screw (H-1) and the wall.
Page-3
IMPORTANT : Professional installation is recommended. It is essential to use the proper
hardware for your wall type in order to safely install products on the wall. The hardware provided
is not a comprehensive solution for all wall types. Be sure to consult a professional or your local
hardware store to determine the hardware needed for your specific wall type (plaster, drywall,
masonry, concrete, etc.). When applicable, the product MUST be mounted directly to wall studs.
T-3
Wall