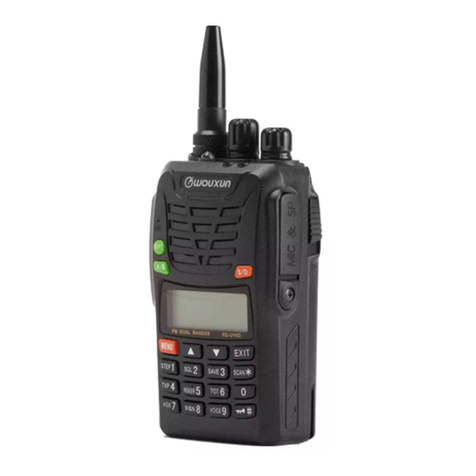
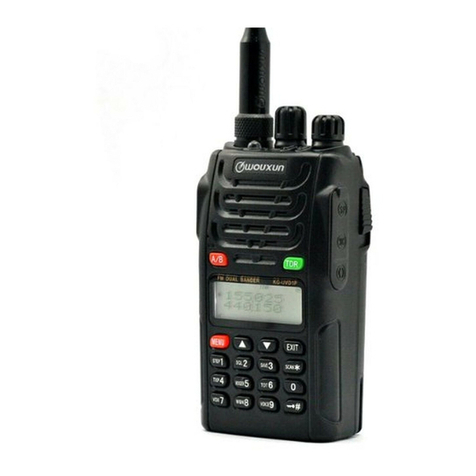
Wouxun KG-V55 User manual

16.2x1
10m
Thanks
for
buying
the
@uiouxun
transceiver.
This
transceiver
offers
latest
design,
multi-functionality,
stable
performance
and
easy
operation.
We
believe
you
will
be
pleased
with
the
high
quality
and
powerful
functions.
READ
THIS
IMPORTANT
INFORMATION
ON
SAFE
AND
EFFICIENT
OPERATION
BEFORE
USING
YOUR
Gwouxun
PORTABLE
TWO-WAY
RADIO.
This
manual
is
suitable
ONLY:
KG-V55.

PRECAUTIONS
is
anacair
Wi
exelent
design
and
advanced
TNROTRY.
ease
follow
the
below
suggestions
and
warning
to
assist
you
to
cary
out
the
responsibilities
pn
warranty
terms,
and
learn
the
safety
before
using
the
transceiver.
J.
Please
keep
the
transceiver
and
aces
out
ot
the
reach
af
chien,
2.
Do
not
disassemble
the
ance
to
avoid
the
possibilty
of
damaging
by
a
non-professional
3
ease
ONLY
use
Guzon
supplied
batterypack
and
charger
to
avoid
the
powy
af
damaging
the
transceiver
Pease
ONLY
use
uoua
supplied
antenna
to
avoid
the
possibilty
af
damaging
the
transceiver
Nether
epose
the
ansceiver
directly
to
the
sunlight
nor
in
the
overheated
places
for
a
lang
lime.
5.
Keep
the
transceiver
away
fror
Ihe
dusty
or
hi
places,
Cea
the
transesver
with
a
mä
brush
/eioth
or
detergents
instead
of
the
agzrewsive
chemical
Da
not
transmit
betore
wel
instaling
the
antenna,
W
any
abnormal
oor
ar
smee
is
detected
from
the
transceiver,
please
power
it
of
imme
then
remove
the
batterypack
from
the
transesiver
And
contact
your
uur
dealer
DA
he
above
neon
sggstns
and
wus
are
compati
fe
al
hd
series
seas
rd
secaoresHearecract
yate
Cu
desl
boty
spe
onsen
>
Casamance
net
espns
or
sny
satety
o
comtat
pele,
hich
are
cased
by
sing
‘hevenmpate
martes
ra

Unpacking
and
checking
the
Equipment
Installing
Before
Use
Getting
Started
Teehnial
specication
Description
of
Transceiver
Description
of
Functions
Mutti
Operation
Modes
Basic
Operation
Shortcut
Operation
Sheet
How
to
Operate
Step
Frequency
(STEP)
—
MENU
1
Squeleh
Level
(SOLLE)
—
MENU
2
Power
Saver
Mode
(SAVE)
—
MENU
3
Transmitting
Power
Selection
(XP)
~
MENU
4
BeginiEnd
Transmitting
Prompt
(ROGER)
~
MENU
5
Time-out
Timer
(TOT)
—
MENU
6
vox
(vox
—
MENU
7
Bandwidth
Selection
(WIN)
~-
MENU
8
Voice
Guide
(VOICE)
—
MENU
9
Transmitting
Overtime
Alarm
(TOA)
—
MENU
10
Beep
Prompt
Function
(BEEP)
—
MENU
11
Display
Language
(Language)
—
MENU
12
Busy
Channel
Lockout
(BCL)
—
MENU
13
Sean
Mode
(SCAEV)—
MENU
1
Receiving
CTCSS
(R-CTC)
=
MENU
15
Transmitting
CTCSS
(CTO)
~
MENU
16
Receiving
BCS
(R-0C5)—
MENU
17
Transmitting
DCS
(F-OCS)
—
MENU
18
CALLVFTX
on
Side
Key
1
(PF1)
—
MENU
19
SCANLAMPISOS-CHTELE-ALARMIRADIOIDISABLE
on
Side
Key
3
(PF3)
—
MENU
20
Working
Mode
Switeh
(CH-MOP)
—
MENU
21
‘Auto
Backlight
(ABR)
~~
MENU
22
Offset
Frequency
(OFFSET)
~
MENU
23
Frequency
Shift
Direction
(SFT)
—
MENU
24
3
4|
u|
(SECOND)
—MENU
25

channel
Name
Edit
(CHNAME)
—
MENU
26
Channel
Memory
(MEM-CH)
—
MENU
27
Channel
Delete
(DEL-CH)
=
MENU
28
Sean
CTCSSIOCS
(SCN-CTQ
—
MENU
29
Power-ON
Message
PONMSG)
—
MENU
30
Mute
Mode
(SP-MUTE)
—
MENU
31
Caller
ID
Code
Switch
(ANI-SW)
~-
MENU
32
Caller
10
Code
Edit
(ANEDIT)
—
MENU
33
DIME
Sidetone
(OTMFST)
~
MENU
34
Keypad
Autolock
(AUTOLOCK)
~
MENU
35
Priority
Channel
Switch
(PRI
CSW)
~
MENU
36
Repeater
Setting
(RPTSET)
—
MENU
37
Repeater
Speaker
(RPT-SPK)
—-
MENU
38
Repeater
PTT
(RPT-PTD
—
MENU
39
Sean
Add
(SCAN-ADD)
—
MENU
40
Single-Tone
Pulse
Frequency
(ALERT)
—
MENU
41
PIT
I0
Delay
(PTT-DLY)
—
MENU
42
PIT
Caller
ID
Modes
(PTT-ID)
—
MENU
43.
Ring
Time
(RING)
—
MENUS
Sean
Channel
Group
A
(SCG-A)
—
MENU
45
‘Scan
Channel
Group
B
(SCG-8)
—
MENU
46
Repeater
Receipt
Tone
(RPT-TONE)
—
MENUAT
Saving
Scanned
CTCSSIDCS(SC-Q1)
—
MENU
48
Mute
Setting
on
Subsfreugency
(SMUTESET)
—
MENU
49
Selective
Call
Code
Group
Setting
(CALLCODE)
—
MENU
50
Reset
Seting RESET)
—
MENU
51
Setting
Backight/BX
LIGHT)—MENUS2
Radio
Storage!RADIO-WR}~-MENUSS
Seramblet{SCRAM)--MENUS4
‘Compander(COMPANDER)-—MENUSS
Repeater
Area
Setting
(RPT
AREA)-MENU
S6
Public
Network
MutefPAMUTE)~-MENU
57
Battery
Voltage
(VOLTAGE)—MENU
58
Network
OFFIPNOFF}-MENU
59
A
Area
MuteiZA
MUTEJ-MENU
60
B
Area
Mute(ZA
MUTEJ—MENU
61

Basic
Operations
fr
Pulic
Network
ModetZone
C)
Detailed
Instruction
for
Some
Important
Functions:
AlI
Calls,
Group
Calls
and
Selective
Calls
Repeater
usage
Optional
Accessories
Troubleshooting
Announcement
Unpacking
and
Checking
the
Equipment
fis)
actly
unpack
the
rascivr
We
recommend
that
you
dertty
the
items
in
the
flowing
table
be
Sscarding
the
packing
materia
ay
ien
is
missed
or
has
been
damages
during
shipment,
please
ot
ur
Courant
‘upplied
Accessories
G
a
Transceiver
High
ganantenna
Llon
batterypack
Inteligent
charger
GF
a
mete
andtap
Users
manual
Waranty
card
o1

ca
Installing
before
use:
Install
remove
batterypack
‘The
batterypack
is
not
fly
charged
before
leaving
factory
Please
charge
it
before
ue
Borat
secu
hemi
or
pt
the
beg
fe
Do
not
vy
o
ere
te
case
Hehe
Bano
"Make
the
caching
groove
al
the
olor
of
he
balesypec
aligned
to
thea
at
he
ballon
of
Be
ras.
press
ve
the
aches
on
the
tap
af
the
batterypack
and
here
crack
then
the
battery
aed
2:
Please
turn
off
ne
rado
befor
taking
the
batterypack
ott
rom
the
radia
Press
down
he
two
latches
to
make
it
of
rom
te
adto,
then
take
down
e
batterypack
Installtake
down
USIM
card
>
Please
tun
off
the
ado
before
sal
or
zake
down
the
USIM
Car
>
Please
mi
the
direction
to
sert
the
USIM
Card
ner
sert
tne
USIM
card
to
tne
port
according
tthe
struction
Hom
the
pcre
Tere
erac
natin
ls
ready.
_2.
Please
press
doan
he
USIM
card
from
radio.
There
3s
also
crack
then
USIM
card
ks
out.

Features
ust
‘la
i
apart
ofan
fret
etc
Arta
og)
‘ross
ara
Repeat
Due
work
at
A.B;
Caren
One
area
TX,
another
area
RY
ual
eve
Simataneous
cp
arog
A.
8,
Caras.
Same
Ban
or
Cros
Band
ava)
Large
Colorful
Screen
Frequency
Range
(stable
for
different
countes
or
areas):
136.
1748400-47OMHz
(RX/TX)
144-1466430-440MHEERITO
136
1744400.
480MHz
RX/TA)
(RFM
76M
1OBKAHeSpace
100%)
136:1748420-570MHz
(RDO
eter
WCDMA
21005000E
P
FM
Toa
aque
step
194)
nds
Tin
Bands
dsolay
on
the
arg
sen
independent
Frequency
Offset
ana
Direction
Programmable
in
Repeater
Mode
UUHF/VHE
or
VHF/UHF
Cross
Band
Repeater
998
Memory
Chanel
Strong
and
Sable
Output
Power
(VHF:
SWUHF:
AW)
QT/DAT
Encoding
Decoding,
QT/DAT
Sean
Mult
Definito
for
Sitkeys
incoming
Message
Display
Cater
10
display
DIME
EncodnghDecodng
AN
Cals,
Croup
Cals
And
Selective
Cals
505
Functon
Ponty
Scan
Function
Remote
Alarm.
Wide/Narrow
Bandwidth
Selection
(25KP2/12
5KH2)
Voice
Guise:
Chinese/Enssh
Chinese/Engsh
Sereen
Display
Bright
Fang
hminaton
Single
Tone
Pe
Freuency:2700H2/1
75/000}
1450Hs
naling
far
activating
repeater)
Reverse
Frequency
Stopwatch
Scrambler
Setting
for
Backight
Compander

o
E
=E
ae
Tae
a
AER
a
e
g
herr
ae
vaca
aplay
onto
san
wn
pow
on-
Paasa
rotor
the
oa
fo
[erary
Charach
[999
-
se
ase
Area]
RX
Serstty
|
106
Paraat
nae
g
fae
pa
ae
eee
eo
——
Sia
E
[SERIE
[seams
i
>145.025508
ZEN
TRE
[Sule
sry
Ezg
po
EG
amk
eD
aw
Dan
SE
tte
>145.025508
nie
iromasea
oo
06
=
o7


Description
of
Functions
Multi
Work
Modes
3
Normal
transceivers
communication
mode
b.
Directional
cross-bandi
repeater
mode
or
iwa
way
cross-band
repeater
made
Note:
Work
modes
can
be
switched
ia
key
‘There
areAB
ara
C
areas
on
the
LCD
soe
bo
digia
testo
wart
The
master
band
is
with
al
sign
LP]
on
the
top
right
his
is
an
important
sign,
since
a
the
below
operation
intretin
are
f
the
master
band
The
band
without
sgn
called
“Sub-bane™
2
Specifications
on
ASB
bands
can
be
programmed
separately
Please
set
the
band
that
you
want
1o
program
any
speciation
into
as
the
master
band
finty
3
Some
functions
are
nat
alowed
to
be
used
under
ecto
cross
ban
repeater
or
two
way
cross
band
repeater
mode
Basic
operation
m
Quick
search
‘Short
press
ER
or
AW
key
to
search
the
desired
function/
parameter
during
your
setting,
whi
Tong
press
to
quick
search
m
orm
encoding
Tni
tact
bas
DTME
encoding
Ay
pesing
he
right
nurnher
ke
lng
yu
the
right
DTME
tone
whch
you
want
to
TX.
Number
key
and
corresponding
DTMF
encoding
are
howe
5
ajejefe
a
aT
=
sfo
a
ole
Setting
Reverse
Frequency
Function
When
the
reverse
frequency
function
activated,
he
transmiting
and
receving
frequences
can
‘exchanged
And
the
CTCSS/DCS
encoding
and
decoding
can
also
be
exchanged
How
to
operate
reverse
frequency function:
In
standby
mode,
long
press
to
turn
on
the
reverse
frequency
function;
Ione
press
Baga
turn
oft
Working
Mode
switch
Tiwo
work
modes:
VFOFrequency)
mode
and
MRIChannel)
mode
Three
diferent
display
manne
for
MR
mode
A.
Chane!
NO.
8.
Frequency
Channel
NO.
C.
Channel
Name
Tes
avalat
to
serch
between
the
Frequency
mode
and
he
channe!
made
manual
ot
va
te
%0

VFO/MArequency/
Channel
swith
sts
indicated
as
following:
Vro
D>
MR(Channel
NO)
—Pe
MArequeney+
Channel
NO)
—De
MA(Channei
Name
A
1
Wen
yau
set
poo
fronting
work
mede,
pe
LED
ereen
dapi
===)
ne
input
te
cre
psvor
nd
pres
inplng
te
wong
password,
he
wo
ade
wh
carrot
be
worl,
sword
ny
an
be
PENNE
va
Seta
AI
PORNE
‘ctr
When
the
pasword
made
p
ofa
ZENO
te
warmest
os
not
eau
wn
wire
cione
Function
stalin
he
battery
For
source
transceiver
ard
target
rarscowe,
2
Pomering
on
arget
vansceiver,
5
Pes
PFA
of
sourco
tance
and
power
usne
[on
at
ne
same
tme
vedere
|
a
had
LED
of
the
source
rado
ashes,
tho
dong
actuate
ED
is
fasting
red
during
coring,
LED
goos
out
In
case
ot
seer
doning
LED
glows
connor
red
case
of
doning
ivr
cen
iio
Tang
ng
Sane
ks
dhentail
Inder
s
off
when
competing
doning
A
oii
Jo
ue
th
tient
cagr
on
the
battery
power
is
ow
the
transceiver
wil
activate
voce
guide,
and
prompt
"OF
in
every
5
se-
cons
Inger
the
AC
plug
int
ote
(AC-90-240V,
the
charger
indicator
lashes
once.
That
means
the
cha
rengisin
sandy,
Insert
the
battery
into
the
charger,
the
RED
indicator
continuousiy
flashes.
That
means
the
charging
‘onthe
progress
Whàe
the
GREEN
indicator
continuousty
flashes.
That
means
the
charging
is
complete
g

‘Shortcut
Operation
Sheet
i
i

‘Shortcut
Operation
Sheet

Shortcut
Operation
Sheet

Shortcut
Operation
Sheet
a
a-
©
|
-o-a
e-eo-[
7
o-
EE
j-e-e
e-me
-o-o
2-00-
mma-
mE
O
-e-a
How
to
Operate
itep
Frequency
(STEP)
~~
MENU
1
|n
standby,
press
EE
+
WM,
the
screen
displays
[==
E
to
enter,
press
em
/
ED
to
select
the
deed
step,
then
press
EI
to
confien,
finaly
press
|Æ
to
return
to
standby
fhe
frequency
steps
selectable
for
this
transceiver
are
as
falows:
KH,
6:25KH,
10.00KHz,
12
50KHz,
25.00KHz,
50.00KHz
and
100KHZ
squelch
Level
(SQL-LE)
-=
MENU
2
squelch
level
is
about
when
the
signal
strong
enough
to
tern
on
the
squelch
function,
and
when
tis
jeak
enough
to
tum
oft
You
may
hear
the
voice
from
the
loudspeaker
when
turing
ON
the
squelch
and.
ecg
the
same
signal
fom
otber
transceivers.
ager
evel
makes
t
harder
to
receive
the
weak
signals
le
lower
level
wi
be
interfered
by
noises
and/or
unwanted
signats
ln
sandy,
press
e
+
WER,
the
seen
displays
(poe
fess
GE
to
enter,
press
EN
/
AE
1o
select
the
desired
squcieh
level,
than
press
Bt
conim,
finaly
press
aI
te
return
to
standby:
EJ

How
to
Operate
Titer
othe
uh
ae
he
sige
eng
rand
Power
Saver
Mode
(SAVE)
—
MENU
3
en
the
power
saver
functions
ON,
the
receiver
cst
wil
be
cto
for
a
moment,
and
then
activate
to
detect
the
signals
for
a
white,
in
order
to
reduce
the
battery
capacity
consumption
|a
standby,
press
€B
+
€,
the
sereen
displays
pass
e
to
enter,
it
shows
ON!
press
m
/
a
to
select
tum
ON/OFF
the
power
saver
funtion:
Press
to
confirm,
and
then
press
ap
to
return
to
standby:
Transmitting
Power
Selection
(TXP)
—
MENI
Jn
frequency
mode,
press
4,
the
screen
displays
[r=
ess
EB
to
enter,
it
shows
HIGH
press
/
to
select
HIGH/LOW
power,
then
press
EB
to
confi,
finaly
press
to
return
to
standby.
z
fror
A]
>
Tae
taner
has
HIGH
nd
LOW
tart
power
stletabie
ie
HGH
SW
oww
UHE
HOA
AW
LON
Transmssion
Prompt
settings
(ROGER)
~-
Menu
5
m
en
the
transceiver
isstandbyipress
the
G+
OEB
keys
andthe
screen
wil
display:
(COP
pess
the
key
to
aces
the
menu,
and
after
pressing
the
WE
/
AED
keys
to
choose
the
required
prom
Frode
press
the
ema
key
ta
to
con,
or
the
key
ta
retum
to
stand.
he
racer
features
kre
a
prompt:
BOT
(begining
of
transmission)
,
COT (en
of
tarsi
POTH
(beginning
and
end
of
transmision),
and
OFF
(prompts
deactivated)
Time-out
Timer
(TOT)
—-
MENU
6
Phs
ansceiver
can
be
setin
60
levels
wth
2
seconds
each,
between
15
and
900
seconds
In
standby,
press
emm
+
a
,
the
screen
displays
[z
=)
ess
D
to
enter,
press
EM
/
ED
to
select
the
desred
er
level,
then
press
EB
to
contem,
nay
pess
ED
to
return
to
standby

/OX
(VOX)
~~
MENU
7
Jn
standby.
press
emn
+.
the
screen
displays
ess
E
to
enter
,
press
SER
/
ÆÐ
to
select
VOX
evel
9),
then
press
EB
to
confirm,
finaly
ees
QD
o
return
to
standby:
ie
ess
to
erter,
press
/
BW
to
select
ON
or
OFF,
and
then
press
GB
key
to
con,
Fal
press
€D
to
return
to
standby.
NOTE
A
NOTE
A
ID
Tha
ger
of
VON
s
set:
the
hasan
inde
PIN
SCAN
and
Fia
radha
modes,
he
VOX
incon
notable
Bandwidth
Selection
(WIN)
—
MENU
8.
þa
standby,
press
EI
+
WE
the
screen
displays
(
ess
€B
to
entes,
t
shows
WIDE,
press
ER
/
Bla
selec
WIDE/NARROW
bandwidth,
then
pre
(EÐ
to
confiem
,
finally
press
D
to
return
to
standby.
pere
are
wo
bandwidths
for
option:
WIDE-25KH
and
NARR:12.
542
foice
Guide
(VOICE)
-—
MENU
9
fn
standby,
press
IÐ
+
the
sereen
display
24
[Transmitting
Overtime
Alarm
(TOA)
-—
MENU
1
hn
stanby,
press
€
4+
AED
tre
screen
displays
ss
the
ED
key
to
access
the
menu,
and
after
pressing
the
ER
/
E
keys
to
select
the
required
tm
rest
the
em xy
to
confi,
anei
he
aED key
to
return
to
standby:
FOA has
a
maximum
length
of
10seconds,
each
level
corresponding
to
second,
OFF:
Deactivate
TOA
|
Special
Reminder
A
|
>
When
the
Wansmison
exceeds
the
rman
stopped
automata,
error
tone
wil
prompt
and
va-
jeep
Prompt
Function
(BEEP)
—
MENU
11
In
standtsy,
press
+
EMER
the
sereen
diay

How
to
operate
sss
EI
to
enter
press
WEB
/
KB
totum
ON/OFF
the
beep
prompt
fein
then
press
SI
to
conrra,
fly
press
GD
to
return
to
standby:
Display
Language
(LANGUAGE)
—
MENU
12
hn
standby
,
press
€B
+
ABE
,
the
screen
display
[gmr]
ress
to
access
the
function,
press
WEB
/
a
to
select
the
destred
language,
and
then
press
EB
Ho
conf,
press
to
retum
to
standby
mode.
(0
Options
CHINESE
and
ENGLISH
Busy
Channel
Lockout
(BCL)
—
MENU
13
Intequency
mode,
press
E
+
ME
,
he
sereen
dispiays
(G
‘s
Ð
to
enter,
press
AEB
/
D
to
select
ON/OFF
this
functor
hen
press
EB
to
confirm.
fl
pres
QD
to
return
to
standby
jote-
This
funtion
is
invasin
oss
band
repeater
or
repeater/lransitter
modes
Scan
Mode
Settings
(SC-REV)
—
Menu
14
=
cots
he
menu,
and
afier
pressing
the AER
/
AE
ke
tens
ren
the
transceiver
is
standby,
press
the
+
MIER
,
keys
and
the
screen
wil!
display
===
ing,
press
the
E
key
to
confir,
and
the
AD
key
to
retum
to
standby
Ine
transceiver
has
3
scan
modes
TO,COand
SE:
seconds.
carrier
wave
signal
is
lost
for
3
seconds.
sE:
scanning
wll
top
when
ace
wave
signal
is
found.
(O:
after
Anding
a
carrier
wave
signal,
scanning
wil
continue
if
no
operations
are
carer
out
within
5
0:
scanning
wil
stop
when
a
carner
wave
signa!
has
been
found
and
scanning
wil
continue
f
the
xin
Hold
on
Æ
for
2
seconds
to
access
the
scan
mode
Receiving
CTCSS
settings
(RX-CTC)
—
Menu
15
sr,
press
the
AID
key
to
retum
co
standby.
en
the
transcever
in
standby.
press
the
G+
WE
keys
and
the
screen
wil
display
Press
the
hey
to
access
the
menuand
after
pressing
the
OM
/
AEB
key
to
select
the
CTCSS
you
he
CTCSS
has
a
total
af
50
groups,
ranging
from
67.0
to
254.1HZ.
OFF:Deactivate.

How
to
Operate:
Transmitting
CTCSS
settings
(TX-CTC)
—
Menu
16
3
en
the
transceser
is
standby,
press
the
EID
+
EMD
keys
and
the
sereen
wt
dispiay
(rer
7]
Press
the
€m
key
to
access
the
menu,
and
atter
pressing
the
WM
/
BP
key
to
select
the
CTCSS
you
foe,
press
the
em
key
to
confirm,
and
press
the
ID
key
to
retum
to
standby.
TCSS
has
a
total
ot
groups,
ranging
fom
67.0:254
THe.
OFF:
Deactivate
teceiving
DCS
settings
(RX-DCS)
~
Menu
17
en
tne
Vanoce
band.
peste
+
OIRD
keys
ard
the
screen
wt
dapi
(EEEE
"T
fren
the
ky
aces
the
er,
and
after
pesng
the.)
ost
tne
DCS
youd
[re
hy
to
confer,
and
press
the
Dy
eo
andy
Des
105
groups
o
postive
cde,
108
rs
of
ragab
code,
aging
DO23N
to
D754:
ber:
penenie
Transmission
DCS
settings
(TX-DCS)
—
Menu
18
jen
the
transceiver
standby
pes
the
CB
=
WIE
keys
and
the
sereen
wil
splay
[7
þress
the
EI
key
ta
access
the
menusane
afier
pressing
the
EM
/
kay
to
select
the
DCS
you
des
fs
press
the
EB
ey
ta
contem,
and
pres
the
I
key
to
retum
ta
standby.
YCS:
105
groups
pase
cade,
xin
105
groups
of
negative
codes,
ranging
from
0023N
to
D7541.
æ

How
to
Operate
DES
postive
code)
ALLIVETX
on
Side
Key
1
(PFI-KEY)
—
MENU
19
I
standby,
press
+
BEB
kihe
sereen
dosys
ess
to
aces
the
mens
press
(ER
/
to
sele
anf,
an
gress
Dt
return
to
standoy.
wo
options:
CALSletive
Calk)
and
VFIX
Cassin
on
Sub-freguency).
feiecve
cal
codes
are
programmed
via
Guu
supgšed
software.
made
you
deste,
And
then
press
to
xine
jCANILAMPISOSITeleAlarm/RADIOIDISABLE
on
Side
Key
3
(PF3-KEY)
~-
MENU
2
Jn
sandy
pres
EL
+
MAB
the
sereen
diay
ress
D
to
access
the
menu,
prest
R
/
to
select
The
union
you
desire
And
then
press
I
te
oni,
press
Bo
return
to
standby
ix
options:
SCAN LAMR
SOS,
Behl,
RADIO
and
Disable
ten
operaons
according
ta
alert
functions
Jn
sandy
press
PFA
to
acess
canning
mode
(scan
made
can
be
set
via
MENU
14-Scan
Made
Setting)
le
press
any
key
to
stop
caning
MP
Activate
lamp
anc
J
sandy
press
PF
to
activate
lamp
function,
while
press
PF3
again
to
deactvate
505-CH
futon
þr
sandy
press
PFA,
the
speaker
wil
prompt
alarm
afte
2
second,
and
the
ado
wl
transmit
alarm
30
Table of contents
Other Wouxun Transceiver manuals

Wouxun
Wouxun KG-UV950P User manual

Wouxun
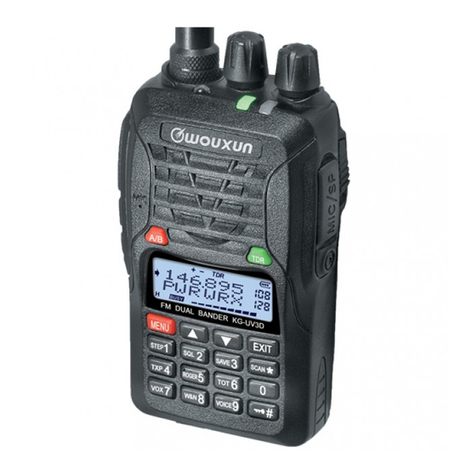
Wouxun KG-UV3D User manual

Wouxun
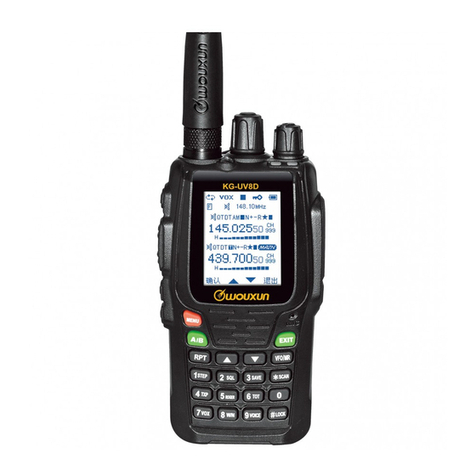
Wouxun KG-UV8D User manual

Wouxun
Wouxun KG-UVA1 User manual

Wouxun
Wouxun KG-UVD1 User manual

Wouxun
Wouxun KG-689 User manual

Wouxun
Wouxun KG-UVD1P Upgrade Version User manual

Wouxun
Wouxun KG-998 User manual

Wouxun
Wouxun KG-UVD1P Upgrade Version User manual

Wouxun
Wouxun KG-UVD1E User manual

Wouxun
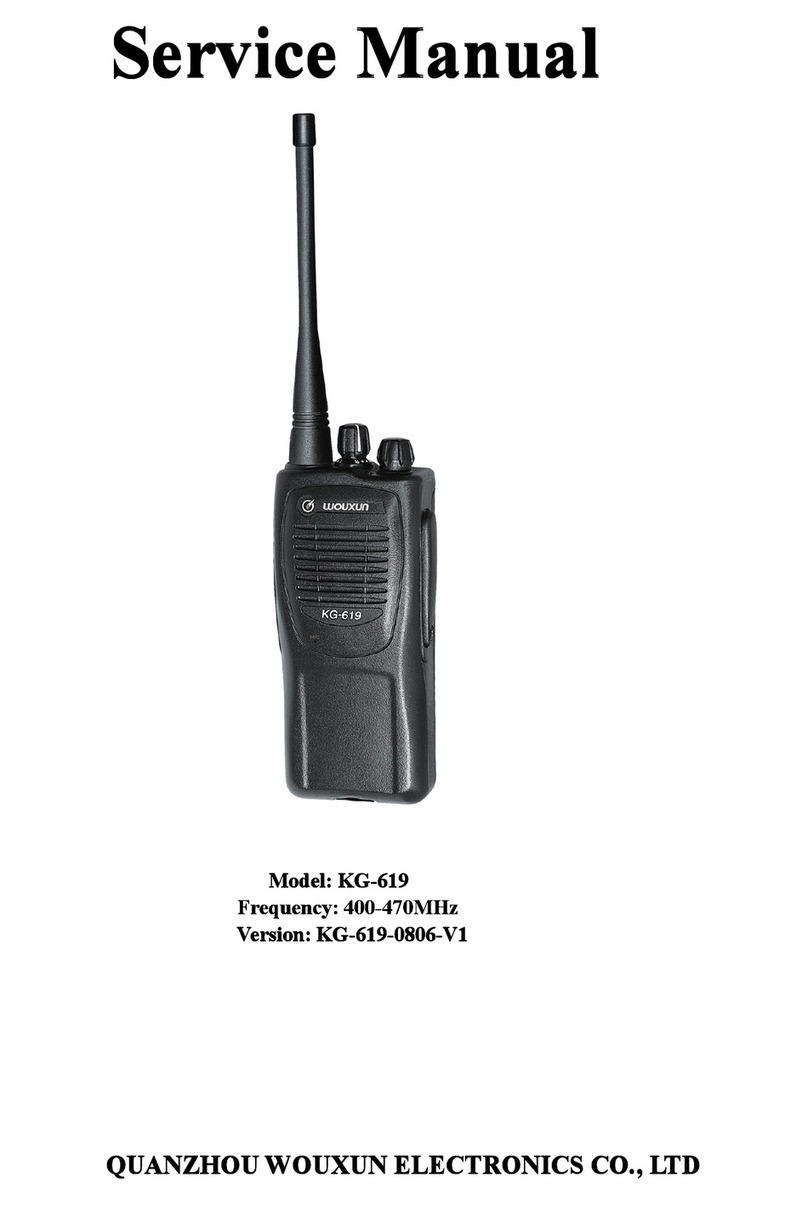
Wouxun KG-619 User manual

Wouxun
Wouxun KG-UV9D User manual

Wouxun
Wouxun KG-UV6D User manual

Wouxun
Wouxun KG-UV920P User manual

Wouxun
Wouxun KG-UVD1 User manual

Wouxun
Wouxun KG-UV6D User manual

Wouxun
Wouxun KG-UV920R User manual

Wouxun
Wouxun KG-UVD1P Upgrade Version User manual
Wouxun
Wouxun KG-988 User manual
Wouxun
Wouxun KG-V98 User manual