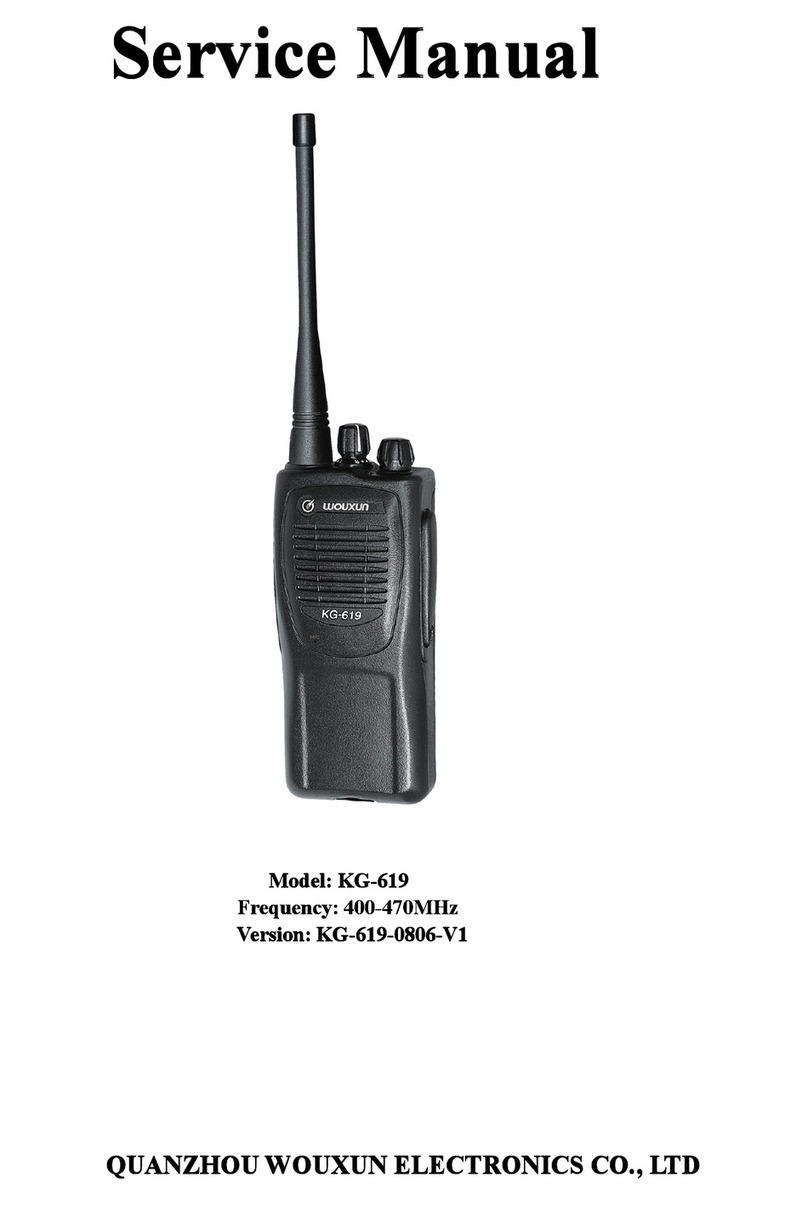
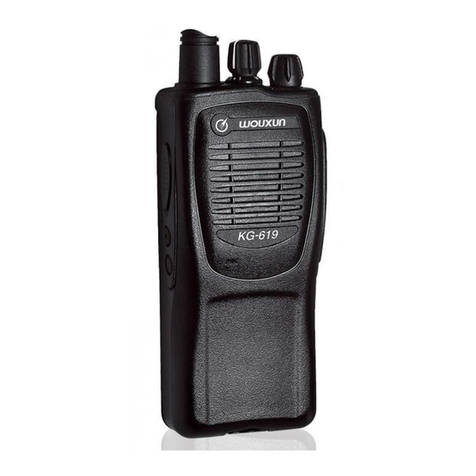
Wouxun KG-998 User manual

16.2x11cm
Thanks
for
buying
the
@wouxun
transceiver.
This
transceiver
offers
latest
design,
multi-functionality,
stable
performance
and
easy
operation.
We
believe
you
will
be
pleased
with
the
high
quality
and
powerful
functions.
READ
THIS
IMPORTANT
INFORMATION
ON
SAFE
AND
EFFICIENT
OPERATION
BEFORE
USING
YOUR
@wouxun
PORTABLE
TWO-WAY
RADIO.
This
manual
is
suitable
ONLY:
KG-998.

PRECAUTIONS
This
transceiver
is
with
excellent
design
and
advanced
technology.
Please
follow
the
below
suggestions and
warning
to
assist
you
to
carry
out
the
responsib
on
warranty
terms,
and
learn
the
safety
before
using
the
transceiver.
1.
Please
keep
the
transceiver
and
accessories
out
of
the
reach
of
children
2.
Do
not
disassemble
the
transceiver
to
avoid
the
possibility
of
damaging
by
a
non-professional.
3.
Please
ONLY
use
@wouxun
supplied
batterypack
and
charger
to
avoid
the
possibility
of
damaging
the
transceiver.
4.
Please
ONLY
use
@wouxun
supplied
antenna
to
avoid
the
possibility
of
damaging
the
transceiver.
5.
Neither
expose
the
transceiver
directly
to
the
sunlight
nor
in
the
overheated
places
for
a
long
time.
6.
Keep
the
transceiver
away
from
the
dusty
or
humid
places.
7.
Clean
the
transceiver
with
a
mild
brush/cloth
or
detergents
instead
of
the
aggressive
chemical
material.
8.
Do
not
transmit
before
well
installing
the
antenna.
9.
if
any
abnormal
odor
or
smoke
is
detected
from
the
transceiver,
please
power
it
off
immediately,
then
remove
the
batterypack
from
the
transceiver.
And
contact
your
@wouxun
dealer.
‘@wouxun
Professional
FM
Transceiver
>>
All
the
above
mentioned
suggestions
and
warnings
are
compatible
for
all
@usouxun
series
transceivers
and
accessories.
Please
contact
your
@uwsouxun
dealer
about
any
upset
operation.
>»
Gwouxun
manufacturer
is
not
responsible
for
any
safety
or
operation
problems,
which
are
caused
by
using
the
incompatible
accessories
or
parts

Unpacking
and
checking
of
your
equipment
Supplied
accessories
Description
of
functions
Getting
started
Description
of
transceiver
Programming
assistance
function
Operation
steps
Function
operation
and
instruction
CTCSS
&
D.CS
Squelch
Power
Save
Mode
Time-out
Timer
Scan
Scan
Mode
Scan
Adding
Busy
Channel
Lockout
vox
01
01
02
03-04
03-04
05
06
07-12
-
07
07
07-08
08
08
08-09
09
09
09
VOX
Delay
Setting
Voice
Guide
TXIRX
Programmable
SOS
Alarm
Emergency
DTMF
All
Calls,
Group
Calls
and
Selective
Calls
Low
Voltage
Prompt
How
to
Use
Intelligent
Charger
Trouble
shooting
Technology
parameter
Appendix
1
Appendix
2
Technology
specification
Optional
accessories
Announcement
@wouxun
Professional
FM
Transceiver
09
10
10
10
10
10-11
11-12
12
12
13-14
15-16
15
16
17
18
19

01
Unpacking
and
checking
of
your
equipment
©
Carefully
unpack
the
transceiver.
We
suggest
that
you
identify
the
items
on
the
following
table
before
discarding
the
packing
material.
If
any
items
are
missing
or
have
been
damaged
during
shipment,
please
notify
your
@wouxun
dealer.
Supplied
accessories
Transceiver
High
gain
antenna
4
Lithium-ion
batterypack
T,
Intelligent
charger
Beltclip
Handstrap
User's
manual
Service
card
Description
of
functions
1.
Output
Power:
VHF:
5W/1W,
UHF:
4W/1W,
PMR:
0.5W
.
DTMF
Encode
and
Decode
VOX
CTCSS/DCS(standard
and
non-standard)
VOX
Delay
English
Voice
Guide(Selective
Other
Languages)
25KHz/12.5KHz
bandwidth(PMR
only
12.5KHz)
High
battery
capacity
selectable(2600mAh)if
needed
Multi-way
scanning
bt
a
a
a)
10.
Busy
Channel
Lockout
11.
12.
13.
14.
15.
16.
17.
18.
19.
20.
‘@wouxun
Professional
FM
Transceiver
Low
Voltage
Prompt
TOT
PC
programming
Channel
Scanning
Adding
Lamp
sos
Alarm
Emergency
Selective
Calls
Firmware
Upgradable
Power
selectable
by
high,
middle,
low
(Except
PMR)
02

Getting
started
E
Description
of
transceiver
Antenna
=-
OPE
e
Lamp
Speaker
03
--Channel
Knob(16
channels)
--
Power-ON/OFF
Knob,
Volume
Knob
Red
when
TX
cnn:
Green
when
RX
Microphone
Sidekey
1(Programmable
button)
—-
PTT
Button
Sidekey
2(Programmable
button)
Sidekey
3(Programmable
button)
‘@wouxun
Professional
FM
Transco
Earphone
jack
and
programming
port
connecting
for
external
earphone,
programming
cable
04

Programming
assistance
function
S
User
can,
as
required,
set
the
following
assisted
functions
for
PF1
and
topkey
via
KG-998
programming
software:
Æ
Monitor
ON
Œ
Monitor
OFF
E
Scan
ON
E
Scan
OFF
E
VOX
ON
E
VOX
OFF
E
Lamp
ON
m
Lamp
OFF
05
Operation
steps
1.
Rotate
the
power
switch
/
volume
control
knob
clockwise
to
conduct
the
power
supply.
Then
adjust
the
volume
by
rotating
the
knob.
Rotate
the
knob
counter-clockwise
to
power
off.
2.
Rotate
the
encoder
knob
to
select
the
desired
channel.
Clockwise
rotation
can
raise
the
channel
number
while
counter-clockwise
rotation
lowers
the
number.
The
encoder
also
can
hear
the
annoucement
of
the
current
channel
number.
06

Function
operation
and
instruction
>
All
the
function
operations
are
programmable
via
KG-998
programming
software.
CTCSS
&
D.C.S
This
transceiver
is
equiped
with
CTCSS
(Continuous
Tone
Controlled
Squelch
System)
and
D.C.S
(Digital
Controlled
Squelch)
functions.
You
can
ignore
the
unwanted
calling
from
the
frequency
via
this
function.
Only
when
receiving
the
same
CTCSS
tone
or
D.C.S
code,
the
transceiver
will
release
mute.
>
CTCSS
or
D.C.S
cannot
make
the
dialogue
concealed
or
encrypted,
but
only
can
prevent
you
from
the
unwanted
dialogue
SQL
When
squelch
function
is
on,
and
the
signaling
is
compatible,
there
is
audio
output
from
speaker.
The
higher
level
for
squelch
is
programmed,
there
are
more
weak
signals
will
be
avoided.
If
you
program
the
lower
level
of
squelch,
radio
will
be
easily
interference
with
the
noise
or
other
useless
signals.
Power
Save
Mode
When
save
function
is
ON,
the
transceiver
automatically
activates
to
voltage
save
mode
10
seconds
07
‘@wouxun
Professional
FM
Transceiver
after
there
is
no
signals
or
any
operations.
It
cuts
off
the
receiver
circuit
for
a
while
in
order
to
save
voltage,
and
it
continues
working
when
there
is
signal
detected.
The
save
mode
is
exit
if
there
is
any
signal
or
operation
onto
the
transceiver.
Time-out
Timer
Time-out
timer
is
to
prevent
the
transceiver
from
continuous
transmitting
for
a
long
time.
The
transmitting
will
be
interrupted
compulsorily
when
the
continuous
transmitting
time
is
over
than
the
preset
value.
This
function
is
to
prevent
the
transceiver
from
being
overheated
and
damaged.
Scan
This
function
is
a
receiving
way
for
monitoring
the
wanted
channel
communication.
Press
PF1
that
is
programmed
as
"Scan".
The
transceiver
will
scan
one
by
one
according
to
the
channel
numbers
on
the
scan
list.
When
scanning,
green
light
flashes.
Indicator
LED
illuminates
green
when
a
certain
channel
receives
signals
and
the
signaling
types
are
matched.
While
the
scan
function
is
activated,
the
transceiver
will
check
the
calling
being
available
in
the
scan
channel.
If
there
are
signals,
it
will
switch
to
the
channel
for
receiving
calling.
Scan
Mode
TO:
After
searching
signals,
the
transceiver
will
continue
scanning
if
without
any
operation
within
5
seconds,
Press
PTT
key,
the
transceiver
transmits
the
appointed
channel
by
encoder.
Scan
will
stop
after
transmitting.
08

Function
operation
and
instruction
CO:
The
transceiver
will
stop
scanning
when
searching
a
signal.
It
will
resume
after
3
seconds
when
the
signal
disappears.
Press
PTT
key,
the
transceiver
will
transmit
the
appointed
channel
by
encoder.
It
will
stop
scanning
after
transmitting.
SE:
Scan
will
stop
when
receiving
a
signal.
Press
PTT
key,
the
transceiver
will
transmit
the
searched
channel.
It
will
be
back
to
the
appointed
channel
by
encoder
after
transmitting
if
there
is
no
operation
in
10
seconds.
Scan
Adding
Note:
m
Radio
only
scans
the
channels
which
is
added
to
scan
list.
m
Method:
Program
it
via
software.
Busy
channel
lockout
This
function
is
to
prevent
the
interference
of
other
communicating
channels.
If
the
selected
channel
is
occupied,
press
PTT,
the
transceiver
can
not
transmit.
vox
When
detecting
voice,
the
transceiver
will
switch
to
transmitting
mode
automatically.
As
VOX
should
detect
voice,
transmitting
will
be
a
little
delayed,
and
the
beginning
of
the
voice
may
not
be
transmitted.
There
are
10
levels
for
VOX.
Higher
level,
less
sensitive.
VOX
Delay
Setting
When
VOX
transmits
is
started
after
tone
is
detected,
but
there
is
no
any
more
new
tones,
there
is
delay
time
programmable
to
keep
transmission.
09
‘@wouxun
Professional
FM
Transceiver
Voice
Guide
It is
supported
to
have
English
and
Chinese
as
voice
guide.
TX/RX
Programmable
It is
programmable
to
program
any
lawful
frequencies
for
RX
and
TX
within
the
specified
frequency
range.
SOS
This
SOS
function
can
be
pre-programmed
on
the
sidekey
for
quick
operation
when
emergency.
Then
the
radio
will
send
the
SOS
audio
upon
the
channel
through
the
encoder.
The
time
for
sending
is
10
seconds
every
time,
while
interval
is
5
minutes.
During
SOS
time,
it
exit
the
SOS
mode
if
carrier
signal
comes
in,
press
PTT
to
transmit
or
other
operations
on
the
radio.
Alarm
Emergency
This
Alarm
function
can
be
pre-programmed
on
the
sidekey
for
quick
operation
when
emergency.
The
radio
will
send
the
ANI
Code+Alarm
Code
out
upon
the
channel
through
the
encoder,
meanwhile,
the
speaker
will
be
Alarm
audio
output
for
emergency.
Press
any
buttons
can
exit
from
the
Alarm
Mode.
DTMF
Optional
signal
It
is
programmable
to
set
the
DTMF
transmission
via
the
programming
software
in
the
Optional
signal.
10

Function
operation
and
instruction
Select
DTMF
is
to
set
the
DTMF
encoding&
decoding
ON,
while
select
OFF
is
to
turn
off
the
DTMF
function.
Ð
Please
set
this
function
in
the
CHANNEL
MESSAGE
by
the
programming
software,
which
can
be
specially
programmed
for
each
channel.
DTMF
Transmit
It
means
the
duration
of
transmitting
DTMF,
with
the
range
from
50
milliseconds
to
500
milliseconds.
DTMF
Interval
It
means
the
interval
for
the
digital
when
transmitting
DTMF,
with
the
range
from
50
milliseconds
to
500
milliseconds.
All
calls,
Group
calls
and
Selective
calls
This
series
of
transceiver
is
available
for
the
ANI
ID
transmission,
ANI
ID
editable
and
the
DTMF
decoding
functions.
It
is
programmable
to
use
the
All
calls,
Group
calls
and
Selective
calls
function
during
the
group
communications
without
other
equipments.
Please
program
the
settings
as
followings:
1.
Editing
the
ANI
ID
code
Every
set
of
the
communicating
transceivers
among
the
groups
should
be
well
programmed
their
codes
rr
respectively.
Professional
FM
Transceiver
2.
DTMF
signaling
to
be
ON
Every
set
of
the
communicating
transceivers
among
the
groups
should
be
well
programmed
to
open
the
DTMF
signaling.
Low
voltage
prompt
When
the
voltage
is
low,
the
transceiver
will
sound
two
"Toot",
and
the
light
will
flash
every
10
seconds
and
a
“Toot”
sounds.
How
to
use
the
intelligent
charger
1.
Insert
the
AC
plug
into
the
outlet
(AC:
90-240V),
the
charger
indicator
flashes
once.
That
means
the
charging
is
in
standby.
2.
Insert
the
battery
into
the
charger,
the
RED
indicator
continuously
flashes.
That
means
the
charging
is
on
the
progress.
While
the
GREEN
indicator
continuously
flashes.
That
means
the
charging
is
complete.
>>
When
inserting
the
exhausted
batterypack,
the
intelligent
charger
will
precharge
the
batterypack
in
trickle
form.
The
RED
indicator
will
be
flashing
at
the
moment.
This
process
is
lasting
for
10-20
minutes.
And
then
the
charging
is
normal.
Red
indicator
continuously
flashes,
And
then
the
GREEN
indicator
flashes
when
the
charging
completes.
Ð
Trickling
charging
the
exhausted
batterypack
is
in
order
to
protect
lithium-ion
batterypack
better.

13
Trouble
shooting
Please
check
carefully
if
your
transceiver
is
faulty
by
following
this
chart.
If
you
maintain
to
have
trouble
you
can
reset
your
transceiver,
which
will
help
you
eliminate
your
problem
very
often.
Problem
Transceiver
will
not
be
powered
on.
Possible
Cause
1.
The
batterypack
is
not
installed
properly.
2.
The
batterpack
maybe
exhausted.
3.
The
batterypack
is
broken.
Possible
Solution
1.
Re-install
the
batterypack.
2.
Charge
the
batterypack.
3.
Change
the
batterypack.
‘@wouxun
Professional
FM
Transceiver
Problem
The
transmitting
light
is
on,
but
can
not
transmit.
Possible
Cause
1.
Check
whether
you
set
the
busy
channel
lockout
function.
Possible
Solution
1.
Turn
off
the
busy
channel
lockout
function.
The
receiver
light
is
on
and
there
is
no
sound
from
the
1.
The
power
switch
is
not
adjusted
well.
2.
Confirm
if
you
use
the
right
mute
mode.
1.
Turn
the
volume
control
again.
2.
Reset
the
mute
mode.
2.
The
signal
you
are
receiving
is
very
weak.
speaker.
1.
Check
if
you
have
installed
your
antenna
|
1.
Install
the
supplied
antenna.
There
is
no
i p
=
right.
2.
Move
the
radio
around
till
receiving.
you
receive
the
desired
signal.
Transmit
automatically
when
the
transceiver
is
in
standby.
1.
Check
whether
the
VOX
level
is
too
low.
1.
Turn
off
the
VOX
function,
or
set
the
VOX
to
high
level.
14

chnology
parameter
Profesional
FM
Transceiver
Appendix
2
Appendix
1
1
2
3
4
|
5
77.0
15
107.2
25
151.4
35
183.5
45
225.7
6
79.7
16
110.9
26
156.7
36
186.2
46
229.1
7
82.5
17
114.8
27
159.8
37
189.9
47
233.6
mz
85.4
18
118.8
28
162.2
38
192.8
48
241.8
9
88.5
19
123.0
29
165.5
39
196.6
49
250.3
`
10
95
|
20
127.3
30
167.9
40
199.5
50
254.1
J
15

Technology
specification
(Frequency
ranges
are
suitable
for
different
countries
or
areas
400-480MHz,
PMR446MHz,
136-174MHz
Channel
numbers
16
channels
Operating
voltage
TAV
Operating
temperature
-30T
to
60%
Operating
mode
Co-channel
or
Dis-channel
simplex
Output
power
VHF:
5W/1W,
UHF:
4W/1W,
PMR:
0.5W
Modulation
FM
(F3E)
Maximum
deviation
<4
5KHz
Spurious
radiation
<
-60dB
Frequency
stability
+5ppm
Receiving
sensitivity
<0.2uV
Audio
output
power
=500mW
Weight
248g
(size
125
x
62
x
37
(mm)
Ð
Specifications
are
subject
to
change
without
notice.
Optional
accessories
Leather
case
Programming
cable
Speaker/Mic
Headset
‘@wouxun
Professional
FM
Transceiver
Six-way
charger

19
Announcement
@wouxun
endeavors
to
achieve
the
accuracy
and
completeness
of
this
manual,
but
is
not
liable
for
any
possible
omission
and
printing
errors.
All
the
above
specifications
are
subject
to
change
by
@wouxun
without
prior
notice.
English
Version:
KG-998-1908-V1
Table of contents
Other Wouxun Transceiver manuals

Wouxun
Wouxun KG-UV3D User manual

Wouxun
Wouxun KG-UV920P User manual

Wouxun
Wouxun KG-UVD1 User manual

Wouxun
Wouxun KG-UV6D User manual

Wouxun
Wouxun KG-988 User manual

Wouxun
Wouxun KG-V55 User manual

Wouxun
Wouxun KG-UV9D User manual

Wouxun
Wouxun KG-UVD1P Upgrade Version User manual

Wouxun
Wouxun KG-UVD1E User manual

Wouxun
Wouxun KG-UV920R User manual

Wouxun
Wouxun KG-UVD1 User manual

Wouxun
Wouxun KG-669E Series User manual

Wouxun
Wouxun KG-UVD1P Upgrade Version User manual

Wouxun
Wouxun KG-619 User manual

Wouxun
Wouxun KG-619 User manual

Wouxun
Wouxun KG-UV8D User manual

Wouxun
Wouxun KG-UV950P User manual

Wouxun
Wouxun KG-UVA1 User manual

Wouxun
Wouxun KG-V98 User manual
Wouxun
Wouxun KG-689 User manual