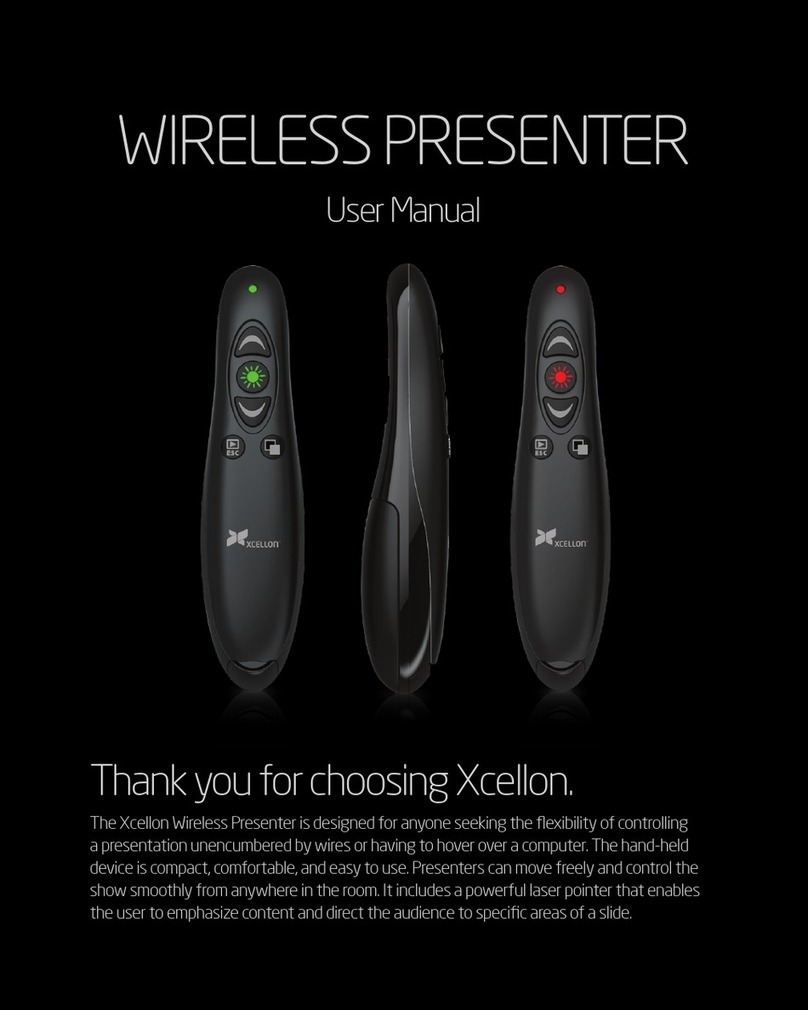
Xcellon WPM-20R User manual

1

2
Thank you for choosing Xcellon.
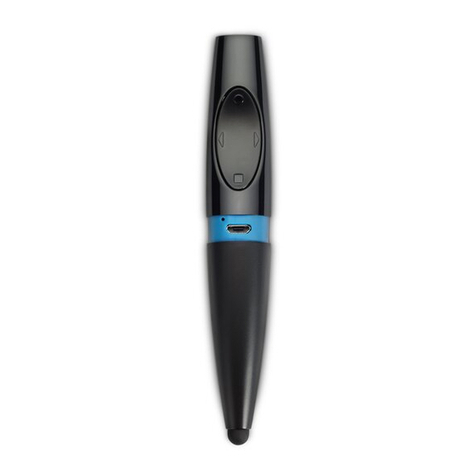
The Xcellon WPM-20R is a handheld wireless controller that provides users with the
flexibility to move around freely while presenting a PowerPoint or Keynote slideshow.
This innovative tool features a powerful laser pointer and is designed with numerous
special functions that imitate keyboard and mouse commands. Users can accurately
control the cursor, right- or left-click on objects, navigate to the next or previous slide,
draw on the screen with a pen tool, and erase it with the eraser tool. Special functions
built into the Presenter allow you to pause the slide show while having the option of
fading to a white or black screen. All of these features are built into a light, compact,
and ergonomically designed tool that is comfortable to hold and easy to use throughout
lengthy presentations.
The Presenter operates on a strong 2.4 GHz radio signal with low interference for precise
control of your computer at up to 65' (19.8 m). It oers plug-and-play technology
for Mac OS and Windows computers. Inserting the included USB receiver into your
computer’s USB port is the only setup necessary.

3
Precautions
»Please read and follow the instructions in this manual for proper use of this
device.
»Keep this product away from water and flammable gases or liquids.
»Use a soft, slightly moistened cloth when cleaning. Do not use solvents or
abrasive substances.
»This product has no serviceable parts.
»Do not open this device for maintenance.
Important! This product emits a Class II laser. Do not stare into the beam. The laser
beam can cause permanent damage to eyes. Keep this device away from children.
!

4
Overview
Front
1 PC (PowerPoint): Pen Tool
Mac (Keynote): Switch Presenter Display
2 Pause, fade to black screen
3 Pause, fade to white screen
4 Right-click
5 Navigation
6 Mode selector
7 LED indicator
8 PC (PowerPoint): Eraser Tool
Mac (Keynote): Show/Hide Cursor
9 Play slideshow
10 Stop slideshow
11 Left-click
12 Toggle mouse control on/o
13 Laser pointer
Rear
14 Battery compartment
15 Receiver compartment
Also Included
»USB Nano Receiver
»USB extension cable
»Carrying case
»AAA batteries (×2)
»User manual

5
21 3 4 5 6 7
1598 10 11 12 13 14

6
Getting Started
1. Locate the battery compartment on the back of the Presenter.
2. Slide open and remove the battery compartment door.
3. Remove the USB receiver from the battery compartment and plug it into a
powered USB port on your computer.
4. Insert two fresh AAA batteries in the orientation indicated by the illustration
within the compartment.
5. Slide the battery compartment door back into place. You may hear a slight click,
indicating the door has been securely closed.
6. Press any button on the Presenter to turn it on.
Important! When replacing batteries, replace both at the same time. Do not mix types or
brands or use old and new batteries together. This could damage the device.
!

7
The Extension Cable
Electronic interference can occur when there is electronic equipment between the
Presenter and the USB receiver. Simply plugging the USB receiver into the back of a
desktop computer can aect the performance of the Presenter.
If there is electronic interference and your Presenter isn’t responding, follow these steps:
1. Insert the extension cable into the powered USB socket in your computer.
2. Plug the receiver into the extension cable.
3. Place the USB receiver where there is a clearer path to the Presenter, for
example on top of the computer case.

8
Using the Presenter
The LED Indicator
The LED indicator lets you know the status of the Presenter:
·Slow blink: Presenter not connected.
·Fast blink: Battery power is low.
·LED constant on: Presenter connected in PC PowerPoint mode.
·LED o: Presenter connected in Mac Keynote mode.
When the battery is low, the LED will blink rapidly. The Presenter will automatically turn
o when the battery power is very low.
Note: After a few minutes of inactivity, the Presenter automatically shuts o. To wake the Presenter,
push any button and the LED will come on briefly and then proceed to display the current mode.
!

9
Mouse Control
To use the mouse control, point the Presenter at the screen and press the Mouse Control
button to toggle to mouse mode.
Use small movements of your wrist to control the mouse and assure smooth cursor
tracking.
Use the Left-Click and Right-Click buttons to perform the same operations as you would
with a mouse.
If the cursor becomes misaligned:
1. Position the cursor in the center of the screen and press the Mouse Control
button to switch the mouse o.
2. Reposition the Presenter so that it is pointing at the center of the screen and
press the Mouse Control button to switch the mouse on. The cursor will now be
aligned.

10
Presentation Features
To use the advanced features of the Presenter when using PowerPoint or Keynote
follow these steps:
1. Press the mode selector [ ] to choose the computer you are using.
·When PowerPoint is selected (Windows only), the LED indicator is on.
·When Keynote (Mac OS) is selected the LED indicator is o.
2. Open PowerPoint or Keynote on the computer and open your presentation.
3. Press the Play button [ ] to launch the slide show.
Press the navigation buttons to move to the next or previous slide.
Press the Fade to White [ ] or Fade to Black [ ] buttons to pause the slide show
and create a blank screen.
Press the Fade to White or Fade to Black button again to resume the slide show.
Press the Stop button [ ] to end the slide show.
Table of contents
Other Xcellon Digital Presenter manuals
