Xeecom W193-R User manual

W193-R WIRELESS COLOR RAIN GAUGE Owner’s Manual
Thank you for purchasing the new generation of color weather station. Designed and engineered with
the state-of-art technology and components, this instrument will provide accurate and reliable
measurement of rainfall readings as well as indoor/outdoor temperature and alarm clock. Read this
manual carefully to fully explore the features and functions of the new product.
In this package you will find:
One main unit (Receiver)
One rain gauge (Transmitter)
One remote thermometer sensor (Transmitter)
Mounting hardware for rain gauge (2 sets of screws & plastic screw plugs)
One owner’s’ manual
Additional tools needed for installation
-Small Phillips screwdriver
-Electric drill
-Pencil
-Level
Name and Functions of Buttons:
Press Functions Hold 3 seconds
LIGHT/CHANNEL Select indoor, Channel 1,2,3, auto scroll Search for remote thermo sensor
Extend backlight
MODE (RAIN) Read daily, weekly, monthly and total Clear memory of current rainfall
rainfall display reading
UNIT (RAIN) Select mm or inch unit
SEARCH (RAIN) Hold to search for remote rain
gauge
CLOCK Read time, calendar and day-of-week Set Clock, Calendar
ALARM Read alarm time; enable/disable alarm Alarm time setting
+ 1 step forward in setting Fast advance

C/F Toggle degree C & F unit
LIGHT ON/OFF Turn on/off continuous backlight when
adapter is connected
INSTALLATION
Setting up the main unit
Main Power Source: Plug in the 6.0V adapter into the adapter socket at the back for basic operation
and continuous backlight.
Backup Power: Open the battery door, install 3 pieces of AAA backup batteries according to the
polarity indicated, close the battery cover.
Setting up the wireless thermometer sensor
Loosen the screws on the battery door with a small screwdriver, insert 2 pieces of AAA batteries
according to the polarity indicated. Replace the cover and tighten the screws.
For the first installation, always turn on the home unit and then the remote sensor. Set Channel 1
for the first remote sensor. Set channel 2 and channel 3 for the 2
nd
and 3
rd
sensor.
Press and hold [LIGHT/CHANNEL] button on main unit until a beep is sound to search for remote
sensor. Outdoor temperature readings will flash indicating it is in the searching mode
Press the [Tx] button on the back of remote sensor to transmit RF signal.
When RF connection is established, the respective temperature of the selected channel will
appear on the main unit.
Note: Make sure the transmission is within range and path is clear of obstacles and RF interferences.
Shorten the distance between the main unit & remote sensor if RF connection cannot be established.
Then follow the above procedure to setup the sensor again.
Setting up the wireless rain gauge
To ensure successful installation and the best performance, we recommend you follow the installation
instructions in the order they appear in this manual.
1. Selecting a location for the rain gauge
Select a mounting location for the rain gauge that is:
-a flat, level surface
-within 30 meter open area from the main unit. Reduce distance if obstacles is between the rain
gauge & the main unit.

IMPORTANT: For best transmission distance, look for a location where the rain gauge can be
placed 1 meter or more above ground level.
-in an area not blocked on the top or sides, so rain can freely reach the rain gauge (for example,
not under an overhang or too close to a building or fence)
Cautions:
-To prevent false rainfall readings caused by water splashes, do not choose a location that is not
level or that is too close to the ground, a swimming pool, lawn sprinklers, or anywhere water
might accumulate or run off.
-The screen on the cylinder of the rain gauge filters most debris (such as leaves) that might fall
into the rain gauge. To avoid frequent build-up of debris in the cylinder, do not mount the rain
gauge too close to the trees or plants
2. Battery Installation for the rain gauge
- Press the tabs back as indicated below to unlock the rain gauge cover
-Lift the rain gauge cover off its base. Then carefully remove the packing tape from the bucket
assembly
-Open battery cover and insert 2 pieces of AA batteries according to the polarity indicated. Close
the battery cover
-Replace & lock the rain gauge cover on the base
3. Testing the effective transmission range & setting up the RF connection
-Shortly after the battery installation of the rain gauge, press and hold [RAIN SEARCH] button on
the main unit for 3 seconds to search for RF signal from the remote rain gauge.
-The rainfall reading “- - - -“ will flash and the main unit is now searching for remote rain gauge.
Daily rainfall reading (in this case “0” mm or inch) will appear within 3 minutes if the RF
transmission is successful and the main unit & rain gauge are now within the effective
transmission range.
-If daily rainfall “- - - - “ stop flashing and stay on the display after 3 minutes of searching, the RF
transmission is failed. Shorten the distance between the main unit & rain gauge if necessary.

Press and hold [RAIN SEARCH] button again to search for remote rain gauge. Repeat above
step until a valid rainfall reading appears.
Searching mode display:
“- - - -“ flashes on the rainfall display
RF connection completed:
Valid rainfall reading appears
RF connection failed:
“- - - -“ stops flashing & stays on the rainfall display
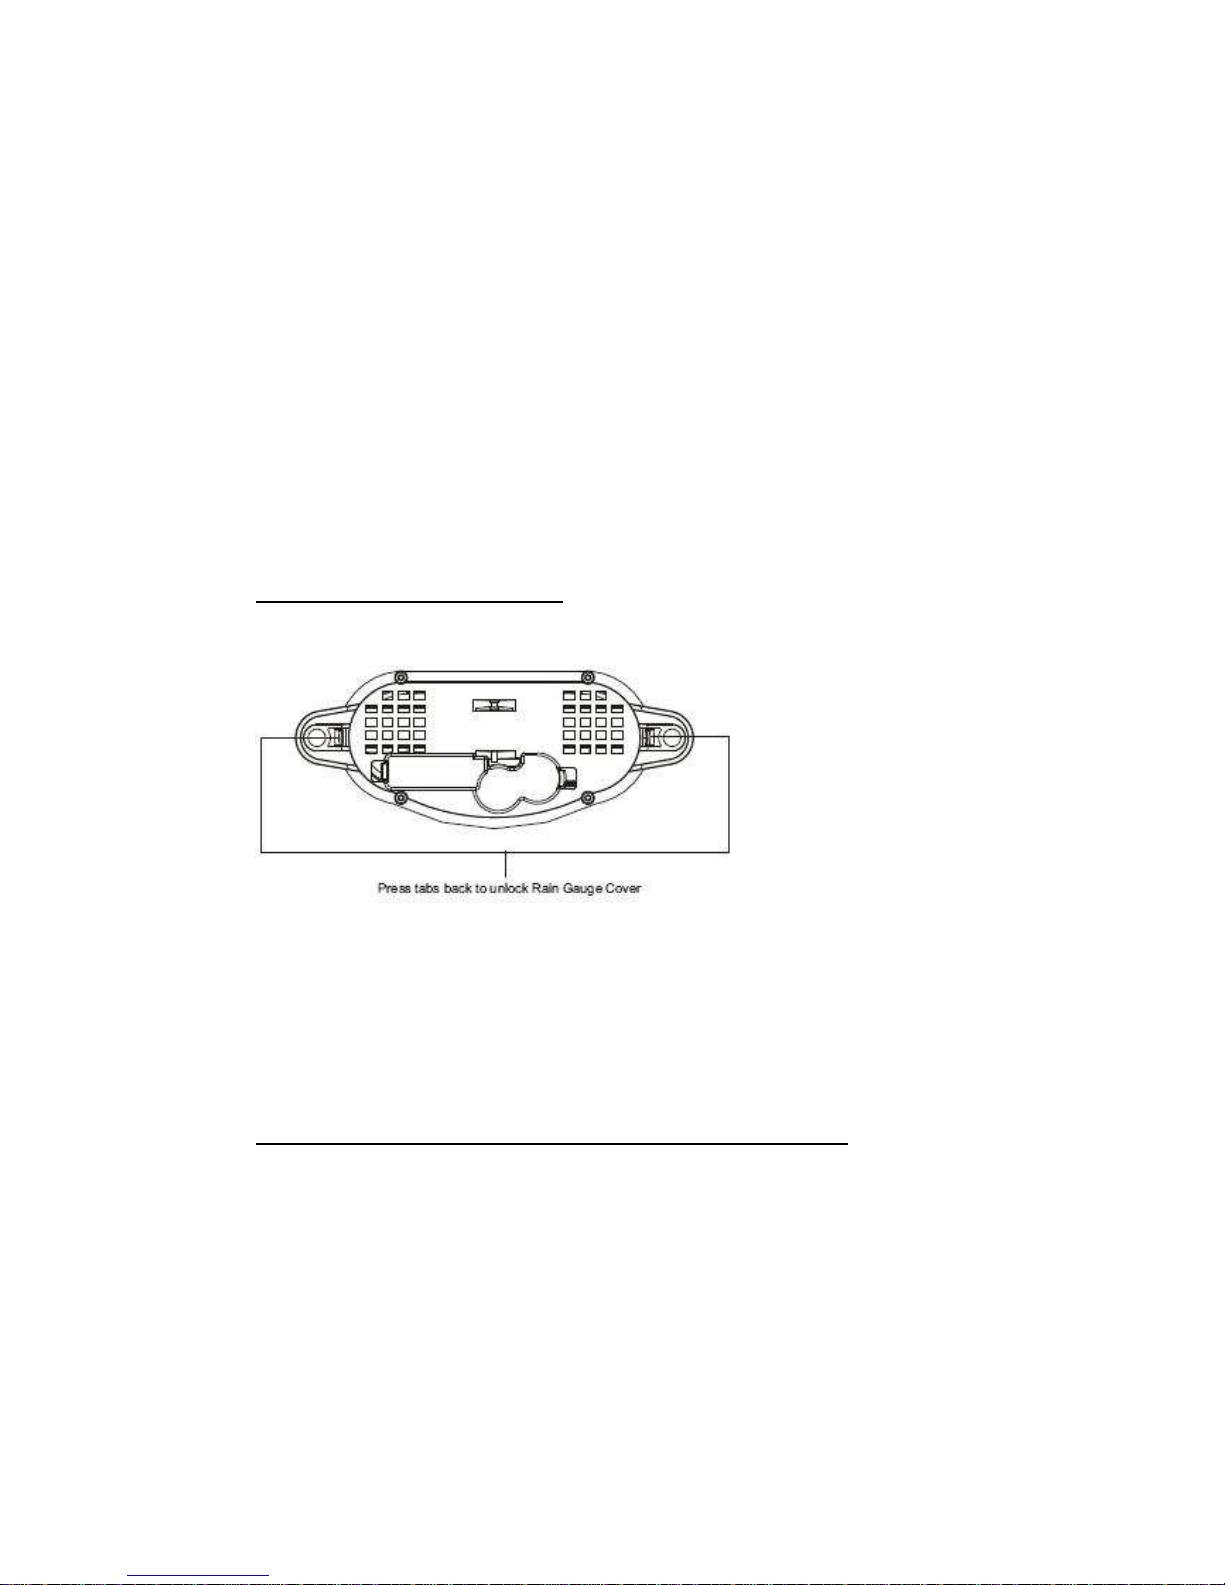
4. Mounting the rain gauge
-Before mounting the rain gauge, be sure the rain gauge & main unit are within the effective
transmission range and batteries are installed.
-Hold the base of the rain gauge flat against the mounting surface then use a level to make sure
the rain gauge (as it rest on the mounting surface) is horizontally level.
-Use a pencil to trace the inside of the mounting holes on the base of the rain gauge to mark the
screw locations.
-Drill a hole in the center of each marked location and insert the supplied plastic screw plugs
-Hold the rain gauge against the mounting surface so the holes on the base are aligned with the
plugs, then thread the supplied washer head screws into each hole and use a screwdriver to
tighten them.
DAILY, WEEKLY, MONTHLY & ACCUMLATED RAINFALL
Daily rainfall reading located inside the white line of the display
Press [RAIN MODE] repeatedly to switch between the different modes
-Daily rainfall mode when “DAILY” icon appears
-Weekly rainfall mode when “WEEKLY” icon appears
-Monthly rainfall mode when “MONTHLY” icon appears
-Total rainfall mode when “TOTAL” icons appear
In daily, weekly, monthly or total rainfall display, hold [RAIN MODE] for 3 seconds to clear the
corresponding rainfall display readings to zero
Press [RAIN UNIT] to change the rainfall unit between mm and inch
IN/OUT TEMPERATURE
Temperature reading is located on the bottom of the display
Press [LIGHT/CHANNEL] to select indoor “IN”, Ch1, Ch2, Ch3 and auto-channel scrolling “ ”
display modes.

Press [C/F] button to select temperature unit between C/ F.
COLOR BAR GRAPHS
The color graphs are designed as an intuitive way to gauge the weather at a glance.
The left color bar graph represents the respective indoor or outdoor temperature. As the temperature
increases, the number of illuminated color bar increases.
The right rainfall graph represents the respective rainfall readings. As the rainfall increases, the
number of rain droplet increases.
Note: The cloud icon does not indicate the current weather condition. It is a part of the graphic of the
rainfall bar chart.
CLOCK & CALENDAR
Press [CLOCK] to toggle display between time, calendar and day of the week.
Hold [CLOCK ] to enter clock setting mode. Use [+] to adjust and [CLOCK] to confirm, the following
values can be set in sequence:
12/24hr format > Hr > Min > Yr > D/M or M/D format > Month > Date > EXIT
ALARM
Press [ALARM] to show alarm time and “AL.” icon will appear. Press again to enable or disable the
alarm. Bell icon “ ” appears when alarm is enabled.
Hold [ALARM] to enter alarm time setting mode. Press [+] to enter the desired Hour or Minute values
and press [ALARM] to confirm setting.
When alarm is going off, press [ALARM] key to stop the alarm.
BACKLIGHT
Press [LIGHT/CHANNEL] for an extended backlight if adapter is not connected.
Press [LIGHT ON/OFF] to turn on or off the backlight when adapter is connected.
LOW BATTERY INDICATION
Low battery indication is available for main unit, remote thermo sensor and the rain gauge. Replace
the batteries and follow the setup procedure in this instruction manual.
Main unit: is shown on the bottom display when indoor “IN” icon appears
Remote thermo sensor: is shown on the bottom display when the respective outdoor channel
icon appears
Rain gauge: is shown next to the rainfall reading

BATTERY DISPOSAL
Replace only with the same or equivalent type recommended by the manufacturer.
Please disposal of old, defective batteries in an environmentally friendly manner in accordance with
the relevant legislation.
Troubleshooting
Warning! The main unit & remote sensors (thermo sensor & rain gauge) contain sensitive electronic
components. Radio waves transmitted e.g. from mobile telephones, walkie talkies, radios, remote
controls or microwaves may influence the transmission distance of the weather station and the
outside sensors and lead to a shorter reception range. It is therefore important to keep as great
distance as possible between the devices of the weather station and the outside sensors and the
devices which send out radio waves. We do not guarantee the maximum specified transmission
range between the weather station and the outside sensors if it is caused by radio frequency
interference in the environment.
Obstacles such as wall or furniture will shorten the transmission range. Try to position the sensors
and main unit with minimal obstacles in between. Shorten the distance between the main unit &
remote sensors if RF connection cannot be established, then follow the procedure in the manual to
setup the sensors again.
SPECIFICATIONS
Rain Gauge reading : 0 – 9999 mm
: 0 – 393.66 inch
Indoor Temperature: 0 C to + 50 C (+32 F to +122 F)
Remote sensor : -20 C to +60 C (-4 F to +140 F)
Channel : max. 3 remote thermometer sensors
Transmission : Remote thermometer - up to 30M in open area (1 meter above ground level)
Rain gauge - up to 30M in open area (1 meter above ground level)
Resolution : 0.1 degree C for temperature
Power : 6.0V adapter & AAA x 3 pcs for main unit
AAA x 2 pcs for remote sensor
AA x 2 pieces for rain gauge
Copyright Xeecom ApS
Xeecom Aps, Danmark
www.xeecom.com, www.ventusdesign.com
Made in China
Table of contents
Other Xeecom Weather Station manuals
Popular Weather Station manuals by other brands

HoMedics
HoMedics EnviraStation DWS-320 Instruction manual and warranty information

Bresser
Bresser 7002580 quick start guide

Vaisala
Vaisala AviMet WID511 user guide

Bresser
Bresser ClimaTemp FW quick start guide

elsner elektronik
elsner elektronik P03/3-RS485-GPS Technical specifications and installation instructions

Dr.Prepare
Dr.Prepare DWS-7P6IN-001 quick start guide