Xiamen Hanin Electronic LPQ58 User manual

Label Printer
User Manual
Xiamen Hanin Electronic Technology Co.,Ltd
ADD:
Room 305A,Angye Building, Pioneering Park,
Torch High-tech Zone, Xiamen, China 361009
Tel.:
+86-(0)592-5885993
Fax:
+86-(0)592-5885992
Web:
www.hprt.com
LPQ58
LPQ80

REVISION RECORDS
REV.
DATE
DESCRIPTION
DRAWN
CHECKED
APPROVED
1.0
2014.10.28
Preliminary
Cui Xiao
Yang Kaiqu
Ren Xiaowei
1.1
2015.04.14
1.Add LED description.
2.Modify layout.
3.Modify the LPQ58/80 TPH life.
4.Modify the working condition
temperature
Ji Qiuxia
Yang Kaiqu
Ren Xiaowei
1.2
2015.12.10
1.Update the fonts(P8);
2.Add more description of chapter 5
(P21);
Ji Qiuxia
Yang Kaiqu
Ren Xiaowei
1.3
2016.03.08
1.Update Specifications
Jieqiong Qiu
Yang Kaiqu
Ren Xiaowei

Table of Contents
Chapter1 Introduction ............................................................................................................. 5
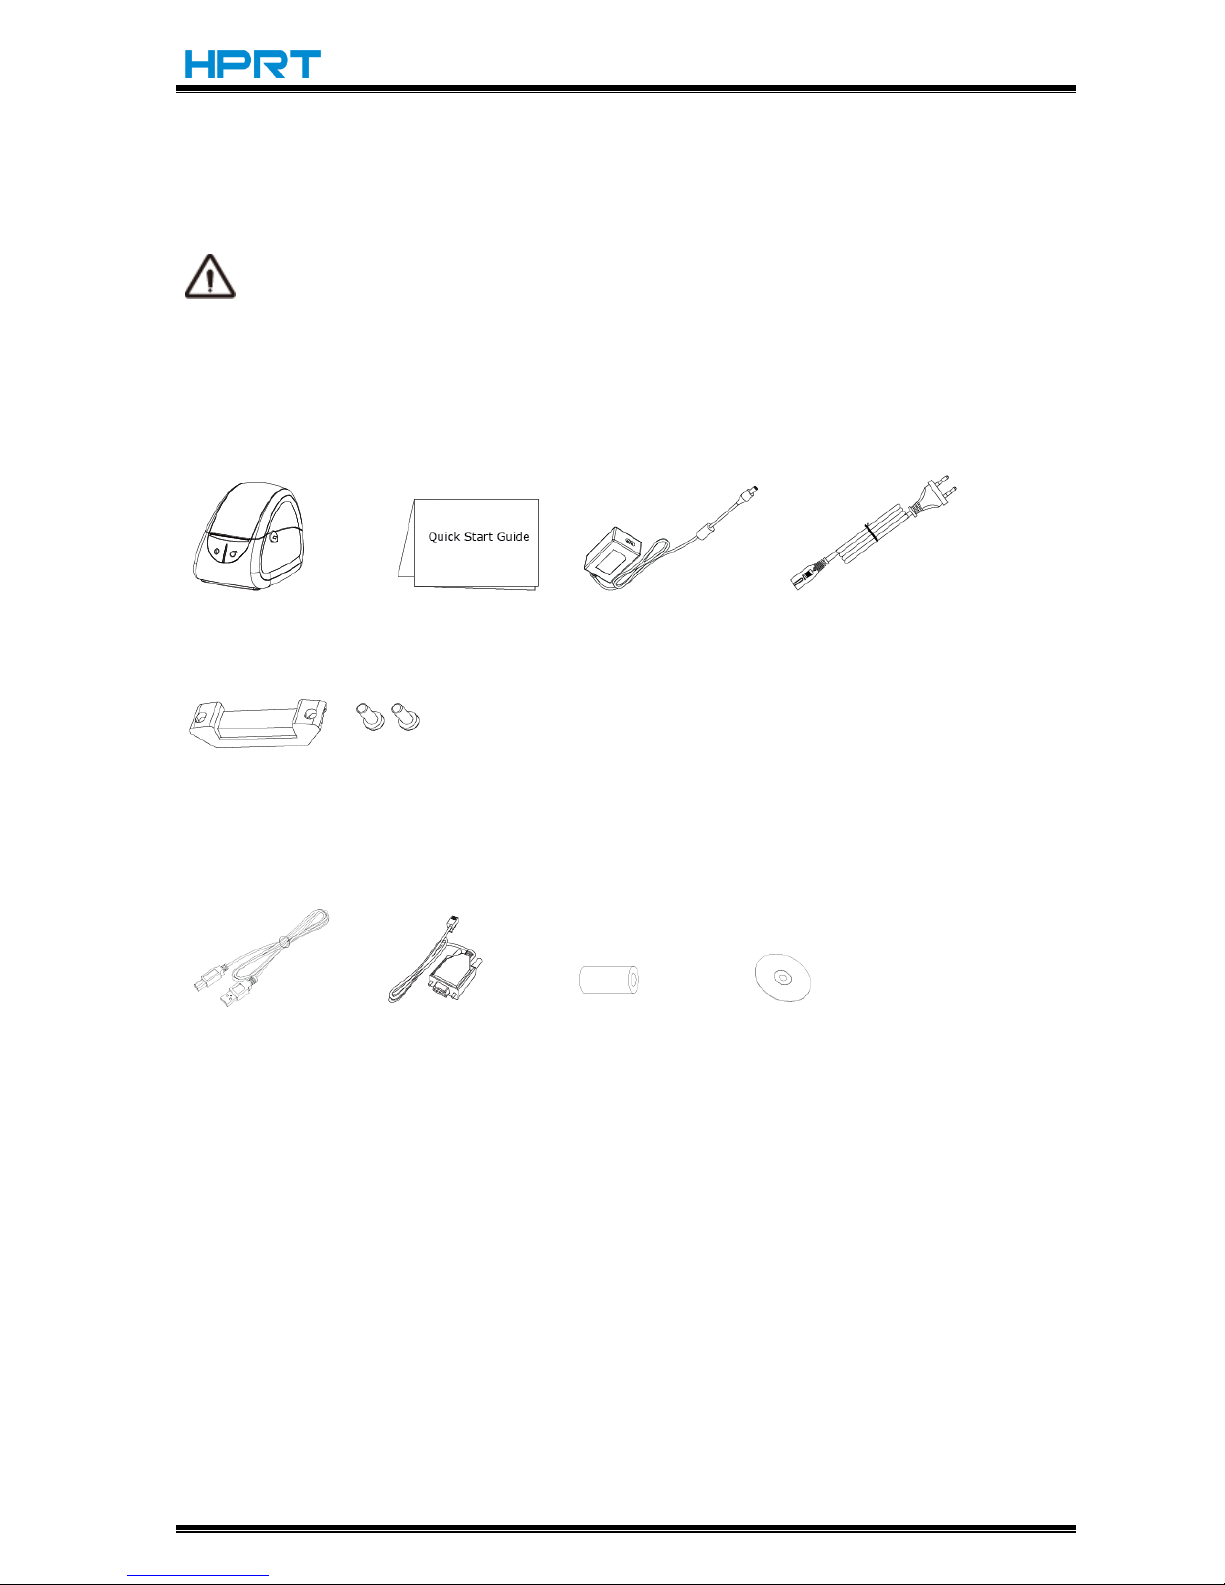
1.1Packing List.......................................................................................................... 5
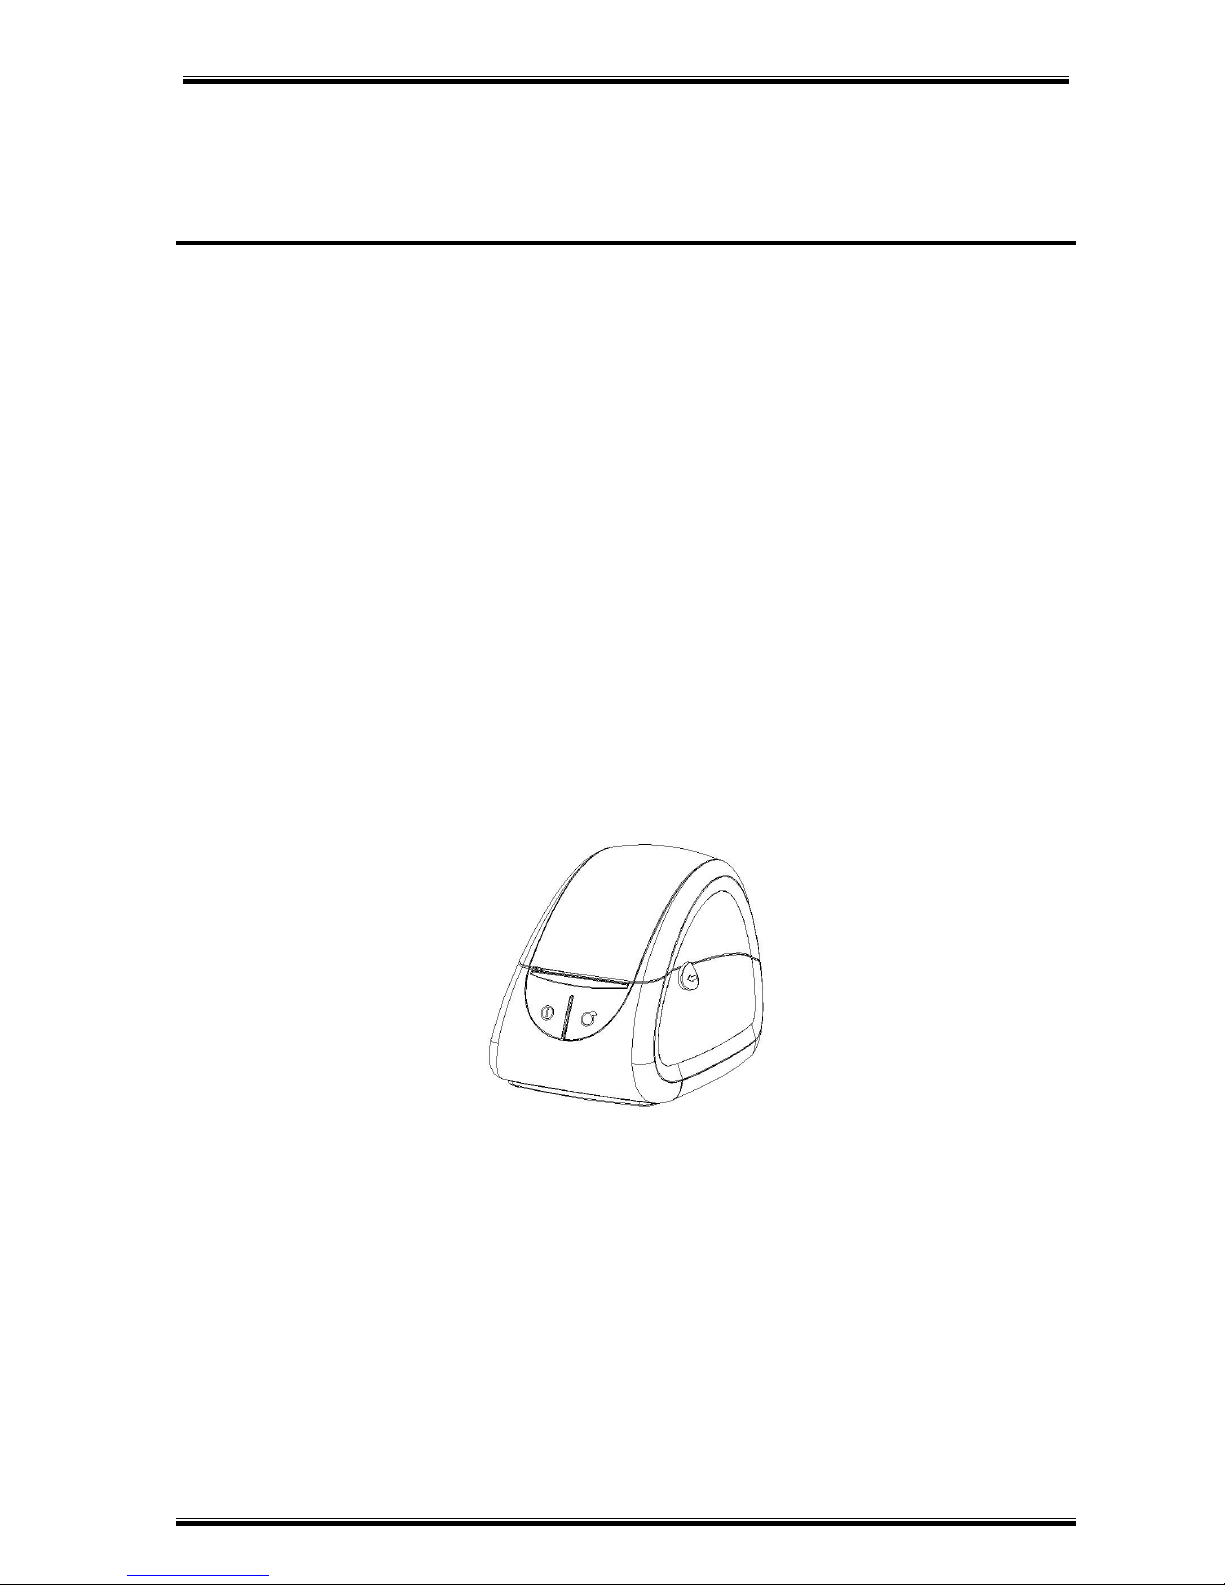
1.2 Appearance And Components ............................................................................. 6
1.3 Dimension .......................................................................................................... 7
Chapter 2 Specification ............................................................................................................ 9
Chapter 3 Installation & Usage ................................................................................................11
3.1MediaLoading .....................................................................................................11
3.1.1 Paper Roll Loading ...................................................................................11
3.1.2 Fanfold Paper and Big Roll Paper ..............................................................13
3.2 POWER Connection............................................................................................13
3.3 Interface Cable Connection ................................................................................14
3.4 Button and LED ..................................................................................................15
3.4.1 Control Button.........................................................................................15
3.4.2 LED indicator for various printer statuses..................................................15
3.5 Preparing for Label Printing ................................................................................16
3.6 Parameter Setting ..............................................................................................16
3.6.1 Printer setting using utility tool ................................................................16
3.6.2 Change the Setting Manually ...................................................................16
3.7Test Printing........................................................................................................19
3.7.1 Self Test...................................................................................................19
3.7.2 Printing using Windows driver .................................................................19
Chapter 4 Interface .................................................................................................................20
4.1USB interface......................................................................................................20
4.2 Cashdrawer........................................................................................................20
4.3 Serial Interface...................................................................................................21
Chapter 5 Cleaning..................................................................................................................22
5.1 Cleaning Media Sensor.......................................................................................22
5.2 Cleaning Thermal Print Head ..............................................................................22
5.3 Cleaning Roller and/or Paper Path ......................................................................22

LPQ58/LPQ80User Manual
Rev.1.3
1
■Manual Information
This user manual contains basic information for product usage as well as for emergency
measures that may be required.
※The following separate manuals provide more detailed content on various technological
issues and areas.
1.Windows Driver Manual
This manual provides information on the installation instructions and main functions of the
Windows Driver.
2.Printer Utility Tool Manual
This manual provides information on the usage of software for function selection of this product,
operating condition modification, etc.
3.Programming Manual
This manual provides information on label printer commands.

LPQ58/LPQ80User Manual
Rev.1.3
2
■Important Safety Instructions
Before using the present appliance, please carefully read the following safety regulations in
order to prevent any hazard or material damage.
1. Safety Warning
Warning: The print head will become very hot during printing, avoid contact with the print
head after printing has finished.
Warnings: Do not touch the printer head and connector in case static damage the printer
head.
2. Instructions
Warnings: Violating following instructions can cause serious injury or death.
1) Do not plug several products in one multi-outlet.
• This can provoke over-heating and a fire.
• If the plug is wet or dirty, dry or wipe it before usage.
• If the plug does not fit perfectly with the outlet, do not plug in.
• Be sure to use only standardized multi-outlets.
2) You must use only the supplied adapter.
• It is dangerous to use other adapters.
3) Do not pull the cable to unplug.
• This can damage the cable, which is the origin of a fire or a breakdown of the printer.
4) Do not plug in or unplug with your wet hands .
• You can be electrocuted.
5) Do not bend the cable by force or leave it under any heavy object.
• A damaged cable can cause a fire.

LPQ58/LPQ80User Manual
Rev.1.3
3
Caution: Violating following instructions can cause slight wound or damage the appliance.
1) If you observe a strange smoke, odour or noise from the printer, unplug it before taking
following measures.
• Switch off the printer and unplug the set from the mains.
• After the disappearance of the smoke, call your dealer to repair it.
2) Install the printer on the stable surface.
•If the printer falls down, it can be broken and you can hurt yourself.
3) Use only approved accessories and do not try to disassemble, repair or remodel it for
yourself.
•Call your dealer when you need these services.
•Do not touch the blade of auto cutter.
4) Do not let water or other foreign objects drop into the printer.
•If this happened, switch off and unplug the printer before calling your dealer.
5) Do not use the printer when it is out of order. This can cause a fire or an electrocution.
•Switch off and unplug the printer before calling your dealer.
6) Other considerations:
•Place the printer on a solid and even base so that it cannot fall.
•Leave enough space around printer for operation and maintenance.
•Keep all liquids away from the printer.
•Do not expose the printer to high temperatures, direct sunlight or dust.
•Ensure the printer is connected to a socket with the correct mains voltage.
•Switch off the printer 【POWER】supply when it’s not in use for a long time.
•To ensure the printing quality and reliability, suggest use the same quality or recommend
paper supplier.
•Pls. switch off the【POWER】supply when connect/disconnect all the ports or it will cause
damage to the printer control circuit.
•Never carry out maintenance or repair work yourself. Always contact a qualified service
technician.
•Keep this User Manual in a place which is easily accessible at all times.

LPQ58/LPQ80User Manual
Rev.1.3
4
3. Other Precautions
The copyright for this user manual and various other manuals is property of the HPRT
Corporation. Any copying or conversion into electronic firm and saving of this material without
the express written permission of HPRT Corporation. is strictly prohibited. Use of the
information contained in this manual is not subject to any patent liability. This manual has been
prepared with utmost care and attention to detail but may contain certain errors and/or
omissions. HPRT Corporation. is not legally liable for any damages resulting from the use of the
information in this manual. HPRT Corporation. and its affiliates are not legally liable (United
States excluded) for any damages, loss, costs, and/or expenses that result from the breakdown,
malfunction, and/or misuse of the product due to violation or neglect of the operation and
maintenance information and instructions provided by the HPRT Corporation., as well as from
the unauthorized alteration, repair, and/or modification of the product by the user and/or third
party. HPRT Corporation. is not legally liable for any damages and/or issues resulting from the
use of options and/or parts that are not authentic HPRT products or authorized products.
Due to continuous update of our product, the description of printer specification, accessories,
design in this manual may slightly different, please in kind prevail.
4. WEEE (Waste Electrical and Electric Equipment)
This mark shown on the product or its literature indicates that the corresponding
item should not be discarded at the end of its working life with other household
waste. To prevent possible harm to the environment or human health from
uncontrolled waste disposal, please separate marked items from other types of
waste and recycle them responsibly to promote the sustained reuse of material resources.
Household users should contact either the retailer where they purchased this product, or their
local government office for details of where and how they can conduct environmentally safe
recycling of such items. Commercial users should contact their suppliers and check the terms
and conditions of purchase contracts. This product should not be combined with other
commercial waste for disposal.

LPQ58/LPQ80User Manual
Rev.1.3
5
Chapter1 Introduction
1.1Packing List
Notes:
1. Unpack the printer and keep the packing material in case you need to ship the printer in
the future.
2. Make sure you own all parts as follows, if not, do contact the seller.
Standard Accessories
Printer Quick Start Guide Power Adapter Power Cord
Cables Fastener
Optional Accessories
USB Cable Serial Cable Paper Roll CD
Note: The type of power cord varies by local or region.

LPQ58/LPQ80User Manual
Rev.1.3
6
1.2 Appearance And Components
Front
Rear
Inside
Install the Cables Fastener

LPQ58/LPQ80User Manual
Rev.1.3
7
1.3 Dimension
LPQ58

LPQ58/LPQ80User Manual
Rev.1.3
8
LPQ80

LPQ58/LPQ80User Manual
Rev.1.3
9
Chapter 2 Specification
(2/1)
Items
Parameter
LPQ58
LPQ80
Printing
Printing Method
Direct Thermal
Resolution
203dpi(8dots/mm)
Printing Speed
76mm/s Max.
102mm/s Max.
Printing Width
56mm Max.
80mm Max.
Printing Length
400mm
300mm
Processor
32 bit RISC CPU
Memory
RAM
2MB
Flash
2MB
Detection
Sensors
Out of Paper Detection, Gap Detection, Notch Detection,
Black mark Detection, TPH Temperature Detection
Media
Types
Fan-fed or Roll-fed, Die-cut or Continuous Label
Width
1’’(25mm) –2.44’’(62mm)
1’’(25mm) –3.35’’(85mm)
Thickness
0.003’’(60um) –0.007’’(180um)
Label Roll Diameter
90mm
Core Diameter
0.5’’(12.7mm),1’’(25.4mm),1.5’’(38.1mm)
Programming Language
TSPL
Software
Label Design
Bartender Ultralite
Driver
Windows 2000,XP,Vista,8,10
Resident Fonts
Bitmap Fonts
6, 8, 12, 16, 32, OCR A & B. 90°, 180°, 270°
rotatable and 10 times expandable in horizontal and
vertical directions
Code Pages
DOS437,720,737,755,775,850,852,855,856,857,858,860,86
2,863,864,865,866,
Windows 1250,1251,1252,1253,1254,1255,1256,1257,1258
ISO8859-1,-2,-3,-4,-5,-6,-8,-9,-15
DBCS 932 (JIS), 936(GBK), 949 (Koran), 950(BIG5)
Barcode
1D
Code 39, Code 93, EAN 8/13 (add on 2 & 5), UPC A/E (add
on 2 & 5), I 2 of 5 & I 2 of 5 with Shipping Bearer Bars,
Codabar, Code 128 (subset A, B, C), EAN 128, RPS 128, UCC
128, UCC/EAN-128 K-Mart, Random Weight, Post NET, ITF
14, China Postal Code, HIBC, MSI, Plessey, Telepen, FIM,
GS1 DataBar, German Post Code, Planet 11 & 13 digit,
Japanese Postnet, I 2 of 5 with human readable check digit,
Standard 2 of 5, Industrial 2 of 5 , Logmars, Code 11, Code
49, Cadablock
2D
PDF417, Data matrix code, Maxi Code, QR code, Micro
PDF417, Micro QR code, Aztec code
Interfaces
USB,RS232C
Control Panel
Tri-color Status LED, Power and Feed button

LPQ58/LPQ80User Manual
Rev.1.3
10
(2/2)
Items
Parameter
LPQ58
LPQ80
Power Adapter
Power Input
AC100V ~240V 50/60Hz 1.5A
Power Supply
DC12V 2A
Environment
Operation
41℉- 104℉(5℃-40℃),30% - 85% (no condensing)
Storage
-4℉- 122℉(-20℃-50℃),10% - 50% (no condensing)
Physical Characteristics
Dimension(L*H*W)
186*133*128mm
188*134*150mm
Weight
805g(excluding
consumables)
880g(excluding
consumables)
Options & Accessories
External label Roll Holder
Agency Approvals
CCC,FCC,CE

LPQ58/LPQ80User Manual
Rev.1.3
11
Chapter 3 Installation & Usage
3.1MediaLoading
3.1.1 Paper Roll Loading
1. Use both of your index fingers to push the buttons towards front to open the top cover
2. Pull out the paper roll holder, 0.5/1.0/1.5 inch of core is accessible.
3. Insert the paper roll into the holder, and then lock the holder.

LPQ58/LPQ80User Manual
Rev.1.3
12
4. Pull some paper out, adjust the paper guide to fix the paper.
5. Close the cover and tear off the excess paper.

LPQ58/LPQ80User Manual
Rev.1.3
13
3.1.2 Fanfold Paper and Big Roll Paper
When you use fanfold paper or big roll paper, please refer to the graph below to assemble the
external roll mount and adjust the paper guide to fix the paper.
3.2 POWER Connection
1) Turn off the printer 【POWER】switch.
2) Check to see that the AC adapter voltage
matches that of the 【POWER】source.
3) Connect the AC adapter jack to the printer
【POWER】connector.
4) Connect the 【POWER】cord to the AC
adapter.
5) Connect the【POWER】cord to a【POWER】
source/outlet.

LPQ58/LPQ80User Manual
Rev.1.3
14
3.3 Interface Cable Connection
Connect the interface cable as shown below.
This printer supports the following communications interface standards.
-- RS-232C(Serial) Cable
-- USB B-Type Cable
USB cable Serial cable
1) Turn off the 【POWER】switch.
2) Connect the communication cable to the printer communication port to be used.
-- Connect the RS-232C(Serial) Cable to the serial port.
-- Connect USB B-Type cable to the USB port.

LPQ58/LPQ80User Manual
Rev.1.3
15
3.4 Button and LED
3.4.1 Control Button
【POWER】button
This button is used to turn the printer on/off.
When the printer is off, keep pressing 【POWER】button about 1.25 second, the printer is on
and the LED indicator is blue. The printer work normally, the LED indicator is green. When
paper out or abnormal working, the LED indicator is red.
【FEED】button
This button is used to 【FEED】paper manually, take the self-test.
1) To 【FEED】paper manually, press this button.
2) For information on the self-test, refer to “3.7. Test Printing”.
Settings mode
1)Finish the following two steps within 2 seconds after 【POWER】on will put the printer into
Setting Mode.
①Press【POWER】button three times;
②press【FEED】button one time .
2)In setting mode, press 【POWER】button to switch the setting item, press 【FEED】button
to confirm the change and enter to next setting item.
3.4.2 LED indicator for various printer statuses
LED Indicators
Remarks
Color
Status
BLUE
ON
The printer is ready to print with label media
Green
ON
The paper is feeding/under printing
RED
ON
The printer cover button is not under work position
CYAN
ON
The printer is ready to print with continuous media
PINK
ON
The thermal printer head is overheated
BLUE
FLASH
Do not pass the RAM test
RED
FLASH
Out of paper

LPQ58/LPQ80User Manual
Rev.1.3
16
3.5 Preparing for Label Printing
The movable paper sensor must be fixed as shown below to make sure that paper sensor can
detect the paper status and label location under label printing mode.
3.6 Parameter Setting
3.6.1 Printer setting using utility tool
Various printer settings(Baud rate, Density, Paper type, etc.) can be changed using the utility
tool .
Refer to the Printer Utility Tool Manual for more detailed information.
3.6.2 Change the Setting Manually
Enter Setting Mode
Please follow the following steps to enter parameters setting mode:
NOTE: It should be done in the 2 seconds after printer
【
POWER
】
on.
Press【POWER】button three times, then press 【FEED】button one time
Parameter Setting
1.When printer succeeds in entering the setting mode, it prints the following contents and
enters the first parameter setting –baud rate setting.
In setting mode, 【POWER】button is used for switch the menu and 【FEED】button
is used for confirm the change and quit the current menu to enter the next menu.

LPQ58/LPQ80User Manual
Rev.1.3
17
The default baud rate is 9600, when the baud rate does not need to be changed, press the
【FEED】button once to quit the current menu and enter the next settings.
If you wants to change it, press 【POWER】button to switch the setting value and the printer
will prints out the current setting: ‘baud= ***** ’. when the value is required, press the 【FEED】
button once to confirm and quit, then enter the second setting –paper type setting.
Optional baud rates: 9600, 19200, 38400,57600, 115200.
2. After entering paper typesetting mode, it prints the following contents:
The default paper type is label, when the paper type does not need to be changed, press the
【FEED】button once to quit the current menu and enter the next settings.
If you wants to change it, press 【POWER】button to switch the setting value and the printer
will prints out the current setting:‘ paper type: ‘***** ’.When the value is required, press the
【FEED】button once to confirm and quit, then enter the third setting –print density setting
Optional paper type: receipt, label, black mark and auto.
Note:
Under auto mode, printer feeds paper automatically to identify the media type after power
on.
Under label mode, the default label height is 120mm. Max label height which can be located
by printer is 400mm. It can be modified according to the user’s need by printer utility tool.
See more information in <<Printer Utility Tool Manual>>.
Under black mark mode, the default gap is 300mm. Max label gap which can be located by
printer is 400mm. It can be modified according to the user’s need by printer utility tool. See
more information in <<Printer Utility Tool Instructions>>.
3. After entering density setting mode, it prints the following contents:
The default density is 2, when the density does not need to be changed, press the 【FEED】
button once to quit the current menu and enter the next settings.
Setting density:
Density:2
Setting paper type:
Paper type: Label
Enter setting mode:
Setting baud:
Baud = 9600
This manual suits for next models
1
Table of contents
Other Xiamen Hanin Electronic Label Maker manuals