XINDAK D1 User manual

Digital Stream Music Server
D1
INSTRUCTIONS
®

It means that used electrical and electronic products should not be mixed with general household waste There is a separate collection.
system for these products.
A Information on Disposal for Users private household. ( ).
1. In the European Union
Attention If You want to dispose of this equipment please do not use the ordinary dust bin: , .
Used electrical and electronic equipment must be treated separately and In accordance with legislation that requires proper treatment,
recovery and recycling of used electrical and electronic equipment.
Following the implementation by member states private household within the EU states may return their used electrical and electronic,
equipment to designated collection facilities free of charge In some countries your local retailer may also take back your local*. *
authority for further details.
If you used electrical or electronic equipment has batteries or accumulators please dispose of these separately beforehand according,
to local requirements.
By disposing of this product you will help ensure that waste undergoes the necessary treatment recovery and recycling and thus,
prevent potential negative effects on the environment and human health which could otherwise arise due to inappropriate waste
handling.
2. In the other Countries outside EU
If you wish to discard this product please contact your local authorities and ask for the cor, rect method of disposal.
For Switzerland Used electrical or electronic equipment can be returned free of charge to dealer even if you don t purchase a new: , ’
product Further collection facilities are listed on the homepage of www swico ch or www sens ch. . . . . .
B Information on Disposal of Business Users.
1. In the European Union
If the product is used for business and you want to discard it:
2. In the other Countries outside the EU
If you wish to discard of this product please contact your local authorities and ask for the cor, rect method of disposal.
Attention: Your product is marked with this symbol.
Please contact local dealer who will inform you about the take-back of the product. You might be charged for the costs arising from
take-back and recycling. Small products (and small amounts) might be taken back by your local collection facilities.

Important Safety Instruction
The lightning flash with arrowhead symbol, within an equilateral triangle, is intended
to alert the user to presence of uninsulated “Dangerous voltage” within the product’s
enclosure that may be of sufficient magnitude to constitute a risk of electric shock to
persons.
The exclamation point within an equilateral triangle is intended to alert the user to
presence of important operating and maintenance (servicing) instructions in the
literature accompanying the appliance.
!
Chapter 1
1
CAUTION
Please read all instructions and precautions carefully and completely before operating this device
1.Read these instructions.
2.Keep these instructions.
3.Heed all warnings.
4.Follow all instructions.
5. Do not use this apparatus near water.
6. Clean only with dry cloth.
7. Always keep this unit out of the reach of children.
8. Do not install near any heat sources such as radiators, heat registers, stoves, or other apparatus ( including amplifiers) that
produce heat.
9. Protect the power cord from being walked on or pinched particularly at plugs, convenience receptacles, and the point where
they exit from the apparatus.
10. Unplug this apparatus during lightning storms or when unused for a long time.
11. Always disconnect your entire system from the AC mains before connecting or disconnecting any cable, or when cleaning any
component.
12. This product must be terminated with a three conductor AC mains power cord which includes an earth ground connection, to
prevent shock hazard, all three connections must always be used.
13.AC extension cords are not recommended for use with this product.
14. Never use flammable or combustible chemicals for cleaning audio components.
15. Never operate this product with any cover removed.
16. Never pour or spill liquids directly onto this unit.
17. Never block air flow through ventilation slots or heat sinks.
18.Never by pass any fuse.
19. Never replace any fuse with a value or type other than those specified.
20. Never attempt to repair this product, if a problem occurs, contact your dealer.
21. Never expose this product to extremely high or low temperatures.
22. Never operate this product in an explosive atmosphere.
.
Before Use
!

Install Batteries
Before using the remote controller for the first time, you need install
the new battery in the remote controller.
Process
1. Use the tool to remove the rear cover of the remote control unit.
2. Install the 2 batteries (AAA)
3. Reinstall the rear cover of the remote control unit.
Battery Replacement
1. Do not use new and old batteries simultaneously.
2. Batteries with similar shapes may have different rated voltages
Be sure to use the correct batteries.
3. Remove batteries from the remote control unit if it will not be used
for a long period of time.
If you use the remote control unit to control the amplifier:
1.The remote control range is approximately 5 meters.
2.Pointing the remote control on an angle to the receiver, will
shorten the useful distance of the remote control.
with correct +/-
3 with correct +/-
Using Remote Controller
polarity.
1. Use the tool remove the rear cover of the remote control unit.
2. Take out the old batteries from remote control unit.
. Install the 2 batteries (AAA) polarity.
4. Reinstall the rear cover of the remote control unit.
Caution
!
Incorrect use of batteries
n shorter battery life.
may cause corrosion or damage.
The lower temperature, the
2.1 For Using the Remote Controller
2
Battery Reclaim
Please send the waste batteries to local battery
reclaim center. DO NOT discard the waste
batteries discretionarily, in order to avoid
environment pollution.
30° 30°
Install Batteries
AAA Batteries
IntroductionChapter 2

2.1 Remote Controller
4 5 6
7 8 9
0
F1 F2
OK P+
EXIT
@
DAC
Standby: After powered on, the remote control will get into
standby status until powered off. It will take seconds to power
off by pressing this key.
Timing mode: Press this key to select timing mode: in order or
reverse order
Function switch: Switch for the playing file among single play, all
cycle non repetitive play, sequence play, random play and other
play mode by touching this key.
Functional key: The menu for Copy, Paste, Cut, Delete, etc. will
pop up once pressing this key.
Add/Open Favorites: Press this key to add the current playing file
or internet radio to the Favorites for the purpose of direct
playback next time.
To play interface: Turn to the current playing interface from other
interface by pressing this key.
Volume + / up:
Volume - / down: In the file list according to the key to select a
file, long press continued to Select.
Previous: Press this key to play the Previous file or internet
radio.
Next: Press this key to play the next file or internet radio.
OK: Serves as an enter key for system settings, operation or file
selection
Stop Press this key to stop playing and pop up the playing
interface.
Back Go back to the previous menu orlist operation.
Fast Backward Get the playback progress fast backward.
Fast Forward Get the playback progress fast forward.
Play/Pause Press this key to pause in play status and press it
again to keep playing.
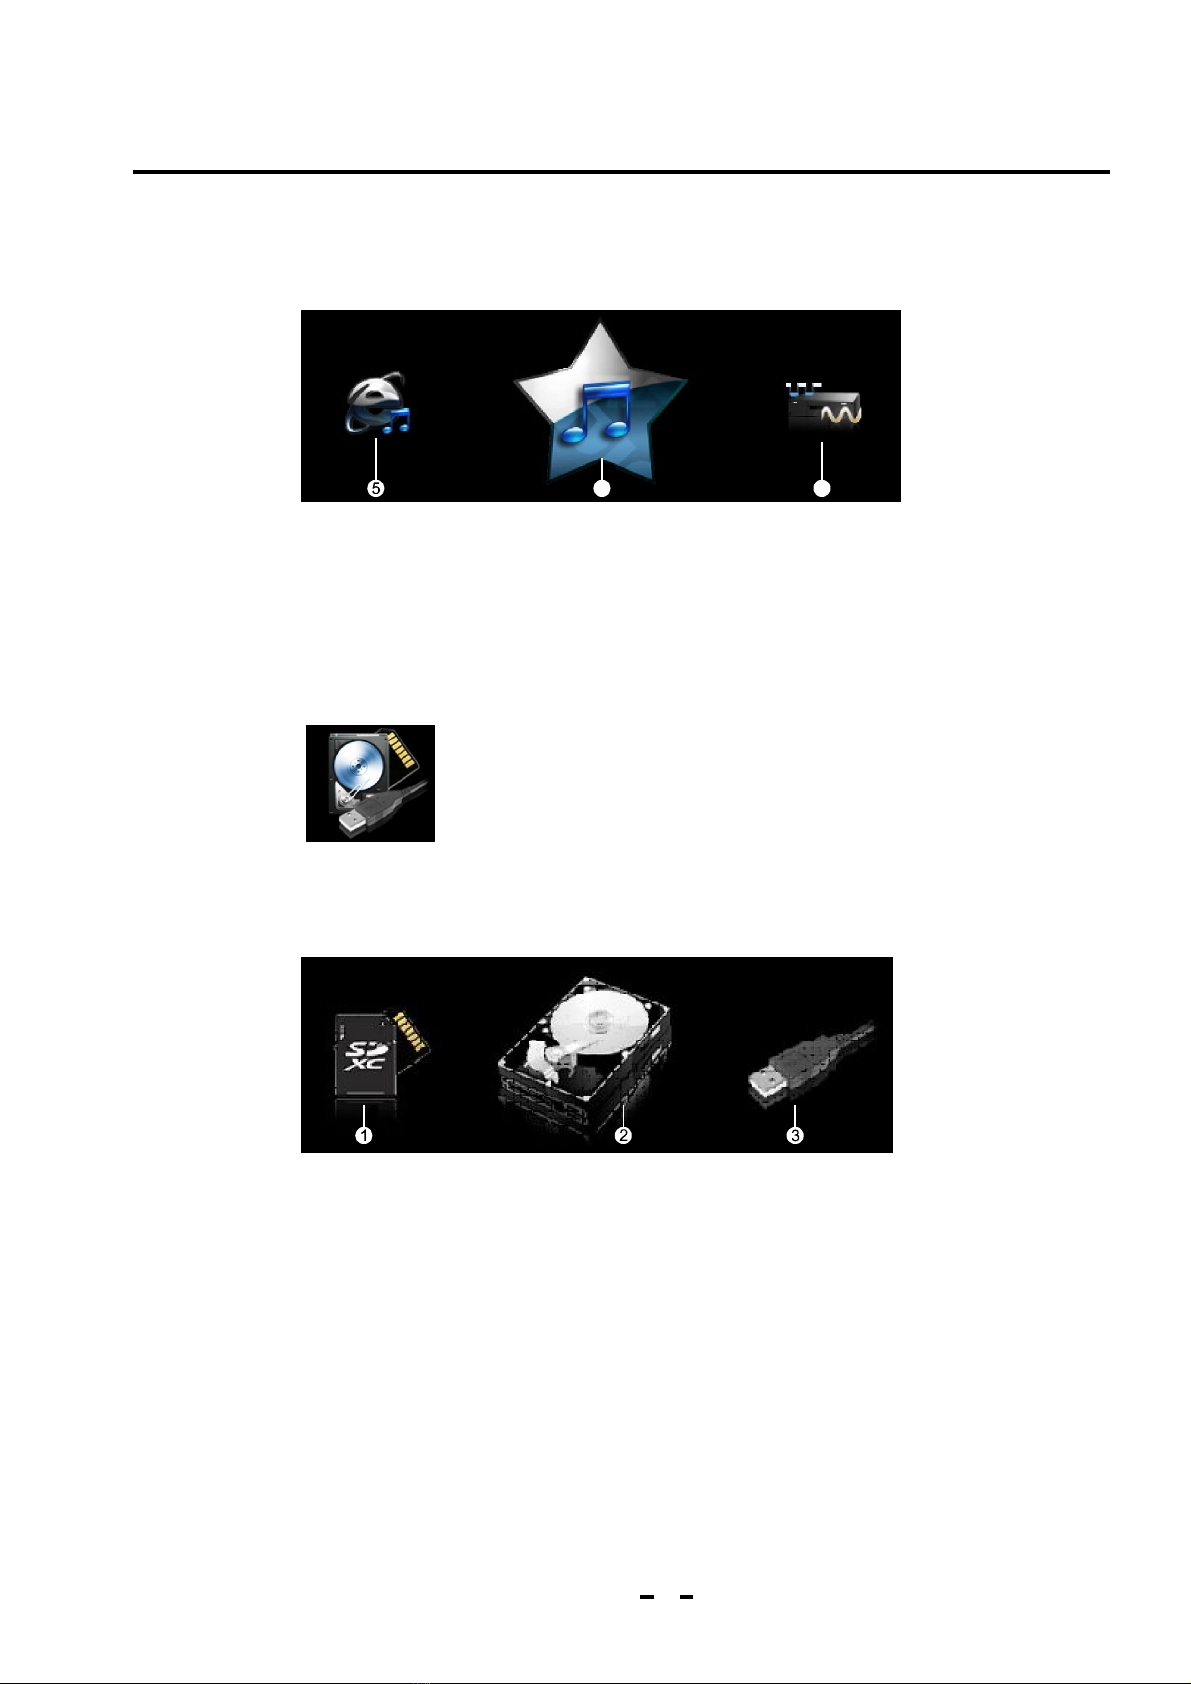
Internet radio Go to the operating list of the internet radio once
pressing this key in the main menu.
Record: Press this key to record the current playing file in high
quality for the current playing internet radio or DAC digital audio
and store the recorded file that is automatically named in the
external storage device by touching this button.
DAC: Switch to the interface for decoding the external digital
audio signal pressing this key in the main menu.
3
.
, -
.
:
:
:
:
:
:
In the file list according to the key to select a file, a
longAccording to continue to choose.
1 2 3
FUNTIME
SWITCH
V+V+V+
ADD
FAV RCLL
LIST
V-
P-
SWITCH
TIME
FUN
ADD
FAV
RCLL
LIST
V+V+V+
V-
OK
P-
P+
EXIT
DAC
@
3
IntroductionChapter 2

2.2 Front Panel
1.Receive window with infra-red remote control
2.Power on/off:
Press this button, the current will be put through; press it again, the current will be cut off.
3.Display screen:
It is a touch screen with panel.
1 2
1.RJ-45 LAN interface
2.
3.Digital BNC output jack
4.Digital coaxial output Jack
5.AES/EBU output jack
6.Mains input
7.
USB ports:
It external storage device.is USB Host port to connect with
By connecting this jack with BNC signal cable to output the signal to the DAC or receiver.
Plug in the mains cable before connecting its other end to the wall socket. Check the equipment you
own is set to the mains voltage used in your country.
Use same type fuses only.
Fuse holder
2.3 PanelRear
1 32 4 5 7
6
3
4
Kbps
KHz
0 0 : 0 2 : 1 8
9612
192
Joseph Haydn.FLAC
IntroductionChapter 2

5
3.1 The feature of display screen
【 】Main Menu
Once getting the player powered on waiting 1 minute, the icon interfaces will show up as per the
above figure, with six in total. Three icons can be seen each time and switched simply by touch or
by remote control. For example, you can switch the icons from left to right by touching the Icon
on the top and as a result, this icon will become larger and get centrally located; but if by touching
the Icon , it will be switched from right to left. Do switch once by touch one time. As long as you
touch the Icon in the center, the player will get into the function that the icon indicates.
System settings list or view system properties.
Enter the option menu of the player HDD or USB storage device.
Enter the source list of network share.
Network status indication:
1
3
2
The icons of this interface indicate the following functions to:
1.
2.
3.
4.
Chapter 3 Function introduction
Disconnected to LAN
Alternately flashing means getting IP address
Already connected to LAN
Already connected to WAN
Disconnect to WIFI
WIFI signal strength

【 】Submenu
Enter the option menu of HDD or USB storage device by touching the icon which includes the below
functions to
,
:
1.
2.
3.
Without this function.
Enter the file list of the local hard disk.
Enter the file list of the USB storage device (USB flash disk or disk).other USB removable
6
Chapter 3 Function introduction
These three functional icons are designed to:
5.
6.
7.
Enter the menu for selecting any available internet radio station.
Enter the Favorites to select the collected song or internet radio.
Enter the DAC status to receive the digital audio from foobar.
The other three functional icons are as follows:
6 7

Each indicates the function as follows:
2.
4. Record button:
5.
6.
7. Play/Pause
8. Next button:
9. Stop and go back to the playing file /radio station list.
10. Return to the playing file /radio station list
12. Show the bit rate of the current playing file.
13. Display the play duration of the current playing file
1.
3. Volume:
Progress bar
Last button:
11. Show the sampling rate of the current playing file.
Show the track name of the current playing file (or the radio station name when available).
The player does not support this function.
Play back the previous file by touching this button.
How the current playing programme status, which can be set by the remote control and different icon
indicates different status:
You can record the current playing file and store it in the third hard disk partition by
touching this button.
Select the next file to play by touching the next button.
(or Beijing time for the internet radio)
Single repeat play
all cycle play
non-repetitive play
random play
sequence play
7
Chapter 3 Function introduction
【 】Player Interface
When any stored file or any internet radio is playing, the following interfaces will be available.
Kbps
KHz
0 0 : 0 2 : 1 8
9612
192
1 32 4 5 76 8 9 10 11 12 13
Joseph Haydn.FLAC

Chapter 4 Operation Instruction
4.2 System Settings
Select the icon in the main menu to enter into the System Settings, which includes the
other six setting as follows except the Network Settings(Page 10):
1.Backlight Brightness
2.Language Selection
3.Backlight Duration
4.Firmware Update
5.Touch Screen Calibration
6.System Properties
There are 4 levels of LCD brightness and select the suitable level by touch or by the remote
control, with the forth level as the brightest.
The simplified Chinese, traditional Chinese, English and Germany are optional for different
countries and regions.
The Backlight Duration is the time to adjust the LCD brightness:5,10,30 seconds or constant light
are optional.
The system can get updated through Firmware Update. You just need to save the update
firmware in USB flash disk and then insert the USB flash disk into USB HOST port. Then select
Firm Update by touch or pressing the remote control to start updating. Do not pull out the USB
flash disk during the updating until the screen displays” The update is done”. The update is
completed before the system automatically restarts.
To ensure the touch screen sensitive, please select Touch Screen Calibration prior to initial use
or when the wrong touch sensitive is found out. The screen will display one “+” in the calibration
interface and touch the middle of it, the “+” will jump to another corner and then one after another
corner and finally get back to the center.
8
You should turn on the power switch on , then wait for the display shows
after processing finished ,system into main page. whole starting
procedure may spend about 30 seconds
When the device working normally , press the remote control of the key for 2 seconds , the
device enter to standby.But you must stop playing and quit when you play movable storage
device to enter standby, otherwise the movable storage device may be damaged. When the
device standby , you just need to press for once ,the system will be started .
.
“PLEASE
WAIT SYSTEM STARTING”
front panel
4.1Power On/Off

Chapter 4 Operation Instruction
Touch the HDD icon or press the “Ok” key of the remote control to enter into the partition list of local hard
disk, which includes three partition: disk partition 1,disk partition 2 and partition 3.The recorded file will
store in partition 3 automatically and the three partitions can be used to save the files.
When one partition is selected, please enter the file list of this partition and then touch the selected file
or press the “Ok” key of the remote control to get into the file playing interface.
.
playing
If with external storage device selected, For the non-partitioned storage device such us USB flash disk,
please enter the file list in a direct way.
Kbps
KHz
0 0 : 0 2 : 1 8
9612
192
Joseph Haydn.FLAC
9
4.4 WI-FI Module and LAN connection
WI-FI Module Connect to USB HOST port and tighten it. Place the network cable for PC into “LAN” port
and then set the network configuration to make the network function ready for use.
Note: but when inserted WI-FI module, to reboot, and to select the wireless mode; the household
computer cable directly into the LAN port, to select the wired mode.
4.3 Play the file in the exter nal storage device
Touch the icon in the main interface in a direct way to locate such an icon in the center
and then touch this icon again or press the “Ok” key of the remote control to enter the
option menu of .USB flash drives or external hard drives

Chapter 4 Operation Instruction
4.6 Internet radios
It is also necessary to set network first well for playing internet radio and then select in the main
menu to get into the radio station category list: “Classification by region” and “Classification by
type”. The radio stations are classified into African, American, Asian, European, Middle eastern
and Oceanian ones by region and then by country or district and finally by radio station name
list. As regards the classification by type, the radio stations should be distinguished from each
other by the first letter of their names. You can choose the list path as you like and enter into the
play interface after the selection. There are more than 10,000 radio stations collected in the
radio station list, resulting in the inconvenience to search radio station by press Up or Down
key. But you can press any number of the remote control to input this number in the radio station
list interface and this number will help you to find out the desired radio station, for this number
is designed corresponding to the number on the left of the radio station name in the list.
10
4.5 Network settings
1. Network sharing
2. Set network link:
3. S network resources
In order to realize network share, first partition the PC disks which store
music files or set the file to the shared state .
Set the network link by touching the left icon(or right) to cyclically move it.
When moving to the center location, touch it by hand or press the “Ok” key of the remote control
to enter into the item list settings. There are totally three items: ”Network Selection”, “Backlight
Brightness”, ”Language Selection”, ”Backlight duration”, “Firmware Update”, “Touch Screen
Calibration”, and “System Properties” ”.Click Network Selection to enter into the network setting
list :”Wireless Settings”, ”IP Settings”, ”DHCP” and “Network Type”. For “Network Type”, please
select wired network if through the Ethernet cables or select wireless network if with WI-FI. As
regards as WI-FI connection, please first enter into the “Wireless Settings” to search for
available wireless networks around and after done, it is necessary to set password. No matter
what type of network selected, it is a must to get into the “DHCP” and select “On”, otherwise
enter into the “IP settings” to set IP address and DNS server address. In the case that the
“DHCP” is turned “On” but it is unable to connect to the network, it is helpful for network
connection to set IP address by hand.
:
:After setting network up, go back to main menu interface and
select to enter into the Network resources list. Now you can select any file to play in the playing
interface.
elect
Select your favorite file in the file list or radio station in the internet radio and then click Add
to Favorites ,choose their suitable type file and then press “Ok” key to finish. From then on, you
can play the file or radio station in the Favorites just by selecting it. You can create one play list
through the function of Quick Play and you just need to select this list to play it next time.
ADD
FAV
4.7 Quick Play ADD
FAV

11
Chapter 4 Operation Instruction
4.8 Copy, Cut, Paste, Delete file(s) FUN
4.9Record
Touch the icon for about 2 seconds or long press the key of the remote control to start recording for
the internet radio or DAC input. The recorded file that is automatically named will save in the third local
hard disk partition. The recording will stop once pressing the Record key again.
Select the file from the file list for operation. Then press the key or touch the icon on the top
right of the list to pop up “Copy, Cut, Paste, Delete” menu. The selection of “Copy” or “Cut” will result in
one file icon on the top of the list. Then get into the path of the file to paste and repeat the above
operation and choose “Paste” and that will do. If you select “Delete”, one tooltip will pop up for the
deleting operation by clicking ”Ok” or pressing the “Ok” key of the remote control. Where there is no
Copy or Cut selected, the function of Paste will be unavailable.
FUN
4.9 DAC
Enter the DAC status to receive the digital audio from foobar. you need add 2 plug-in to the foobar
components folder, the installation directory like “C:\Program files\foobar2000\components”
You can download the plug in file form http://www.xindak.com/downloads/.
.
-
DAC

WMA, ALAC, ACC, APE, FLAC, WAV
4.3" TFT True Color Touch Screen
0.5Vp-p
3Vp-p
75Ohm
110Ohm
2 USB HOST, 1 LAN(10M/100M)
Coaxial
AES/EBU
6.3Kg
9W
Specified On Rear Panel Decal
330mm*101mm*317mm
Power cord×1
Remote ontroller×1
Users’ manual×1
Χ1
Χ1
c
12
Digital audio format support
Display screen
Coaxial digital output level
AES/EBU output level
Coaxial digital output impedance
AES/EBU output impedance
Input jack
Digital output jack
Net weight
Power consumption
Power specifications
Dimensions (W*H*D)
Supplied accessories
Support cable network: Ethernet cable network 10/100Mbps, RJ-45 interface;
Support wireless network: IEEE 802.11 b/g/ with a maximum transmission speed of
54Mbps;
Support TCP/IP, UPnP , UDP, RTSP , DHCP , PPPoE and HTTP network protocols and
media sharing between NAS (Network Attached Storage) and PC;
Support MMS, RTSP and HTTP stream media protocols;
More than ten thousand radio channels from all over the world are built internally and you
can hear anywhere of the world;
Support two USB2.0 HOST and external hard drives;
5.1 Generic
Chapter 5 Specifications
5.2 Network Features

No.126, Section 2, East 1 Round Chengdu, Sichuan, China P.C. 610051
You can find your nearest authorized distributor and more product information on our website:
www.xindak.com
Table of contents