2
2. Product Features
2.1 The Features of Schedule Software
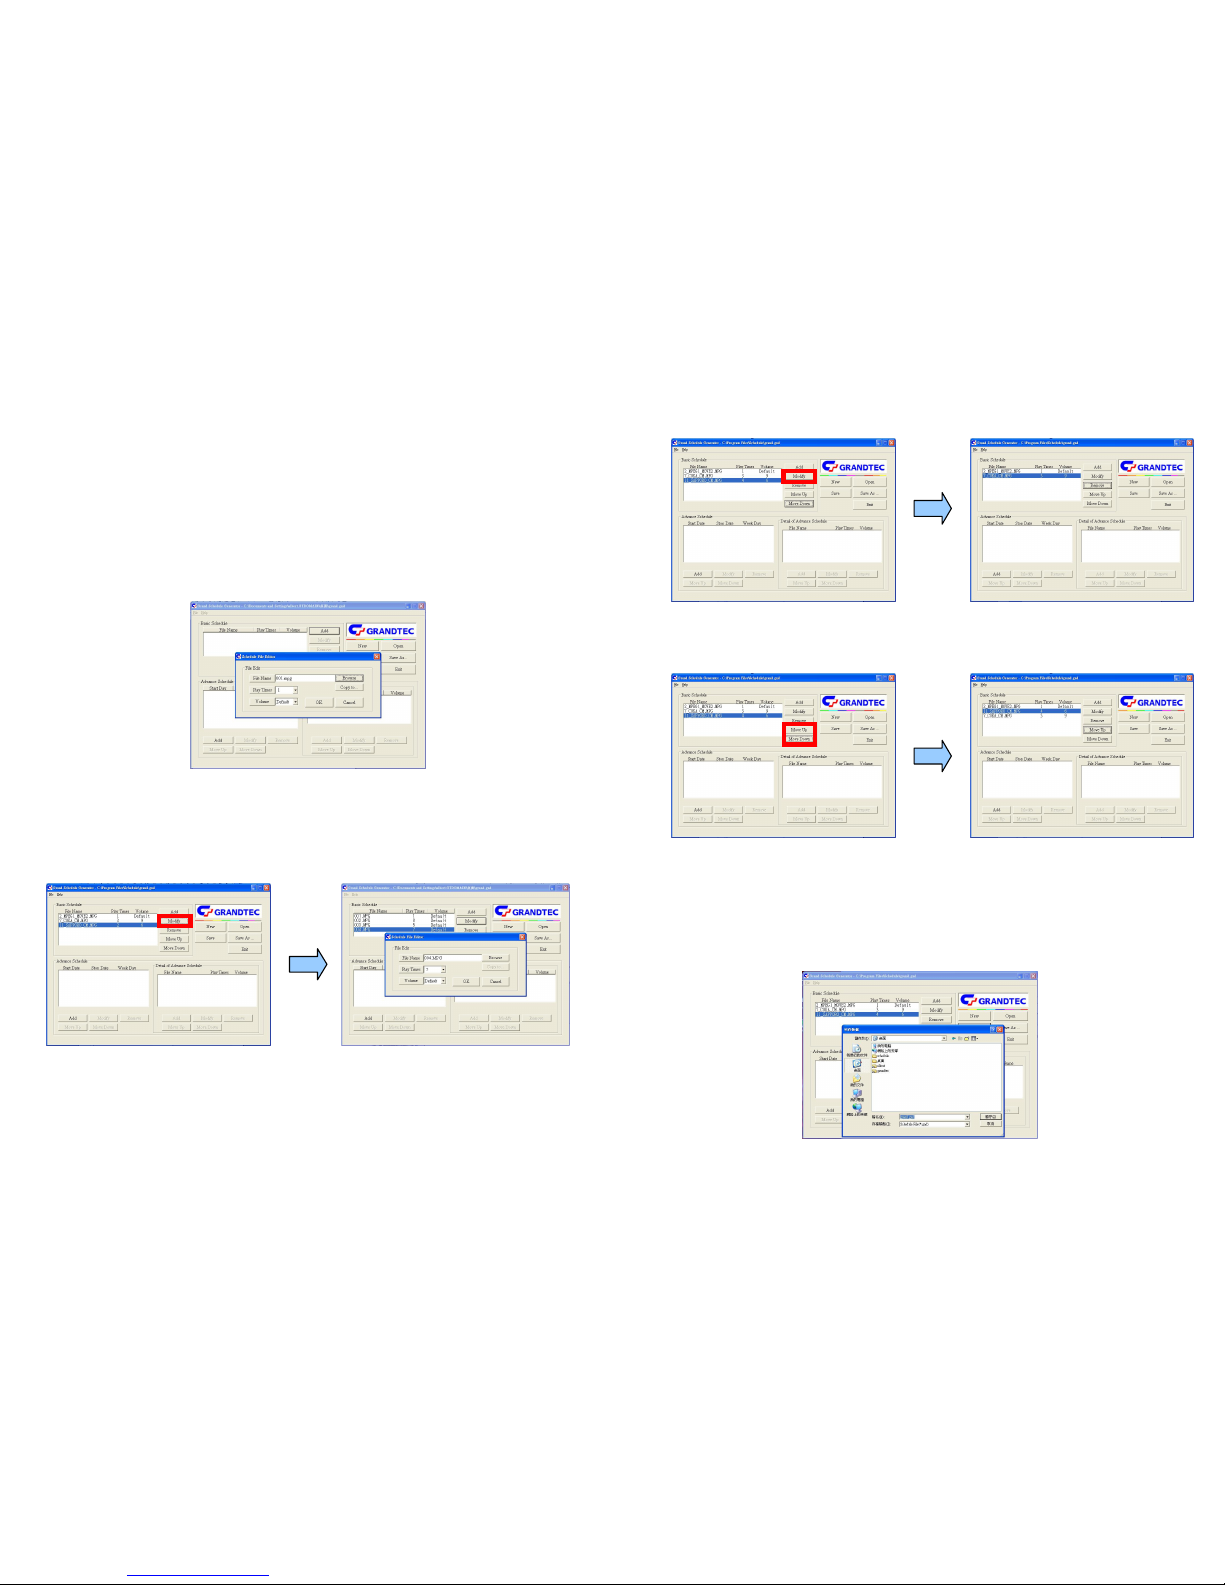
The operation of schedule software is very simple and easily.
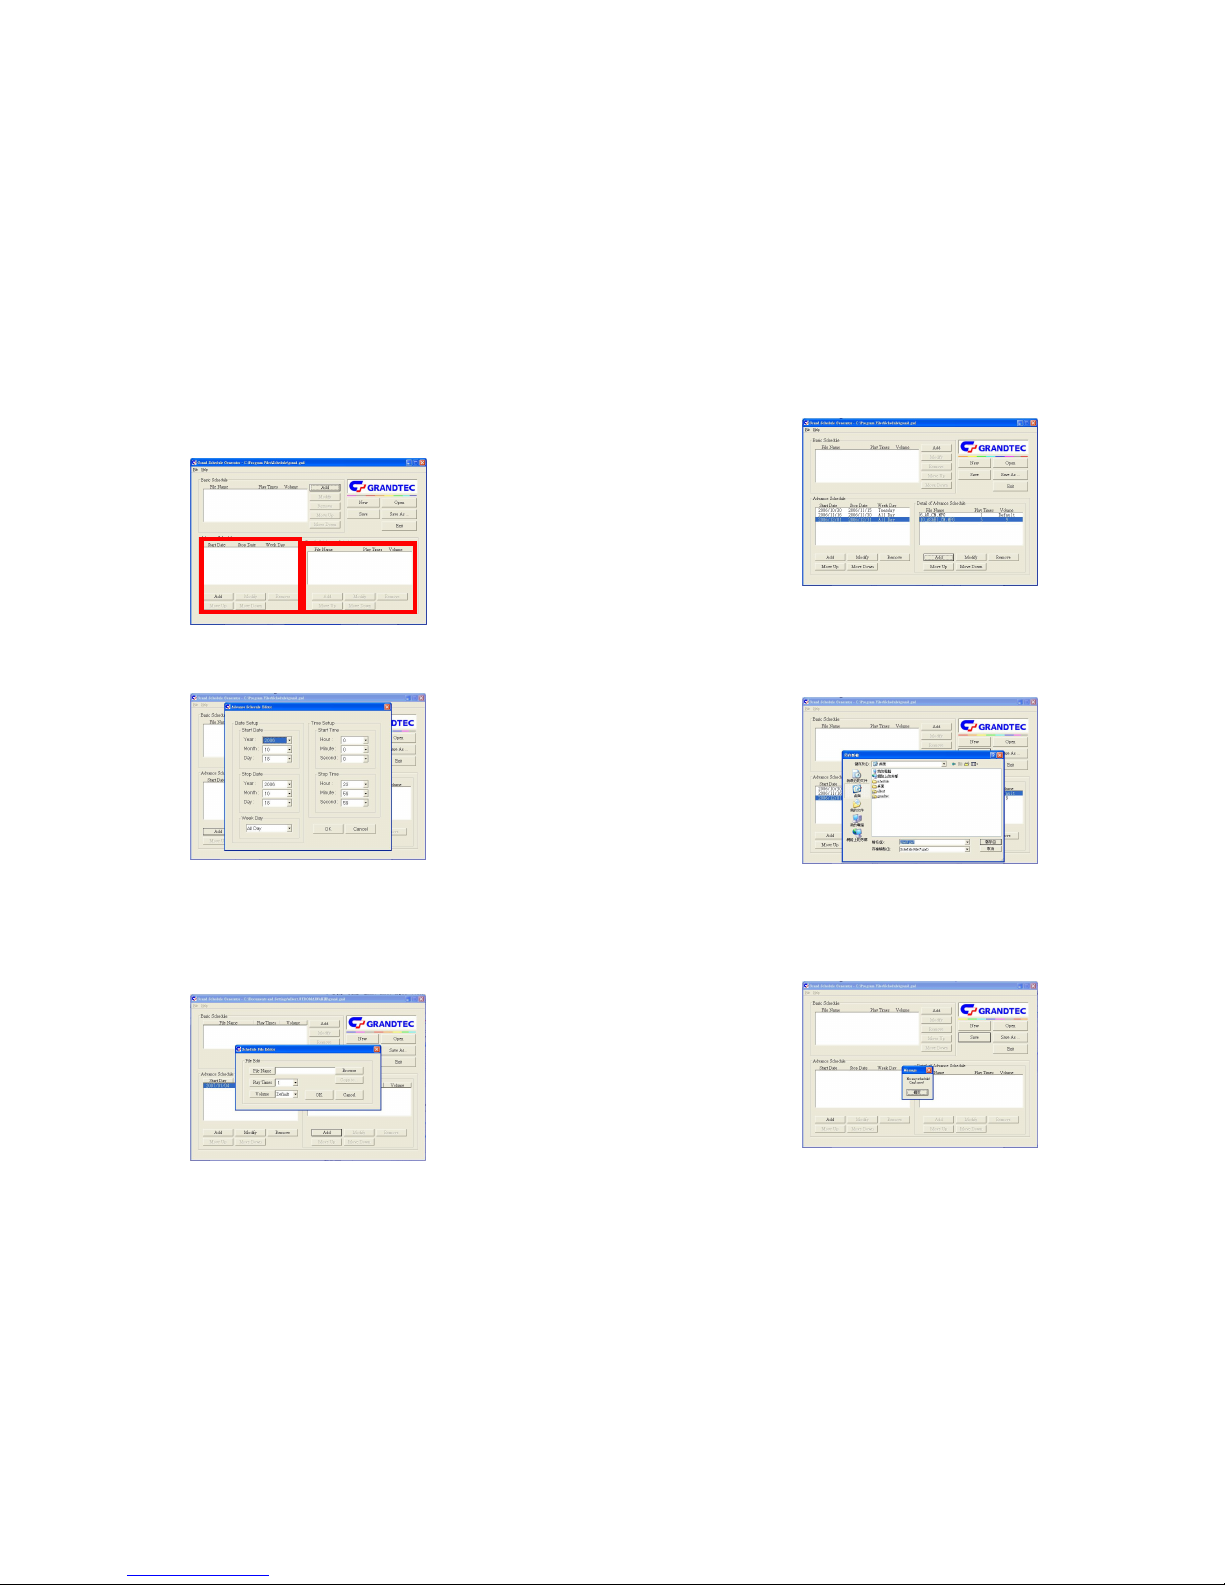
The schedule software included “Basic Schedule” and “Advance Schedule” for set up, it can accord
with your demand about various schedule.
The “Basic Schedule” supports up to 250 files (included MP3, JPEG, MJPEG(AVI) and MPEG
Ⅰ/Ⅱ/Ⅳ) to broadcast.
The “Advance Schedule” supports up to 250 schedules, and each schedule supports up to 100 files
(included MP3, JPEG, MJPEG(AVI) and MPEGⅠ/Ⅱ/Ⅳ) to broadcast.
The file name supports up to 16 characters, and the format supports figure, English letter, dash (-) and
under line (_).
You can set up the volume, the repeated number of times that play, the initial and end time to play of
each file.
After the setup of schedule is completed, you do not need control manually to play other files by
yourself each time.
The Schedule software supports copy files function.
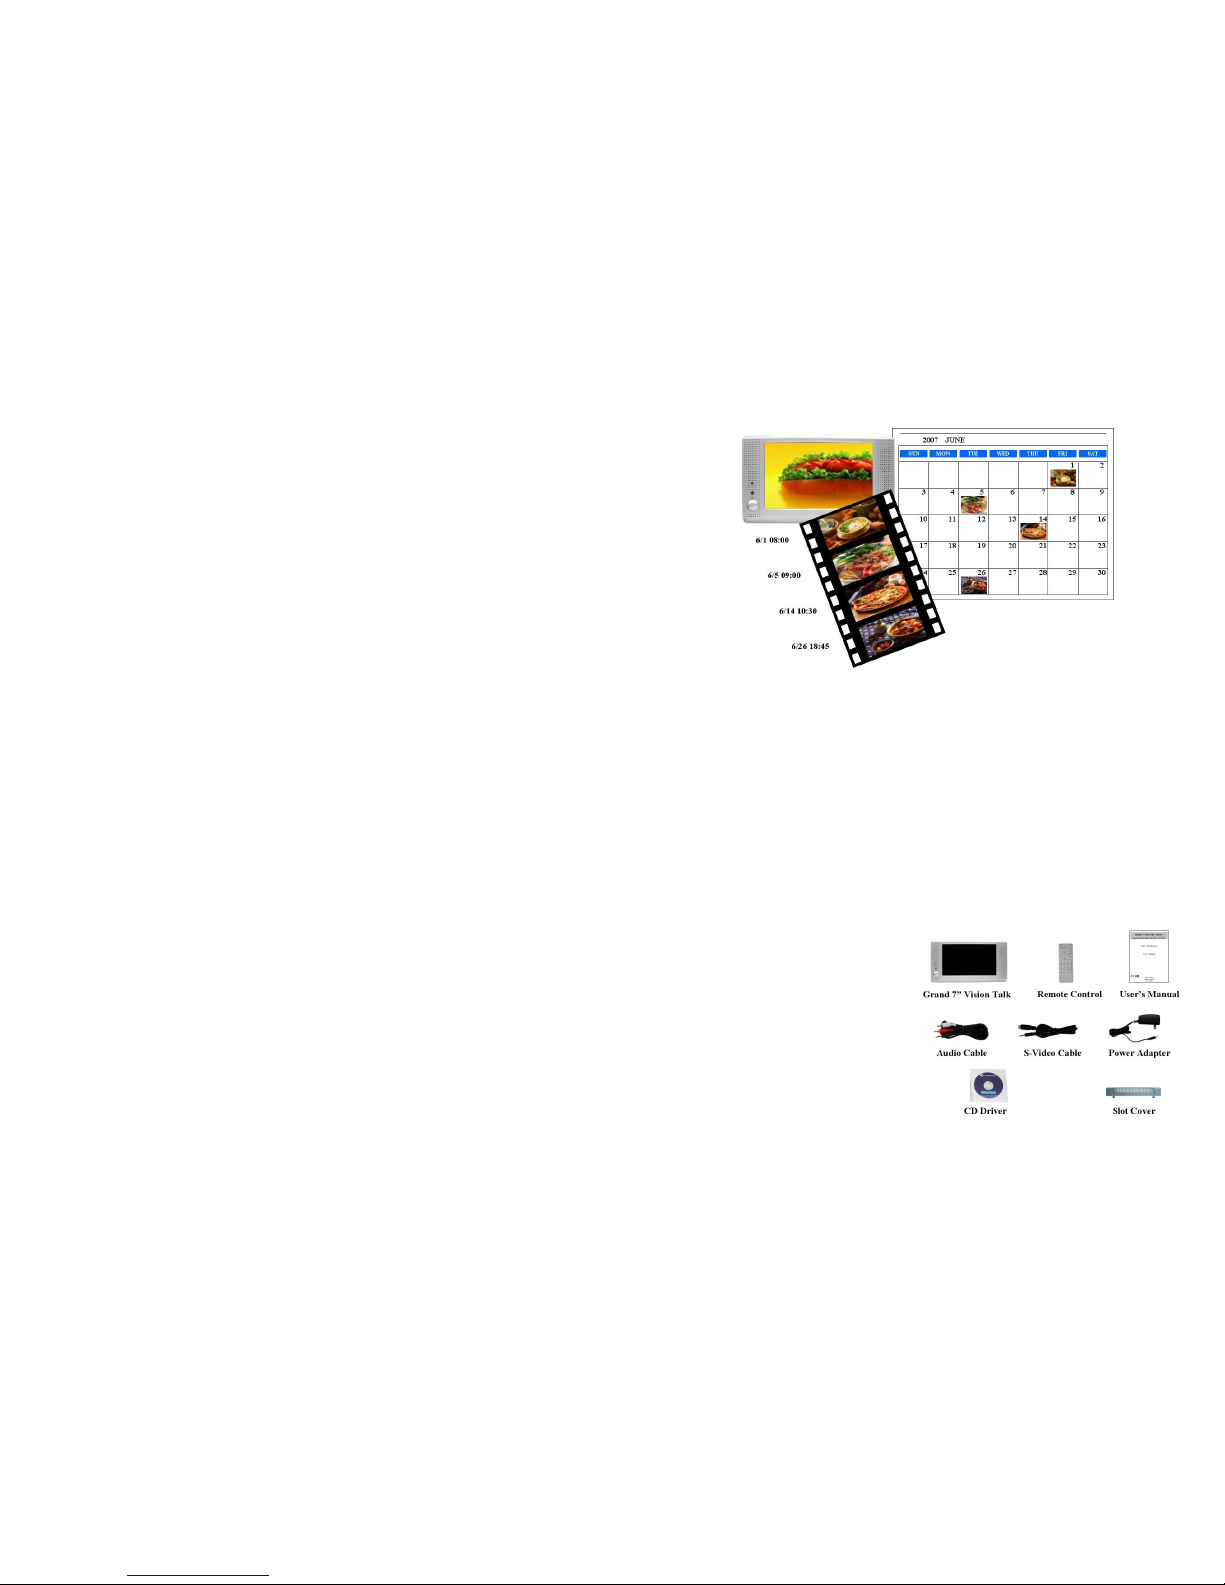
2.2 The Features of Grand 7” Vision Talk
Supports multiple file format:JPEG, MP3, MPEG Ⅰ/ Ⅱ/ Ⅳ.
Pure hardware design , just Plug & Display.
Supports CF Type I/II, IBM Micro drive MD, SM, MMC, SD, Memory Stick and Memory Stick PRO.
Supports Video, S-Video and Audio output.
Multi-Language OSD:English, French, German, Italian, Portuguese, Spanish, Netherlands, Japanese,
Chinese.
Supports SLIDE SHOW (14 kinds EFFECT): with sequential and random.
Supports SLIDE TIME (INTERVAL) mode: interval time with 1,3, 5,10,30, 60 seconds and manual
selection.
Supports MUSIC SLIDE show: MP3 with JPEG pictures play at the same time.
Supports ZOOM IN (ON) 4x & PAN, ROTATE, MIRROR, PREVIEW, REPEAT.
Includes Full functions Infrared remote Control.
3
3. Hardware Connection and Reference
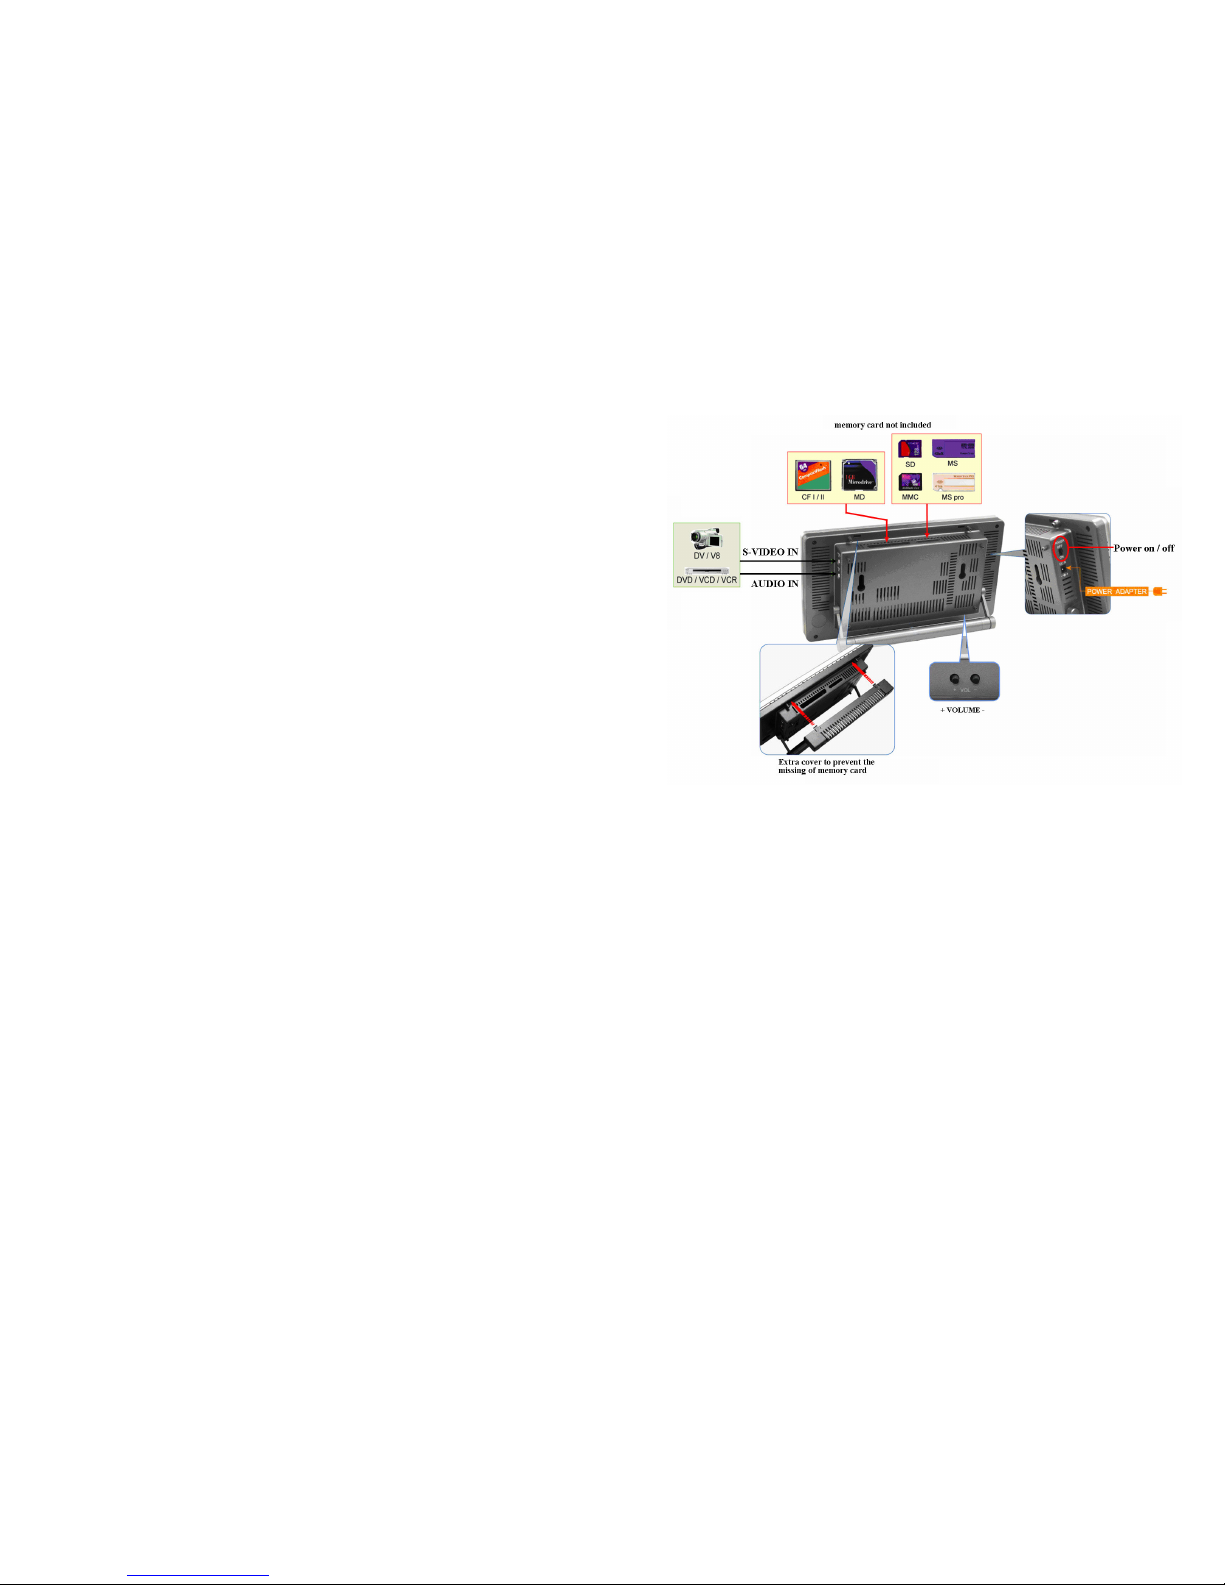
3.1 Connectors of Grand 7” Vision Talk
DC IN: Plug with power cable.
S-VIDEO IN: Supports S-Video input.
AUDIO IN: Supports stereo audio signal input.
SD/MS/MS PRO/MMC sockets: Insert cards into the sockets and supports SD, MS, MS PRO