Operating Instructions
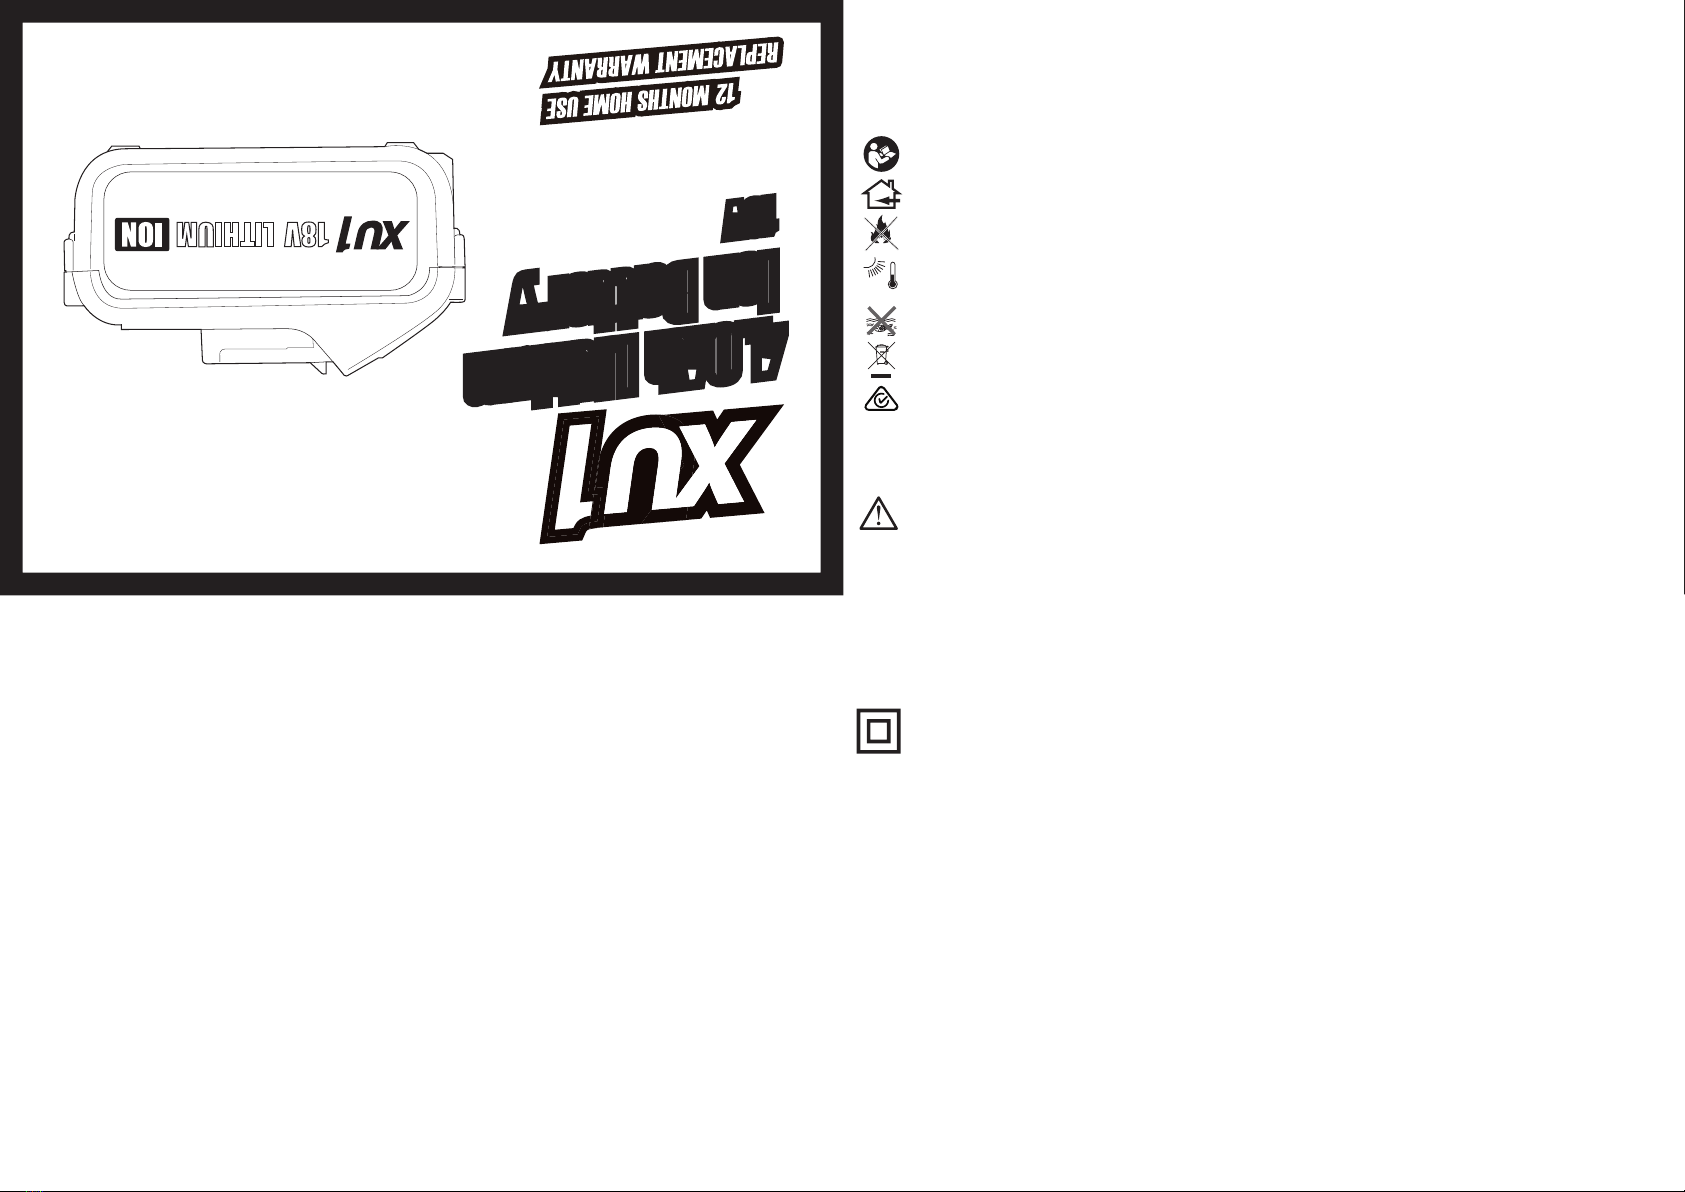
XLBP-400
18V
4.0Ah Lithium
Ion Battery
1–23 Letcon Drive, Bangholme, Victoria, Australia 3175
Telephone: 1800 069 486
XU1 Power tools
XLBP-400 0119
SAFETY
INSTRUCTIONS
BATTERY PACK SAFETY
WARNINGS
THIS MANUAL CONTAINS IMPORTANT SAFETY AND
OPERATING INSTRUCTIONS FOR YOUR BATTERY.
1. Before using the charger read all instructions and cautionary
markings on the charger, battery pack and the product using
the battery pack.
2. This charger is not intended for any uses other than
charging rechargeable batteries. Any other use may result
in risk of re, electric shock or electrocution.
3. Only use the compatible XU1 charger to recharge this XU1
battery.
4. Do not place any object on top of the charger or place
the charger on a soft surface that may result in excessive
internal heat. Place the charger in a position away from any
heat source.
5. To reduce risk of damage to the electric plug and cord, pull
by the plug rather than the cord when disconnecting the
charger.
6. Make sure the cord is located so that it will not be stepped
on, tripped over, or otherwise subjected to damage or
stress.
7. An extension cord should not be used unless absolutely
necessary. Use of an improper extension cord could result in the
risk of re, electric shock or electrocution.
8. Do not operate the charger if it has received a sharp blow,
been dropped or otherwise damaged in any way. Have it
checked by an electrician or power tool repairer.
9. Do not disassemble charger. Take it to an electrician or
power tool repairer when service or repair is required.
Incorrect reassembly may result in a risk of electric shock,
electrocution or re.
10. To reduce risk of electric shock, unplug the charger from the
outlet before attempting any cleaning. Removing the battery
pack will not reduce this risk.
11. Never attempt to connect 2 chargers together.
12. DO NOT store or use the tool and battery pack in locations
where the temperature may reach or exceed 40ºC (such as
inside sheds or metal buildings in summer).
13. The charger is designed to operate on standard household
electrical power (240 volts). Do not attempt to use it on any
other voltage!
14. The battery pack is not fully charged out of the carton. First
read the safety instructions and then follow the charging
notes and procedures.
15. The longest life and best performance can be obtained if
the battery pack is charged when the air temperature is
between 18 - 24ºC. Do not charge the battery pack in an air
temperature below 10ºC or above 40ºC. This is important
and will prevent damage to the battery pack.
16. Do not incinerate the battery pack even if it is seriously
damaged or is completely worn out. The battery can explode
in a re.
17. Never attempt to open the battery pack for any reason. If
the plastic housing of the battery pack breaks or cracks,
immediately discontinue use and do not recharge.
18. During charging, the battery must be placed in a well
ventilated area.
ELECTRICAL SAFETY
WARNING! When using mains-powered tools, basic
safety precautions, including the following, should always
be followed to reduce risk of re, electric shock, personal
injury and material damage.
Read the whole manual carefully and make sure you know how to
switch the tool off in an emergency, before operating the tool.
Save these instructions and other documents supplied with this
tool for future reference.
Note: The supply of 230V and 240V on Ozito tools are
interchangeable for Australia and New Zealand.
This tools charger is double insulated, therefore no earth
wire is required.
1. If the supply cord is damaged, it must be replaced by the
manufacturer, its service agent or similarly qualied persons in
order to avoid hazard.
Note: Double insulation does not take the place of normal safety
precautions when operating this tool. The insulation system is for
added protection against injury resulting from a possible electrical
insulation failure within the tool.
2. Using an Extension Lead
Always use an approved extension lead suitable for the power
input of this tool. Before use, inspect the extension lead for
signs of damage, wear and ageing. Replace the extension lead
if damaged or defective.
When using an extension lead on a reel, always unwind the
lead completely. Use of an extension lead not suitable for the
power input of the tool or which is damaged or defective may
result in a risk of re and electric shock.
3. To reduce the risk of electric shock, we recommend the use of a
residual current device (rated 30mA or less).
4. This appliance is not intended for use by persons (including
DESCRIPTION OF SYMBOLS
Read instruction manual
Indoor use only
Do not incinerate
Do not get battery wet
Do not put in the rubbish
Do not use or store battery in
temperatures exceeding 400C
MAX.40oC
children) with reduced physical, sensory or mental capabilities,
or lack of experience and knowledge, unless they have been
given supervision or instruction concerning use of the appliance
by a person responsible for their safety.
5. Children should be supervised to ensure that they do not play
with the appliance.
Regulatory Compliance Mark (RCM)


