manuals.online logo
Brands
  1. Home
  2. •
  3. Brands
  4. •
  5. Yamaha
  6. •
  7. Electronic Keyboard
  8. •
  9. Yamaha Clavinova CVP-509 Quick start guide

Yamaha Clavinova CVP-509 Quick start guide

This manual suits for next models

3

Other Yamaha Electronic Keyboard manuals

Yamaha YPT-230 User manual

Yamaha

Yamaha YPT-230 User manual

Yamaha PSR-E333 User manual

Yamaha

Yamaha PSR-E333 User manual

Yamaha YDP-113 User guide

Yamaha

Yamaha YDP-113 User guide

Yamaha PortaSound PCS-30 User manual

Yamaha

Yamaha PortaSound PCS-30 User manual

Yamaha H11 User manual

Yamaha

Yamaha H11 User manual

Yamaha CLAVINOVA CVP-501 User manual

Yamaha

Yamaha CLAVINOVA CVP-501 User manual

Yamaha PortaSound PSS-20 User manual

Yamaha

Yamaha PortaSound PSS-20 User manual

Yamaha PortaSound PSS-570 User manual

Yamaha

Yamaha PortaSound PSS-570 User manual

Yamaha PortaTone PSR-2500 User manual

Yamaha

Yamaha PortaTone PSR-2500 User manual

Yamaha PortaSound PSS-260 User manual

Yamaha

Yamaha PortaSound PSS-260 User manual

Yamaha PortaSound PSS-15 User manual

Yamaha

Yamaha PortaSound PSS-15 User manual

Yamaha KX88 User manual

Yamaha

Yamaha KX88 User manual

Yamaha Portatone PSR-130 User manual

Yamaha

Yamaha Portatone PSR-130 User manual

Yamaha PortaTone PSR-21 User manual

Yamaha

Yamaha PortaTone PSR-21 User manual

Yamaha PortaSound PSS-6 User manual

Yamaha

Yamaha PortaSound PSS-6 User manual

Yamaha PortaSound PCS-30 User manual

Yamaha

Yamaha PortaSound PCS-30 User manual

Yamaha Portatone PSR-38 User manual

Yamaha

Yamaha Portatone PSR-38 User manual

Yamaha PortaSound PSS-290 User manual

Yamaha

Yamaha PortaSound PSS-290 User manual

Yamaha PS-10 User manual

Yamaha

Yamaha PS-10 User manual

Yamaha PORTATONE PSR-E303 User manual

Yamaha

Yamaha PORTATONE PSR-E303 User manual

Yamaha PortaSound PSS-50 User manual

Yamaha

Yamaha PortaSound PSS-50 User manual

Yamaha Clavinova P-500 User manual

Yamaha

Yamaha Clavinova P-500 User manual

Yamaha Portatone PC-1000 User manual

Yamaha

Yamaha Portatone PC-1000 User manual

Yamaha psr-262 User manual

Yamaha

Yamaha psr-262 User manual

Popular Electronic Keyboard manuals by other brands

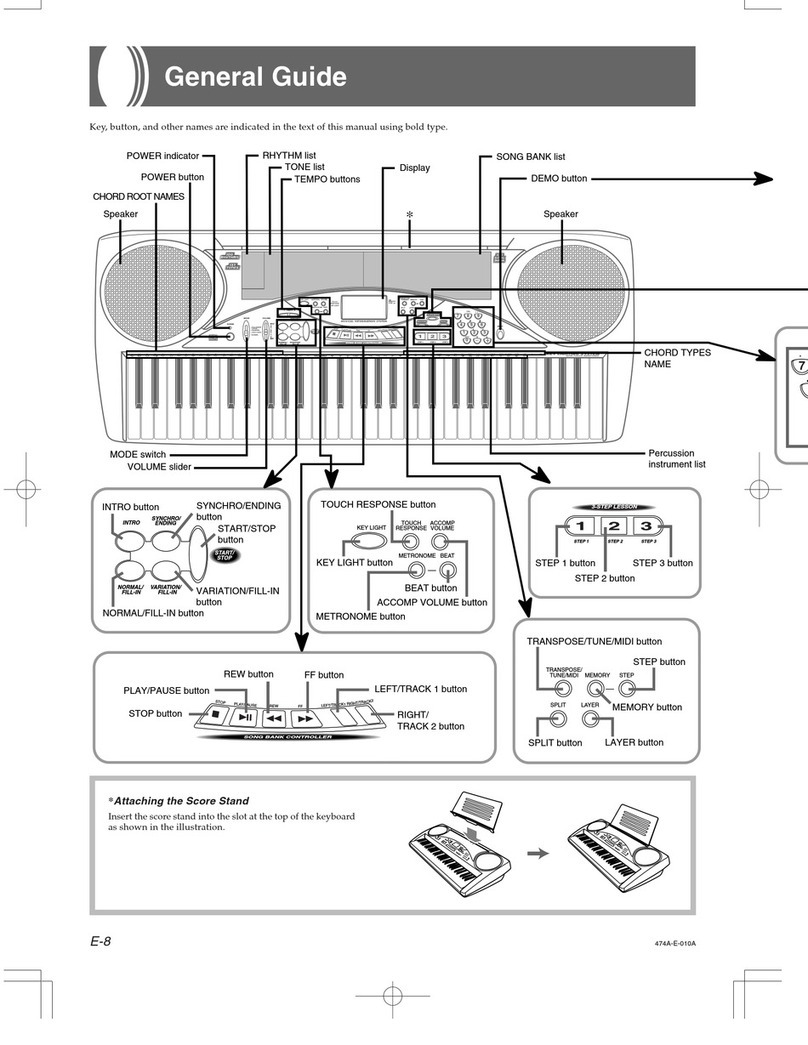
Casio LK-50 General guide

Casio

Casio LK-50 General guide

Casio VZ-1 Service manual and parts list

Casio

Casio VZ-1 Service manual and parts list

Keith McMillen Instruments K-Board Pro 4 Get started

Keith McMillen Instruments

Keith McMillen Instruments K-Board Pro 4 Get started

McGrey 6170 user manual

McGrey

McGrey 6170 user manual

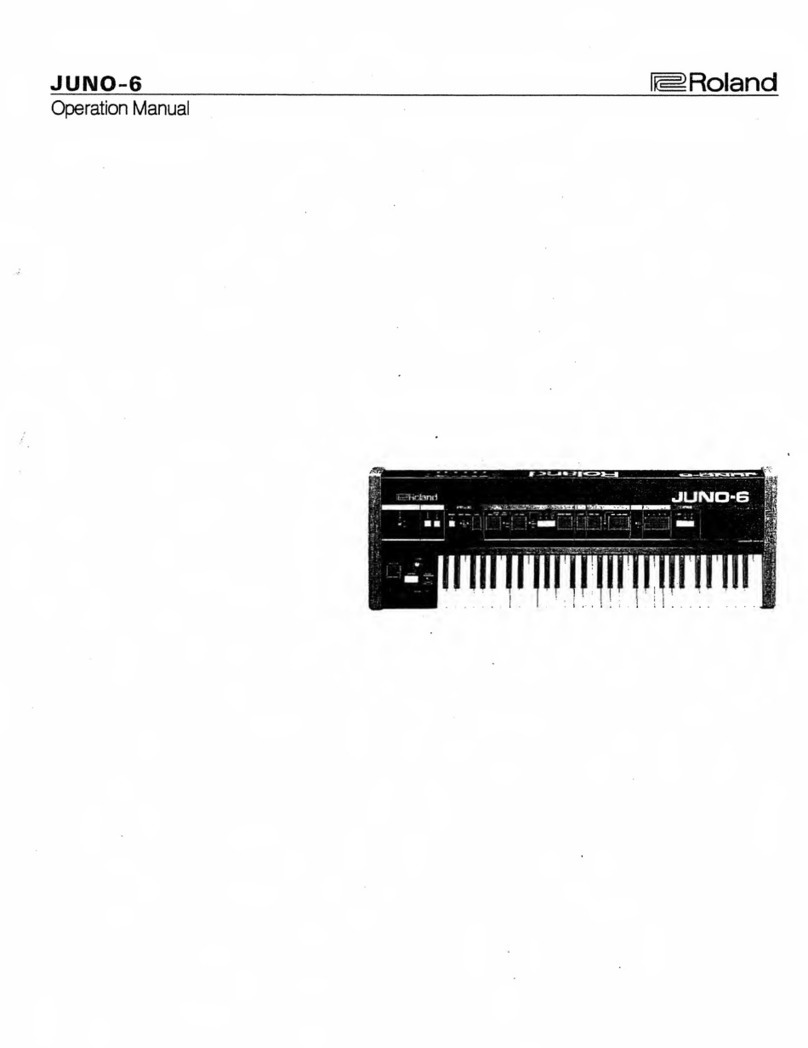
Roland Juno-6 Operation manual

Roland

Roland Juno-6 Operation manual

Akai MPK88 quick start guide

Akai

Akai MPK88 quick start guide

Waldorf IRIDIUM quick start

Waldorf

Waldorf IRIDIUM quick start

Behringer MOTÖR 61 user manual

Behringer

Behringer MOTÖR 61 user manual

Casio KL-130 user guide

Casio

Casio KL-130 user guide

Casio AT-5 user guide

Casio

Casio AT-5 user guide

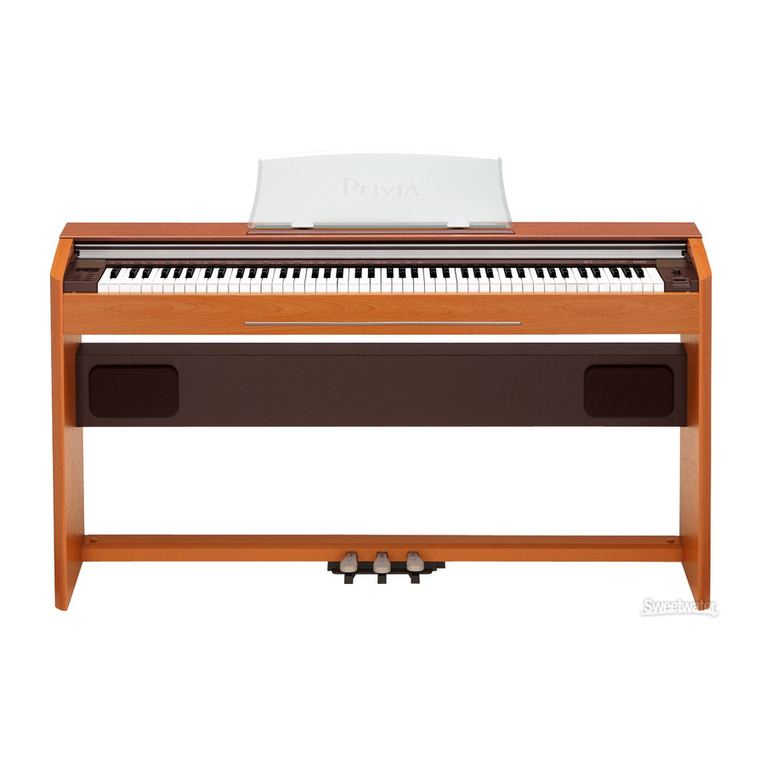
Casio Privia PX-100 user guide

Casio

Casio Privia PX-100 user guide

Casio Privia 7ES1A user guide

Casio

Casio Privia 7ES1A user guide

Casio Privia PX-800 user guide

Casio

Casio Privia PX-800 user guide

Casio WK-1600 user guide

Casio

Casio WK-1600 user guide

Casio WK210ES1A user guide

Casio

Casio WK210ES1A user guide

Technics sx-KN500 owner's manual

Technics

Technics sx-KN500 owner's manual

Technics SX-K700 manual

Technics

Technics SX-K700 manual

Casio LK-40 user guide

Casio

Casio LK-40 user guide

manuals.online logo
manuals.online logoBrands
  • About & Mission
  • Contact us
  • Privacy Policy
  • Terms and Conditions

Copyright 2025 Manuals.Online. All Rights Reserved.

1
Version 1.10 Upgrade Manual
Version 1.10 of the Clavinova firmware adds the following functionality to CVP-501, CVP-503, CVP-505, and
CVP-509 models.
•Support for the Wi-Fi Protected Access (WPA) wireless encryption standard (with the exception of certain
USB-LAN adaptors*1)
•
Support for the Wi-Fi Protected Setup (WPS)
*2
standard, which makes it easier to setup wireless home
networks
(with the exception of certain USB-LAN adaptors*1)
• Support for the following USB-LAN adaptors.
Wireless: Buffalo WLI-UC-GN Buffalo WLI-UC-GNHP Planex GW-USMicroN Planex GW-USMini2N
Edimax EW-7711UAn Edimax EW-7711UTn Hawking HWUN3 Tenda W311U
Belkin F6D4050 LogiLink WL0049A LogiLink WL0054
Wired: LINKSYS USB300M AIRLINK101 ASOHOUSB 10/100Mbps Fast Ethernet USB 2.0 Adapter
macally AIR2NET INTELLINET Hi-Speed USB 2.0 to Fast Ethernet Adapter
*1: For more details, please visit the Yamaha Piano / Keyboard website (below) and refer to the list of USB devices confirmed as
working with our products. http://music.yamaha.com/download
*2: For more details, please refer to the Internet Connection Guide, which can be downloaded from the Yamaha Manual Library
website. http://www.yamaha.co.jp/manual/english/
1. Turn on the Clavinova.
This can be done by pressing the Power switch located at
the right of the front panel.
2. Confirm the instrument’s current firmware
version as follows.
2-1 Press the [FUNCTION] button.
2-2 Press the [J] (UTILITY) button.
2-3 Using the TAB [E] / [F] buttons, select the OWNER tab
and display the Owner setting screen.
2-4 Press the [7▲] (VERSION) button to display the current
firmware version. If the displayed version number is less
than 1.10, the firmware should be upgraded.
2-5 Press the [8▲] (EXIT) button or the [EXIT] button to close
the window.
3. Turn off the Clavinova.
This can be done by pressing the Power switch located at
the right of the front panel.
To upgrade the Clavinova firmware, place the upgrade data on a
USB flash memory device and then carry out the upgrading
procedure as described below.
1. Plug the USB flash memory device containing
the upgrade data into the Clavinova.
2. Hold down the [START/STOP] button and press
the Power switch
Continue to hold down the [START/STOP] button until the
following message is displayed.
3. Install the upgrade data.
To do so, release the [START/STOP] button and then press
it once again.
Confirming the Current Version
Upgrading the Firmware
CVP-509/505/503/501
2
After indicating that data is being loaded, the Clavinova will
begin to install the new version of the firmware. The following
message is displayed at this time. Upgrading of the firmware
takes approximately 5 minutes.
The USB flash memory device must not be unplugged and the
instrument must not be turned off while the firmware is being
installed. Failure to observe this precaution may render the
Clavinova unfit for use.
The following message is displayed upon completion of the
firmware installation process.
4. Turn off the Clavinova and unplug the USB flash
memory device.
After any firmware upgrade, it is recommended that you confirm
the current version once again as described below.
1. Turn on the Clavinova.
This can be done by pressing the Power switch located at
the right of the front panel.
2. Confirm the instrument’s current firmware
version as follows.
2-1 Press the [FUNCTION] button.
2-2 Press the [J] (UTILITY) button.
2-3 Using the TAB [E] / [F] buttons, select the OWNER tab
and display the Owner setting screen.
2-4 Press the [7▲] (VERSION) button to display the current
firmware version.
If the upgrade process has been completed successfully,
version 1.10 will be shown in the window displayed. If the
version has not changed, it is likely that the installation
procedure was not completed successfully. In such a
case, repeat the procedure carefully as described herein.
3. Press the [8▲] (EXIT) button or the [EXIT] button
to close the window.
Deletion using the instrument:
Version 1.10 of the firmware for Clavinova CVP-501, CVP-503,
CVP-505, and CVP-509 models makes it possible to delete
upgrade data from a USB flash memory device using the
instrument itself. To do so, proceed as follows.
1. Plug the USB flash memory device containing
the upgrade data into the Clavinova.
2. Hold down the [START/STOP] button and press
the Power switch.
Continue to hold down the [START/STOP] button until the
following message is displayed.
The USB flash memory device must not be unplugged and the
instrument must not be turned off at this time. Failure to observe
this precaution may render the Clavinova unfit for use.
3. Press the [BREAK] button to delete the upgrade
data.
The following confirmation message will be displayed.
4. To delete the upgrade data, release the [START/
STOP] button and then press it once again.
The Clavinova will begin deleting the upgrade data. The
following message is displayed at this time.
The USB flash memory device must not be unplugged and the
instrument must not be turned off while the upgrade data is
being deleted. Failure to observe this precaution may result in
the USB flash memory device being permanently damaged.
The following message is displayed upon completion of the
data deletion process.
5. Turn off the Clavinova and unplug the USB flash
memory device.
This can be done by pressing the Power switch located at
the right of the front panel.
Reconfirming the Current Version
Deleting Upgrade Data